Mastering Sea Salt Dark Chocolate Chunk Cookies
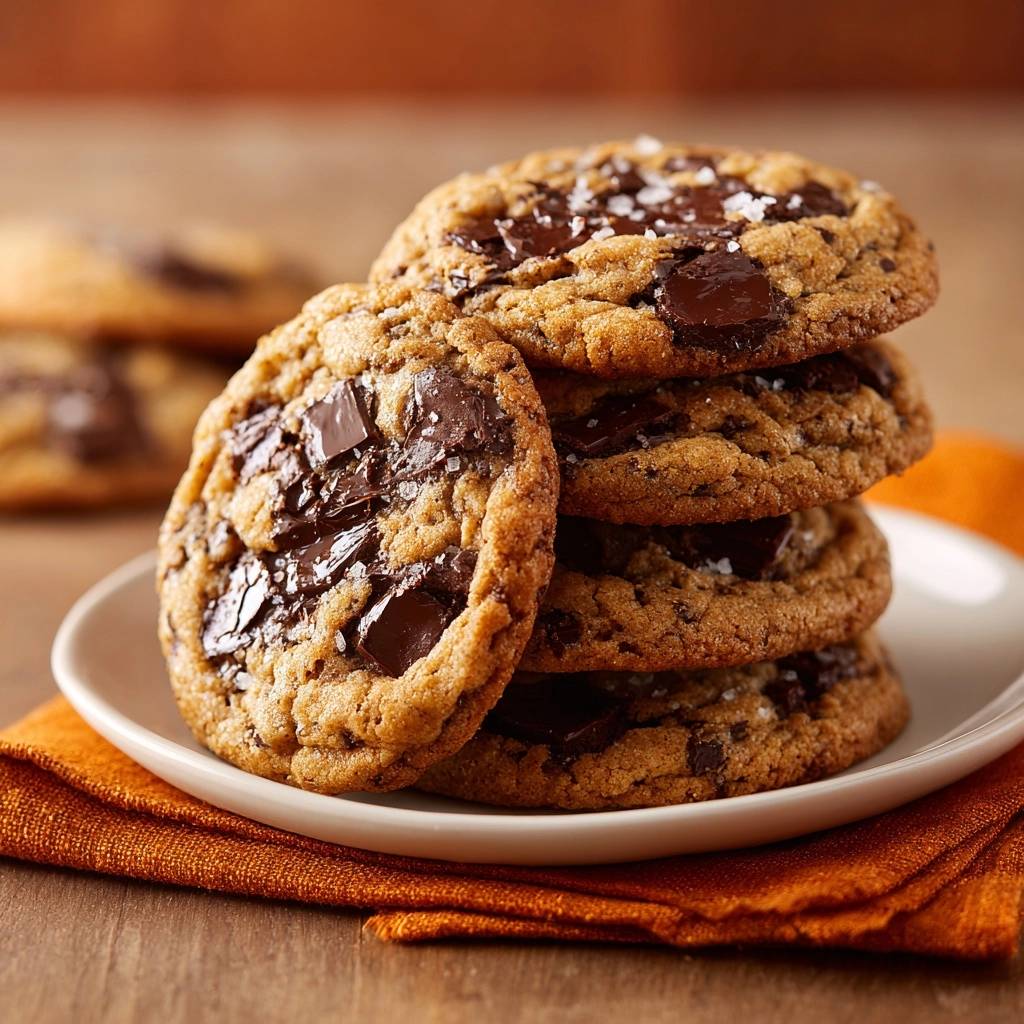
Imagine biting into a cookie where the outer rim shatters with a crisp, buttery snap, leading immediately into a center so soft it’s nearly molten. These Sea Salt Dark Chocolate Chunk Cookies aren’t your average bakery find. They rely on a specific balance of bitter 70% cacao and the sharp, clean spark of hand-crumbled sea salt to wake up your palate. The dark chocolate pools into wide, velvety lakes rather than tiny, waxy dots, creating a sophisticated flavor profile that isn’t cloyingly sweet.
Most home bakers struggle with the dreaded “soggy bottom,” where the underside of the cookie stays oily or soft instead of developing a sturdy, golden crust. This recipe solves that frustration by focusing on moisture control and thermal management. We aren’t just mixing ingredients; we’re engineering a specific structural outcome that ensures every bite holds its shape while remaining incredibly tender.
The secret to this professional texture lies in the temperature of your butter before you even turn on the mixer. You want your butter at exactly 65°F. It should be pliable enough to hold a thumbprint but still feel cool to the touch. If the butter is too warm or greasy, the emulsion will break during the creaming process, leading to cookies that spread into thin, oily puddles in the oven. Keeping that fat cool ensures the air pockets you create stay stable.
The Anatomy of a Perfect Cookie Base
Achieving a professional-grade crunch requires understanding the physics of the cooling process. When a cookie comes out of the oven, it’s still technically cooking. If you leave it on the hot baking sheet for more than a minute, the residual heat continues to pull moisture from the center toward the bottom. This trapped heat creates steam between the cookie and the pan. Without anywhere to go, that steam re-absorbs into the base, resulting in a limp, soggy texture that ruins the experience.
Airflow is your best friend for a crisp finish. By moving the cookies to a wire cooling rack almost immediately, you allow cool air to circulate 360 degrees around the cookie. This rapid evaporation of surface moisture locks in the “snap” of the base. It’s the difference between a cookie that feels heavy and greasy and one that feels light and perfectly toasted.
Your choice of liner also dictates heat distribution. While silicone mats are popular, they are insulators and can sometimes lead to a paler, softer bottom. For the absolute best results with this specific recipe, use high-quality parchment paper on a heavy-duty aluminum pan. Parchment allows for better heat transfer, helping the sugars on the bottom of the dough caramelize quickly and evenly without sticking.
Essential Components for Dark Chocolate Chunk Cookies
The foundation of this cookie is the butter. As mentioned, 65°F is the “Goldilocks” zone. If you use “room temperature” butter that has been sitting out all day in a warm kitchen, it won’t hold the air bubbles necessary for a thick cookie. You want the butter to be firm enough that it resists the beaters slightly at first. This resistance is what builds the mechanical structure of the dough.
We use a high ratio of dark brown sugar compared to granulated sugar for a very specific reason. Dark brown sugar contains more molasses, which is hygroscopic. This means it pulls moisture into the dough, creating that dense, fudgy chew that contrasts so well with the crisp edges. The molasses also provides a deep, toffee-like undertone that complements the bitterness of the dark chocolate chunks.
For the flour, stick with standard All-Purpose flour. It has a protein content of about 10% to 12%, which provides enough gluten to give the cookie “legs” so it doesn’t collapse. Cake flour is too weak and will result in a crumbly mess, while bread flour can make these cookies unpleasantly tough. All-purpose hits the sweet spot for a tender yet substantial crumb.
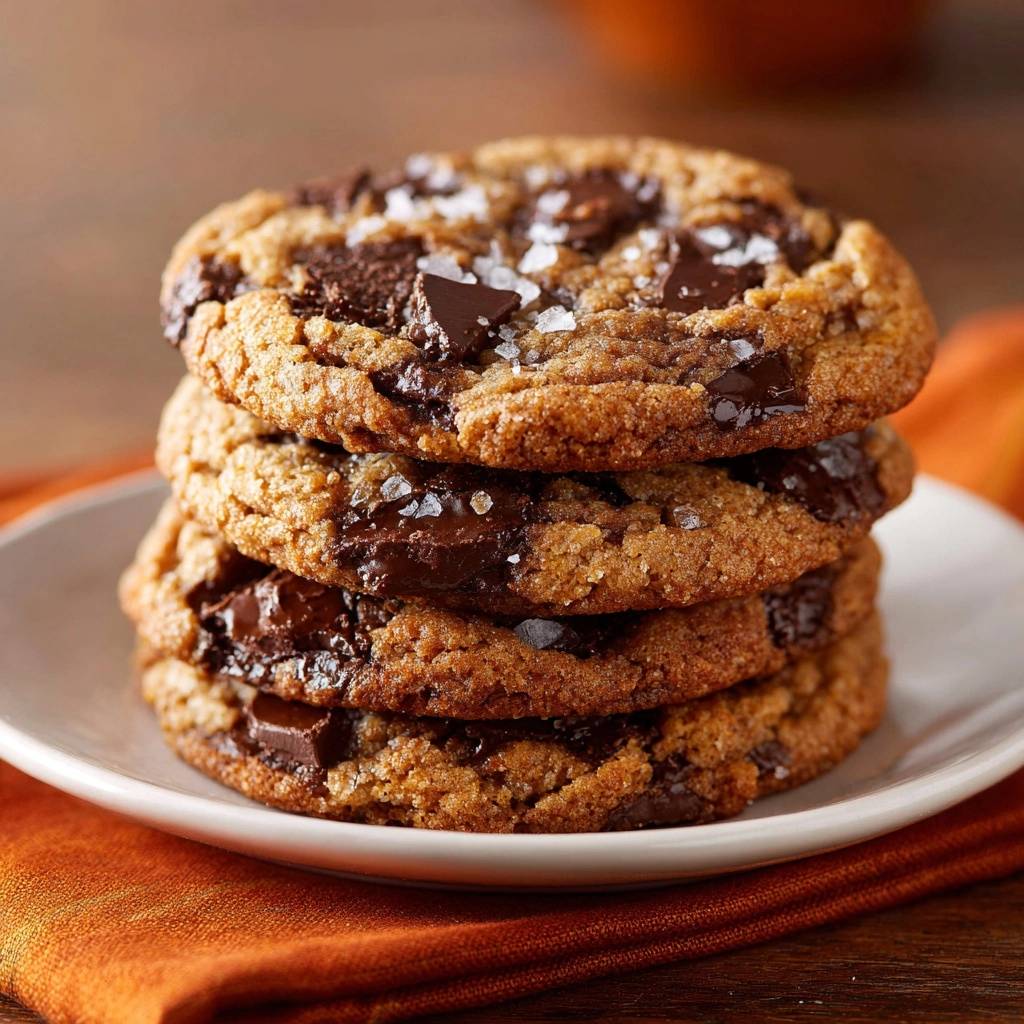
Finally, ditch the bags of pre-made chocolate chips. Commercial chips contain stabilizers like soy lecithin that prevent them from losing their shape. For those iconic pools of melted chocolate, buy high-quality chocolate bars and chop them yourself. The uneven sizes mean some bits melt into the dough while larger chunks create those dramatic, gooey centers. The higher cocoa butter content in bars ensures a much smoother melt.
If you love working with high-quality dark chocolate, you’ll enjoy these loaded almond chocolate chunk cookies too.
Selecting the Right Flaky Sea Salt
Not all salts are created equal. Table salt is far too salty and dense for topping, and standard sea salt often lacks the necessary crunch. Look for Maldon or a similar pyramid-style flaky salt. These large, thin crystals provide a “burst” of salinity that cuts through the richness of the dark chocolate without lingering too long on the tongue. Always apply the salt the second the cookies leave the oven so the crystals adhere to the softening chocolate chunks.
Step-by-Step: Preparing the Chilled Dough
The creaming process is the most important active step. You want to beat the butter and sugars for a full 2 to 3 minutes. You’ll notice the mixture transform from a gritty, dark paste into a pale, voluminous foam. This isn’t just about mixing; it’s about aerating. Those tiny air pockets are what the baking soda will expand in the oven to give the cookie its lift.
When adding your eggs, do it one at a time. Eggs are mostly water, and butter is fat. They don’t naturally want to mix. By adding them slowly and beating thoroughly after each, you create a stable emulsion. If you dump them in all at once, the batter might “break” or look curdled, which leads to an uneven bake and a greasy mouthfeel.
Once you add the dry ingredients, turn your mixer to the lowest setting. You only want to mix until the last streak of white flour disappears. Over-mixing at this stage develops too much gluten. If you keep the mixer running, you’ll end up with a cookie that has the texture of a muffin or a piece of bread. Fold in your hand-chopped chocolate chunks with a spatula to keep the dough tender.
The Necessity of the 24-Hour Chill
Patience is an ingredient in this recipe. Chilling the dough for at least an hour—and ideally 24 hours—is non-negotiable. During this rest period, the flour fully hydrates, absorbing the moisture from the eggs and vanilla. This results in a more uniform texture and a deeper, more concentrated flavor. Furthermore, chilling solidifies the butter. Cold fat takes longer to melt in the oven, which prevents the cookies from spreading too fast and ensures those beautiful, crinkly tops.
This same trick works for keeping the thick, fudgy texture in a batch of triple chocolate chunk brownie cookies.
Baking and the Immediate Cooling Sequence
We bake these at 375°F, which is slightly higher than the standard 350°F. This high heat “shocks” the edges of the cookie, setting them quickly while the center remains undercooked. This temperature differential is exactly how you get that elusive combination of a crunchy exterior and a doughy, soft interior. Keep a close eye on them around the 9-minute mark.
You are looking for specific visual cues. The edges should be a deep, golden brown and look firm to the touch. The centers, however, should still look slightly puffed and “wet” or underdone. Don’t worry; they will firm up as they cool. If you wait until the centers look fully baked in the oven, your cookies will be hard as rocks once they cool down.
The 60-second rule is vital. Let the cookies rest on the hot pan for exactly one minute—just long enough for the structure to stabilize so they don’t fall apart when you lift them. Then, immediately use a wide spatula to transfer them to a wire rack. This stops the cooking process on the bottom and prevents the “soggy bottom” syndrome by allowing steam to escape freely from the underside.
Troubleshooting Common Baking Obstacles
If your cookies spread into one giant, thin sheet, the culprit is almost always the temperature of the fat. Either the butter was too soft during creaming, or the dough wasn’t chilled long enough. If this happens, try chilling the remaining dough for another few hours before baking the next batch. Also, ensure you aren’t placing cold dough onto a hot baking sheet from a previous batch.
Burnt chocolate is another common issue. If the chocolate on top looks scorched, it’s likely because your oven rack is too high, placing the cookies too close to the top heating element. Move your rack to the center position. Additionally, ensure you are using dark chocolate with at least 60% cacao; milk chocolate has a much higher sugar content and burns far more easily.
If your cookies come out pale and cakey, you might be over-measuring your flour. Always fluff your flour with a spoon and level it off in the measuring cup rather than scooping directly from the bag, which packs the flour down. Also, check the expiration date on your baking soda. If it’s older than six months, it won’t provide the necessary lift, leaving the cookies dense and heavy.
What to Serve with Your Cookies
These sea salt dark chocolate chunk cookies work well alongside other baked goods or a savory breakfast-style dish. Here are two options to round out a spread or change up the meal.
- For a savory contrast to the sweet chocolate cookies, try
Get the full recipe in your inbox in seconds – perfect for shopping and cooking.

Dark Chocolate Chunk Cookies
Course: DessertCuisine: AmericanDifficulty: medium18
cookies15
minutes10
minutes210
kcal60
MinutesThese professional-grade cookies feature high-quality dark chocolate chunks and flaky sea salt. The recipe focuses on temperature control and proper cooling techniques to ensure a deep, crinkly texture without any greasiness or soggy bottoms.
Ingredients
1 cup unsalted butter, softened but still cool to the touch (65°F)
3/4 cup granulated sugar
3/4 cup packed dark brown sugar (for deeper color and chew)
2 large eggs, room temperature
1 teaspoon vanilla extract
2 1/4 cups all-purpose flour
1 teaspoon baking soda
1/2 teaspoon fine sea salt
12 ounces high-quality dark chocolate, chopped into large, uneven chunks
Flaky sea salt (Maldon style) for topping
Directions
- In a large bowl or stand mixer, cream together the butter, granulated sugar, and dark brown sugar on medium-high speed for 2-3 minutes until light and fluffy. To prevent the cookies from spreading too thin and becoming greasy, ensure your butter is not melted or oily.
- Beat in the eggs one at a time, ensuring each is fully incorporated, then stir in the vanilla extract.
- In a separate bowl, whisk together the flour, baking soda, and fine sea salt. Gradually add the dry ingredients to the wet ingredients, mixing on low speed just until no streaks of flour remain. Do not overmix.
- Fold in 3/4 of the dark chocolate chunks by hand. Reserve the remaining large chunks to press into the tops later.
- Crucial Step: Cover the dough and chill in the refrigerator for at least 1 hour (ideally 24 hours). This hydrates the flour and solidifies the fat, which is the absolute key to preventing a soggy bottom and ensuring a thick, professional texture.
- Preheat your oven to 375°F (190°C). Line a heavy-duty baking sheet with parchment paper or a silicone mat.
- Scoop 2-tablespoon-sized mounds of dough onto the prepared baking sheet, spacing them 3 inches apart. Press the reserved chocolate chunks firmly into the top of each dough ball so they are visible.
- Bake for 9 to 11 minutes. The edges should be deeply golden and set, while the centers still look slightly soft.
- The Anti-Soggy Trick: Let the cookies sit on the pan for only 1 minute to set, then immediately move them to a wire cooling rack. Leaving them on the hot pan causes steam to trap underneath, which creates a soggy base. Airflow underneath the rack is vital for a crisp bottom.
- While the chocolate chunks are still melty and glistening, sprinkle generously with flaky sea salt. Let cool for at least 10 minutes before serving to allow the internal structure to set.
Notes
- The secret to avoiding a soggy base is managing fat temperature and ensuring airflow during cooling. Move cookies to a wire rack immediately after one minute of resting to prevent steam from softening the bottom.