Rustic Fruit Lattice Pie: No More Soggy Crust!
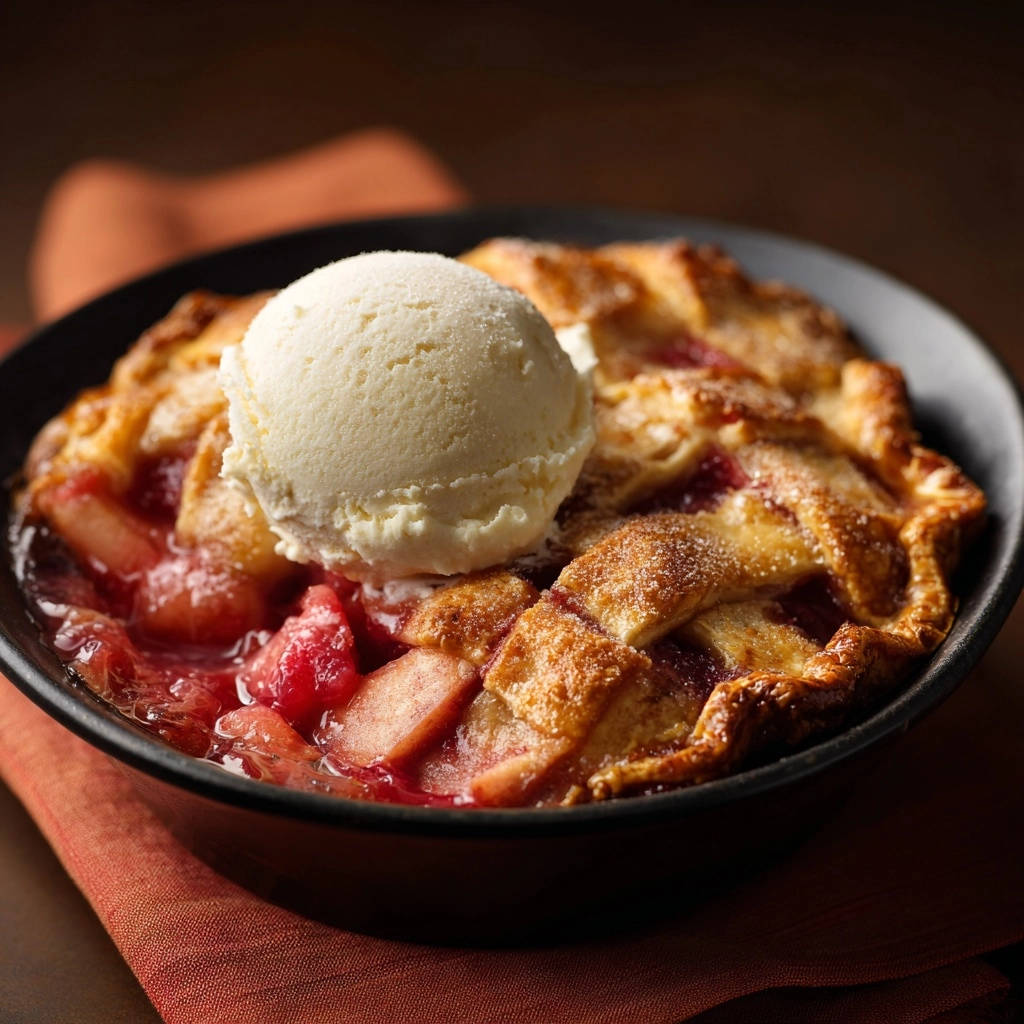
There’s nothing quite like a warm, bubbling fruit pie, but who hasn’t been disappointed by a soupy filling and a soggy bottom crust? After countless experiments, I’ve perfected a simple yet revolutionary method for a truly irresistible Rustic Fruit Lattice Pie that guarantees a perfectly thickened fruit center every single time.
This approach elevates your homemade pie game, transforming a common baking frustration into a triumphant, beautifully presented dessert that will earn rave reviews. Get ready to bake a pie that’s consistently flawless and utterly delicious.
The Game-Changing Secret to a Perfectly Set Fruit Pie
Say Goodbye to Runny Fillings and Soggy Crusts Forever
The universal struggle with fruit pies often boils down to excess moisture. Raw fruit releases significant liquid during baking, leading to watery fillings that can saturate your beautiful crust. This results in an unappetizingly soggy texture rather than the desired crisp, flaky foundation.
Our game-changing trick involves pre-cooking the fruit filling on the stovetop before it ever touches the pie crust. This allows a controlled evaporation of excess liquid, concentrating the fruit’s natural flavors and ensuring the thickener works effectively. The result is a vibrant, perfectly set filling with an incredibly sturdy, crisp bottom crust.
Why This Rustic Fruit Lattice Pie Will Be Your Go-To
Beyond solving the soggy crust dilemma, this Rustic Fruit Lattice Pie recipe offers a host of benefits that make it an instant favorite. The pre-cooking step actually enhances the fruit’s flavor, creating a deeper, more caramelized taste profile.
Despite the extra step, the process is incredibly straightforward, providing consistent, reliable results every time you bake. The stunning lattice top, though rustic, looks impressive and adds to the pie’s overall appeal. This pie is a celebration of seasonal fruit, presented flawlessly.
Gathering Your Palette: Essential Ingredients for Flavor
For the Irresistible Fruit Filling
Apples: Opt for firm, slightly tart baking apples like Granny Smith for structure and balance, or Honeycrisp for a crisp, sweet-tart profile. They hold their shape beautifully during baking.
Mixed Red Berries: Fresh or frozen strawberries, raspberries, or cranberries add a delightful tartness and vibrant color. Frozen berries are a fantastic, convenient option; no need to thaw them first.
Sweetness & Thickening Agents: Granulated sugar provides essential sweetness, balancing the fruit’s tartness. All-purpose flour effectively thickens the filling, absorbing moisture to create a rich, syrupy consistency.
Aromatic Spices: Ground cinnamon infuses the pie with a warm, comforting aroma that perfectly complements the fruit flavors. It’s a classic pairing that elevates the entire dish.
Brightening with Citrus: A touch of lemon juice is crucial for brightening the overall flavor profile. It cuts through the sweetness and adds a fresh, zesty note, making the fruit taste even more vibrant.
Crafting the Perfect Pie Crust Foundation
Pie Dough (Homemade or Store-Bought): A reliable pie dough is the foundation of any great pie. Store-bought dough offers incredible convenience, while homemade allows for a superior, flaky texture and personalized flavor. You’ll need enough for one bottom crust and a decorative lattice top.
The Golden Finish: Egg Wash & Sugar Dust
Beaten Egg: A simple egg wash, made from one beaten egg, creates a beautiful, glossy, and deeply golden-brown crust during baking. It’s the secret to a professional-looking finish.
Granulated Sugar Sprinkle: A light dusting of granulated sugar over the egg-washed crust adds a lovely sparkling finish. It also provides a delightful hint of extra sweetness and a delicate crunch on top.
Optional Indulgence: Serving Suggestions
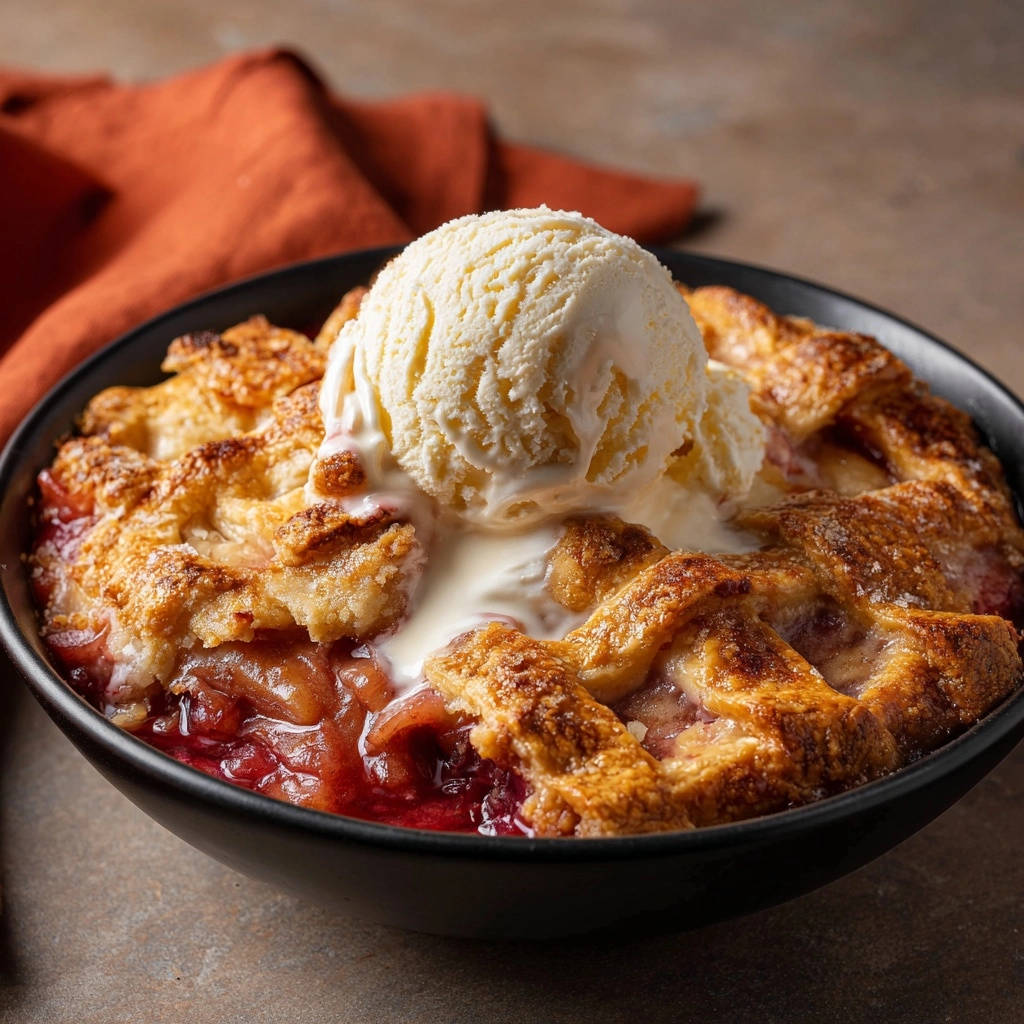
Vanilla Ice Cream: Serving a warm slice of Rustic Fruit Lattice Pie with a scoop of creamy vanilla ice cream is a timeless classic. The cold, melting ice cream provides a wonderful contrast to the warm, fruity filling.
Essential Kitchen Tools for Pie Perfection
9-inch Pie Dish: This standard size is ideal for showcasing your pie and ensures even baking. A ceramic or glass dish works beautifully.
Large Saucepan: Crucial for the pre-cooking step, allowing ample space to combine and thicken the fruit filling. A non-stick option makes stirring easier.
Rolling Pin: Essential for evenly rolling out pie dough to the perfect thickness and shape. A heavy, sturdy pin provides good leverage.
Sharp Knife or Pastry Wheel: Used for precisely cutting the pie dough into uniform strips for your lattice top. A pastry wheel creates decorative edges.
Pastry Brush: Ideal for applying an even layer of egg wash over the crust. A silicone brush is easy to clean and doesn’t shed bristles.
Wire Rack: Essential for proper air circulation around the pie after baking. This helps prevent a soggy bottom by allowing steam to escape and the crust to cool evenly.
Baking Sheet: Placing your pie dish on a baking sheet is a smart precaution. It catches any potential drips from the filling, keeping your oven clean and preventing burns.
Your Path to Rustic Fruit Lattice Pie Mastery: Step-by-Step
- Prepare Your Workspace:
Preheat your oven to 400°F (200°C) and gather all your ingredients and tools. This organized approach streamlines the baking process, ensuring a smooth and enjoyable experience.
- Phase 1: The Magic of Pre-Cooking Your Fruit
In a large saucepan, combine the peeled and sliced apples, mixed berries, 1/2 cup granulated sugar, all-purpose flour, ground cinnamon, and fresh lemon juice. Stir everything together gently to ensure the fruits are evenly coated.
Cook this mixture over medium heat, stirring occasionally, for 8 to 10 minutes. Watch for the apples to soften slightly and the liquid to thicken considerably into a glistening, syrupy consistency. This crucial pre-cooking step evaporates excess moisture, preventing a watery filling and guaranteeing our “no soggy crust” promise.
Once thickened, remove the saucepan from the heat and let the fruit filling cool for a few minutes. It should still be warm when you pour it into the crust, but not scalding hot, which could impact the dough.
- Phase 2: Assembling Your Edible Work of Art
On a lightly floured surface, roll out one half of your pie dough. Aim for a 12-inch circle, ensuring it’s large enough to fit your 9-inch pie dish with some overhang.
Carefully transfer the rolled dough to the pie dish. Gently press it into the bottom and up the sides, ensuring a snug fit without stretching the dough too much. Trim any excess dough, leaving about a 1/2-inch overhang around the rim.
Pour the slightly cooled fruit filling evenly into the prepared pie crust. Spread it to the edges, creating a level surface for your lattice.
Roll out the remaining pie dough on your floured surface. Using a sharp knife or pastry wheel, cut it into even strips, approximately 1-inch wide, which will form your beautiful lattice top. For the neatest look, use a ruler as a guide.
Arrange these strips over the fruit filling in a classic lattice pattern. Once complete, trim any excess dough from the edges and securely crimp the top and bottom crusts together. This creates a neat, sealed edge, preventing any filling from bubbling out during baking.
- Phase 3: Baking to Golden Perfection
In a small bowl, whisk the large egg until it’s smooth and well-combined to create your egg wash. Using a pastry brush, lightly and evenly coat the entire lattice top with this beaten egg wash. This is key for a beautiful golden-brown and glossy finish.
Generously sprinkle the remaining 1 tablespoon of granulated sugar over the egg-washed lattice. This adds a delightful sparkle and a touch of sweetness, enhancing the crust’s texture and appearance.
Carefully place your pie dish onto a baking sheet. This is a vital precautionary measure to catch any potential drips or bubbling over of the filling, keeping your oven clean and preventing messy situations.
Bake the pie in your preheated 400°F (200°C) oven for the initial 20 minutes. This high heat helps to set the crust quickly and encourages a good rise.
After 20 minutes, reduce the oven temperature to 375°F (190°C) and continue baking for another 30-40 minutes. The pie is done when the crust is deeply golden brown and the fruit filling is visibly bubbling through the lattice. If you notice the crust browning too quickly, loosely tent the pie with aluminum foil to protect it.
- Phase 4: The Crucial Cooling Interval
Once your pie is baked to perfection, carefully remove it from the oven. Transfer the pie to a wire rack and let it cool for at least 30 minutes before slicing and serving.
This cooling time is critically important for the filling to fully set and solidify. Rushing this step could lead to a still-runny interior, undermining all your hard work and our promise of a perfectly set Rustic Fruit Lattice Pie.
Chef’s Secrets: Elevate Your Rustic Fruit Lattice Pie Game
Mastering the Lattice Weave: For a clean, beautiful lattice, ensure your dough strips are evenly cut and very cold. Alternate weaving strips over and under each other, lifting every other strip as you go. If the dough gets too warm, pop it back into the fridge for 10 minutes.
Dough Handling Expertise: The secret to a flaky crust is cold butter and minimal handling. Work quickly to prevent the butter from melting, and avoid overworking the dough. Chilling your rolled-out dough for 15 minutes before assembling the pie helps prevent shrinkage and keeps it manageable.
Customizing Fruit Choices: This recipe is incredibly adaptable. Softer fruits like peaches or plums might need slightly less pre-cooking time, while very watery fruits might benefit from an extra minute or two. Always aim for that noticeably thickened, syrupy consistency.
More Ways to Use That Apple Harvest
If you have extra apples or just want another fruit-filled breakfast, these two recipes share the same warm spiced flavor as the lattice pie.
- Start the day with Apple Pie Pancakes — they use a similar cinnamon-apple filling and stay fluffy instead of turning wet.
- For a crispier morning option, Apple Cinnamon Waffles give you that same fruit-and-spice combo with a light, airy texture.
Flour Power Alternatives: For a gluten-free option or a slightly clearer filling, swap the all-purpose flour for cornstarch or tapioca starch. Use about half the amount of cornstarch (2 tablespoons) or slightly less tapioca starch (2-3 tablespoons) as a substitute for 1/4 cup flour, adjusting based on desired thickness.
Aromatic Enhancements: Elevate your filling’s complexity with additional warm spices. A pinch of freshly grated nutmeg, a whisper of cardamom, or a splash of pure vanilla extract added with the lemon juice can introduce wonderful depth of flavor to your Rustic Fruit Lattice Pie.
Common Challenges & Savvy Solutions
“My Filling is Still Too Runny!”
The most common culprit is insufficient pre-cooking. Ensure you cook the fruit mixture long enough on the stovetop until it’s visibly thickened and syrupy. Another key is the post-baking cooling time; the filling continues to set significantly as it cools, so resist the urge to cut into it too soon.
“The Crust is Browning Too Quickly!”
If your pie crust starts to darken too much before the filling is fully cooked, don’t panic. Simply create a loose “tent” over the pie with aluminum foil. This shields the crust from direct heat, allowing the interior to finish baking without further browning the top.
“My Lattice Isn’t Holding Its Shape!”
This typically indicates that your pie dough was too warm during the weaving process. Cold dough is crucial for maintaining structure. If your dough becomes sticky or difficult to handle, simply place it back in the refrigerator for 10-15 minutes to firm up before continuing.
“The Bottom Crust is Soggy!”
Beyond our pre-cooking trick, ensure your oven is fully preheated to the correct temperature before the pie goes in. Baking the pie on the lowest rack can help crisp the bottom crust by exposing it to more direct heat. Placing the pie on a preheated baking steel or stone can also work wonders.
Maximizing Enjoyment: Serving, Storage & Make-Ahead Tips
The Perfect Pairing: Serving Suggestions
A warm slice of Rustic Fruit Lattice Pie is a delight on its own, but it truly shines with thoughtful accompaniments. Pair it with a generous scoop of premium vanilla bean ice cream, a dollop of freshly whipped cream, or a drizzle of warm caramel sauce. For an elegant touch, garnish with a fresh berry or a sprig of mint.
Keeping Your Pie Fresh: Storage Guidelines
To preserve its quality, store leftover pie loosely covered with plastic wrap or aluminum foil at room temperature for up to 2 days. For extended freshness, transfer the covered pie to the refrigerator, where it will remain delicious for up to 4-5 days. Always ensure the pie is completely cool before covering to prevent condensation, which can lead to a soggy crust.
If you love working with dried fruit in lattice pies, you can use the same technique for this old-fashioned raisin pie.
Planning Ahead: Make-Ahead Strategies
Pie dough is an excellent make-ahead component; prepare it up to 2-3 days in advance and store it, tightly wrapped, in the refrigerator, or freeze for up to 3 months. The fruit filling, once pre-cooked and cooled, can also be made a day ahead and refrigerated in an airtight container, then assembled just before baking. A fully baked pie freezes exceptionally well for 2-3 months; thaw overnight in the fridge and reheat gently in a 300°F (150°C) oven until warmed through.
Your Rustic Fruit Lattice Pie Questions Answered
Can I use different fruits in this Rustic Fruit Lattice Pie?
Absolutely! This recipe is incredibly versatile and encourages experimentation with seasonal fruits. Feel free to use peaches, plums, cherries, or a custom mix of berries. Just be mindful to adjust the pre-cooking time slightly based on the fruit’s natural water content and firmness; softer fruits may need less time, firmer fruits slightly more.
What if I don’t have fresh fruit available?
Frozen fruit works perfectly well in this Rustic Fruit Lattice Pie recipe! There’s no need to thaw it beforehand. Simply add the frozen fruit directly to the saucepan with the other filling ingredients and proceed with the pre-cooking step as directed. You might find you need to add an extra minute or two to the cooking time to account for the frozen state.
Can I make this pie gluten-free?
Yes, you can certainly adapt this recipe to be gluten-free! Start by using your favorite gluten-free pie crust recipe or a store-bought gluten-free pie dough. For the filling, swap the all-purpose flour for a high-quality gluten-free all-purpose flour blend, or use alternative thickeners like cornstarch or tapioca starch. Generally, use about half the amount of cornstarch or slightly more tapioca starch compared to flour for similar thickening power.
How do I know when the pie is fully cooked?
Look for several key indicators: the crust should be a beautiful, deep golden brown, not just pale yellow. Crucially, the fruit filling should be visibly bubbling vigorously around the edges and even in the center (you can usually see this through the lattice). For ultimate certainty, an instant-read thermometer inserted into the center should read around 200-210°F (93-99°C).
Can I make individual rustic fruit lattice pies or hand pies?
Yes, this versatile recipe scales down wonderfully for individual portions! Simply divide your pie dough and pre-cooked fruit filling into smaller sizes to create charming mini pies or hand pies. Be sure to adjust the baking time accordingly; smaller pies will generally require 10-20 minutes less baking, so keep a close eye on their golden-brown crust and bubbling filling.
Ready to Create Your Own Pie Masterpiece?
You now possess the insider knowledge and expert techniques to bake a truly exceptional Rustic Fruit Lattice Pie – one that guarantees a perfectly thickened fruit filling and a gloriously golden, unequivocally non-soggy crust. This isn’t just a recipe; it’s a guaranteed path to creating cherished memories and delighting everyone around your table with a dessert that looks as incredible as it tastes.
For anyone who loves a deep dish pie, this golden apple pie bakes up with a thick, sturdy crust that holds its shape beautifully.
Don’t just take our word for it; gather your ingredients, embrace the joy of baking, and experience the magic for yourself. We can’t wait to see your beautiful, rustic creations!
Fruit Lattice Pie
Course: DessertCuisine: AmericanDifficulty: medium8
servings30
minutes1
hour350
kcal90
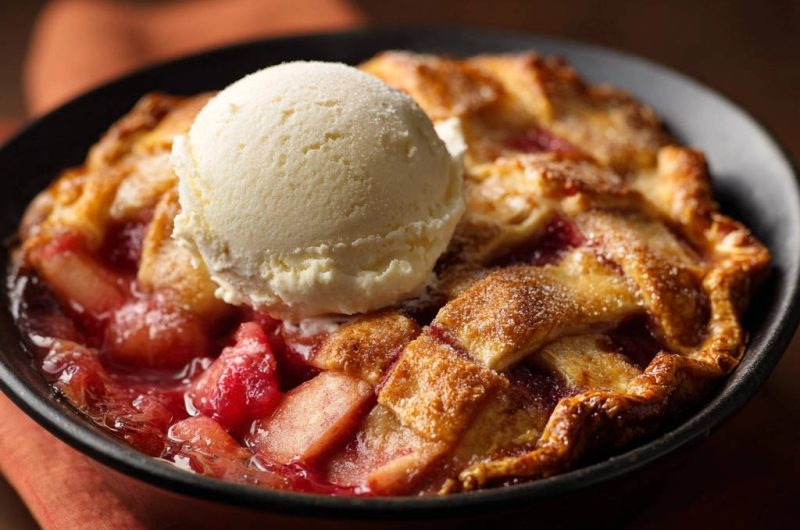
minutesThere’s nothing quite like a warm fruit pie, but who wants a soupy, runny filling? This recipe guarantees a perfectly thickened, flavorful fruit center every single time. You’re about to make an irresistible Rustic Fruit Lattice Pie with a golden, bubbly filling.
Ingredients
1 batch pie dough (for 1 bottom crust and lattice top, store-bought or homemade)
4 medium apples, peeled, cored, and sliced 1/4 inch thick
1 cup mixed red berries (strawberries, raspberries, or cranberries, fresh or frozen)
1/2 cup granulated sugar, plus 1 tablespoon for sprinkling
1/4 cup all-purpose flour
1 teaspoon ground cinnamon
1 tablespoon lemon juice
1 large egg, beaten (for egg wash)
Vanilla ice cream, for serving (optional)
Directions
- Preheat your oven to 400°F (200°C).
- On your stovetop, combine the sliced apples, mixed berries, 1/2 cup granulated sugar, flour, cinnamon, and lemon juice in a large saucepan.
- Cook over medium heat, stirring occasionally, for 8 to 10 minutes, or until the apples have softened slightly and the mixture has thickened considerably into a syrupy consistency. This crucial step is key to preventing a runny filling! Remove from heat and let cool for a few minutes.
- Roll out one half of your pie dough on a lightly floured surface to fit a 9-inch pie dish. Gently transfer the dough to the dish, pressing it into the bottom and up the sides.
- Pour the slightly cooled fruit filling into the prepared pie crust.
- Roll out the remaining pie dough. Cut it into even strips (about 1-inch wide) for your lattice top. Arrange the strips over the filling in a lattice pattern, trimming any excess and crimping the edges to seal.
- Brush the top lattice crust with the beaten egg wash and sprinkle with the remaining 1 tablespoon of granulated sugar.
- Place the pie on a baking sheet (to catch any potential drips) and bake for 20 minutes at 400°F (200°C).
- Reduce the oven temperature to 375°F (190°C) and continue baking for another 30-40 minutes, or until the crust is golden brown and the filling is bubbly. If the crust is browning too quickly, loosely tent with foil.
- Let the pie cool on a wire rack for at least 30 minutes before serving. This cooling time also helps the filling set perfectly, adding another layer of defense against a runny result. Serve warm with a scoop of vanilla ice cream, if desired.
Notes
- Pre-cooking the fruit filling prevents a runny pie, and allowing ample cooling time ensures it sets perfectly.