Spicy Sushi Bake: Crispy, Non-Soggy Recipe
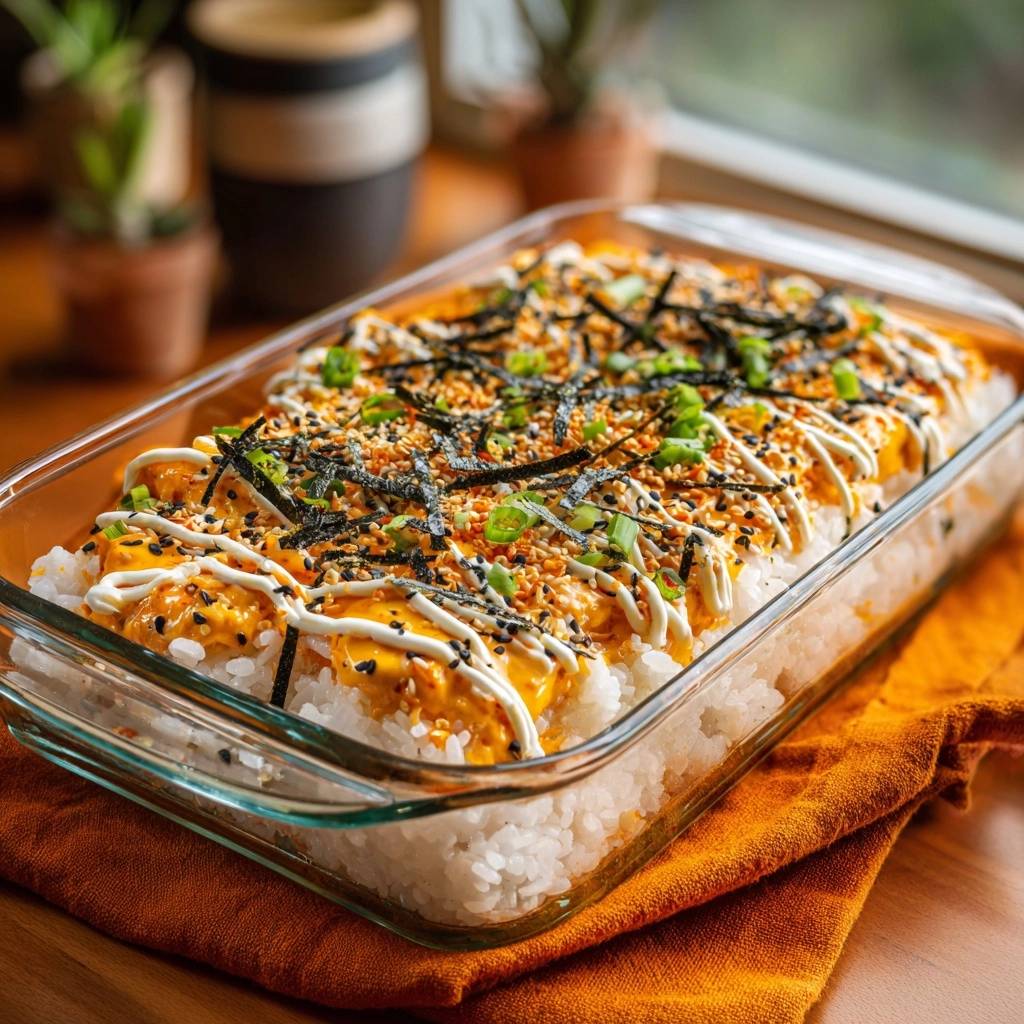
Ever bitten into a spicy sushi bake that collapses into a soggy puddle? You’re not alone. Most versions drown in trapped steam from hot rice, turning fluffy grains into mush. But this spicy sushi bake flips the script with a quick cooling and firm-pressing trick that delivers crispy edges and perfect fluff every time.
That’s why this recipe shines. In just 30 minutes from prep to bake, you get four servings of deconstructed spicy tuna roll vibes without the mess. The fusion appeal hits hard, blending Japanese precision with bold heat.
Here’s the expertise booster: spread that hot rice on a baking sheet to cool for at least 10 minutes. It evaporates excess steam, so your spicy sushi bake stays firm under the sauce. No more disappointment, just crave-worthy scoops.
For a fluffier take on this same concept, try this easy sushi bake with a lighter, airier texture.
Why Spicy Sushi Bake Stays Fluffy
Watery spicy sushi bakes happen because hot rice releases steam that gets trapped inside. That moisture soaks everything during baking. However, this recipe’s cooling and pressing method locks it out for good.
Short-grain sushi rice binds better thanks to its high amylopectin starch. Therefore, it holds shape under the spicy mayo. You’ll love how the oven crisps the edges while keeping the center light.
Rice Cooling Prevents Moisture Trap
Hot rice steams up and turns mushy fast. Spread it thin on a sheet for 10 minutes or more to let that steam escape. It’s like traditional sushi prep, but faster.
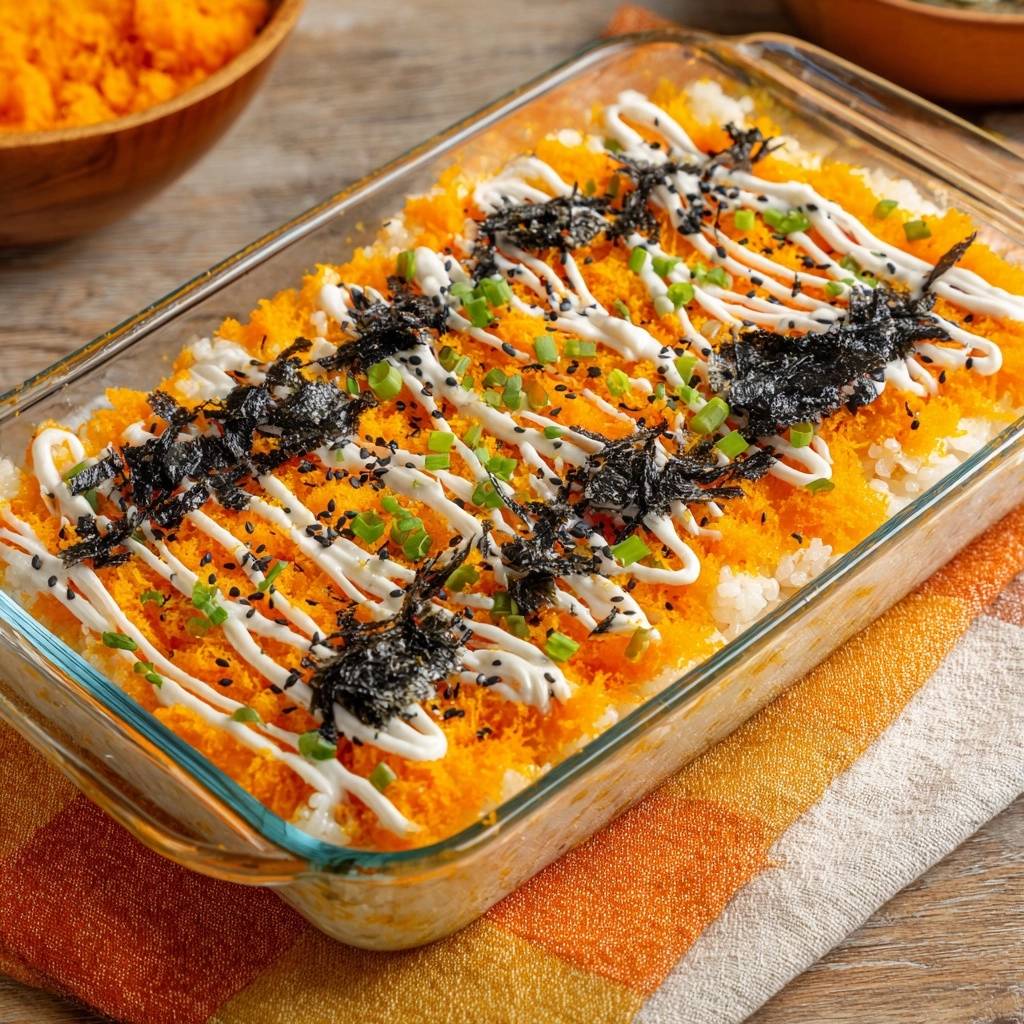
Pro tip: pop it in the fridge if you’re short on time. The rice firms up quickly, ready for pressing. You’ll smell the sweet vinegar mix as it cools, building excitement.
Firm Pressing Builds Rice Barrier
Use wet hands or a spatula to press cooled rice into the dish for a full 30 seconds. This compacts it tight, creating a solid base that blocks sauce moisture.
Before pressing, it’s loose; after, it’s dense and sturdy. In addition, wet hands prevent sticking, so the rice releases cleanly later. Perfect setup for crispiness.
Essential Ingredients for Spicy Sushi Bake
Grab 2 cups cooked sushi rice, 3 tablespoons rice vinegar, 1 tablespoon sugar, 1 teaspoon salt for the base. Then, 1/2 cup mayonnaise plus 2 tablespoons sriracha for heat, and 1/4 cup plain mayo to drizzle. Finish with 1 sheet nori cut thin, 2 tablespoons mixed sesame seeds, 2 sliced green onions, and optional furikake.
Sushi rice’s stickiness beats jasmine every time; it won’t fall apart. Adjust sriracha for mild, medium, or hot, and swap regular mayo for vegan if needed. Total cost runs about $10, with metric conversions like 450g rice cooked.
Why these matter: vinegar mix seasons evenly when dissolved hot, shining the grains. Sriracha brings that addictive kick without overpowering. Toppings add crunch that contrasts the creamy layers beautifully.
Short-Grain Rice and Seasoning Mix
Two cups cooked short-grain rice absorbs the 3 tablespoons rice vinegar, 1 tablespoon sugar, and 1 teaspoon salt perfectly. Dissolve the mix first for even flavor that clings to every grain.
The vinegar adds tang and shine, mimicking pro sushi. Don’t skip it; regular rice lacks the grip.
Spicy Mayo and Drizzle Layers
Mix 1/2 cup mayo with 2 tablespoons sriracha for bold heat. Drizzle 1/4 cup plain mayo post-bake for cool creaminess.
Upgrade to Kewpie mayo for richer umami. Adjust spice to taste; it’s flexible.
Crunchy Toppings Breakdown
Cut nori into thin strips with scissors for easy sprinkling. Mix black and white sesame seeds for visual pop and nutty bite. Slice green onions thin; furikake adds salty crunch if you have it.
These elevate texture, making each scoop irresistible. Store extras airtight to keep fresh.
Science of Crispy Spicy Sushi Bake
At 400°F, the spicy sushi bake’s edges crisp via Maillard reaction, where mayo’s proteins and sugars brown beautifully. Uncovered baking lets moisture evaporate, unlike steaming methods that trap it.
Glass dishes conduct heat evenly without sticking. Therefore, you get fluff inside, crunch outside. Pressing beforehand amps up the contrast.
Maillard Reaction for Golden Edges
The spicy mayo’s top layer browns in 15 to 20 minutes, creating golden, flavorful edges. Sugars and amino acids react under high heat for that savory depth.
Don’t go longer; it’ll dry out. Perfect timing nails the texture.
Moisture Evaporation Dynamics
Pressing squeezes out air pockets, and dry heat pulls moisture away fast. Result: fluffy core with crispy shell. Soggy versions skip this, trapping steam.
Your bake transforms in the oven, bubbling just right before crisping.
Layering Technique for Spicy Sushi Bake
Start with cooled rice, press firm, add thin spicy mayo, bake hot and uncovered, then top fresh. Each layer builds on the last for balance. Avoid thick mayo pools to prevent sogginess.
What to Serve with Spicy Sushi Bake
A crunchy, spicy sushi bake pairs well with something cool and crisp or another crunchy seafood bite. Here are two options that match the texture and flavor.
- If you want more of that crispy salmon crunch, the Crispy Salmon Sushi Bites use a similar technique to get a golden crust without sogginess.
- For a refreshing contrast to the warm, spicy bake, the Creamy Poppy Seed Coleslaw stays crisp and adds a cool, tangy note.
2 cups cooked sushi rice (short-grain, cooled)
3 tablespoons rice vinegar
1 tablespoon sugar
1 teaspoon salt
1/2 cup mayonnaise
2 tablespoons sriracha (adjust for spice)
1/4 cup mayonnaise (for drizzle)
1 sheet nori seaweed, cut into thin strips
2 tablespoons sesame seeds (mix black and white)
2 green onions, thinly sliced
1 teaspoon furikake seasoning (optional, for extra crunch)
- Cook sushi rice according to package directions. While hot, mix rice vinegar, sugar, and salt in a small bowl until dissolved. Gently fold into rice. Spread rice on a baking sheet to cool completely (at least 10 minutes). This critical cooling step removes excess steam, preventing sogginess.
- Preheat oven to 400 degrees F. Firmly press cooled rice into an 8×8-inch glass baking dish using wet hands or a spatula. Press down hard for 30 seconds to compact it solidly, creating a barrier against moisture.
- Mix 1/2 cup mayonnaise with sriracha for spicy sauce. Spread evenly over rice layer, using just enough to cover without pooling.
- Bake uncovered for 15 to 20 minutes until edges are golden and crispy, and top bubbles slightly. The high heat and uncovered baking evaporate any trapped moisture for fluffy, non-soggy texture.
- Drizzle with plain mayonnaise. Sprinkle nori strips, sesame seeds, green onions, and furikake. Let cool 5 minutes, then scoop onto nori sheets or bowls to serve. Perfect every time!
Timeline: 10 minutes cool, 5 minutes layer, 20 bake. Scoop onto nori or bowls for fun eating.
Phase 1: Cool and Season Rice
Cook rice, fold in dissolved vinegar mix gently. Spread on a sheet to cool fully. Hot rice here spells disaster; wait it out for fluff.
Phase 2: Press into Baking Dish
Pack into 8×8 glass dish with wet hands. Press hard 30 seconds. It sticks together now, holds forever.
Phase 3: Spread Spicy Mayo Evenly
Mix mayo and sriracha, spread thin with a spatula. No puddles, or it’ll seep. Even layer ensures crisp bake.
Phase 4: Bake and Top Crispy Finish
Bake 400°F for 15 to 20 minutes till golden. Cool 5 minutes, drizzle mayo, add toppings. Broil 1 minute for extra crunch if you dare.
Avoiding Soggy Spicy Sushi Bake Mistakes
Top pitfalls: skipping rice cool, loose pressing, excess mayo, covered baking, serving hot. Fix them for success. Troubleshooting spicy sushi bake starts with moisture control.
Each fix transforms potential fails into wins. Follow closely, and it’s foolproof.
Overcoming Rice Sogginess Traps
Cool fully and press firm to beat steam. Loose rice absorbs sauce and wilts. Always check: rice should hold shape when scooped.
Mayo Application Precision
Spread mayo thin, no pools. Thick layers trap moisture and sog. Use the back of a spoon for even coverage.
Flavor Variations for Spicy Sushi Bake
Try mild sriracha cuts, add imitation crab or shrimp for protein, mix in veggies or avocado, swap for teriyaki glaze, or use cauliflower rice for low-carb. All keep the crispy spicy sushi bake vibe.
Gluten-free works naturally. Mix and match for your crowd; nutrition stays flexible.
Protein-Packed Add-Ins
Flake in imitation crab or cooked shrimp between rice and mayo. Tofu cubes work for vegan. Boosts heartiness without sogginess.
Heat Level Adjustments
One tablespoon sriracha for mild, 3 for hot; try gochujang for smoky twist. Taste mix first, then spread.
Make-Ahead Guide for Spicy Sushi Bake
Prep rice layer a day ahead, or freeze full bake up to 1 month. Reheat at 350°F for crisp revival. Great for meal prep.
Portion before freezing; thaw overnight. Keeps the spicy sushi bake freezing simple.
Freezing and Reheating Steps
Assemble unbaked, wrap tight, freeze 1 month. Thaw in fridge, bake fresh. Or bake fully, portion, reheat toaster oven-style at 350°F till hot and crisp.
Perfect Pairings for Spicy Sushi Bake
Pair with miso soup, edamame, or cucumber salad for balance. Green tea or ramune cuts the heat nicely. Serve scoops on nori crisps for 4 easy portions.
If you enjoy the tangy rice technique here, you should try these crispy salmon avocado rolls for another crunchy twist.
These sides complement the bold flavors without overwhelming. Keeps dinner light and fun.
Quick Side Dish Matches
Miso soup warms with umami depth; simmer miso paste in dashi 5 minutes. Simple and soothing.
Edamame boils in 3 minutes; sprinkle sea salt. Adds pop-in-mouth freshness.
Cucumber salad: slice thin, toss with rice vinegar and sesame. Crisp counterpoint in 5 minutes.
Spicy Sushi Bake FAQ
Can I Use Regular Rice?
No, stick to short-grain sushi rice. Its high starch content binds tightly, preventing crumble. Regular long-grain stays loose and sogs up fast.
How Spicy Is This Bake?
Medium heat with 2 tablespoons sriracha; builds warmth without overwhelming. Dial to 1 tablespoon for mild or 3 for hot. Taste the mayo mix first and adjust.
Gluten-Free Options?
Yes, this spicy sushi bake is naturally gluten-free. All ingredients like rice, mayo, and toppings check out. Double-check labels on furikake or sriracha.
Storage Duration?
Store leftovers in an airtight container in the fridge up to 3 days. Freezes well for 1 month; portion first. Reheat at 350°F uncovered to restore crispness; avoid microwave to prevent sogginess.
Scaling for Crowds?
Double ingredients for a 9×13 dish to serve 8. Bake same time at 400°F, checking edges. Press firmly to maintain fluff; cut into squares for easy scooping.
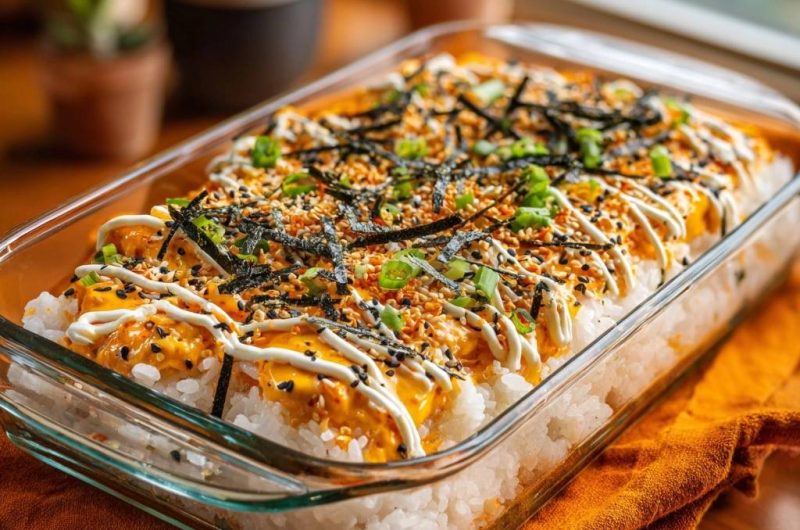
Spicy Sushi Bake
Course: Main CourseCuisine: Japanese FusionDifficulty: easy4
servings20
minutes20
minutes450
kcal40
MinutesTired of sushi bakes turning into a watery mess? This foolproof version uses a simple rice-cooling and firm-pressing technique that locks in perfect fluffiness while the oven crisps the edges. Scoop and enjoy crispy, seasoned bites every time.
Ingredients
Directions
Notes
- Cool rice completely on a baking sheet to remove excess steam and prevent sogginess. Press rice firmly into the dish for a solid base. Adjust sriracha for desired spice level. Serve with nori sheets or in bowls.