Assorted Cookie Delights: Foolproof Tender, Rich Perfection

I remember struggling for years to achieve that truly tender, melt-in-your-mouth cookie texture, often ending up with dry or crumbly results. It felt like a mystery, but after countless experiments, I finally cracked the code to consistently perfect cookies. This recipe for Assorted Cookie Delights isn’t just a guide; it’s your foolproof path to tender, rich perfection every single time, guaranteed to delight everyone who takes a bite.
Beyond the Basic: What Makes These Assorted Cookie Delights Special?
Unlocking the Melt-in-Your-Mouth Secret
Many cookie recipes promise tenderness, but these Assorted Cookie Delights deliver it consistently. The secret lies in precise ingredient temperatures and careful mixing techniques, directly addressing the common issue of dry or crumbly cookies.
What to Bake Next
If you enjoy rolling out tender cookie dough and getting that buttery richness just right, these two recipes build on similar baking instincts—flaky layers, creamy gravy, and a coffee cake that stays moist without turning heavy.
- For a savory counterpoint to all that sweetness, try
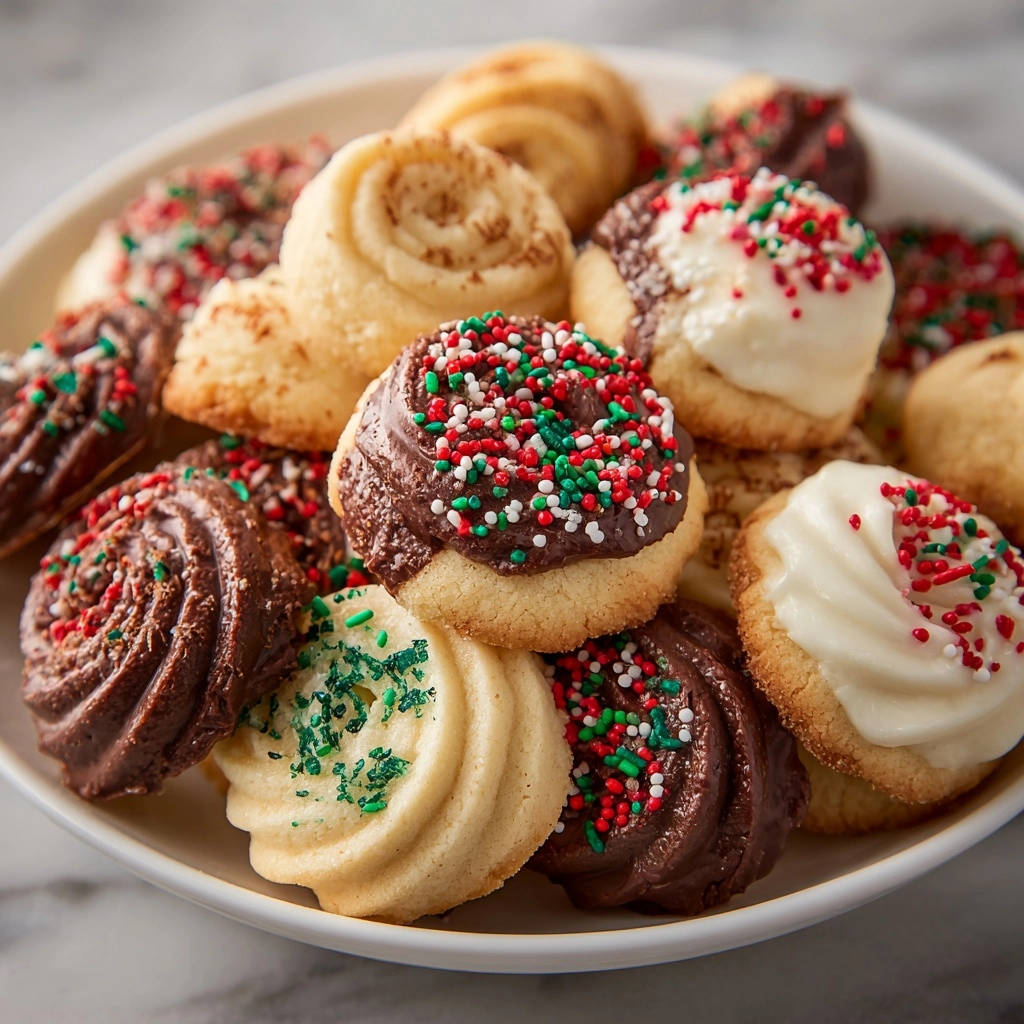
Easily transform plain dough into rich chocolate cookies, or experiment with different dipping chocolates and toppings. It’s perfect for creating a diverse platter for any occasion.
The Building Blocks of Bliss: Essential Ingredients for Your Assorted Cookie Delights
The quality and preparation of your ingredients are paramount for these tender, rich cookies. Each plays a vital role in achieving that perfect texture and flavor.
Butter Basics: The Foundation of Flavor and Texture
Unsalted Butter, Softened: Using unsalted butter allows you to control the overall salt content of your cookies. It’s crucial for the butter to be softened but still cool to the touch, not greasy or melted.
This specific temperature ensures it creams properly with the sugar, creating a stable emulsion that contributes to the tender crumb and prevents spreading.
Flour & Flavor: Crafting the Perfect Cookie Structure
All-Purpose Flour: This forms the primary structure of our cookies. Accurate measurement is key; spoon and level your flour to avoid over-measuring, which leads to dense cookies.
Salt: A small amount of salt enhances all the other flavors in the cookie, balancing the sweetness and adding depth.
Unsweetened Cocoa Powder (Optional): For chocolate Assorted Cookie Delights, cocoa powder adds rich, deep chocolate notes. Choose a good quality cocoa for the best flavor.
Sweet Notes & Aromatic Touches
Granulated Sugar: Provides sweetness and helps create the tender texture by interfering with gluten development. It also contributes to the delicate crispness around the edges.
Vanilla Extract: A staple in baking, vanilla extract adds a warm, comforting aroma and enhances the overall flavor profile of these Assorted Cookie Delights. Use pure vanilla for the best results.
Decadent Dipping & Decorating Delights
Semi-Sweet Chocolate Chips & White Chocolate Chips: These are for the delicious dipping chocolate. High-quality chips melt smoothly and provide excellent flavor.
Shortening or Coconut Oil: A critical addition for the chocolate dip! A small amount ensures the melted chocolate is smooth, fluid, and hardens nicely without becoming brittle.
Assorted Sprinkles: Add a festive touch and a bit of crunch. Choose high-quality sprinkles that hold their color well.
Finely Chopped Toasted Nuts: Offer a delightful contrast in texture and a nutty flavor. Toasting them beforehand enhances their aroma and taste.
Your Baker’s Arsenal: Tools for Assorted Cookie Delights Success
Having the right tools makes the baking process smoother and more enjoyable. These are the essentials and a few helpful additions for crafting your perfect Assorted Cookie Delights.
Must-Have Mixing & Baking Gear
Electric Mixer (Stand or Handheld): Essential for properly creaming butter and sugar, ensuring consistent texture without overworking the dough.
Large Mixing Bowls: Necessary for combining wet and dry ingredients without spills, providing ample space for mixing.
Parchment Paper: Lines baking sheets, preventing sticking and allowing for easy transfer of baked cookies. It also promotes even heat distribution.
Baking Sheets: Sturdy, light-colored baking sheets are ideal for even baking and preventing overly browned bottoms.
Specialty Items for Finishing Touches
Wire Rack: Crucial for cooling cookies completely, allowing air circulation around them to prevent sogginess and ensure they firm up properly.
Microwave-Safe Bowls: Perfect for melting chocolate chips, making the dipping process quick and easy.
Spatulas (Rubber and Metal): Rubber spatulas are great for scraping down bowls, while a thin metal spatula is ideal for transferring delicate cookies.
Cookie Press (Optional): If you prefer beautifully uniform, intricate shortbread shapes, a cookie press can be a fun addition.
Your Journey to Perfection: Crafting Assorted Cookie Delights, Step-by-Step
- Prepare Your Baking Canvas:
Preheat your oven to 375°F (190°C) and line baking sheets with parchment paper.
This ensures even baking and prevents sticking, making transfer easy and cleanup a breeze.
- Creaming for Tenderness: Butter and Sugar Ballet:
In a large bowl, cream together the softened butter and granulated sugar using an electric mixer until just combined and light.
The key here is to avoid over-creaming; we’re aiming for a tender, not airy, cookie texture. Over-creaming incorporates too much air, which can make cookies spread excessively.
Add the vanilla extract and mix until just incorporated, ensuring it doesn’t separate or curdle.
- The Dry Mix Foundation:
In a separate bowl, whisk together the all-purpose flour and salt.
If you’re making a chocolate variation, this is the moment to whisk in the unsweetened cocoa powder here as well, ensuring it’s evenly distributed for uniform color and flavor.
- The Golden Rule: Gentle Incorporation of Dry Ingredients:
Gradually add the whisked dry ingredients to the wet mixture, mixing on low speed until just combined.
This is the most crucial step for achieving that signature melt-in-your-mouth texture: stop mixing the very moment no dry streaks of flour remain.
Overmixing develops gluten, which is the primary culprit behind tough, dry cookies. Work quickly and efficiently.
- Shaping Your Cookie Creations: Assorted Variations:
Divide the dough if you plan to make different variations, such as plain and chocolate cookies, or if you want to experiment with different shapes.
For classic shortbread-style cookies, you can use a cookie press or roll the dough out evenly and cut shapes with cookie cutters.
For rounder, dippable cookies, roll small portions of dough into uniform balls about 1-inch in diameter.
- Arranging for Success:
Place your shaped cookies about 1 inch apart on the prepared baking sheets.
This allows for even air circulation around each cookie, promoting uniform baking and preventing them from melding together as they expand slightly.
- Baking to Perfection: The Underbake Advantage:
Bake for 8 to 12 minutes, adjusting time based on the size and thickness of your cookies.
For plain cookies, look for edges that are just set and barely golden, if at all. For a truly melt-in-your-mouth result, it’s always better to slightly underbake than overbake, as cookies continue to cook on the hot sheet as they cool.
Chocolate cookies will be harder to assess by color; aim for them to be just set in the center and no longer look wet.
- Cooling for Structure:
Let the cookies cool on the baking sheets for 5 minutes before carefully transferring them to a wire rack to cool completely.
This initial cooling period on the warm sheet helps them firm up and develop structural integrity without breaking when moved.
- Dipping Delight: Preparing the Chocolate:
Once the cookies are completely cool, prepare your dipping chocolate. Ensure cookies are fully cooled to prevent chocolate from seizing or running.
In separate microwave-safe bowls, melt the semi-sweet chocolate chips and white chocolate chips, each with 1/2 teaspoon of shortening or coconut oil.
Microwave in 30-second intervals, stirring thoroughly after each, until smooth and fluid. The added shortening or coconut oil is key for a glossy, dippable consistency that hardens beautifully.
- The Finishing Touch: Dip, Sprinkle, Set:
Dip the cooled cookies halfway into the melted chocolate, allowing any excess to drip off before you place them.
Immediately sprinkle with assorted sprinkles or finely chopped toasted nuts before the chocolate sets, ensuring they adhere well.
Place them on fresh parchment paper to allow the chocolate to fully harden, ensuring a clean finish and preventing sticking.
Chef’s Secrets: Elevate Your Assorted Cookie Delights from Good to Grand
Achieving truly exceptional Assorted Cookie Delights goes beyond just following steps. It’s about understanding the subtle nuances that make all the difference.
The Butter Temperature Riddle Solved
Your butter should be softened but still cool to the touch, not oily or greasy. This texture allows it to cream properly with sugar, creating tiny air pockets that contribute to tenderness.
If butter is too warm, it won’t hold air and will cause your cookies to spread excessively. Too cold, and it won’t combine evenly with the sugar, leading to a lumpy dough and potentially uneven texture.
Mastering the Mix: Preventing Tough Cookies
Over-creaming butter and sugar can incorporate too much air, leading to airy cookies rather than the tender, melt-in-your-mouth texture we seek. Cream only until just combined and light.
The cardinal rule: Stop mixing the moment the dry ingredients disappear into the wet. Overmixing develops gluten in the flour, making your cookies tough and chewy, instead of delightfully tender.
The Art of Perfect Baking: Don’t Overdo It!
For these Assorted Cookie Delights, the “slightly underbake” tip is paramount. Cookies continue to cook from residual heat after coming out of the oven, so pulling them out when they look just barely set prevents dryness.
For plain cookies, watch for edges that are just starting to set and perhaps a hint of pale golden. Chocolate cookies are trickier; rely on them no longer looking wet in the center. Trust me, a slightly underbaked cookie is infinitely better than an overbaked, dry one.
Dipping Perfection: Shortening’s Sweet Secret
Adding a small amount of shortening or coconut oil to your melting chocolate isn’t just a suggestion; it’s a game-changer. It lowers the chocolate’s melting point and thins it slightly, creating a smooth, fluid consistency that’s perfect for dipping.
This also helps the chocolate set nicely with a pleasant snap, preventing it from being too soft or too brittle. It’s the key to professional-looking dipped cookies.
Tackling Common Cookie Hurdles: Troubleshooting Your Assorted Cookie Delights
Even seasoned bakers encounter challenges. Here’s how to troubleshoot common issues when making your Assorted Cookie Delights.
“My Cookies Are Dry/Crumbly!”
This is often due to overmixing the flour or overbaking the cookies. Ensure you stop mixing as soon as the dry ingredients are just incorporated.
Also, trust the underbaking guideline; pull them from the oven when they still look slightly soft in the middle.
“Why Did My Cookies Spread So Much?”
Cookies spreading too much can be caused by butter that was too warm or greasy when creamed. Ensure your butter is softened but still cool to the touch.
While this specific recipe doesn’t require chilling, if you’re experimenting with other recipes or find your dough warm, a quick chill in the fridge can help prevent excessive spreading.
“My Dipping Chocolate Is Clumpy!”
Clumpy chocolate usually happens for two reasons: overheating or exposure to water. Always melt chocolate in 30-second intervals, stirring thoroughly between each.
Ensure your bowls and utensils are completely dry, as even a drop of water can seize chocolate. The added shortening or coconut oil also helps prevent this.
“My Cookies Stick to the Baking Sheet!”
The simplest solution is to always line your baking sheets with parchment paper. This creates a non-stick surface and helps with even baking.
Also, ensure your cookies have cooled on the baking sheet for the recommended 5 minutes before attempting to move them. This allows them to firm up adequately.
Beyond the Bake: Serving & Storing Your Assorted Cookie Delights
Once your beautiful Assorted Cookie Delights are baked and decorated, knowing how to serve and store them properly ensures maximum enjoyment.
Creative Serving Suggestions
These tender, rich cookies are perfect on their own, but they also make a delightful addition to a dessert platter. Pair them with a warm cup of coffee or tea for an afternoon treat.
For a truly indulgent experience, serve them alongside a scoop of vanilla ice cream. They also make thoughtful homemade gifts when packaged beautifully.
Storing for Freshness: Keeping Them Tender
To maintain their exquisite tenderness and freshness, store your Assorted Cookie Delights in an airtight container at room temperature.
Place parchment paper between layers if stacking to prevent sticking, especially with dipped cookies. They will remain wonderfully fresh for up to 5-7 days.
Make-Ahead Magic: Prep for Future Cravings
You can prepare the cookie dough in advance! Wrap it tightly in plastic wrap and refrigerate for up to 3 days, or freeze for up to 3 months. Thaw in the refrigerator before shaping and baking.
Baked and cooled cookies also freeze beautifully. Place them in a single layer on a baking sheet to flash freeze, then transfer to an airtight freezer-safe container for up to 2-3 months. Thaw at room temperature when ready to enjoy.
Your Assorted Cookie Delights Questions, Answered!
Can I Make These Gluten-Free or Dairy-Free?
While this recipe is optimized for traditional ingredients, you can experiment with gluten-free all-purpose flour blends. However, the texture may vary slightly.
For dairy-free, use a high-quality plant-based butter substitute. Note that substitutions can impact the melt-in-your-mouth texture, so test a small batch first.
How Long Do These Cookies Stay Fresh?
When stored in an airtight container at room temperature, your Assorted Cookie Delights will remain fresh and wonderfully tender for 5 to 7 days. Beyond that, their texture might start to change slightly.
Can I Freeze the Dough or Baked Cookies?
Absolutely! The dough can be frozen for up to 3 months. Wrap it tightly to prevent freezer burn. Baked cookies can also be frozen for 2-3 months in an airtight container after flash-freezing individually.
Freezing is a fantastic way to enjoy these delightful cookies whenever a craving strikes, much like preparing a batch of decadent pumpkin pie truffles ahead of time for a holiday gathering.
What Other Flavor Variations Can I Try?
Beyond chocolate, consider adding citrus zest (lemon or orange) to the dough for a bright flavor. Spices like cinnamon or cardamom also work beautifully. You could even swap vanilla extract for almond extract for a different aromatic twist.
If you enjoy working with fruit in your cookies, try these soft-set white chocolate cranberry orange cookies for a bright, tangy twist.
For another sweet and versatile treat, consider exploring variations of chewy coconut macaroons for a different texture profile.
Do I Need a Cookie Press to Make These?
No, a cookie press is completely optional! While it creates beautiful, intricate shortbread shapes, you can simply roll the dough into balls, flatten them slightly, or roll out the dough and cut shapes with a knife or cookie cutters. The versatility of these Assorted Cookie Delights means you can choose your favorite shaping method.
Your Assorted Cookie Delights Await: Share the Joy!
Baking these Assorted Cookie Delights is more than just a recipe; it’s an experience that brings warmth and joy to your kitchen and to those you share them with. With these expert tips and a foolproof method, you’re ready to create the most tender, rich cookies you’ve ever tasted.
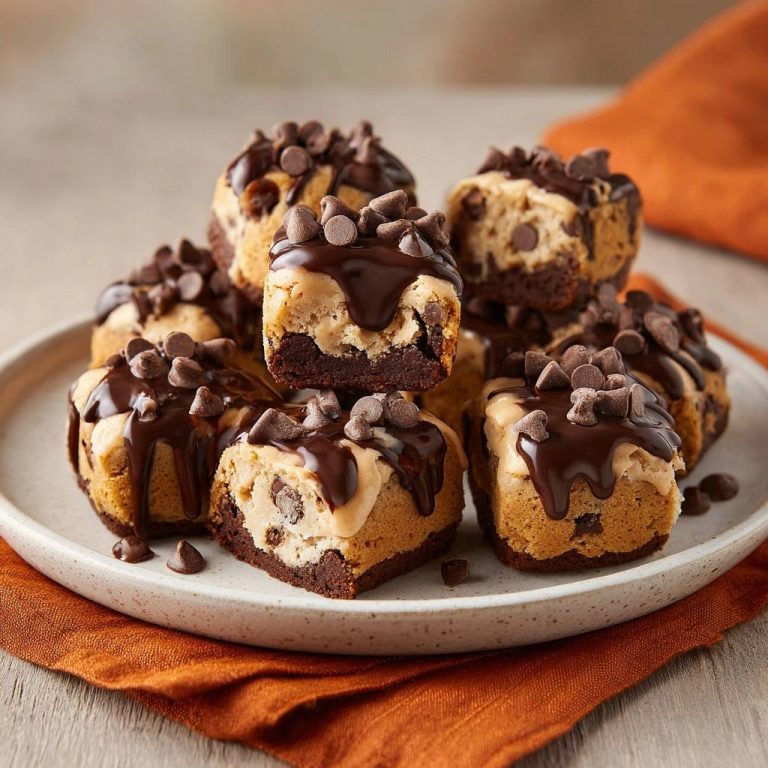
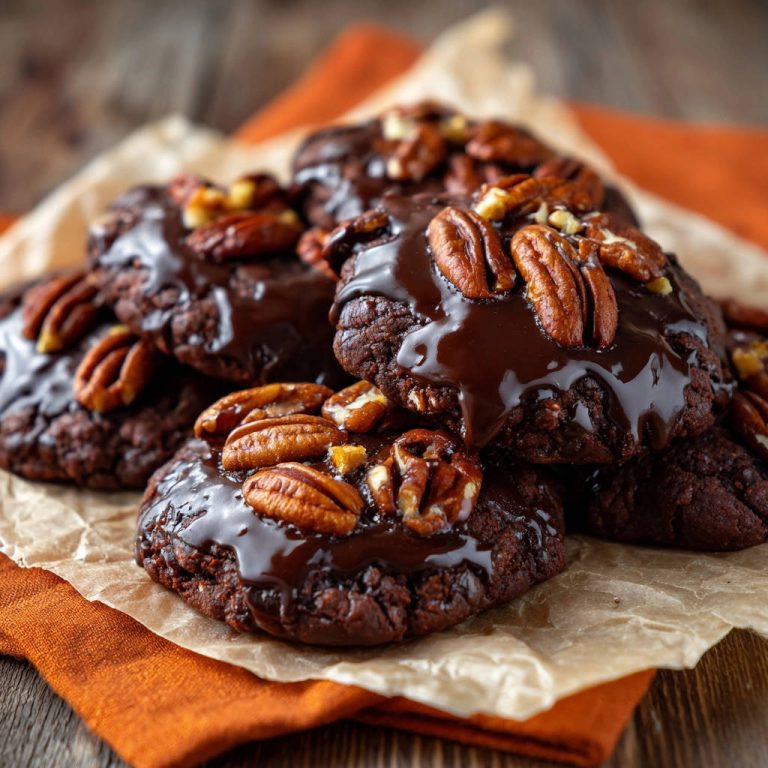
For a perfect pairing, try our Mastering Triple Chocolate Chunk Brownie Cookies.
Don’t wait! Dive into your kitchen and create these delightful treats today. Once you’ve mastered them, be sure to share your beautiful creations on social media, or leave a comment below to tell me how much you loved them!
Cookies
Course: DessertCuisine: AmericanDifficulty: easyServings24
cookiesPrep time30
minutesCooking time8
minutesCalories350
kcalTotal time60
minutesThis recipe unveils the secret to perfectly tender, melt-in-your-mouth cookies every time. Learn the techniques to achieve rich, delightful treats, from classic shortbread to chocolate-dipped variations, ensuring baking success.
Ingredients
1 cup unsalted butter, softened
1/2 cup granulated sugar
1 teaspoon vanilla extract
2 1/4 cups all-purpose flour
1/4 teaspoon salt
Optional: 1/4 cup unsweetened cocoa powder (for chocolate cookies)
For dipping and decorating:
1 cup semi-sweet chocolate chips
1/2 cup white chocolate chips
1 teaspoon shortening or coconut oil, divided
Assorted sprinkles
1/4 cup finely chopped toasted nuts
Directions
- Preheat your oven to 375 degrees Fahrenheit. Line baking sheets with parchment paper. Ensure your butter is softened but still cool to the touch. This is key for the right texture.
- In a large bowl, using an electric mixer, cream together the softened butter and granulated sugar until just combined and light. Avoid over-creaming; we want a tender cookie, not an airy one. Add the vanilla extract and mix until just incorporated.
- In a separate bowl, whisk together the all-purpose flour and salt. If making chocolate cookies, whisk in the cocoa powder here as well.
- Gradually add the dry ingredients to the wet ingredients, mixing on low speed until just combined. This is the most crucial step for melt-in-your-mouth texture: stop mixing the moment no dry streaks of flour remain. Overmixing the flour will develop gluten, leading to tough, dry cookies.
- Divide the dough if making different variations. For classic shortbread-style cookies, you can press the dough into a cookie press or roll it out and cut shapes. For rounder, dipped cookies, roll small portions of dough into balls.
- Place cookies about 1 inch apart on the prepared baking sheets.
- Bake for 8 to 12 minutes, depending on the size and thickness of your cookies. The plain cookies should be just set and barely golden around the edges, if at all. For a truly melt-in-your-mouth result, it is better to slightly underbake than overbake. The chocolate cookies will be harder to tell by color, so aim for just set.
- Let the cookies cool on the baking sheets for 5 minutes before transferring them to a wire rack to cool completely.
- Once completely cool, prepare the dipping chocolate. In separate microwave-safe bowls, melt the semi-sweet chocolate chips and white chocolate chips, each with 1/2 teaspoon of shortening or coconut oil. Microwave in 30-second intervals, stirring until smooth and fluid. The shortening helps ensure a smooth, dippable consistency.
- Dip cooled cookies halfway into the melted chocolate. Immediately sprinkle with sprinkles or chopped nuts. Place on parchment paper to set. Enjoy your perfectly textured, melt-in-your-mouth cookies!
Notes
- Key to tender cookies: ensure butter is softened but cool, and avoid overmixing flour.