Baked Glazed Chicken Drumsticks: Perfectly Juicy & Easy
Why This Baked Glazed Chicken Drumsticks Recipe Is Your New Favorite
The Secret to Consistently Juicy Chicken
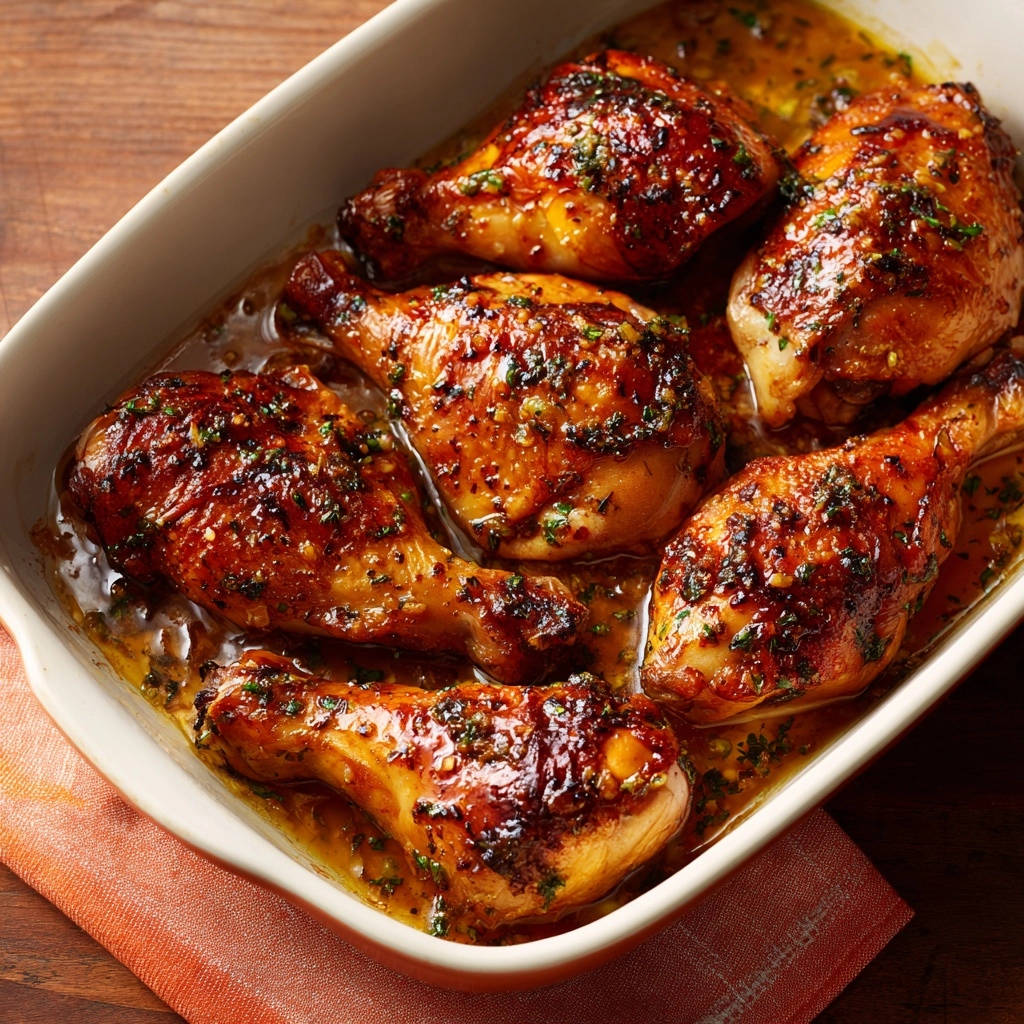
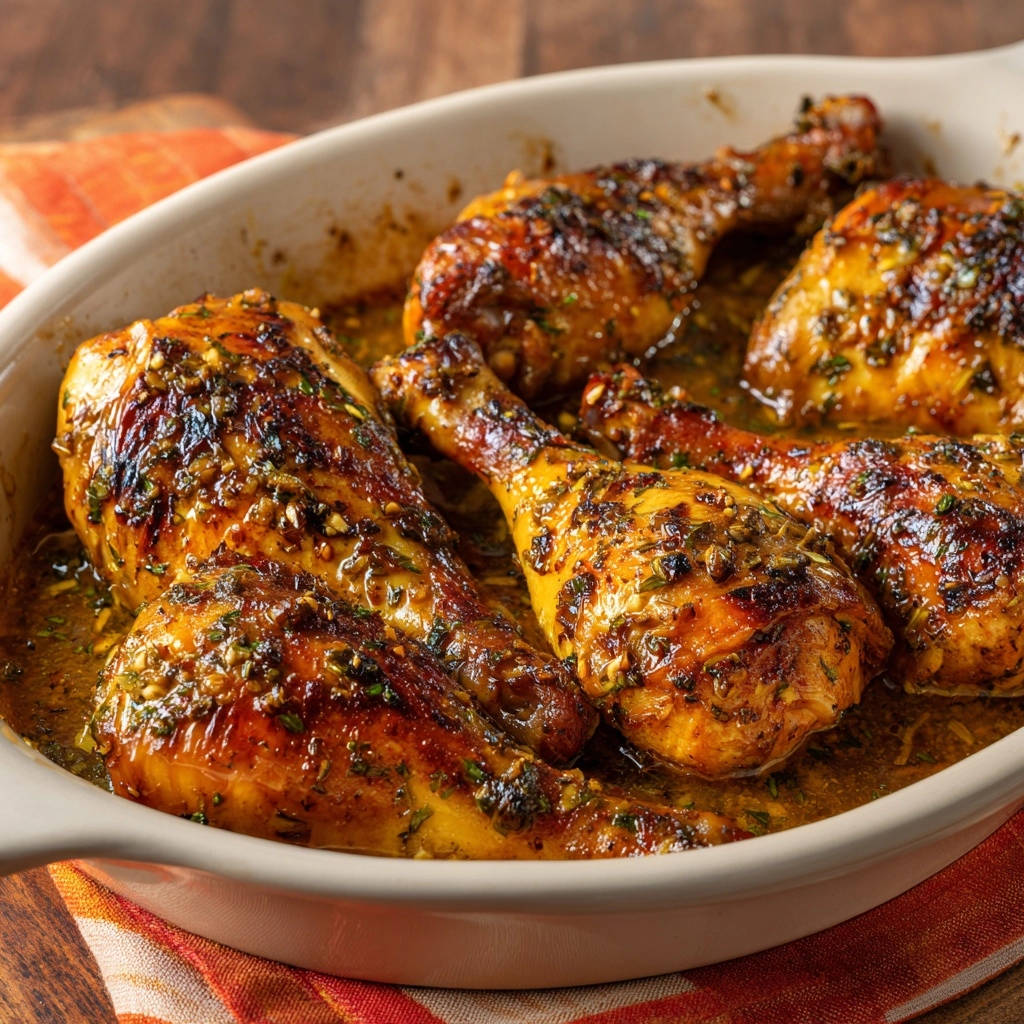
The magic of these Baked Glazed Chicken Drumsticks lies in a clever technique: baking them directly in a flavorful, shallow pool of sauce. This method constantly bastes the chicken, infusing it with moisture and preventing any dryness.
The chicken literally braises and roasts simultaneously, ensuring every bite is succulent and tender.
Effortless Weeknight Dinner Perfection
This recipe is designed for busy schedules, requiring minimal hands-on time.
Most of the work happens in the oven, allowing you to focus on other tasks or simply relax.
A Flavor Profile That Truly Delivers
The glaze strikes a perfect balance of sweet, savory, and tangy notes.
Honey provides a beautiful sweetness and promotes golden-brown caramelization, while apple cider vinegar adds a bright, essential counterpoint. Fresh garlic and parsley round out the robust, aromatic profile.
The Essential Ingredients for Irresistible Glazed Drumsticks
The Star: Chicken Drumsticks
Choose fresh, plump chicken drumsticks for the best results.
Their dark meat is inherently more forgiving and flavorful, making them ideal for this recipe.
Crafting the Sweet & Savory Glaze
Our signature glaze relies on a few key components.
Olive Oil: Acts as a base for our glaze and helps with browning.
Honey: This is crucial for both sweetness and achieving that beautiful, caramelized glaze on the chicken skin.
Apple Cider Vinegar: Provides a vital tang that cuts through the richness of the chicken and balances the honey’s sweetness, creating a complex flavor.
Chicken Broth: This is the secret weapon for juiciness, creating the flavorful liquid bath that keeps the drumsticks moist throughout baking.
Aromatic Enhancers: Garlic & Parsley
Fresh ingredients make all the difference.
Minced Garlic: Infuses the glaze with a deeply aromatic, savory base.
Fresh Parsley: Adds a pop of vibrant color and a fresh, herbaceous counterpoint to the rich flavors, lifting the entire dish.
Tools for Success: What You’ll Need
Having the right kitchen tools makes preparing these Baked Glazed Chicken Drumsticks a breeze.
Large Baking Dish: Select a dish generous enough to hold all six drumsticks in a single layer. This ensures even cooking and allows the glaze to develop properly around each piece.
Whisk: Essential for thoroughly combining the glaze ingredients into a smooth, homogenous mixture.
Meat Thermometer: Your ultimate tool for ensuring perfectly cooked, safe, and juicy chicken without any guesswork.
Tongs or Basting Brush: For easy handling and even basting of the chicken during baking.
Your Step-by-Step Guide to Perfect Baked Glazed Chicken Drumsticks
- Preheat Oven & Prepare Dish:
Set your oven to 375°F (190°C) and ready your baking dish.
Preheating ensures the chicken starts cooking immediately and consistently.
- Prep the Drumsticks:
Arrange the chicken drumsticks in the dish.
Pat them thoroughly dry with paper towels; this is crucial for crispy skin and allows the glaze to adhere better.
- Whisk the Flavorful Glaze:
In a small bowl, combine olive oil, minced garlic, fresh parsley, chicken broth, honey, apple cider vinegar, salt, and black pepper.
Whisk until fully blended, ensuring the honey is completely dissolved into the liquids.
- Pour & Nestle:
Pour the prepared sauce evenly over the drumsticks.
Ensure each drumstick is nestled deeply in the liquid, as this is the primary secret to preventing dryness and keeping the chicken incredibly moist during baking.
- Initial Bake:
Bake for 30 minutes, allowing the flavors to meld and the chicken to begin cooking through.
- First Baste for Moisture:
Remove the dish from the oven and carefully baste the chicken with the rich sauce from the bottom of the pan.
This step re-coats the chicken, locking in moisture and building layers of flavor.
- Final Bake & Glaze:
Return the dish to the oven and continue baking for another 20-30 minutes, or until the internal temperature reaches 165°F (74°C) at its thickest part.
The skin should be beautifully browned and glistening with that irresistible glaze. Baste one more time before serving for an extra layer of concentrated flavor and shine.
- Rest for Tenderness:
Allow the chicken to rest in the sauce for 5 minutes after baking.
This crucial step redistributes the juices throughout the meat, ensuring every bite is exceptionally tender and moist, not dry and stringy.
Chef’s Secrets: Elevating Your Glazed Drumsticks Game
Mastering the Moistness: The Sauce is Your Ally
The foundation of this recipe’s juiciness is baking the drumsticks directly in the sauce.
This continuous “self-basting” environment means the chicken is constantly rehydrated and flavored as it cooks, preventing any dryness.
Achieving That Perfect Golden-Brown Glaze
The honey in our glaze is key to achieving that desirable golden-brown, slightly caramelized exterior.
Don’t be afraid to baste liberally in the final stages of cooking to build up that glossy, delicious coating.
Temperature Triumphs: Don’t Guess, Measure!
Investing in a good meat thermometer is paramount for perfectly cooked chicken.
Always aim for an internal temperature of 165°F (74°C) measured at the thickest part of the drumstick, avoiding the bone. This guarantees both safety and optimal juiciness, preventing overcooked, dry chicken.
The Power of Resting: Why It Matters So Much
Resting the chicken after baking is not an optional step; it’s critical for juicy results.
As the chicken cools slightly, the muscle fibers relax and reabsorb the juices that have migrated to the center during cooking, ensuring even moisture distribution throughout the meat.
Troubleshooting Common Baked Chicken Challenges
Why is My Baked Chicken Dry?
Often, chicken turns dry from overcooking or lack of moisture during baking.
Ensure you bake the drumsticks nestled in the sauce as instructed, baste regularly, and always check the internal temperature with a thermometer to avoid exceeding 165°F (74°C).
My Glaze Isn’t Sticking or Browning Enough.
Insufficient browning can happen if the chicken isn’t patted dry initially, or if there isn’t enough sugar (honey) in the glaze.
Ensure the drumsticks are dry before adding the sauce, and baste frequently during the second half of baking to build up that beautiful glaze.
Chicken Cooked Unevenly.
Uneven cooking typically occurs if drumsticks are crowded in the pan or vary significantly in size.
Use a large enough baking dish to allow the drumsticks to lie in a single layer, and try to select pieces of similar size for uniform cooking.
Perfect Pairings: What to Serve with Your Glazed Drumsticks
These Baked Glazed Chicken Drumsticks are incredibly versatile and pair beautifully with a variety of sides.
If you enjoy the sticky-sweet glaze on these drumsticks, try it on a batch of lemon thyme glazed chicken thighs for a citrusy twist.
Roasted Vegetables: Carrots, broccoli, or sweet potatoes roasted alongside are fantastic and can even share the same oven space.
Creamy Mashed Potatoes: A classic comfort pairing that soaks up every bit of that delicious glaze.
Steamed Rice or Quinoa: Light and absorbent, perfect for soaking up the flavorful sauce.
Fresh Green Salad: A crisp salad with a light vinaigrette offers a refreshing contrast to the rich chicken.
What to Serve with Those Drumsticks
These glazed chicken drumsticks pair well with sides that soak up juices and add texture. Here are two options that work alongside the chicken.
- Soften the meal with buttery garlic herb dinner rolls for tearing and dipping into the pan glaze.
- Add a savory, cheesy base with fluffy cheddar herb rice that won’t clump and balances the chicken’s sweetness.
Make Ahead & Storage Tips for Busy Cooks
Can I Prepare This Recipe Ahead of Time?
Yes, you can certainly get a head start!
Whisk together the glaze mixture up to 2-3 days in advance and store it covered in the refrigerator. You can also marinate the drumsticks in the glaze for a few hours (or overnight) in the fridge for even deeper flavor infusion.
Storing Leftover Baked Glazed Chicken Drumsticks
Leftover Baked Glazed Chicken Drumsticks are delicious and store well.
Place cooled chicken and any remaining sauce in an airtight container and refrigerate for up to 3-4 days.
Reheating for Best Results
For the best texture and to retain some crispiness, reheat leftover drumsticks in a preheated oven at 300°F (150°C) until warmed through.
You can also microwave them for quicker reheating, though the skin may not be as crispy.
Your Top Questions About Baked Glazed Chicken Drumsticks Answered
Can I use different chicken cuts with this recipe?
Yes, you can adapt this recipe for other chicken cuts like thighs or bone-in breasts.
If you’re adapting this glaze for bone-in breasts, try swapping the seasoning for the bright citrus notes of this orange rosemary glazed chicken.
Cooking times will vary; boneless, skinless cuts will cook faster, so always rely on your meat thermometer for accuracy (165°F/74°C internal temperature).
How can I make these drumsticks spicier?
To add a kick, simply whisk a pinch of red pepper flakes or a dash of hot sauce into the glaze mixture.
Adjust the amount to your preferred level of heat.
Is this recipe gluten-free?
Yes, this Baked Glazed Chicken Drumsticks recipe is naturally gluten-free.
All the ingredients listed are free from gluten-containing components, making it a great option for those with gluten sensitivities.
What if I don’t have apple cider vinegar?
If you don’t have apple cider vinegar, you can substitute with white wine vinegar or even fresh lemon juice for a similar bright, tangy note.
The flavor profile may subtly change, but it will still be delicious.
Ready to Impress? Share Your Glazed Drumstick Success!
These Baked Glazed Chicken Drumsticks are more than just a recipe; they’re your secret weapon for consistently juicy, incredibly flavorful chicken that effortlessly impresses. With minimal effort, you unlock a dish that’s perfect for any night of the week, bringing warmth and satisfaction to your table. Try this game-changing method today and experience the difference. I can’t wait to hear how much you love them!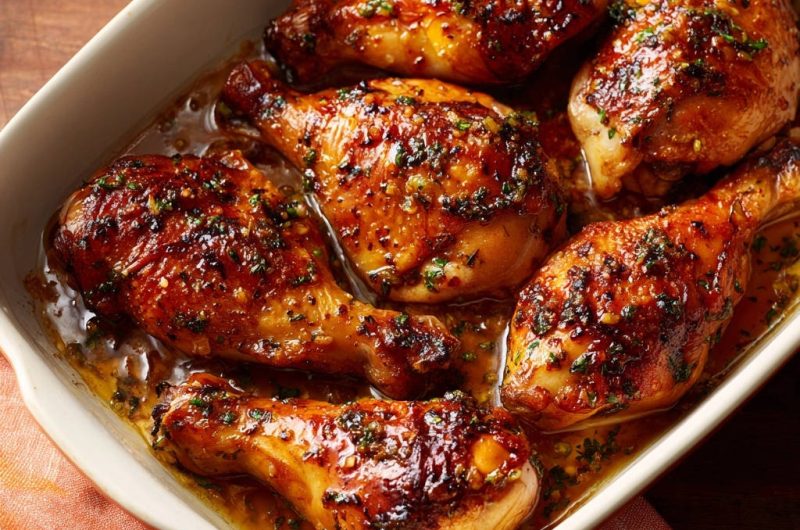
Chicken Drumsticks
Course: Main CourseCuisine: AmericanDifficulty: easy6
servings15
minutes50
minutes240
kcal65
minutesTired of dry chicken? This recipe reveals the simple secret to consistently moist and flavorful baked chicken drumsticks. A true weeknight dinner game-changer that’s incredibly easy to make.
Ingredients
6 chicken drumsticks
2 tablespoons olive oil
4 cloves garlic, minced
1/4 cup chopped fresh parsley
1/2 cup chicken broth
2 tablespoons honey
1 tablespoon apple cider vinegar
1 teaspoon salt
1/2 teaspoon black pepper
Directions
- Preheat your oven to 375 degrees Fahrenheit (190 degrees Celsius).
- In a large baking dish, arrange the chicken drumsticks. Pat them dry with paper towels.
- In a small bowl, whisk together the olive oil, minced garlic, parsley, chicken broth, honey, apple cider vinegar, salt, and black pepper until well combined.
- Pour the sauce mixture evenly over the chicken drumsticks in the baking dish. Ensure the chicken is nestled in the liquid. This is key to preventing dryness.
- Bake for 30 minutes.
- After 30 minutes, remove the dish from the oven and carefully baste the chicken with the sauce from the bottom of the pan. The sauce surrounding the chicken helps it stay incredibly moist.
- Return the dish to the oven and continue baking for another 20-30 minutes, or until the internal temperature of the chicken reaches 165 degrees Fahrenheit (74 degrees Celsius) at its thickest part, and the skin is beautifully browned and glistening. Baste one more time before serving to coat.
- Let the chicken rest in the sauce for 5 minutes before serving. This allows the juices to redistribute, ensuring every bite is tender and moist.
Notes
- Basting and resting are crucial for achieving the juiciest results.