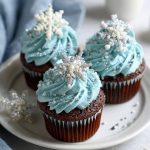
Chocolate Snowflake Cupcakes: Light, Fluffy & Never Sink!
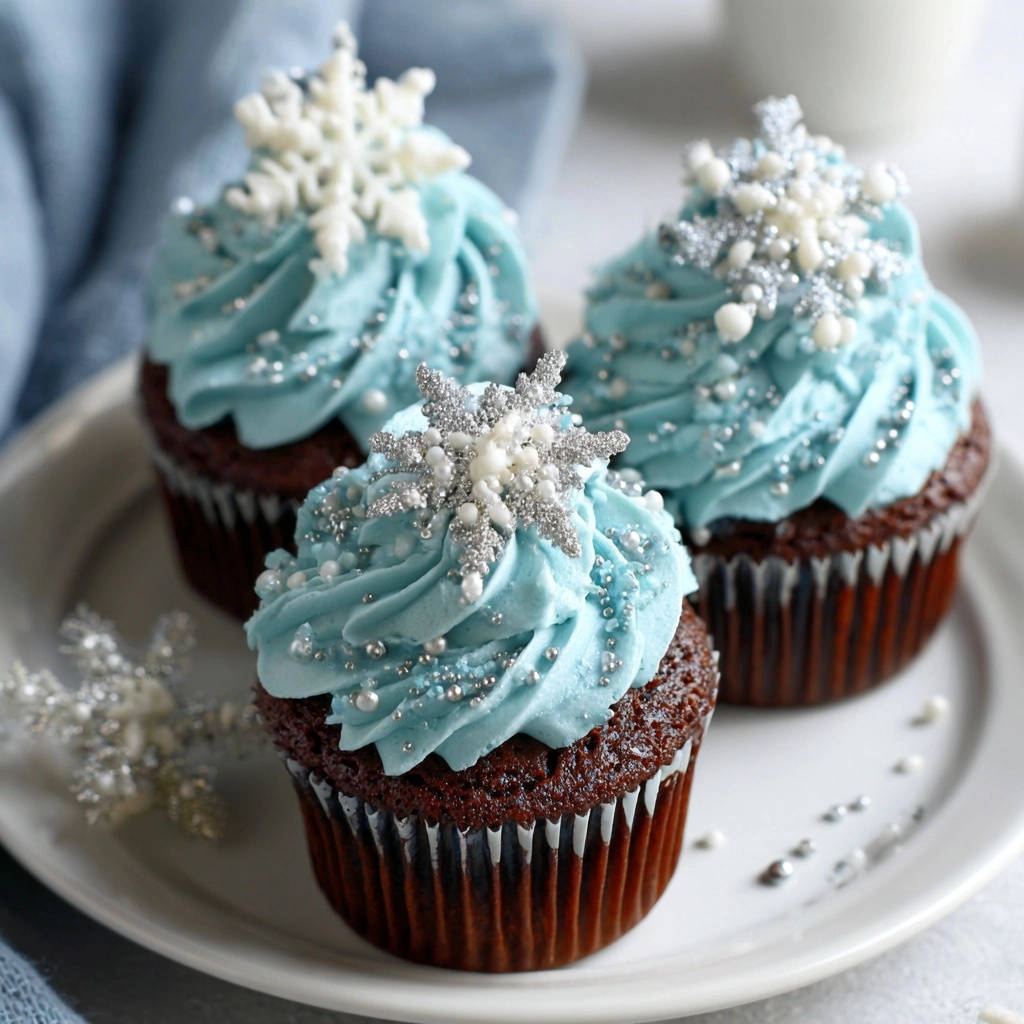
There’s nothing quite like the disappointment of pulling your beautiful cupcakes out of the oven, only to watch them deflate and sink in the middle. I’ve been there countless times! But I’ve cracked the code on making truly stable, light, and perfectly domed Chocolate Snowflake Cupcakes that hold their shape every single time.
This recipe isn’t just about delicious chocolate and festive decoration; it’s your foolproof guide to baking confidence. Get ready to bake these stunning winter treats without a single sag, just perfect domes ready for frosting and admiration.
Why These Chocolate Snowflake Cupcakes Will Become Your Go-To Recipe
The “Never Sink” Promise: Stable, Light, and Perfectly Domes
This recipe meticulously addresses the common issue of sinking cupcakes. We focus on precise mixing techniques and crucial cooling steps that ensure your cupcakes rise beautifully and maintain their elegant dome shape.
You’ll achieve a consistently light and tender crumb every time, making flat, dense cupcakes a thing of the past. Each bite offers a delightful balance of moistness and airy texture.
Effortless Elegance: Simple Steps for Stunning Results
Despite their sophisticated appearance, these Chocolate Snowflake Cupcakes are surprisingly straightforward to make. The steps are clearly laid out, focusing on ease without compromising on professional results.
From mixing the batter to decorating with festive edible snowflakes, the process is designed to be enjoyable for home bakers of all skill levels. You’ll impress everyone with minimal fuss.
If you enjoy the rich cocoa flavor in these cupcakes, you’ll love the bright citrus twist in this blueberry lemon bundt cake.
A Winter Wonderland Treat for Any Occasion
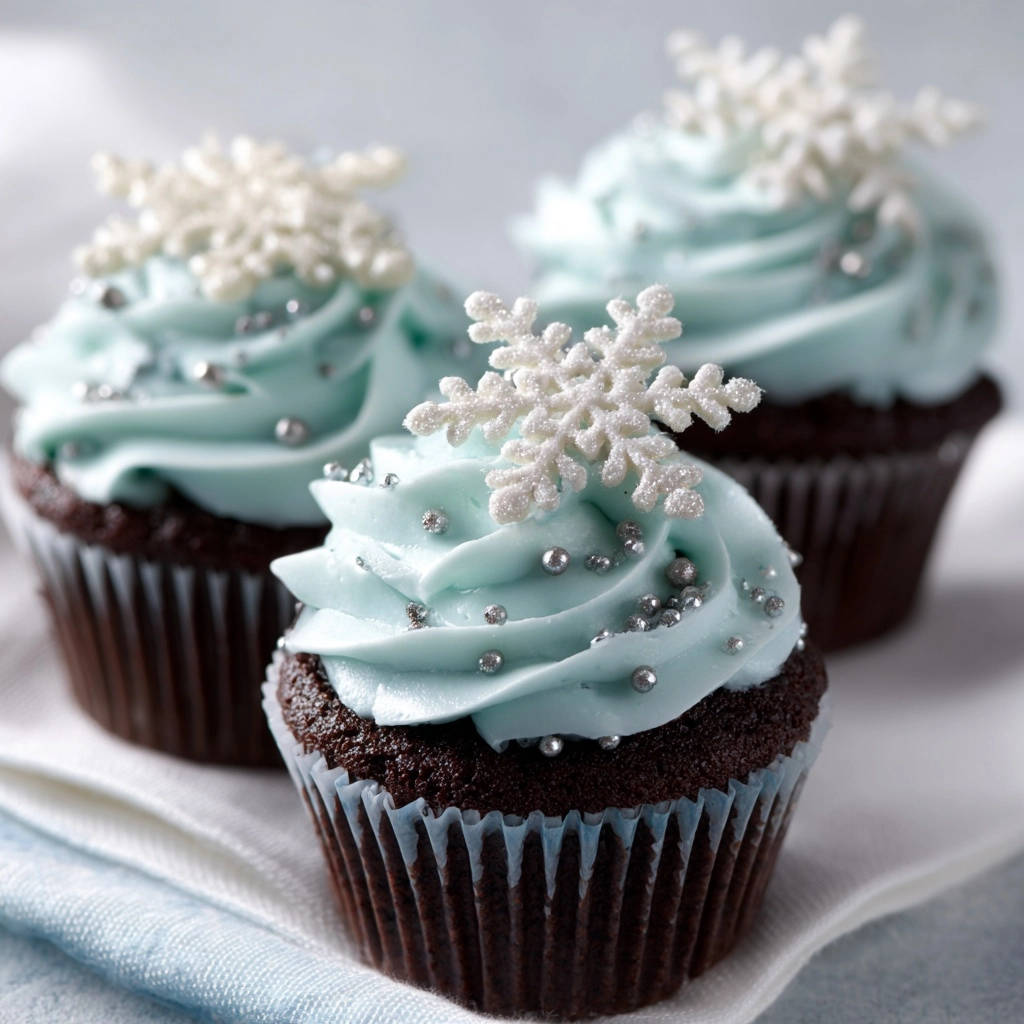
The enchanting snowflake design makes these cupcakes perfect for winter holidays, festive gatherings, or simply a cozy evening treat. Their rich chocolate flavor appeals to everyone.
These snowflake cupcakes are versatile enough to be adapted for different themes and celebrations throughout the year. They bring a touch of magic to any dessert table.
Gathering Your Essentials: Ingredients for Perfect Cupcakes
For the Irresistibly Moist Chocolate Cupcakes
All-Purpose Flour: Provides the structure for your cupcakes. Proper measurement is key to avoiding dense results.
Unsweetened Cocoa Powder: Delivers the rich, deep chocolate flavor. Quality cocoa makes a noticeable difference.
Granulated Sugar: Sweetens the cupcakes and contributes to their moist texture.
Baking Soda & Baking Powder: These leavening agents work together to create the perfect rise and airy texture.
Salt: A crucial flavor enhancer that balances the sweetness and deepens the chocolate notes.
Eggs, Milk, Vegetable Oil, Vanilla Extract: These wet ingredients add moisture, richness, and bind everything together for a tender crumb. Room temperature is ideal.
Hot Water: This is a secret ingredient! It blooms the cocoa powder, intensifying the chocolate flavor, and helps create a thin batter that bakes up incredibly moist and tender.
Crafting the Velvety Blue Buttercream
Unsalted Butter (softened): Forms the creamy base of the frosting. Softened butter whips up light and fluffy.
Powdered Sugar: Adds sweetness and body to the frosting, ensuring a smooth, pipeable consistency.
Milk: Thins the frosting to the desired consistency. Start with a little and add more as needed.
Vanilla Extract: Enhances the classic buttercream flavor.
Blue Gel Food Coloring: Essential for achieving that beautiful, frosty blue hue. Gel colors are concentrated and won’t thin your frosting.
Adding the Festive Snowflake Sparkle
Edible White Snowflake Decorations: The star of the show for that enchanting winter theme. These are readily available at most baking stores.
Silver and White Edible Sprinkles/Pearls: Add extra shimmer and texture, making your cupcakes truly sparkle like fresh snow.
Your Baking Toolkit: Essential Equipment for Cupcake Success
Must-Have Utensils for Cupcake Perfection
Large and Medium Mixing Bowls: Essential for keeping your dry and wet ingredients separate until ready to combine.
Whisks: For thoroughly incorporating ingredients and ensuring a smooth, lump-free batter and fluffy frosting.
Rubber Spatula: Perfect for gently folding ingredients, especially when you need to avoid overmixing.
Measuring Cups and Spoons: Accuracy is key in baking, so precise measurements are crucial for consistent results.
Specialized Tools for a Professional Finish
12-Cup Muffin Tin: The vessel for baking your perfectly portioned cupcakes.
Paper Liners: Prevent sticking and make for easy serving and cleanup.
Wire Rack: Critical for cooling cupcakes completely and preventing trapped steam, which can lead to sogginess.
Electric Mixer (Handheld or Stand): Indispensable for whipping butter into a light, fluffy frosting. A handheld mixer works perfectly.
Piping Bag and Tip (Optional, but Recommended): For a professional, swirled frosting look. A large open star or round tip works well.
Baking Brilliance: A Step-by-Step Guide to Flawless Cupcakes
Prepping for Perfection: Oven & Liners
Preheat your oven to 350°F (175°C) and line a 12-cup muffin tin with paper liners. Proper preheating ensures the oven reaches the correct temperature throughout, promoting an even rise and preventing your cupcakes from falling flat.
The Dry & Wet Duo: Combining Flavors
In a large bowl, whisk together the all-purpose flour, unsweetened cocoa powder, granulated sugar, baking soda, baking powder, and salt. Whisking dry ingredients together ensures they are evenly distributed, leading to a consistent texture in every cupcake.
In a separate medium bowl, whisk together the eggs, milk, vegetable oil, and vanilla extract until well combined. This prepares the liquid base, ready to be incorporated into the dry mix.
The “No-Sinking” Secret: Mixing Magic Explained
Pour the wet ingredients into the dry ingredients. Mix with a spatula or whisk just until combined. A few small lumps are perfectly fine and even desirable.
Do not overmix! Overmixing is the primary culprit behind dense, tough cupcakes that tend to sink as they cool. It overdevelops the gluten, robbing your cupcakes of their light, airy texture.
The Thin Batter Technique: What Hot Water Does
Carefully stir in the hot water until just combined. The batter will be quite thin at this stage, which is exactly what we want.
This hot water step not only helps bloom the cocoa for a deeper chocolate flavor but also contributes significantly to the incredibly moist and tender crumb of your finished cupcakes.
Filling & Baking: Watch Them Rise
Fill each cupcake liner about two-thirds full. This allows enough room for the cupcakes to rise without overflowing, creating those beautiful domed tops.
Bake for 18-22 minutes, or until a toothpick inserted into the center comes out with moist crumbs attached. Avoid opening the oven door during the first 15 minutes of baking, as sudden temperature changes can cause your cupcakes to collapse.
The Crucial Cooling Phase: Preserving Your Domes
Once baked, remove the muffin tin from the oven and let the cupcakes cool in the pan for exactly 5 minutes. This allows them to set gently and prevents immediate temperature shock.
Then, transfer them immediately to a wire rack to cool completely before frosting. This prevents steam from getting trapped at the bottom, which can make cupcakes soggy, and ensures they hold their perfect, fluffy shape.
Mastering the Frosting: Color, Creaminess & Decoration
Whipping Up the Frosting: Achieving Blue Perfection
While the cupcakes cool, prepare the frosting. In a large bowl, beat the softened butter with an electric mixer until it’s light and fluffy, about 2-3 minutes. This creates the airy base for your buttercream.
Gradually add the powdered sugar, one cup at a time, mixing on low speed until incorporated, then increasing to medium-high until smooth. This prevents a sugar cloud and ensures a silky texture.
Beat in the milk and vanilla extract. Add blue gel food coloring a tiny bit at a time, mixing well after each addition, until you achieve your desired shade of winter blue. Remember, a little gel color goes a long way!
Decorating Your Winter Masterpieces
Once cupcakes are completely cool (this is vital, warm cupcakes will melt your frosting!), pipe or spread frosting generously onto each cupcake. Use a piping bag for elegant swirls or a knife for a simple, smooth layer.
Decorate immediately with edible white snowflake decorations and silver and white edible sprinkles/pearls. Arrange the snowflakes artfully to create a beautiful winter scene on each cupcake.
Beyond the Recipe: Expert Tips for Cupcake Mastery
Achieving the Perfect Cupcake Texture
Room Temperature Ingredients: Ensure your eggs, milk, and butter are at room temperature. This allows them to emulsify properly, creating a smoother batter and a more uniform, tender crumb.
Measure Flour Correctly: Always spoon flour into your measuring cup and then level it off with a straight edge. Scooping directly can compact the flour, adding too much and resulting in dry, dense cupcakes.
Don’t Fear Lumps: When combining wet and dry ingredients, mix just until no dry streaks remain. A few small lumps in the batter are perfectly normal and help prevent overmixing.
Frosting Finesse: Piping & Coloring Tips
Perfectly Softened Butter: For creamy frosting, your butter should be soft enough to indent with a finger but not greasy or melted. If it’s too cold, your frosting will be lumpy; too warm, it will be runny.
Troubleshooting Texture: If your frosting is too stiff, add milk a teaspoon at a time until desired consistency. If it’s too soft, add more powdered sugar a tablespoon at a time until it firms up.
Vibrant Color Control: Always add gel food coloring incrementally. It’s easier to add more color than to lighten it. For creative themes beyond winter, explore different colors and decorations. You might enjoy the vibrant look of our delightful peach cupcakes for spring or summer inspiration.
Creative Decorating Ideas for Any Season
While this recipe shines with its snowflake theme, feel free to get creative! Swap out the blue food coloring for red or green for Christmas, or pastel shades for spring celebrations.
Consider different sprinkles or mini chocolate chips for varying textures. Small edible glitter or a dusting of powdered sugar can also add a magical touch to your homemade cupcakes.
Troubleshooting Your Treats: Common Cupcake Conundrums Solved
Why Did My Cupcakes Sink? (And How to Fix It Next Time)
Sinking cupcakes are often caused by overmixing the batter, which develops too much gluten, or by opening the oven door too early, causing a sudden temperature drop. Ensure you mix just until combined and resist peeking during the first 15 minutes of baking.
Improper cooling can also be a culprit; follow the 5-minute in-pan, then wire rack method precisely to let them set properly and prevent steam from collapsing them.
My Frosting is Too Soft/Stiff!
If your frosting is too soft, gradually beat in more powdered sugar, one tablespoon at a time, until it reaches the desired firmness. This adds body and structure.
If your frosting is too stiff, add milk (or cream) one teaspoon at a time while beating until it loosens up to a pipeable consistency. Ensure your butter was properly softened initially for best results.
Unevenly Baked Cupcakes?
Uneven baking can be due to hot spots in your oven. To mitigate this, rotate your muffin tin halfway through the baking time. Ensure your oven is fully preheated before baking.
Also, make sure you’re filling your cupcake liners consistently to about two-thirds full. Uneven filling leads to varying baking times for individual cupcakes.
Enjoying & Preserving Your Chocolate Snowflake Cupcakes
Serving Suggestions: Perfect Pairings
These elegant chocolate snowflake cupcakes pair wonderfully with a hot cup of coffee, a steaming mug of hot chocolate, or a cold glass of milk. They are the perfect individual dessert after a meal or a delightful snack.
If you love the rich chocolate flavor in these cupcakes, you’ll want to try this flourless dark chocolate torte next.
For a festive spread, consider serving them alongside other winter treats like shortbread cookies or a warm fruit crumble. Their striking appearance makes them a beautiful centerpiece.
Storage Solutions: Keeping Them Fresh
Store frosted Chocolate Snowflake Cupcakes in an airtight container at room temperature for up to 2-3 days. For longer storage, you can refrigerate them for up to a week.
Unfrosted cupcakes can be stored in an airtight container at room temperature for up to 3 days or frozen for up to 3 months. Thaw frozen cupcakes at room temperature before frosting.
Make-Ahead Magic: Prep for Parties
Both the cupcakes and the frosting can be prepared in advance. Bake the chocolate cupcakes a day or two ahead and store them unfrosted.
The buttercream frosting can be made up to a week in advance and stored in the refrigerator in an airtight container. Let it come to room temperature and re-whip it with an electric mixer before frosting for optimal creaminess.
Your Top Questions Answered: Chocolate Snowflake Cupcakes FAQs
Can I Make These Gluten-Free?
Yes, you can substitute a 1:1 gluten-free all-purpose flour blend for the regular flour. Be aware that the texture might be slightly different, sometimes a bit denser, but the flavor will still be fantastic. Ensure your baking powder and soda are also gluten-free.
What If I Don’t Have Hot Water?
While hot water is recommended for blooming the cocoa, you can use warm milk or even warm brewed coffee for an even deeper chocolate flavor. Ensure it’s warm, not boiling hot, to avoid scrambling the eggs if adding directly to wet ingredients.
How Can I Store Leftover Frosting?
Leftover buttercream frosting can be stored in an airtight container in the refrigerator for up to a week. Before using, let it come to room temperature, then re-whip it briefly with an electric mixer until it’s smooth and fluffy again.
Can I Use Different Decorations?
Absolutely! The beauty of these chocolate cupcakes is their versatility. You can use different colored sprinkles, edible glitter, mini chocolate chips, or even fresh berries for a less seasonal look. Tailor the decorations to any holiday or party theme.
Can I Make This Recipe Dairy-Free?
Yes, you can adapt this recipe to be dairy-free. Substitute the milk with a dairy-free alternative like almond milk or oat milk, and use a high-quality dairy-free butter alternative for the frosting. The texture should remain quite similar, offering a delicious option for those with dietary restrictions. For more fantastic dessert ideas, explore our decadent chocolate crumb cheesecake bars, which also offer rich chocolate flavor.
Bake, Share, and Savor: Your Cupcake Adventure Awaits!
You now have all the tools and expertise to create truly magnificent Chocolate Snowflake Cupcakes that are not only visually stunning but also perfectly light, moist, and utterly delicious. Say goodbye to sunken centers and hello to baking success!
More Chocolate to Love
If those cupcakes have you craving extra chocolate, here are two breakfast-style treats that use similar light and fluffy baking methods.
- For a gooey, pull-apart morning bake, these Ultra-Gooey Chocolate Cinnamon Rolls share the same rich cocoa base and soft texture.
- Start the day with a stack of Fluffy Blueberry Pancakes, which use the same technique for achieving an airy crumb but pair it with tart fruit.
So, gather your ingredients, turn on your favorite tunes, and enjoy the magical process of bringing these festive treats to life. They’re sure to bring smiles and warmth to any winter gathering, or simply brighten a quiet afternoon. Happy baking!
Chocolate Cupcakes
Course: DessertCuisine: AmericanDifficulty: easy12
cupcakes30
minutes20
minutes180
kcal60
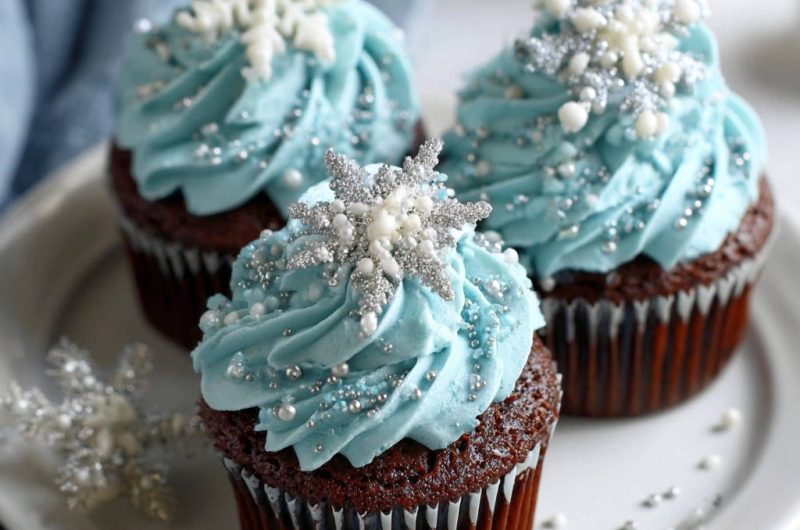
minutesDiscover the secrets to baking perfectly stable, light chocolate cupcakes that hold their shape every time. These festive snowflake beauties are guaranteed to rise high without a single sag, creating perfect domes ready for a vibrant blue frosting and decorative snowflakes.
Ingredients
For the Cupcakes:
1 1/2 cups all-purpose flour
3/4 cup unsweetened cocoa powder
1 1/2 cups granulated sugar
1 teaspoon baking soda
1/2 teaspoon baking powder
1/2 teaspoon salt
2 large eggs
3/4 cup milk
1/2 cup vegetable oil
2 teaspoons vanilla extract
1/2 cup hot water
For the Frosting:
1 cup (2 sticks) unsalted butter, softened
4 cups powdered sugar
1/4 cup milk
1 teaspoon vanilla extract
Blue gel food coloring
For Decoration:
Edible white snowflake decorations
Silver and white edible sprinkles/pearls
Directions
- Preheat oven to 350°F (175°C). Line a 12-cup muffin tin with paper liners.
- In a large bowl, whisk together the flour, cocoa powder, granulated sugar, baking soda, baking powder, and salt.
- In a separate medium bowl, whisk together the eggs, milk, vegetable oil, and vanilla extract.
- The Secret to No Sinking: Pour the wet ingredients into the dry ingredients. Mix with a spatula or whisk just until combined. A few small lumps are perfectly fine. Do not overmix! Overmixing develops gluten too much, leading to dense cupcakes that can sink as they cool.
- Carefully stir in the hot water until just combined. The batter will be quite thin.
- Fill each cupcake liner about two-thirds full.
- Bake for 18-22 minutes, or until a toothpick inserted into the center of a cupcake comes out with moist crumbs attached. Avoid opening the oven door during the first 15 minutes of baking, as sudden temperature changes can cause your cupcakes to collapse.
- Crucial Cooling Step: Once baked, remove the muffin tin from the oven and let the cupcakes cool in the pan for exactly 5 minutes. This allows them to set gently. Then, transfer them immediately to a wire rack to cool completely before frosting. This prevents steam from getting trapped and ensures they hold their perfect shape.
- While cupcakes cool, prepare the frosting: In a large bowl, beat the softened butter with an electric mixer until light and fluffy.
- Gradually add the powdered sugar, one cup at a time, mixing on low speed until incorporated, then increasing to medium-high until smooth.
- Beat in the milk and vanilla extract. Add blue gel food coloring a tiny bit at a time, mixing after each addition, until you achieve your desired shade of blue.
- Once cupcakes are completely cool, pipe or spread frosting generously onto each cupcake.
- Decorate immediately with edible white snowflake decorations and silver and white edible sprinkles/pearls. Enjoy your perfectly risen, stunning cupcakes!
Notes
- To prevent sinking, avoid overmixing batter and follow precise cooling steps: 5 mins in pan, then transfer to wire rack to cool completely.