Creamy Peanut Butter Swirl Fudge: Smooth, Never Grainy Bliss
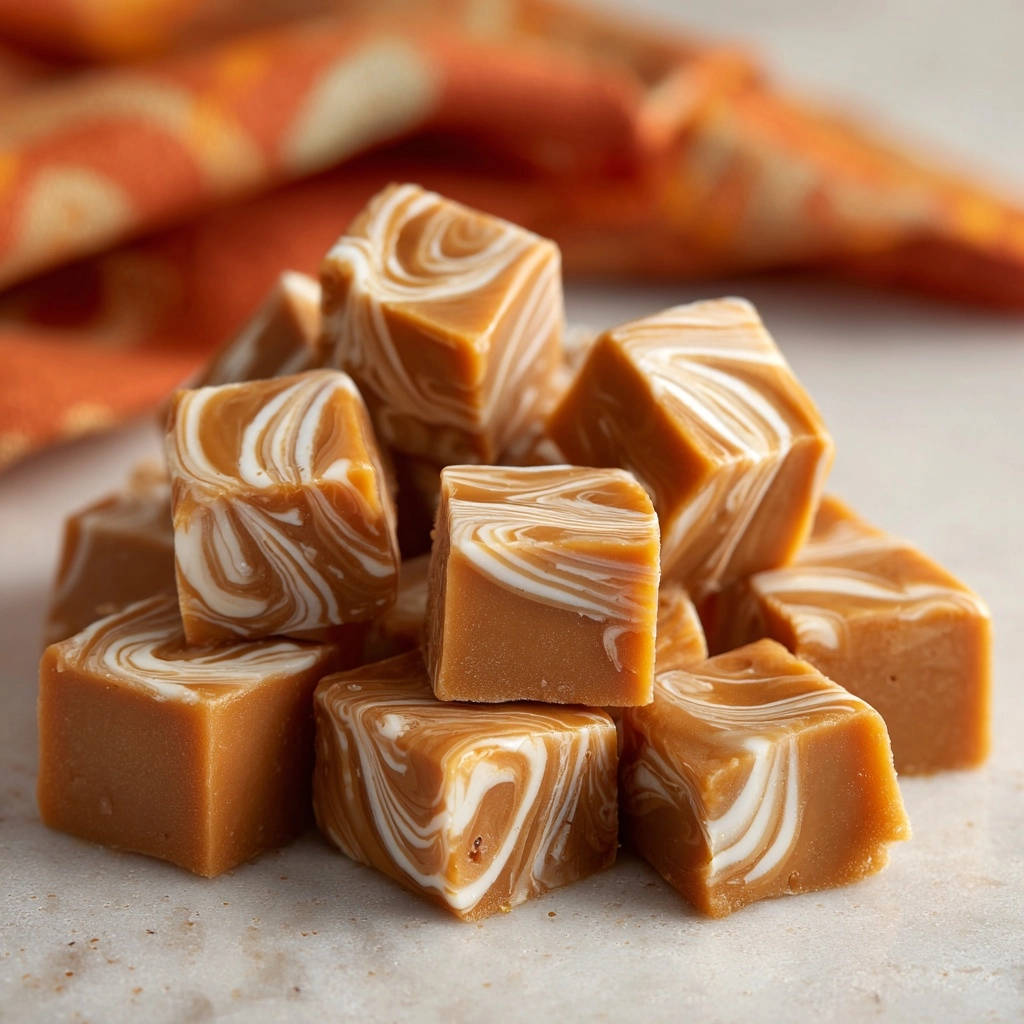
There’s nothing quite like the dreamy, melt-in-your-mouth experience of homemade fudge, yet often, it turns into a frustratingly grainy mess. I’ve perfected this Creamy Peanut Butter Swirl Fudge recipe to guarantee that velvety texture every single time. It’s the ultimate solution for anyone craving consistently smooth, rich, and utterly irresistible fudge.
Why This Creamy Peanut Butter Swirl Fudge Will Become Your Go-To Recipe
This recipe isn’t just about making fudge; it’s about mastering a truly special confectionery. We unlock the secrets to a smooth, creamy texture that defies common fudge challenges.
The Secret to a Perfectly Smooth, Melt-in-Your-Mouth Texture
Forget grainy, sugary disappointments. Our method focuses on precise sugar dissolution and controlled cooling, ensuring every bite of this Creamy Peanut Butter Swirl Fudge is luxuriously smooth.
Beyond Basic: Effortless Elegance for Any Occasion
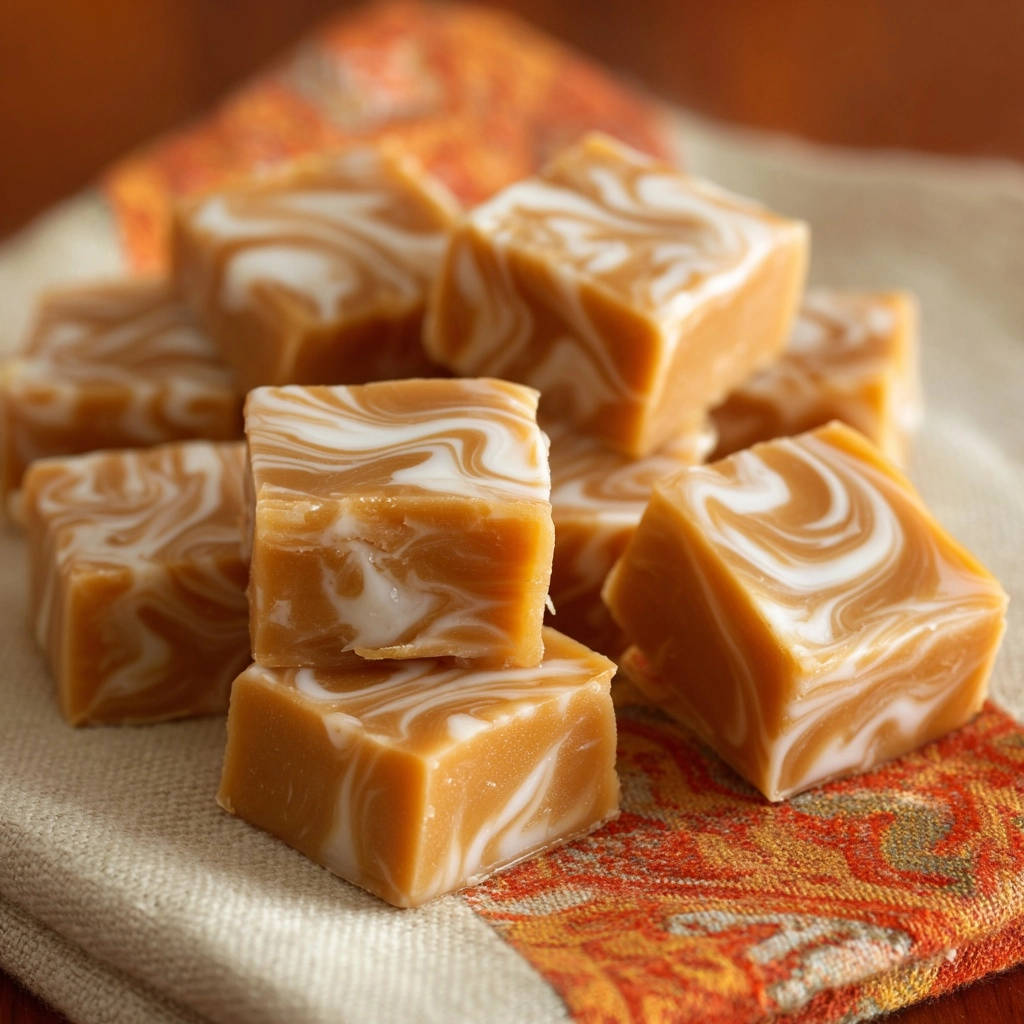
This recipe is surprisingly simple, making it perfect for both novice and experienced bakers. The elegant white chocolate swirl elevates it from a casual treat to a stunning dessert for any gathering.
A Flavor Combination That Truly Delights
The rich, savory notes of creamy peanut butter perfectly complement the sweet, delicate flavor of white chocolate. This classic pairing creates a truly irresistible and comforting taste experience.
Your Kitchen Arsenal: Essential Tools for Fudge Success
Having the right tools makes all the difference in achieving perfect fudge. These essentials will simplify the process and ensure a fantastic result.
The Right Pan for the Perfect Set
An 8×8 or 9×9 inch square pan is ideal for the proper fudge thickness. Lining it with parchment paper, leaving an overhang, guarantees effortless removal once your fudge is set.
Heavy-Bottomed Saucepan: A Must-Have
A heavy-bottomed saucepan is non-negotiable for fudge. It distributes heat evenly, preventing scorching and promoting the consistent cooking needed for a smooth, non-grainy base.
Beyond the Basics: Other Helpful Gadgets
Sturdy Spatula or Wooden Spoon: Essential for constant stirring, especially during the crucial sugar dissolving phase.
Whisk: Useful for quickly incorporating ingredients if needed, though a spatula works for most steps.
Microwave-Safe Bowl: For melting the white chocolate chips efficiently and without scorching.
Skewer or Knife Tip: Perfect for creating those beautiful, distinct swirls.
Crafting Perfection: The Ingredients Behind Your Creamy Peanut Butter Swirl Fudge
Each ingredient in this recipe plays a vital role in creating its incredible flavor and texture. Quality matters, so choose your components wisely.
The Sweet Foundation: Sugars & Dairy
3 cups granulated sugar: Provides the essential sweetness and structure, forming the crystalline base of your fudge.
1 (14-ounce) can sweetened condensed milk: This is the magic ingredient for richness and creamy texture, acting as a binder and making candy thermometers optional for this easy recipe.
Richness & Flavor Depth: Butter, Peanut Butter & Vanilla
1 cup (2 sticks) unsalted butter: Adds richness, promotes a smooth mouthfeel, and helps achieve that melt-in-your-mouth consistency.
1 cup creamy peanut butter: The star flavor, providing its signature taste and contributing significantly to the fudge’s luxurious smoothness.
If you love the smooth texture of this fudge, you will also enjoy this rich hot fudge chocolate pudding cake.
1 teaspoon vanilla extract: Enhances all the other flavors with its warm, aromatic notes, adding depth to both the peanut butter and white chocolate.
The Swirl of Delight: White Chocolate Chips
1 cup white chocolate chips: Creates the beautiful, contrasting swirl and adds another layer of sweet indulgence, visually and texturally.
A Pinch of Balance: The Role of Salt
1/2 teaspoon salt: Balances the sweetness, preventing the fudge from being overly cloying, and subtly enhances all the other flavors.
Your Path to Irresistible: A Detailed Guide to Making Creamy Peanut Butter Swirl Fudge
Follow these steps closely to ensure your homemade Creamy Peanut Butter Swirl Fudge is perfectly smooth and utterly delicious.
- Prepare Your Pan:
Line an 8×8 or 9×9 inch square pan with parchment paper, allowing an overhang on two sides for easy removal. Lightly grease the parchment paper to prevent sticking.
This crucial first step ensures your fudge releases effortlessly once set, preserving its perfect shape.
- Combine Base Ingredients:
In a large, heavy-bottomed saucepan, combine the granulated sugar, unsalted butter, sweetened condensed milk, and salt.
A heavy-bottomed pan helps distribute heat evenly and prevents scorching, which can ruin your fudge.
- Dissolve & Bring to a Boil:
Place the pan over medium heat and stir the mixture constantly until the butter is completely melted and the sugar crystals are fully dissolved. Bring the mixture to a rolling boil.
Constant stirring and ensuring sugar dissolution at this stage are crucial for preventing a grainy texture in the final homemade fudge. This is the cornerstone of creamy fudge.
- Gentle Boil & Occasional Stirring:
Once boiling, reduce the heat to medium-low and continue to boil gently for 5 minutes. Stir occasionally to prevent scorching on the bottom, but avoid excessive stirring.
Excessive stirring during the boil can promote crystallization, which we want to avoid for a truly smooth fudge.
- Remove from Heat – The No-Stir Zone:
Remove the saucepan from the heat. Do not stir the mixture from this point until the next step.
This allows the sugar crystals to form slowly and evenly as it cools slightly, which is a key secret to a perfectly smooth fudge every time.
- Stir in Flavors:
Immediately stir in the vanilla extract and creamy peanut butter until the mixture is completely smooth and well combined.
Work quickly while the mixture is still hot to ensure everything incorporates smoothly without clumping.
If you enjoy working with peanut butter in this fudge, you’ll love these soft chocolate topped peanut butter crispy bars too.
- Pour the Fudge Base:
Pour the peanut butter fudge mixture evenly into your prepared pan.
- Melt White Chocolate:
In a separate microwave-safe bowl, melt the white chocolate chips. Microwave in 30-second intervals, stirring well after each, until the white chocolate is smooth and melted.
Be careful not to overheat white chocolate, as it can seize quickly and become unusable.
- Drizzle the Swirl:
Drizzle spoonfuls of the melted white chocolate over the top of the peanut butter fudge in the pan.
- Create the Swirl Effect:
Use a skewer or the tip of a knife to gently swirl the white chocolate into the peanut butter fudge. Be careful not to overmix, as you want to maintain distinct swirls.
A gentle hand creates beautiful, defined patterns, making your Creamy Peanut Butter Swirl Fudge visually appealing.
- Set the Fudge:
Let the fudge cool completely and undisturbed at room temperature for several hours, or refrigerate for at least 2 hours, until it is firm enough to cut.
Allowing it to set without agitation is essential for its final creamy texture and to prevent cracking.
- Cut and Serve:
Once firm, use the parchment paper overhang to lift the fudge out of the pan. Cut into 1-inch squares and serve.
For cleaner cuts, wipe your knife with a warm, damp cloth between slices, ensuring each square looks pristine.
Fudge Masterclass: Advanced Tips for a Flawless Creamy Peanut Butter Swirl Fudge
Elevate your fudge-making skills with these expert tips, guaranteeing a consistently perfect batch every time.
The Art of Dissolving Sugar: Your Smoothness Guarantee
Don’t Rush the Dissolving Phase: Take your time stirring the sugar and butter mixture over medium heat until every single sugar crystal is dissolved before it comes to a rolling boil. This thorough initial dissolving is the ultimate secret to preventing grainy fudge.
Achieving Picture-Perfect Swirls
Gentle Hands for Gorgeous Swirls: When swirling the melted white chocolate, use a light touch and minimal strokes. Don’t overmix, or your distinct swirls will blend into a marbled mess. A few figure-eight motions are usually sufficient to create beautiful patterns.
Temperature Control: The Understated Hero
Patience in Setting: Resist the urge to poke or move your fudge while it’s setting. Agitation can disrupt the crystal structure and compromise its creamy texture. Allow it to cool completely and undisturbed for the best results.
Customizing Your Creamy Peanut Butter Swirl Fudge
Experiment with Toppings: While the white chocolate swirl is classic, consider sprinkling a pinch of flaky sea salt or a few chopped roasted peanuts on top before the fudge sets for an extra layer of flavor and texture. For more delightful sweet treats, you might also enjoy making some decadent pumpkin pie truffles.
Solved! Common Fudge Woes & How to Fix Them
Even seasoned fudge makers encounter challenges. Here’s how to troubleshoot common issues and ensure your Creamy Peanut Butter Swirl Fudge is always a triumph.
Pair These Pancakes With Your Fudge
That creamy peanut butter fudge is rich and sweet, so you want something lighter to balance it out. These pancake recipes work as a breakfast or brunch base to serve alongside a few squares of fudge for dipping or crumbling on top.
- The Fluffy Blueberry Pancakes bring a tart fruit contrast that cuts through the fudge’s sweetness.
- For a heartier option, the Fluffy Oatmeal Pancakes add a nutty, whole-grain texture that complements the peanut butter notes.
Why is My Fudge Grainy or Sugary?
The most common culprit is undissolved sugar crystals. Ensure you stir thoroughly at the beginning until all sugar is dissolved before the mixture boils. Also, avoid excessive stirring during the gentle boil, as this can encourage crystallization.
My Fudge is Too Soft and Won’t Set!
This often means the fudge mixture wasn’t boiled long enough to reach the correct consistency. Ensure it reaches a rolling boil and maintains a gentle boil for the full 5 minutes. Proper chilling time is also essential; don’t rush the setting process.
The White Chocolate Swirls Disappeared or Blended Too Much?
This happens if the white chocolate was stirred in too vigorously or if the peanut butter fudge was still excessively hot when the white chocolate was added, causing it to completely melt in. Use a light touch when swirling and ensure the base isn’t scorching when drizzling.
Enjoying Your Masterpiece: Serving & Storage Suggestions
Once your Creamy Peanut Butter Swirl Fudge is perfect, here’s how to best enjoy and preserve it.
Elegant Serving Ideas
Cut your Creamy Peanut Butter Swirl Fudge into small, uniform squares for a professional look. Arrange them on a platter with other confections, or present them in mini paper liners for easy handling at parties and gatherings.
Keeping Your Fudge Fresh: Storage Best Practices
Store your fudge in an airtight container at room temperature for up to 1 week, or in the refrigerator for up to 2-3 weeks. If refrigerating, let it come to room temperature for optimal creamy texture before serving.
Make-Ahead Magic: Freezing for Future Enjoyment
Fudge freezes beautifully! Wrap individual squares tightly in plastic wrap, then place them in an airtight freezer-safe container for up to 3 months. Thaw at room temperature for several hours before serving, and it will taste just as fresh.
Your Burning Questions Answered: Fudge FAQs
Here are answers to some frequently asked questions about making this delightful Creamy Peanut Butter Swirl Fudge.
Can I Use Crunchy Peanut Butter for This Recipe?
While creamy peanut butter is recommended for the smoothest, most luxurious texture, you can experiment with crunchy peanut butter if you prefer a textural contrast. Just be aware it will alter the overall mouthfeel of the fudge with pleasant crunch.
Is a Candy Thermometer Necessary for This Fudge Recipe?
No, one of the beauties of this Creamy Peanut Butter Swirl Fudge recipe is that it relies on a specific boil time (5 minutes) rather than a precise temperature. This makes a candy thermometer optional, simplifying the process for home cooks.
How Long Does Homemade Creamy Peanut Butter Swirl Fudge Last?
When stored properly in an airtight container, this homemade fudge will stay fresh at room temperature for about a week, or in the refrigerator for up to two to three weeks. It also freezes exceptionally well for longer storage, up to three months.
Can I Double This Fudge Recipe?
Yes, you can double the recipe, but it’s recommended to use a larger, even heavier-bottomed pot to ensure even cooking and prevent scorching. You’ll also need a larger pan for setting, such as a 9×13 inch pan, to maintain the desired thickness. For another fantastic peanut butter-inspired dessert that requires no baking, try our irresistible no-bake peanut butter fudge pie.
What If I Don’t Have Parchment Paper?
While parchment paper is ideal for easy removal, you can thoroughly grease and flour your pan or use aluminum foil lined with grease as an alternative. Just ensure the sides are meticulously greased to prevent sticking, as removal can be trickier.
Ready to Impress? Share Your Creamy Peanut Butter Swirl Fudge Masterpiece!
Now that you’re armed with the secrets to making truly exceptional Creamy Peanut Butter Swirl Fudge, it’s time to create your own batches of this delightful sweet treat. Whether for holidays, parties, or just a sweet craving, this recipe promises success and smiles.
Don’t forget to share your fudge creations with us! We love seeing your delicious results and hearing about your fudge-making adventures. Happy fudging!
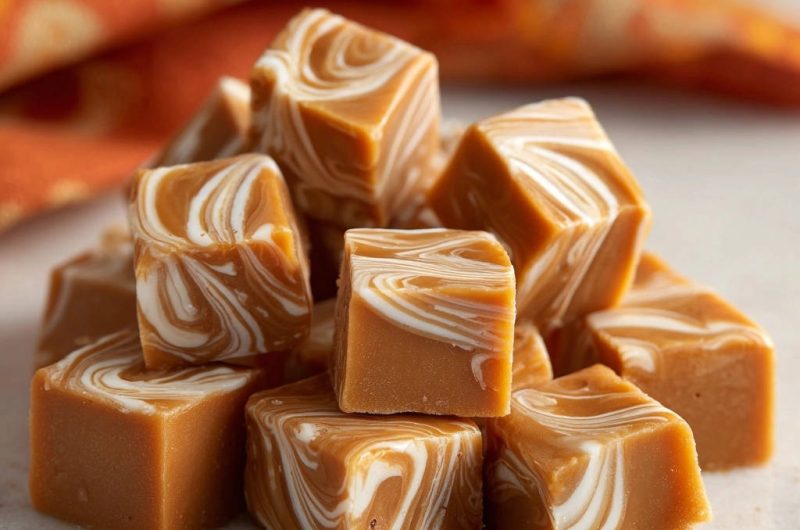
Peanut Butter Swirl Fudge
Course: DessertCuisine: AmericanDifficulty: easy64
pieces20
minutes15
minutes240
kcal180
minutesIf you’ve ever tried to make homemade fudge only to end up with a sugary, grainy mess, you know the struggle! There’s a secret to getting that perfectly smooth, melt-in-your-mouth texture, and once you know it, you’ll never go back. Get ready for fudge that’s always creamy, never gritty.
Ingredients
3 cups granulated sugar
1 cup (2 sticks) unsalted butter
1 (14-ounce) can sweetened condensed milk
1/2 teaspoon salt
1 teaspoon vanilla extract
1 cup creamy peanut butter
1 cup white chocolate chips
Directions
- Line an 8×8 or 9×9 inch square pan with parchment paper, allowing an overhang on two sides. Lightly grease the parchment paper.
- In a large, heavy-bottomed saucepan, combine the granulated sugar, unsalted butter, sweetened condensed milk, and salt. Place the pan over medium heat.
- Stir the mixture constantly until the butter is completely melted and the sugar crystals are fully dissolved. This initial dissolving is crucial for preventing a grainy texture later. Bring the mixture to a rolling boil.
- Once boiling, reduce the heat to medium-low and continue to boil gently for 5 minutes. Stir occasionally to prevent scorching on the bottom, but avoid excessive stirring.
- Remove the saucepan from the heat. Do not stir the mixture from this point until the next step. This allows the sugar crystals to form slowly and evenly, which is key to a smooth fudge.
- Immediately stir in the vanilla extract and creamy peanut butter until the mixture is completely smooth and well combined.
- Pour the peanut butter fudge mixture into your prepared pan.
- In a separate microwave-safe bowl, melt the white chocolate chips. Microwave in 30-second intervals, stirring well after each, until the white chocolate is smooth and melted.
- Drizzle spoonfuls of the melted white chocolate over the top of the peanut butter fudge in the pan.
- Use a skewer or the tip of a knife to gently swirl the white chocolate into the peanut butter fudge. Be careful not to overmix, as you want to maintain distinct swirls.
- Let the fudge cool completely and undisturbed at room temperature for several hours, or refrigerate for at least 2 hours, until it is firm enough to cut. Allowing it to set without agitation is essential for its final creamy texture.
- Once firm, use the parchment paper overhang to lift the fudge out of the pan. Cut into 1-inch squares and serve.
Notes
- Follow steps carefully, especially the stirring and setting phases, to ensure a smooth, creamy texture and prevent graininess.