Mastering Garlic Butter Steak Bites and Potatoes
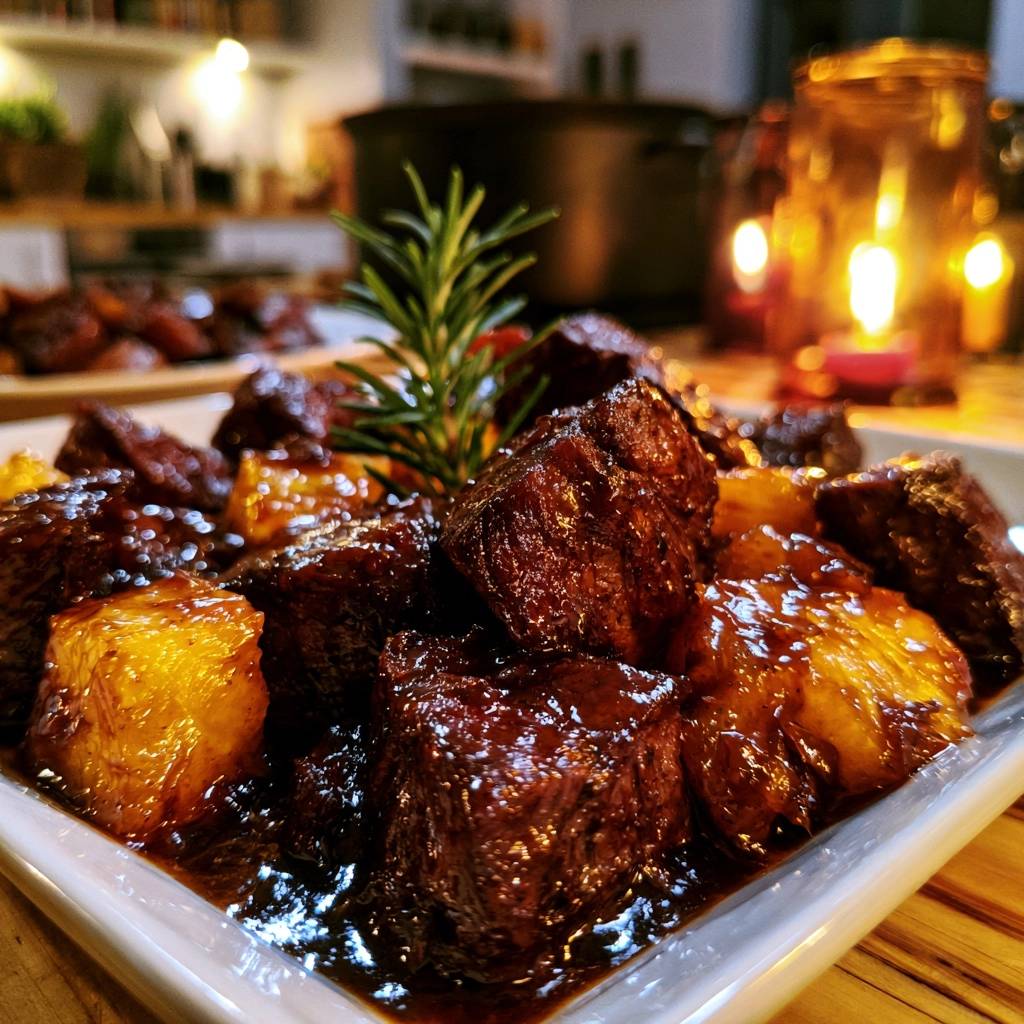
Few things are more disappointing than biting into a piece of steak only to find it has the texture of a rubber band. We’ve all been there, hovering over a skillet while the meat turns a sad, grayish color instead of developing that deep, mahogany crust. The secret to restaurant-quality Garlic Butter Steak Bites and Potatoes lies in understanding the balance between high-heat searing and the delicate resting period. When you get it right, you’re rewarded with a stunning contrast: potatoes with a glass-like crunch on the outside and a fluffy interior, paired with beef that yields effortlessly to your teeth.
This dish relies on the Maillard reaction, a chemical process where amino acids and sugars react under high heat to create hundreds of flavor compounds. It’s why a seared steak tastes better than a boiled one. However, achieving this requires technical precision. You aren’t just tossing ingredients into a pan; you’re managing moisture and temperature to ensure the proteins don’t seize up and become tough. By following a few specific steps, you can transform simple pantry staples into a meal that feels incredibly indulgent.
The most critical tip I can give you is to treat your steak like a professional chef would: pat it bone-dry. If there’s even a hint of moisture on the surface of those beef cubes, they’ll steam rather than sear. Steam is the enemy of tenderness in this recipe because it raises the internal temperature too slowly, leading to that dreaded chewy texture. Grab a stack of paper towels and press down firmly on the meat until the surface is completely matte before it ever touches the oil.
Selecting the Best Beef for Tenderness
Choosing the right cut of beef is the foundation of this entire meal. I usually reach for Sirloin or Ribeye because they respond beautifully to quick, high-heat cooking. Sirloin is a fantastic, leaner option that offers a robust “beefy” flavor, but it’s less forgiving if you overcook it by even a minute. Because it lacks heavy fat deposits, you have to be vigilant with your timer to keep it juicy.
If you want a more luxurious experience, Ribeye is the way to go. The heavy marbling, or intramuscular fat, melts during the sear, essentially basting the meat from the inside out. This extra fat provides a safety net against toughness. Whatever you do, please avoid packages labeled “stew meat.” While the price point is tempting, stew meat comes from tough, hardworking muscles full of connective tissue. Those fibers require hours of slow braising to break down; if you try to sear them in five minutes, you’ll end up with something closer to a pencil eraser than a steak.
Why Yukon Gold Potatoes Excel in Skillets
When it comes to skillet potatoes, Yukon Golds are the undisputed champions. They sit perfectly in the middle of the starch spectrum, possessing more moisture than a starchy Russet but more starch than a waxy Red potato. This unique balance means they hold their shape perfectly when you’re tossing them around the pan, yet they still develop a creamy, almost buttery center that melts in your mouth.
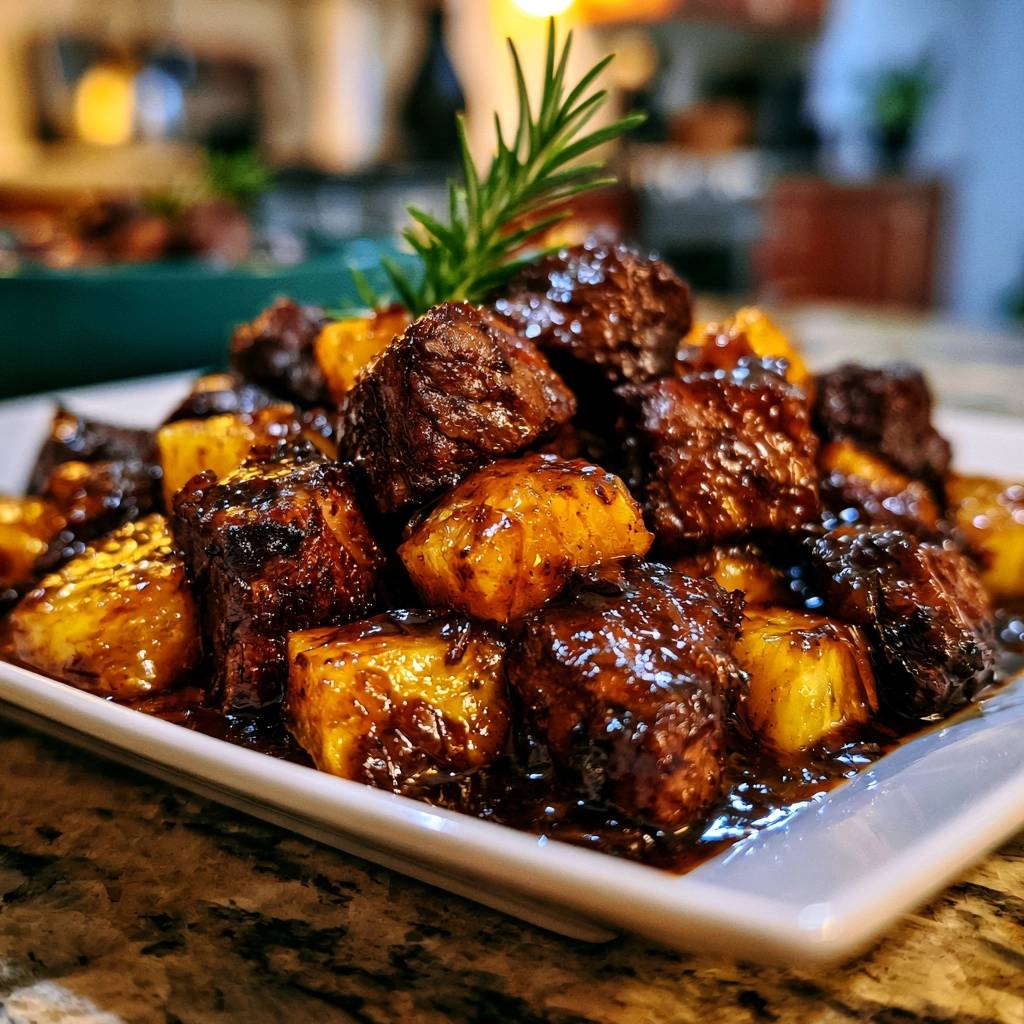
Russet potatoes tend to crumble and turn into mashed potatoes when you try to sauté them, while Red potatoes often stay too firm. I recommend cutting your Yukon Golds into 3/4-inch cubes. This specific size is intentional. It ensures the potatoes have enough surface area to get crispy and golden in the 12 to 15 minutes they spend in the pan, matching the pace of the rest of the meal perfectly. If you cut them too large, the outside will burn before the inside is soft.
The Science of the High-Heat Sear
To get that dark, caramelized crust, you have to respect the physics of the pan. As I mentioned earlier, moisture is your primary obstacle. When water hits a hot pan, it immediately turns to steam, which caps the temperature at 212°F. The Maillard reaction, which creates that savory brown crust, doesn’t really kick into high gear until you hit temperatures between 280°F and 330°F. By patting the meat dry, you allow the beef to hit those higher temperatures instantly.
Crowding the pan is the second most common mistake home cooks make. If you dump all the meat in at once, the temperature of the skillet will plummet. Instead of searing, the meat will release its juices and sit in a pool of gray liquid, effectively boiling itself. This makes the fibers tight and leathery. Work in two or even three batches. You want plenty of space between each steak bite so the heat can circulate and the moisture can evaporate immediately. It takes a few extra minutes, but the difference in texture is night and day.
Essential Tools for Heat Retention
A heavy-bottomed pan is non-negotiable for this recipe, and a cast iron skillet is the gold standard. Cast iron has incredible heat retention, meaning when you drop cold meat onto the surface, the pan doesn’t lose its temperature. This consistent heat is what gives you that professional-looking sear. If you use a thin, cheap pan, the temperature will fluctuate wildly, and you’ll struggle to get a consistent color on your steak bites.
You’ll also want a sturdy wooden spoon or a metal spatula. These are essential for “deglazing,” which is the process of using liquid to lift the caramelized bits off the bottom of the pan. For the fat, I start with olive oil because it has a higher smoke point than butter. If you start with butter at high heat, the milk solids will burn and turn bitter before the steak is even finished. We save the butter for the very end to create a rich, silky sauce without the risk of scorching.
Phase One: Achieving Crispy Golden Potatoes
We start with the potatoes because they take the longest to cook. After heating your oil until it’s shimmering and almost dancing in the pan, add the potato cubes in a single layer. Resist the urge to stir them constantly. They need direct, uninterrupted contact with the hot iron to develop a crust. Let them sit for a good 3 to 4 minutes before your first toss.
You’re looking for a deep, sunset-gold color on at least two sides of each cube. Use a fork to test one of the larger pieces; it should slide in with zero resistance. Once they reach this stage, remove them from the pan and set them aside on a plate. If you leave them in while you cook the steak, they’ll overcook and turn into mush. We want them to stay structural and crisp so they can stand up to the garlic butter later.
Phase Two: Searing Steak Without the Chew
After wiping the skillet clean of any stray potato bits, get that oil hot again. When you add the steak bites, you should hear a loud, aggressive sizzle. If it’s a quiet hiss, your pan isn’t hot enough. Once the meat is in, leave it alone. Don’t poke it, don’t move it, and don’t flip it for at least two minutes. This patience allows the crust to form and naturally release from the pan.
After two minutes, flip the pieces over. You’ll see a beautiful dark brown color that looks like it came from a high-end steakhouse. Sear the other side for another two minutes. At this point, the meat will be medium-rare to medium. Don’t worry if it looks a little underdone in the center; it will continue to cook slightly during the resting phase. Pull the meat out and set it aside with the potatoes immediately to stop the cooking process.
Building the Garlic Butter Pan Sauce
Now comes the part that ties everything together. Lower the heat to medium and pour in your beef broth and Worcestershire sauce. Use your wooden spoon to scrape up the “fond”—those dark, flavorful bits stuck to the bottom of the pan. This is concentrated flavor gold. As the liquid bubbles, it will pick up all that savory goodness and start to reduce into a thin syrup.
Next, drop in your cold butter, minced garlic, and herbs. Adding cold butter to a warm liquid is a classic French technique that creates an emulsion, resulting in a glossy, thick glaze rather than a greasy puddle. We add the garlic now because it only needs about 30 to 60 seconds to become fragrant. If you added it at the beginning with the steak, it would be burnt black and taste incredibly bitter by now. Once the sauce looks shiny and smells heavenly, toss the steak and potatoes back in just to coat them.
The Critical Five-Minute Rest Period
I know it’s tempting to eat right away, but you must let the dish rest for five minutes. When meat cooks, the muscle fibers tighten and push all the juices toward the center. If you bite into a steak cube immediately, those juices will just run out onto your plate, leaving the meat dry and stringy. It’s a waste of all your hard work.
During the rest, those muscle fibers begin to relax and expand again. This allows the juices to redistribute throughout the entire cube. Even better, the steak will actually soak up some of that garlic butter glaze as it rests. This five-minute window is the difference between a “good” dinner and a “wow” dinner. Use this time to set the table or pour a drink while the flavors settle and the meat becomes incredibly tender.
Troubleshooting Common Texture Issues
If your meat ends up tough, it’s usually because the pan wasn’t hot enough or you cooked it too long. A cold pan causes the meat to leak juices and toughen up before it ever browns. Next time, wait for the oil to shimmer. If the meat is overcooked, remember that small cubes cook much faster than a whole steak. Stick strictly to the two-minute-per-side rule.
Hard potatoes usually mean the cubes were too large or you didn’t use enough oil. If they’re browning too fast on the outside but staying hard inside, turn the heat down slightly and cover the pan with a lid for two minutes to trap some steam. If your sauce looks oily and separated, your heat was likely too high when you added the butter. To fix a broken sauce, add a tiny splash of water and whisk vigorously to bring the emulsion back together.
Flavor Variations and Herb Substitutions
While garlic and rosemary are a classic pairing, you can easily change the vibe of this dish. For a smoky, Spanish-inspired version, swap the thyme for a teaspoon of smoked paprika and a pinch of cumin. If you prefer a brighter, fresher finish, use tarragon instead of rosemary and add a big squeeze of fresh lemon juice right before serving. The acidity of the lemon cuts through the richness of the butter beautifully.
If you like a bit of heat, add half a teaspoon of red pepper flakes when you add the garlic. The heat will bloom in the butter and spread evenly across the steak and potatoes. You can also swap the beef broth for mushroom broth if you want an even deeper, earthier umami flavor. Just be careful with the salt if your broth is highly seasoned; always taste the sauce before adding extra salt at the end.
Optimal Side Dish Pairings
Since this recipe is quite rich and heavy on the starch, I always recommend serving it with something light and acidic to balance the palate. A simple arugula salad tossed in a sharp lemon vinaigrette is my favorite pairing. The peppery bite of the greens and the sourness of the lemon provide a perfect counterpoint to the savory garlic butter.
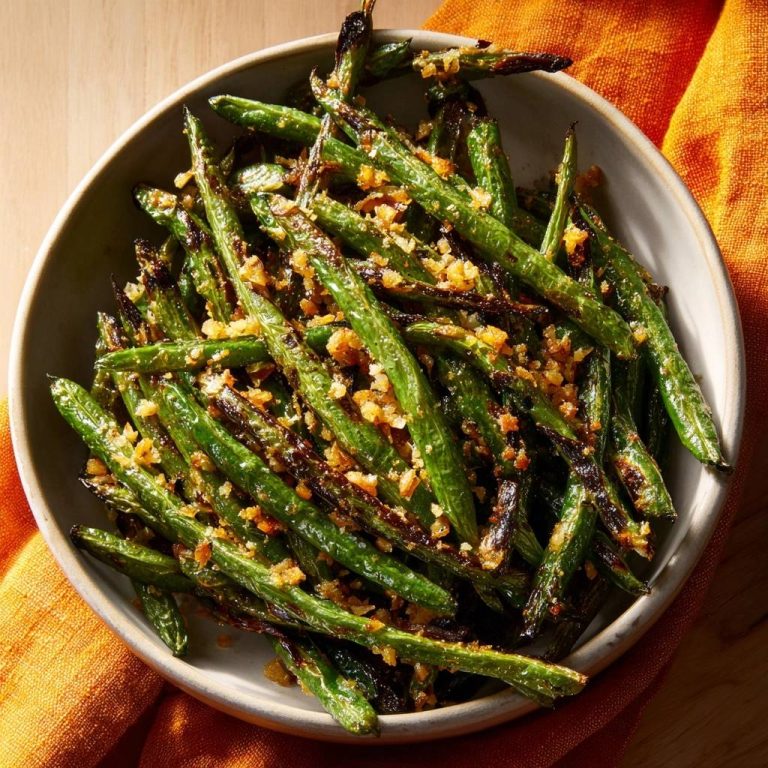
Blanched green beans or roasted asparagus also work wonderfully. You want a vegetable that has a bit of snap to it. Avoid serving this with other heavy sides like mac and cheese or mashed potatoes, as the meal can quickly become overwhelming. A side of quick-pickled red onions is another pro move; the bright pink color looks great on the plate and the vinegar pop cleanses your palate between bites of rich steak.
Storage and Reheating for Best Texture
If you have leftovers, store them in an airtight container in the refrigerator for up to three days. However, how you reheat them is crucial. Whatever you do, stay away from the microwave. Microwaves cook by vibrating water molecules, which essentially steams the steak from the inside out, turning your tender bites into leather in seconds.
The best way to revive this dish is a quick “flash-fry.” Heat a skillet over medium-high heat with a tiny drop of oil. Toss the leftovers in and move them around for about two to three minutes. This will crisp the potato skins back up and warm the steak through without pushing it past medium doneness. It tastes almost as good as it did the first time around.
Frequently Asked Questions
Can I use frozen potatoes for this recipe?
You can use frozen potato cubes, but you’ll need to adjust your technique. Thaw them completely first and pat them extremely dry with paper towels. Frozen potatoes hold a lot of excess moisture, and if you put them in the pan while damp, they will turn mushy and won’t get that signature crispness. Fresh Yukon Golds are always the better choice for the best texture.
What is the best substitute for beef broth?
If you don’t have beef broth, mushroom broth is the best substitute because it provides a similar savory umami depth. In a pinch, you can use a mixture of water and an extra teaspoon of Worcestershire sauce. Avoid using chicken broth if possible, as the flavor profile is a bit too light and can make the sauce taste slightly “off” when paired with heavy beef.
How do I know the pan is hot enough?
Look for the oil to “shimmer” or develop tiny ripples across the surface. You can also use the water droplet test: flick a tiny drop of water into the pan. If it dances and evaporates instantly with a loud pop, you’re ready. If it just sits there and bubbles slowly, wait another minute. The pan should be just below the point where the oil starts to smoke.
Can I use dried herbs instead of fresh rosemary?
Yes, you can use dried herbs, but remember the 1:3 ratio. Since dried herbs are more concentrated, use one teaspoon of dried rosemary for every tablespoon of fresh. Add dried herbs to the pan at the same time as the garlic so the heat can “bloom” the dried oils, which brings back some of their original flavor and aroma.
Is it possible to make this in a non-stick pan?
You can use a non-stick pan, but you won’t get the same results. Non-stick surfaces don’t allow for the same level of “fond” (browned bits) to develop, which means your sauce will have less flavor. Additionally, you shouldn’t use extremely high heat on most non-stick pans as it can damage the coating. If you must use one, cook in smaller batches and accept that the crust will be lighter.
Garlic Butter Steak Bites and Potatoes
Course: Main CourseCuisine: AmericanDifficulty: easy4
servings15
minutes25
minutes40
Minutes510
kcalAmerican
Ingredients
1.5 lbs Sirloin steak or Ribeye, cut into 1-inch cubes
1 lb Yukon Gold potatoes, peeled and cut into 3/4-inch cubes
3 tablespoons olive oil, divided
4 tablespoons unsalted butter
4 cloves garlic, minced
1/4 cup beef broth (for deglazing and creating the visual glaze)
1 tablespoon Worcestershire sauce
1 teaspoon dried thyme
1 sprig fresh rosemary
Salt and black pepper to taste
Fresh rosemary sprigs for garnish
Directions
- The most important step to avoid chewy meat is to pat the steak cubes completely dry with paper towels. Moisture on the surface creates steam, which toughens the meat. Season generously with salt and pepper only right before cooking.
- Heat 2 tablespoons of olive oil in a large cast iron skillet over medium-high heat until it is shimmering.
- Add the potatoes to the skillet in a single layer. Cook for 12 to 15 minutes, tossing occasionally, until they are deep golden brown and fork-tender. Remove potatoes from the pan and set aside.
- Wipe the skillet clean and add the remaining tablespoon of oil. Increase heat to high. To ensure the meat stays tender, work in batches so you do not crowd the pan. Crowding drops the temperature and causes the meat to boil in its own juices.
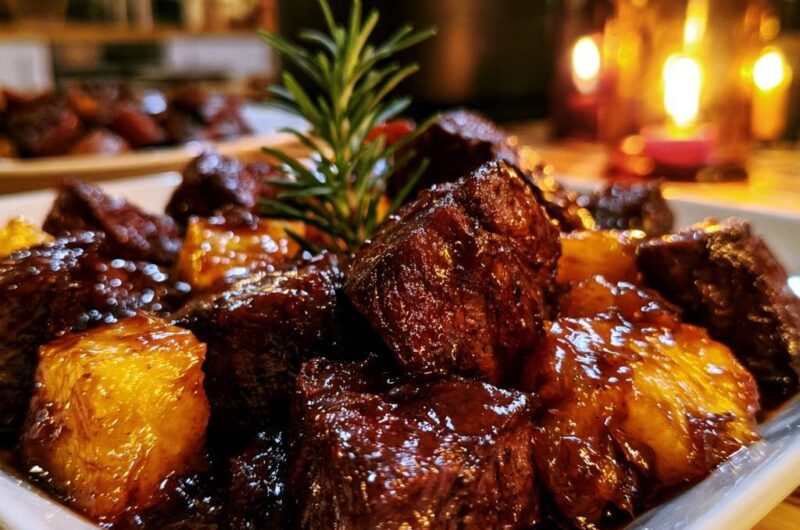
- Sear the steak bites for 2 minutes per side without moving them. This creates the dark, caramelized crust seen in the image. Remove steak bites and set aside with the potatoes.
- Reduce heat to medium. Add the beef broth and Worcestershire sauce to the hot pan, scraping the bottom with a wooden spoon to release the browned bits (fond). This creates the dark, glossy sauce.
- Add the butter, minced garlic, thyme, and the rosemary sprig. Once the butter melts and the sauce thickens slightly, toss the steak bites and the cooked potatoes back into the pan.
- Toss everything for 1 minute to coat thoroughly in the garlic butter glaze. Remove from heat immediately. Letting the steak sit in a hot pan for too long is the number one cause of toughness.
- Let the dish rest for 5 minutes before serving. This allows the fibers to relax and reabsorb the juices, guaranteeing a tender bite every time. Garnish with a fresh rosemary sprig as shown in the image.
Notes
- To prevent chewy meat, pat the steak dry before cooking, avoid crowding the pan, and let the meat rest for 5 minutes before serving to allow fibers to relax.