Blistered Green Beans with Crispy Garlic

Why Blistered Green Beans Transform Side Dishes
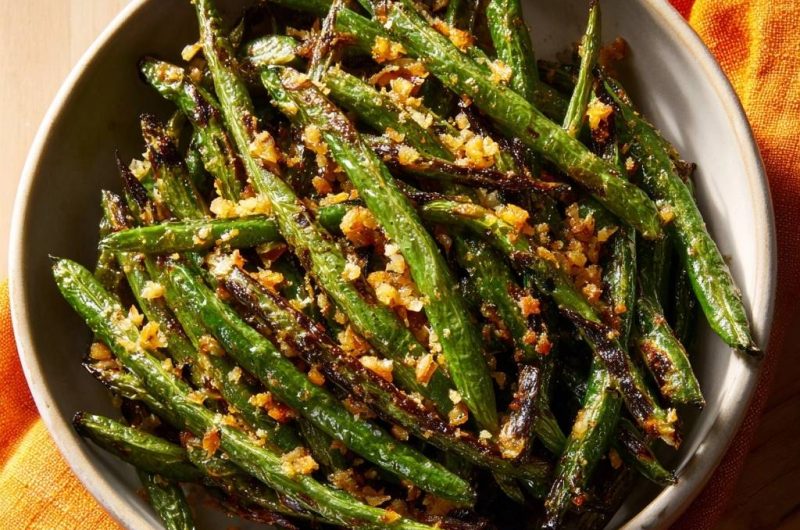
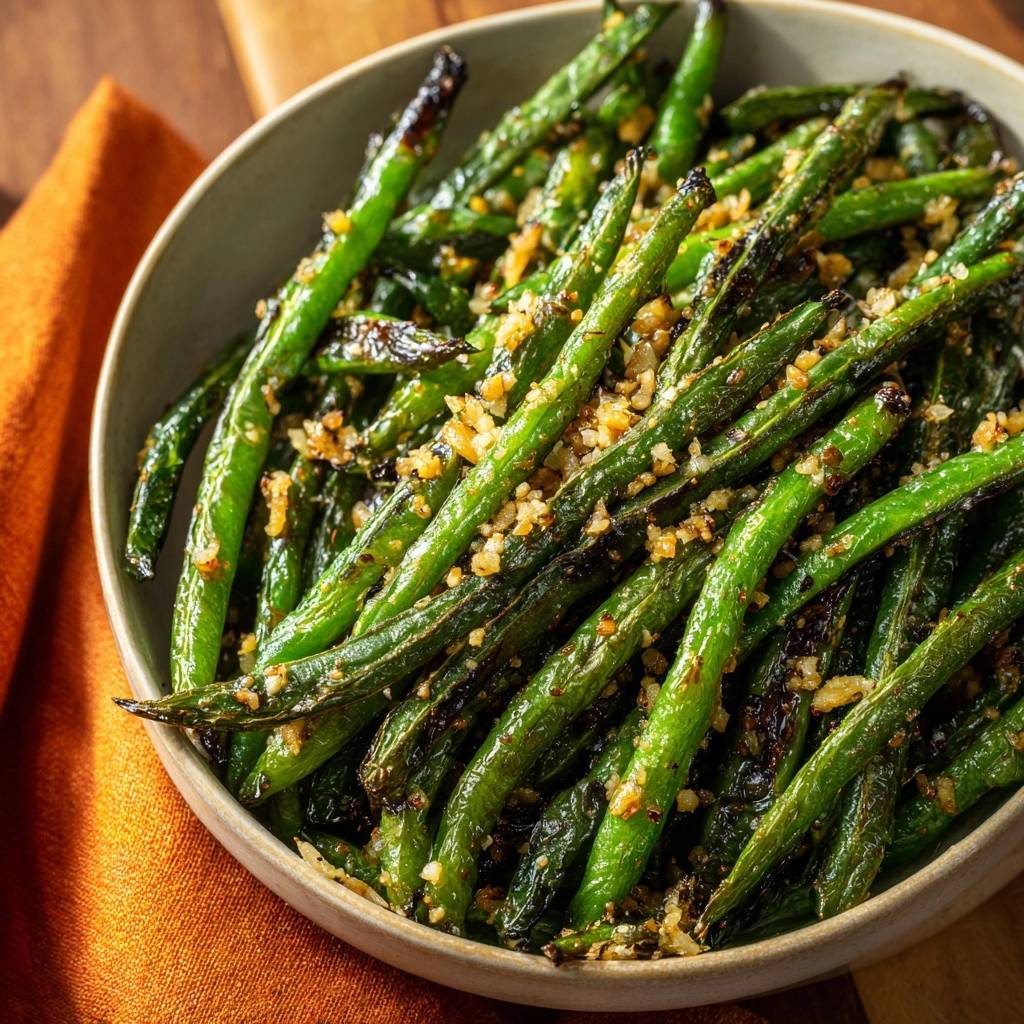
Picture this: you’re at a bustling farmers market, the air thick with the sizzle of street food stalls. I spot a vendor tossing green beans in a screaming-hot wok, those charred blisters popping against golden garlic shards. One bite, and I’m hooked, the snap of crisp beans mingling with nutty garlic crunch. No more limp, steamed sides. This Blistered Green Beans with Crispy Garlic delivers restaurant-level excitement right in your kitchen.
So why does this method win every time? It ditches the soggy fate of boiled beans for high-heat blisters that lock in sweetness and texture. Meanwhile, the garlic gets its own gentle fry to stay golden, not burnt. You get bold char without the bitterness that ruins so many attempts.
Here’s the pro tip that seals it: always crisp the garlic first on medium-low, then yank it out before blasting the beans. That separation keeps everything perfect. In just 10 minutes, you’ve got a side that punches way above weeknight dinners, turning simple veggies into craveable stars.
Key Ingredients for Blistered Green Beans with Crispy Garlic
Fresh green beans form the backbone here. They’re snappy and firm, which lets them blister beautifully under high heat. Frozen ones release too much water, so stick to vibrant, crisp ones from the market or store produce aisle.
Neutral oil like avocado or canola handles the heat without smoking out your kitchen. Its high smoke point means clean, crispy results. In addition, it carries the garlic flavor evenly into every bean.
Six minced garlic cloves bring the star punch. Mince them fine for even crisping; bigger chunks burn fast. Finally, salt and pepper go on late to season without drawing out moisture and making things soggy.
Shopping tip: grab beans with squeaky pods when you snap them. No garlic? Try minced shallots for a milder twist. Short on oil? A veggie oil blend works fine too. These picks make crispy garlic green beans foolproof.
Selecting Crisp Green Beans
Look for firm, vibrant green beans with no wilting or brown spots. They should snap cleanly when bent, signaling freshness and low moisture. Avoid limp ones; they’ll steam instead of blister.
Trim just the stem ends precisely. This ensures even cooking, so every bean chars uniformly. Rinse and dry them well first; excess water kills the sizzle.
Prepping Garlic for Golden Crispiness
Mince garlic into tiny pieces with a sharp knife for quick, even browning. A microplane grates it finer, but watch it closely; it crisps faster. Thin bits prevent tough, burnt edges.
Why mince? Larger slices cook unevenly and scorch. Stir constantly over low heat, and you’ll catch that toasty aroma right when it’s perfect gold.
Mastering the Two-Heat Method for Blistered Green Beans
This low-then-high heat trick is the genius behind Blistered Green Beans with Crispy Garlic. First, you gently crisp the garlic to build flavor without charring it black. Then, crank the heat for beans that blister and pop.
Separation is key. Cooking them together leads to burnt garlic disasters. However, this method delivers tender-crisp beans with golden crunch every time. You’ll smell the difference as aromas layer up.
Low-Heat Garlic Crisping Phase
Start with 1 tablespoon oil in a large skillet over medium-low. Add minced garlic and stir nonstop for 2 to 3 minutes. You’re aiming for pale golden and fragrant, not dark brown.
Scoop it out with a slotted spoon onto paper towels right away. This drains excess oil and stops cooking, locking in crispiness. Common mistake: starting too hot, which turns it bitter fast.
Pro tip: the paper towel absorbs moisture, so your garlic stays crunchy longer. If it darkens, toss and restart low. That nutty scent tells you it’s ready.
High-Heat Blistering the Green Beans
Crank heat to high and add the remaining 2 tablespoons oil. Wait for it to shimmer and ripple, then dump in trimmed beans in a single layer. Don’t crowd; use a wide skillet for best results.
Let them sit undisturbed for 2 minutes. You’ll hear snaps and see blisters form on the bottoms. Toss every minute after that for 3 to 4 more minutes until charred spots appear and they’re tender-crisp.
Sprinkle salt and pepper now. It seasons without wilting. Test doneness by biting one; it should crunch with a slight give. Over-tossing makes mush, so keep it minimal.
Final Toss for Unified Flavor
Off the heat, add back the crispy garlic. Gently toss to coat every bean. Heat’s residual warmth melds flavors without softening the garlic.
Serve right away for peak crunch. Pile them high on a platter; the charred spots and golden flecks make it look pro. This step unifies the dish perfectly.
If you love the crispy garlic on these green beans, you will also enjoy these soft buttery garlic herb dinner rolls.
Science of Blistering Green Beans with Crispy Garlic
High heat triggers the Maillard reaction on the beans’ surface. Sugars and proteins brown fast, creating those irresistible blisters and deep flavor. Meanwhile, moisture evaporates inside, keeping them crisp-tender.
Low heat for garlic controls browning too. It builds golden compounds without hitting bitter, acrid stages. Therefore, separation prevents the garlic’s oils from scorching under high heat.
Skillet physics help: cast iron retains heat evenly, so blisters form uniformly. No boiling here; that just leaches flavor. This method yields superior char and snap over any steamed version. Your Blistered Green Beans with Crispy Garlic shine because of it.
Avoiding Pitfalls in Blistered Green Beans
Burnt garlic? Always low-heat first and remove early. Crowded pan steams beans soggy, so batch if needed. Over-tossing kills blisters; let them sear.
Limp beans start limp, no matter the heat. Pick fresh. Oily smoke means wrong oil; use high-smoke point ones. Salt too early draws water out.
Quick fixes: for soggy beans, blot dry and re-blister. Garlic bitterness? More stirring next time. These tweaks keep your crispy garlic green beans on point.
Rescuing Overcooked Beans
If beans go too soft, splash with lemon juice or vinegar for brightness. It revives snap a bit. Or blanch briefly in ice water to firm up texture before retrying.
Best bet: start over with fresh ones. Prevention wins here.
Preventing Garlic from Burning
Stick to the separation: low fry, remove, then beans. Constant stir on medium-low keeps it golden. Visual cue: fragrant pale gold, not dark.
Slotted spoon out fast. This method never fails if you follow the heat switch.
Flavor Twists on Blistered Green Beans with Crispy Garlic
Add chili flakes with the garlic for heat that lingers. It builds spice without overpowering the char. Toss in at the end for control.
Lemon zest post-toss brightens everything. The citrus cuts richness, adding pop. Freshly grated works best.
Sprinkle sesame seeds after blistering for nutty crunch. They toast in residual heat. Soy sauce drizzle brings umami depth; just a teaspoon.
Swap in slivered almonds for garlic variety. Or finish with torn basil for herbal lift. These keep the core Blistered Green Beans with Crispy Garlic intact while mixing it up. Adjust portions for taste.
Ideal Pairings for Blistered Green Beans with Crispy Garlic
Grilled fish loves the garlic crunch; it cuts through richness. Tofu stir-fries get a texture boost too. Roasted chicken pairs perfectly, garlic echoing herbs.
Rice soaks up the bits, or try noodles for slurp. Contrast with a fresh salad. For 4 servings, this 1-pound recipe fits mains beautifully.
For a perfect pairing, try our Mastering Slow-Simmered Red Potatoes and Green Beans.
The char complements proteins without overwhelming. It’s versatile for weeknights or dinners.
What to Serve Alongside Those Green Beans
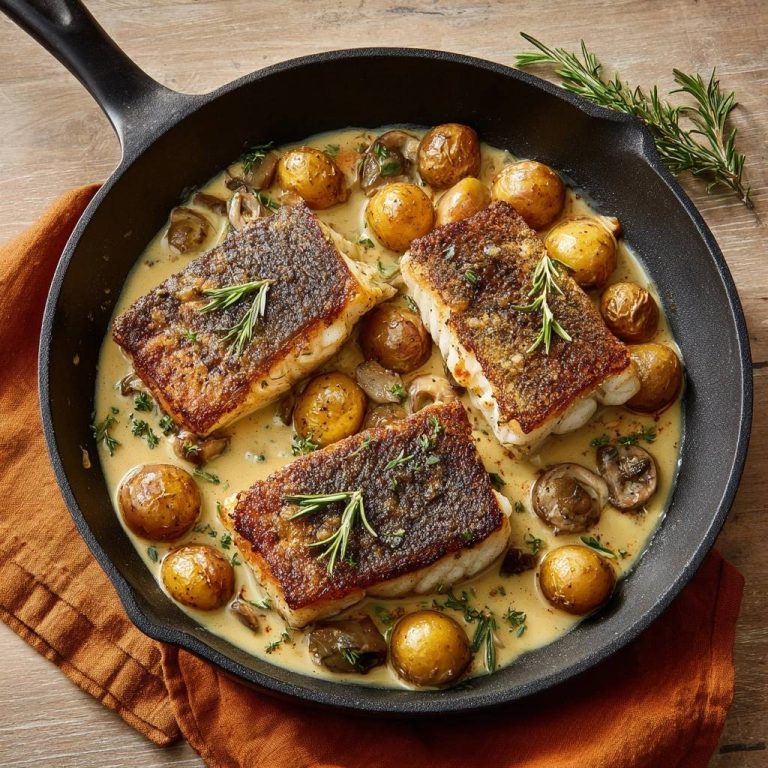
Blistered green beans with crispy garlic bring a savory, slightly charred edge and a pop of texture. They pair especially well with a light, protein-rich main that can stand up to the garlic without competing. Here are two fish dishes that work nicely with the beans.
- The fresh herbal kick of chimichurri and the crunchy roasted wedges in this pan-seared white fish with chimichurri and roasted wedges mirror the green beans’ garlicky finish and add a hearty contrast.
- A but
Essential Gear for Perfect Blistered Green Beans
A wide cast-iron or carbon steel skillet holds heat steady for even blisters. Non-stick slips and cools too fast. Budget picks like Lodge work great.
High-smoke oil is non-negotiable. Slotted spoon grabs garlic cleanly. Tongs help toss beans without piercing.
These tools make crispy garlic green beans effortless. No fancy stuff needed.
Blistered Green Beans with Crispy Garlic: Your Questions Answered
Can I Use Frozen Green Beans?
No, frozen green beans hold excess water that steams them instead of blistering. If desperate, thaw completely, pat ultra-dry, and blot again. Fresh always blisters best for that char.
How to Store Leftovers?
Store in an airtight container in the fridge for up to 2 days. Reheat in a hot skillet to crisp back up; microwave turns them soggy. Don’t freeze; texture goes limp.
Make It Vegan?
It’s already vegan. Neutral oils keep it plant-based. No swaps needed unless allergies.
Scale for Larger Crowds?
Double ingredients for 8, but use a wok or two skillets to avoid crowding. Cook garlic first, then batch beans. Toss all together at end.
Lower Oil Version Possible?
Try air fryer at 425°F for 8-10 minutes, shaking halfway, with oil spray. Skillet still chars best, but minimum 1 tablespoon oil per pound works.
Why Are My Beans Soggy?
Crowded pan or wet beans cause steaming. Dry them thoroughly, use high heat in a single layer, and don’t toss too much. Wide skillet fixes most issues.
Can I Substitute Garlic?
Minced shallots offer mild onion flavor with similar crisp. Or garlic powder post-cook, but fresh crisps beat it. Stick close for authentic punch.
Blistered Green Beans
Course: Side DishCuisine: AmericanDifficulty: easyYields4
servingsPrep Time5
minutesCook Time10
minutesCalories150
kcalTotal Time15
MinutesTired of garlic turning black while your green beans cook? This recipe fries the garlic first on medium-low heat until golden, removes it, then blasts the beans on high heat for perfect blisters. Toss together at the end for foolproof crunch and flavor every time.
Ingredients
1 lb fresh green beans, trimmed
6 garlic cloves, minced
3 tbsp neutral oil (like avocado or canola)
1/2 tsp salt
1/4 tsp black pepper
Directions
- Heat 1 tbsp oil in a large skillet over medium-low heat. Add minced garlic and stir constantly for 2-3 minutes until golden and fragrant. Do not let it brown darkly. Remove garlic with a slotted spoon to a paper towel-lined plate. This low-heat start prevents burning while building crispy bits.
- Increase heat to high. Add remaining 2 tbsp oil to the skillet. Once shimmering hot, add green beans in a single layer. Cook undisturbed for 2 minutes to blister, then toss and cook 3-4 more minutes until charred in spots and tender-crisp. Sprinkle with salt and pepper.
- Remove from heat. Gently toss blistered beans with the crispy garlic. Serve immediately for maximum crunch. The separate fry method locks in golden garlic perfection without scorching.
Notes
- Use a slotted spoon to remove garlic to avoid oil splatter. Serve immediately for maximum crunch. Neutral oils like avocado or canola work best for high-heat blistering.