Mastering Garlic Butter Egg Noodles: The Emulsion Technique for Silky Pasta
We have all been there: you boil a pot of egg noodles only to end up with a sticky, gummy mess that clumps together the second it hits the bowl. It is incredibly frustrating when a simple comfort food turns into a heavy, doughy block. However, achieving that restaurant-quality silkiness is actually about science rather than luck.
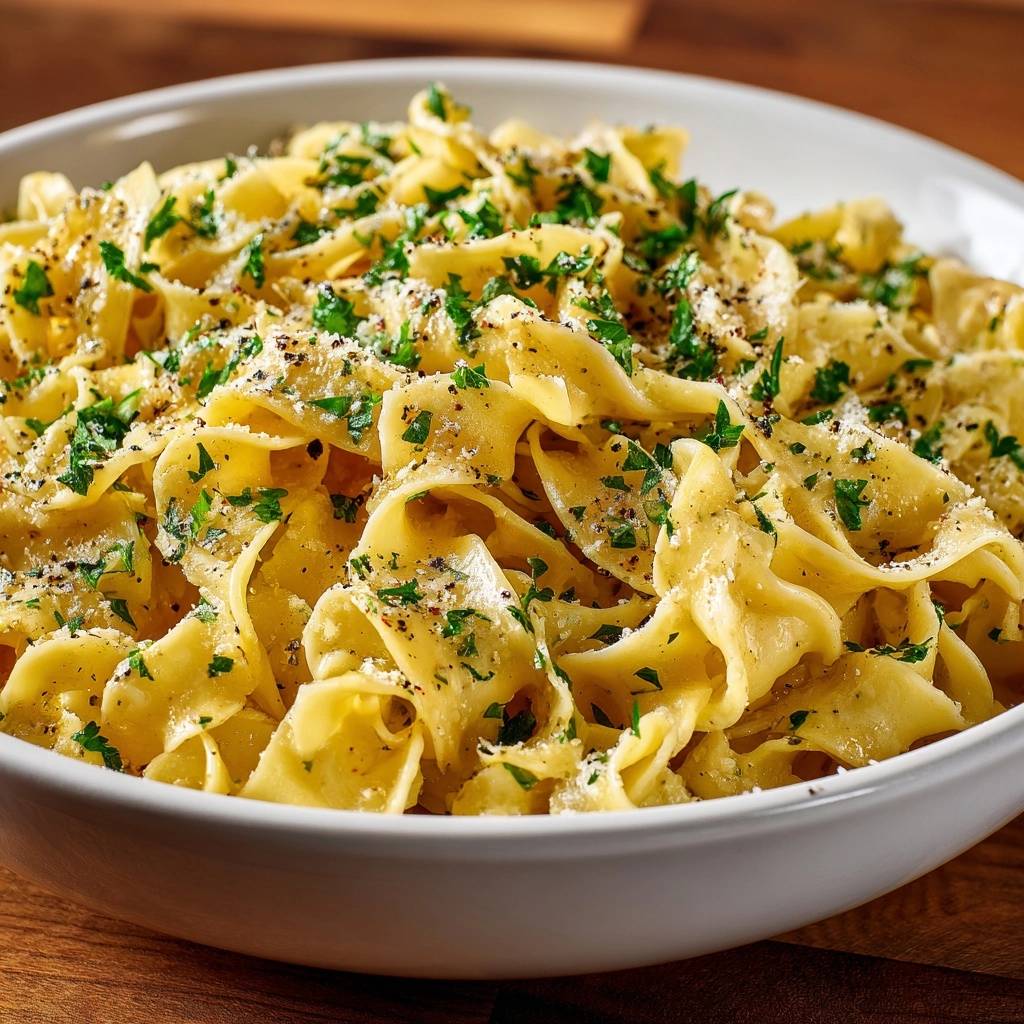
The secret to perfect Garlic Butter Egg Noodles lies in starch management and temperature control. By using a specific reserved water technique and finishing the noodles in a pan rather than just tossing them in a bowl, you create a silky emulsion. This process ensures the sauce coats every ribbon perfectly without any stickiness.
I’ve found that the most common mistake is draining the pasta completely and letting it sit. To fix this, you must treat the pasta water like liquid gold. That starchy water is the bridge between the fat of the butter and the surface of the noodle, creating a glossy finish that never breaks.
The Science of Starch and Gummy Noodle Prevention
Egg noodles differ significantly from standard semolina pasta because they contain a much higher proportion of eggs. This higher protein and fat content makes them incredibly tender, but it also means they release starch differently. When these noodles boil, they shed starch into the water, which can become a glue-like coating if not handled correctly.
Many home cooks make the mistake of rinsing their noodles under cold water to stop the sticking. In this kitchen, rinsing is a culinary sin. When you rinse the pasta, you strip away the very surface starch needed for the garlic butter sauce to bind to the noodle. Without that starch, the butter will simply slide off and pool at the bottom of your bowl.
Instead of rinsing, we use that surface starch to our advantage. By moving the noodles directly from the pot to a simmering pan of garlic butter, the starch acts as a natural thickener. This creates a cohesive sauce that clings to the wide ridges of the pasta rather than creating a greasy mess.
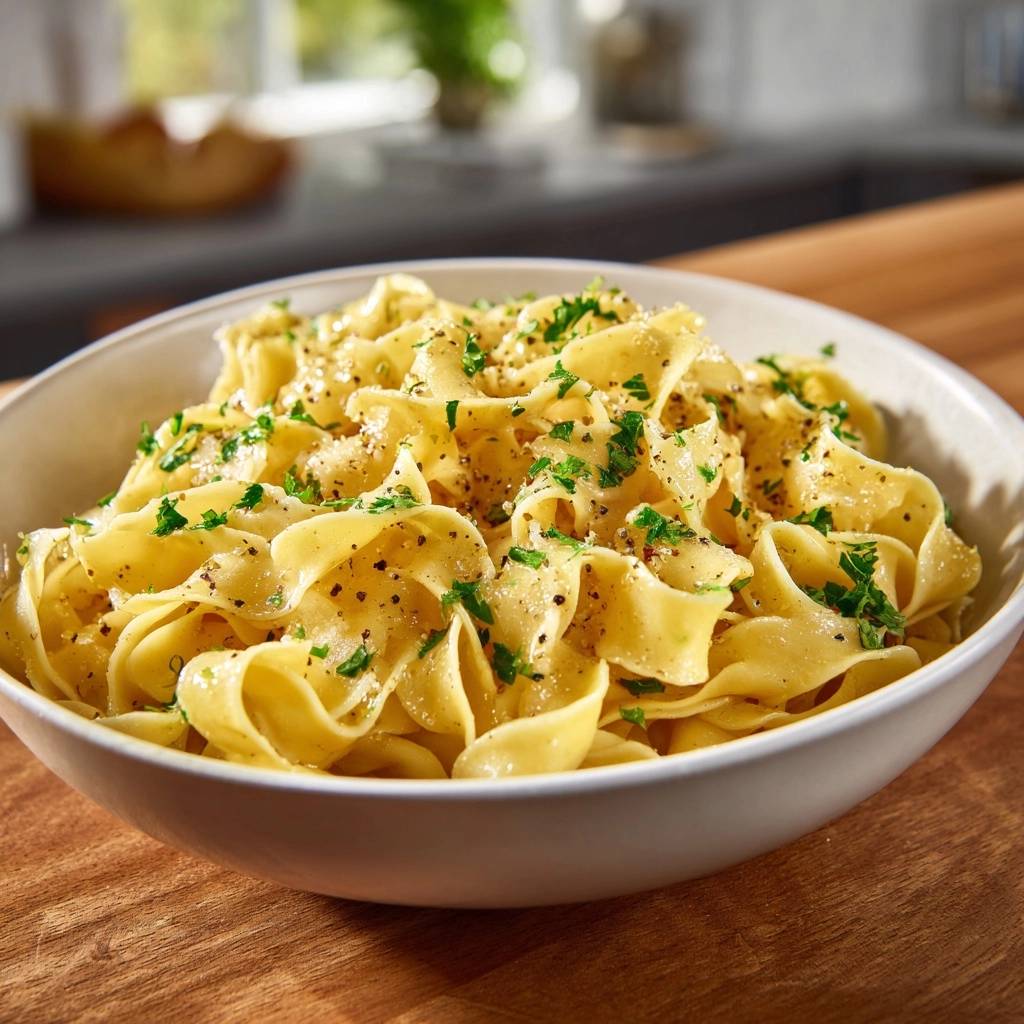
Why Al Dente is Non-Negotiable
You must pull your egg noodles off the heat when they still have a firm bite. Because we finish the noodles in a skillet with simmering liquid, they undergo carry-over cooking. If you cook them to “perfectly soft” in the boiling water, they will inevitably turn to mush once they hit the butter sauce.
Aim for about two minutes less than the package directions suggest. The noodle should feel slightly resistant in the center when you bite into it. This ensures that as the noodle hydrates and softens during the pan-emulsion phase, the final texture remains supple and bouncy rather than falling apart.
Essential Components for Garlic Butter Egg Noodles
Since this recipe relies on just a few ingredients, the quality of each one is paramount. I always recommend using unsalted butter for this dish. This gives you total control over the sodium levels, allowing the sweetness of the cream and the pungency of the garlic to shine without being overshadowed by salt.
Fresh garlic is absolutely mandatory here. While jarred minced garlic or garlic powder are convenient, they lack the essential oils and aromatic profile required for a true garlic butter sauce. Freshly minced cloves provide a mellow, nutty sweetness when sautéed gently, which is the backbone of the entire flavor profile.
Don’t skimp on the black pepper, either. Using a pepper mill to get coarse, cracked flakes provides a woody heat that cuts through the richness of the butter. It adds a layer of complexity that pre-ground pepper simply cannot match.
If you are adding chicken, this same creamy garlic base works beautifully in a creamy garlic chicken pasta bake.
Selecting the Right Wide Egg Noodle
When you are at the grocery store, look for “wide” or “extra-wide” egg noodles. Some specialty brands or Amish-style noodles are thicker and have a more rustic texture. These are ideal because the increased surface area maximizes the sauce-to-pasta ratio.
The wide shape acts like a canvas for the garlic-infused fat. Thinner noodles can easily get lost in the sauce or clump together more quickly. A broad ribbon holds its shape under the weight of the parmesan and butter, ensuring a satisfying mouthfeel in every bite.
The Role of High-Quality Parmesan and Parsley
If you use the pre-shredded cheese from a green shaker or a plastic bag, your sauce will likely fail. Those products contain cellulose and anti-clumping agents that prevent the cheese from melting smoothly. Instead, they often turn into grainy, rubbery clumps when they hit the heat.
Grating a block of real Parmigiano-Reggiano makes a world of difference. It melts into the residual heat of the pasta, creating a creamy, salty finish. Additionally, fresh parsley provides a necessary herbaceous lift. It adds a pop of color and a fresh “green” flavor that balances the heavy fats.
Step-by-Step: Executing the Perfect Emulsion
Executing this dish perfectly requires moving through three distinct phases: The Boil, The Infusion, and The Emulsion. You aren’t just mixing ingredients; you are performing a simple chemical reaction that turns water and fat into a creamy sauce.
Watch the pan closely as you work. You will see the liquid transform from a thin, watery consistency into a thick, pale gold glaze. This is the sign that your emulsion is stable and ready for the noodles.
Phase 1: The Salted Water and Starch Reserve
Start by bringing a large pot of water to a rolling boil. You want the water to taste like the sea, so don’t be afraid to add a generous tablespoon of salt. This is your only chance to season the noodle itself from the inside out.
Just before you drain the noodles, use a heat-proof measuring cup to scoop out at least one cup of the cloudy pasta water. This liquid is packed with dissolved starch. It is the “glue” that will eventually hold your butter and water together in a smooth sauce.
Phase 2: Infusing Butter Without Burning Garlic
In a large skillet, melt your butter over medium-low heat. When the butter begins to foam, add your minced garlic. You are looking for a soft, translucent look and a sweet, fragrant aroma. If the garlic starts to turn brown or crispy, it will become bitter and ruin the delicate flavor of the noodles.
Keep the garlic moving in the pan for about 60 to 90 seconds. As soon as you smell that classic savory scent, you are ready for the next step. If the pan feels too hot, pull it off the burner for a moment to regulate the temperature.
The same creaminess that saves these noodles from turning sticky is what makes the creamy homestyle chicken noodle soup so satisfying.
Phase 3: Creating the Glossy Pan Sauce
Now, pour half a cup of that reserved pasta water into the butter and garlic. Increase the heat to medium and whisk vigorously. You will see the yellow butter and the cloudy water marry into a single, opaque liquid. This is your emulsion.
Add the noodles to the skillet and toss them continuously using tongs. This motion encourages the noodles to absorb the liquid while the friction helps thicken the sauce. If the pasta looks dry or starts to squeak in the pan, add another splash of the reserved water until it looks glossy and wet.
Avoiding Common Mistakes with Egg Noodles
The biggest failure in this recipe is clumping cheese. This happens when the cheese is added to a pan that is too hot, causing the proteins to seize. Always remove the pan from the heat and let it sit for thirty seconds before folding in your parmesan.
Another common issue is a “broken” sauce, where the oil separates from the water and pools at the bottom. If this happens, add a tablespoon of fresh pasta water and whisk hard. The extra starch will usually pull the emulsion back together.
Lastly, never overcook the noodles in the first pot. If they are already soft when they hit the skillet, they will break into small pieces as you toss them. A firm noodle is a resilient noodle that can handle the vigorous tossing required for a glossy finish.
Flavor Variations and Ingredient Swaps
Once you master the base technique, you can easily customize this dish. For a “Garlic Chili” version, add a teaspoon of red pepper flakes to the butter while the garlic sautés. This infuses the fat with a gentle heat that glows through the sauce.
If you want something brighter, add the zest of one lemon and a pinch of fresh thyme at the very end. This spring-inspired profile is excellent alongside roasted fish or chicken. The acidity of the lemon zest cuts through the butter beautifully.
For a heartier meal, you can toss in sautéed mushrooms or leftover roasted chicken. Just ensure these additions are warm before they hit the pasta so they don’t drop the temperature of the emulsion too quickly.
What to Serve with Garlic Butter Egg Noodles
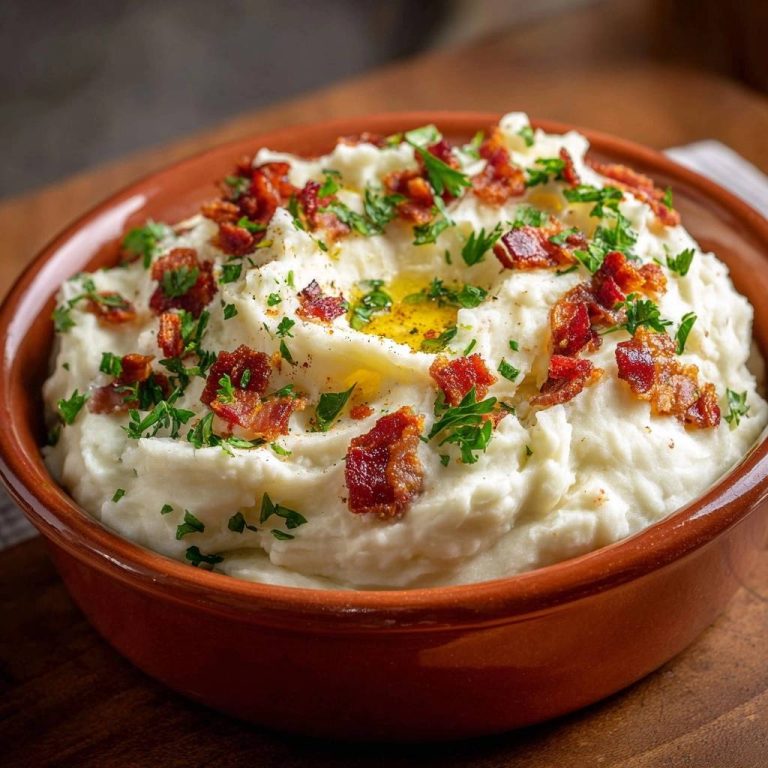
Because these noodles are rich and buttery, they pair best with sides that offer acidity or crunch. A crisp arugula salad with a lemon vinaigrette is a perfect companion. The peppery bite of the greens cleanses the palate between mouthfuls of savory pasta.
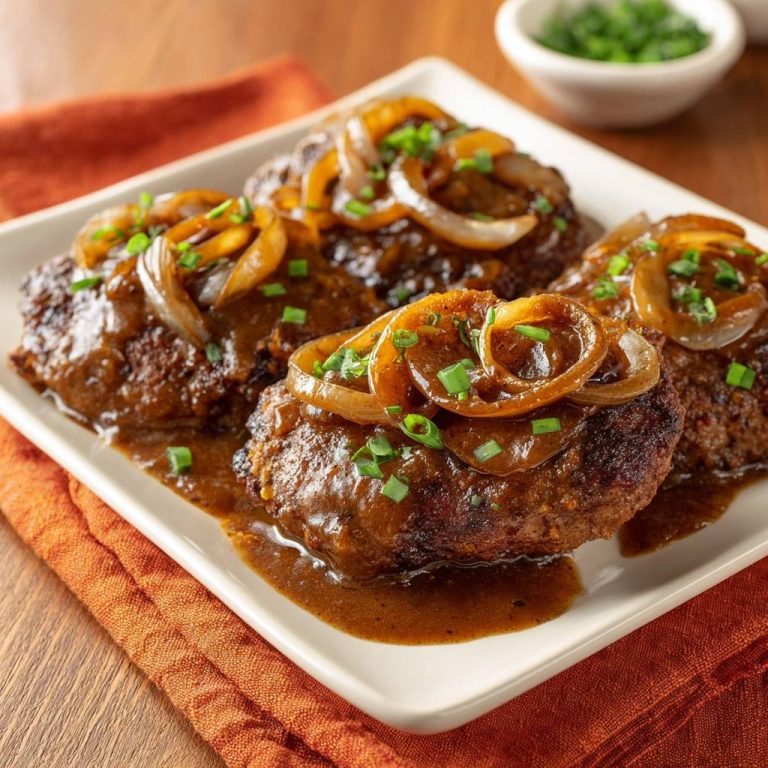
Roasted balsamic vegetables, like Brussels sprouts or carrots, also work wonderfully. The tang of the balsamic vinegar provides a sharp contrast to the mellow garlic butter. If you want a classic comfort meal, serve these noodles under a scoop of braised beef or Swedish meatballs.
What to Serve With Garlic Butter Noodles
These garlic butter noodles are rich and silky, so pair them with something that shares that same garlicky pull and bakes up crisp on the edges.
- For extra cheesy, pull-apart garlic bread that soaks up extra butter sauce, try these Cheesy Garlic Pull-Apart Bread Bites.
- The crunchy outside and soft inside of
Get the full recipe in your inbox in seconds – perfect for shopping and cooking.
Egg Noodles
Course: Main CourseCuisine: AmericanDifficulty: easy4
servings5
minutes10
minutes310
kcal15
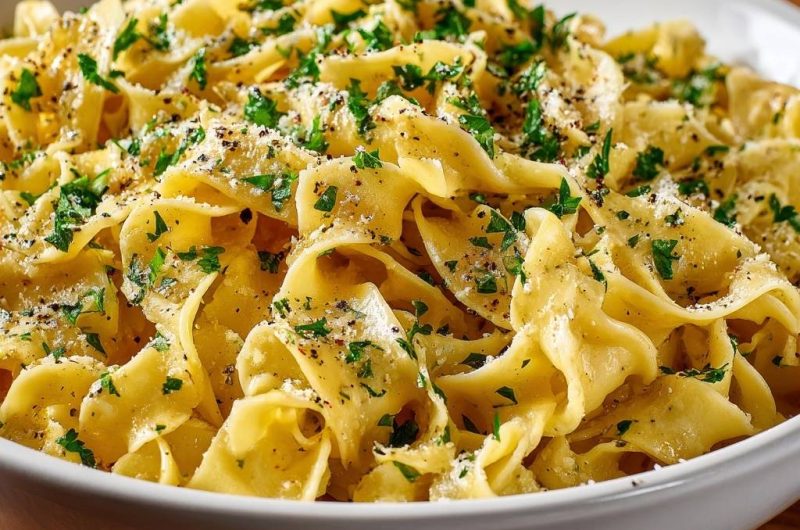
MinutesA simple yet elevated pasta dish featuring wide egg noodles tossed in a glossy garlic butter emulsion. By finishing the noodles in a skillet with reserved pasta water and parmesan, you achieve a perfect texture without any clumping or stickiness.
Ingredients
12 ounces wide egg noodles
6 tablespoons unsalted butter (increased for the glossy finish shown in image)
4 cloves garlic, minced
1/2 cup reserved pasta cooking water
1/2 cup grated parmesan cheese, plus extra for garnish
1/2 cup fresh parsley, finely chopped (divided)
1 teaspoon cracked black pepper
1/2 teaspoon sea salt (plus more for pasta water)
Directions
- Bring a large pot of heavily salted water to a boil. Add the egg noodles and cook for 2 minutes less than the package directions. The noodles must be “al dente” as they will finish cooking in the sauce.
- Before draining, scoop out 1 cup of the starchy pasta water. Drain the noodles but do not rinse them; the surface starch is essential for the sauce to adhere.
- In a large skillet or the same pot, melt the butter over medium-low heat. Add the minced garlic and cook for 1-2 minutes until fragrant and soft, but do not let it brown.
- Pour 1/2 cup of the reserved pasta water into the butter and garlic. Increase heat to medium and whisk vigorously for 1 minute. This creates a stable emulsion that prevents the butter from separating and pooling at the bottom.
- Add the noodles to the skillet. Toss continuously for 2 minutes using tongs or a pasta fork. The noodles will absorb the liquid and the sauce will thicken into a glossy coating. If the pasta looks dry, add a splash more of the reserved water.
- Remove from heat. This is crucial: let the temperature drop slightly before adding the cheese to prevent clumping.
- Fold in the parmesan cheese, half of the fresh parsley, salt, and the cracked black pepper.
- Transfer to a serving bowl. Top with the remaining fresh parsley and an extra dusting of parmesan and black pepper to match the visual presentation. Serve immediately.
Notes
- The secret to avoiding gummy pasta is starch management. Do not rinse the noodles and ensure you whisk the butter and pasta water together to create a stable emulsion before adding the cheese.