Mastering the Cheesy Shredded Potato Casserole
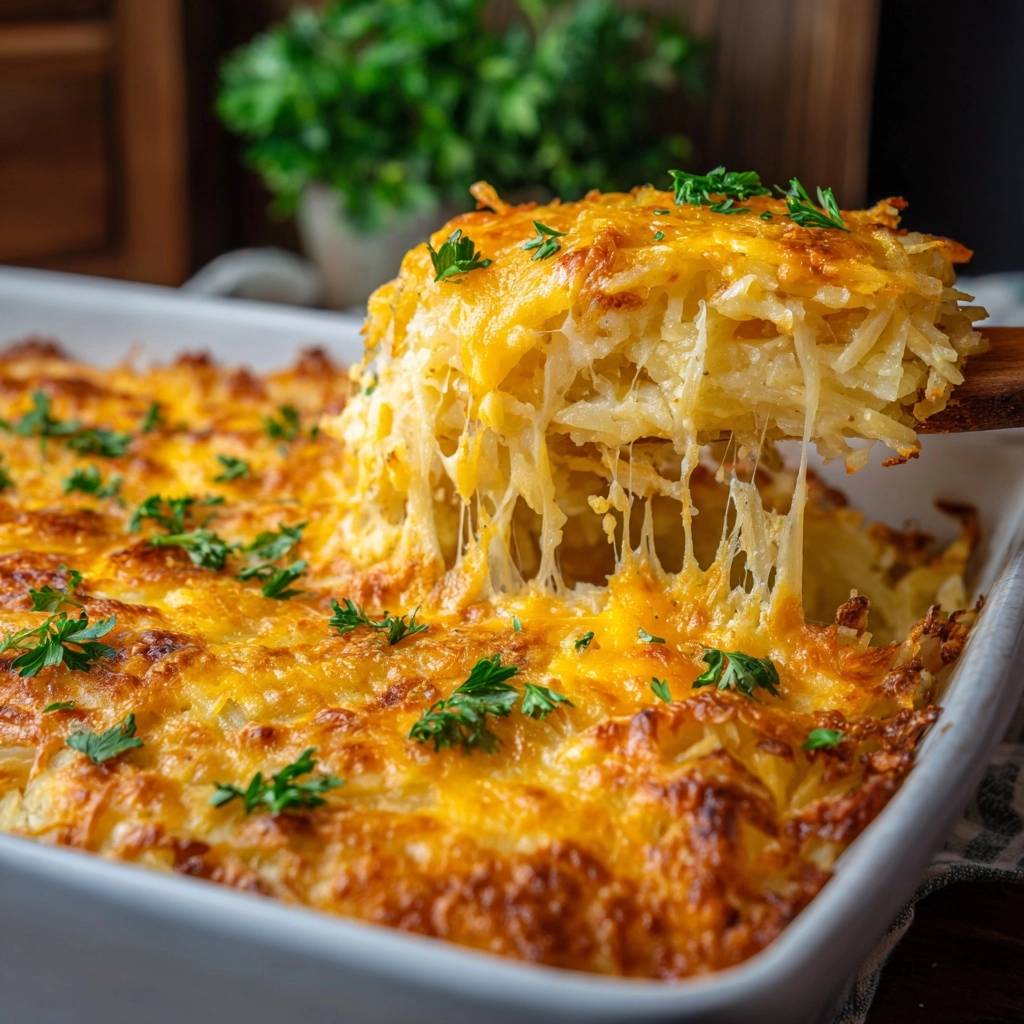
We’ve all been there. You pull a beautiful, bubbling potato casserole out of the oven, only to find a watery, mushy mess hiding beneath the cheese. It’s a heartbreak that ruins many holiday dinners and potlucks.
The secret to a perfect Cheesy Shredded Potato Casserole isn’t just adding more cheese. It’s about moisture management and a specific two-stage baking process. This method ensures every single bite is creamy on the inside while maintaining a golden, crispy exterior that holds its shape on the plate.
I’ve found that the real trick lies in how you treat the potatoes before they ever touch the mixing bowl. By focusing on “bone-dry” prep and high-heat finishing, you’ll create a skyscraper-tall side dish with structural integrity. Let’s dive into how you can master this comfort food classic without the dreaded soggy bottom.
The Science of Moisture in Shredded Potatoes
Potatoes are naturally full of water, but frozen shredded hash browns present a unique challenge. When potatoes are frozen, the water inside their cells expands and ruptures the cell walls. Therefore, as they thaw, they release a massive amount of liquid that can turn your casserole into a soup.
If you don’t remove this moisture, the starch cannot bond with the fats in the sour cream and cheese. Instead of a cohesive, velvety sauce, you end up with a broken, grainy texture. Achieving a Maillard reaction—that beautiful browning we crave—is impossible in the presence of excess steam.
Frozen shreds are actually superior to fresh potatoes for this specific dish because they are usually par-cooked. This process stabilizes the starch, but only if you wring them out completely. When they are truly dry, the shreds act like little sponges, soaking up the seasoned cream mixture rather than swimming in a puddle of potato water.
Essential Components for the Perfect Potato Bake
Quality ingredients make a massive difference when you’re working with a relatively short list. I always recommend using a Sharp Cheddar because it has a higher acid content. This acidity is vital because it cuts through the heavy fats of the butter and sour cream, brightening the overall flavor profile.
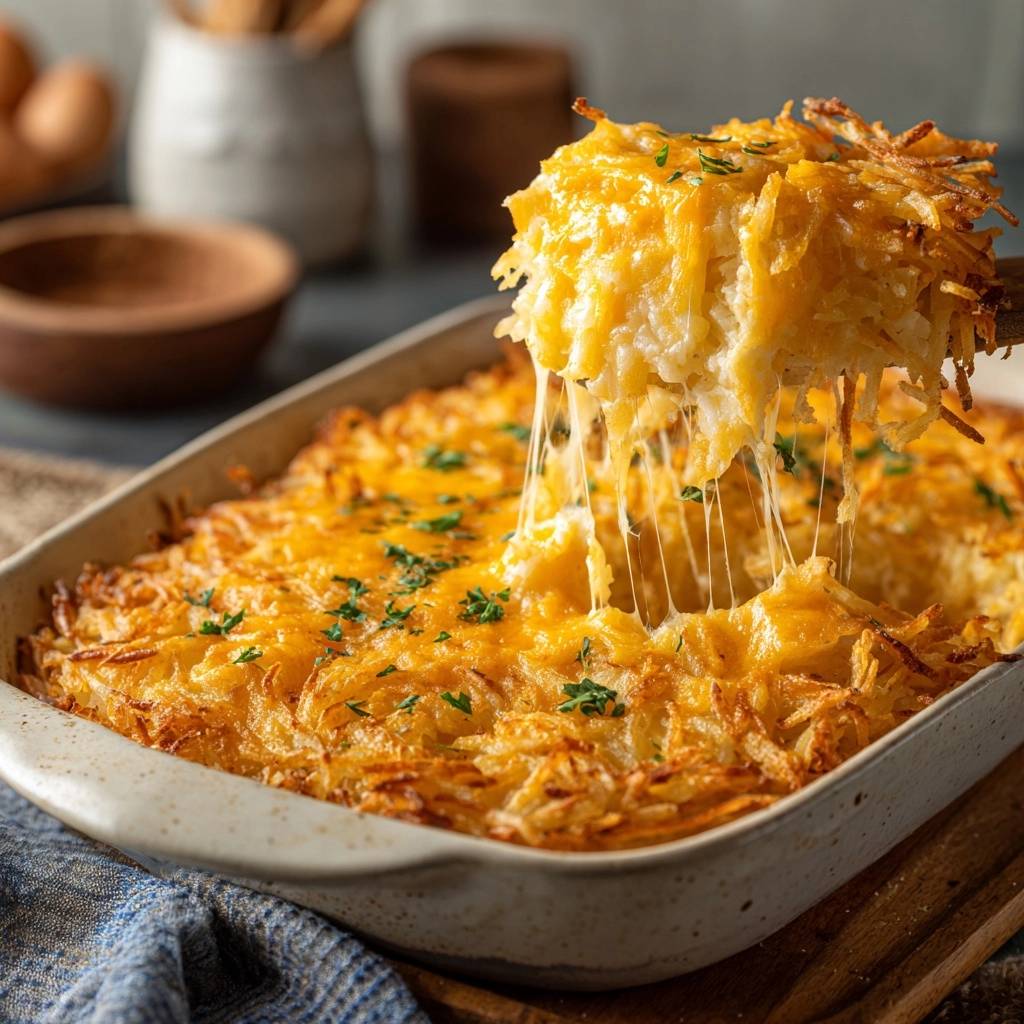
While cheddar provides the flavor, Mozzarella provides the “pull.” It has excellent melting properties and creates those long, gooey strands that make the dish feel indulgent. Using a mix of both ensures you don’t sacrifice texture for taste or vice versa.
The condensed cream of chicken soup acts as a stabilized emulsifier. Unlike a homemade roux, which can sometimes break or become oily under high heat, the soup keeps the sauce thick and creamy throughout the long bake. It provides a consistent, savory base that ties the dairy and potatoes together perfectly.
Selecting the Right Shredded Potato Base
While I love cooking from scratch, store-bought frozen shredded hash browns are the gold standard here. They offer a uniform size that ensures every piece cooks at the same rate. If you choose to grate your own Russets, you must be prepared for extra work.
What’s Next?
Try these delicious pairings:
Freshly grated potatoes need a long soak in cold water to remove surface starch, followed by an even more intense drying process. Because they aren’t par-cooked like the frozen version, they often require an extra 10 to 15 minutes of baking time to reach the desired tenderness.
Dairy Fats and Flavor Elevators
Full-fat sour cream is non-negotiable for the best mouthfeel. It adds a subtle tang that balances the richness of the melted butter. In addition, using onion and garlic powders instead of fresh aromatics is a strategic choice for this bake.
Fresh onions release even more moisture as they cook, which can jeopardize our “anti-soggy” mission. Powders provide a consistent “base note” of savory flavor that permeates every inch of the casserole without changing the hydration levels of the binder.
Step-by-Step: Engineering the Anti-Soggy Casserole
Preheat your oven to 375°F and grease a 9×13 inch ceramic dish. Ceramic is excellent for this recipe because it holds heat evenly, helping the edges get that coveted crunch. Now, let’s get to the most important part of the entire process.
The Wring-Out: Achieving Bone-Dry Texture
Take your completely thawed potatoes and dump them into a clean, lint-free kitchen towel. Gather the corners and twist the towel forcefully over your sink. You will be shocked at how much water comes out—sometimes up to half a cup!
Keep twisting until you can’t squeeze out another drop. When you open the towel, the potatoes should look fluffy and separated, not clumped together. This physical extraction is the only way to guarantee a casserole that stands tall when sliced.
Aerating the Binder for a Lighter Lift
In your mixing bowl, whisk the melted butter, sour cream, and soup vigorously. You want to see small bubbles forming in the mixture. This aeration creates tiny air pockets that trap steam during the first phase of baking.
When you fold in the potatoes and cheese, do it gently. If you pack the mixture into the baking dish too tightly, you’ll crush those air pockets and end up with a dense, heavy brick. Keep it light and airy for the best texture.
The Two-Stage Temperature Strategy
Cover the dish with foil for the first 20 minutes at 375°F. This stage uses trapped heat to steam the potato shreds until they are tender all the way through. However, the magic happens in the second stage.
Remove the foil, add the remaining cheese, and crank the heat up to 400°F. This temperature jump triggers rapid evaporation and browns the cheese. You’re looking for the edges to become dark golden and the top to develop a crackly, bubbling crust.
Avoiding Common Shredded Potato Mistakes
If you notice your cheese is “oiling off” or looking greasy, it usually means the oven was too hot too fast, or you used pre-shredded cheese with too many additives. I always suggest grating your own cheese from a block to avoid the waxy anti-clumping agents found in bags.
If the center of your casserole is still cold while the edges are brown, your dish might be the culprit. Glass heats up quickly but doesn’t always distribute it evenly. If using glass, you might need to tent the edges with foil to prevent burning while the middle catches up.
Never use low-fat or “light” dairy products for this recipe. The lower fat content makes the sauce much more likely to break and become watery. Stick to the full-fat versions to ensure a stable, creamy emulsion that can withstand the high heat of the oven.
Make-Ahead Strategies and Temperature Control
You can easily prep this dish 24 hours in advance. Simply mix everything together, spread it in the dish, and cover it tightly with plastic wrap in the fridge. However, keep in mind that the potatoes will continue to release a little moisture as they sit.
When you’re ready to bake, let the dish sit on the counter for 30 minutes to take the chill off. A cold ceramic dish entering a hot oven can sometimes crack, and it will definitely require an extra 10 minutes of covered baking time to heat through properly.
For freezing, it is best to bake the casserole halfway (the covered stage), let it cool completely, and then freeze. When you’re ready to serve, thaw it in the fridge and finish the second high-heat baking stage to restore the crispy texture.
Optimal Pairings for a Rich Potato Side
Since this casserole is incredibly rich and cheesy, you want to pair it with proteins that offer a bit of “zip” or char. A lemon-herb roasted chicken is a fantastic partner because the citrus cuts right through the dairy.
If you love the crispy edges and tender center of shredded potatoes, try the same approach with this brown sugar pecan sweet potato casserole.
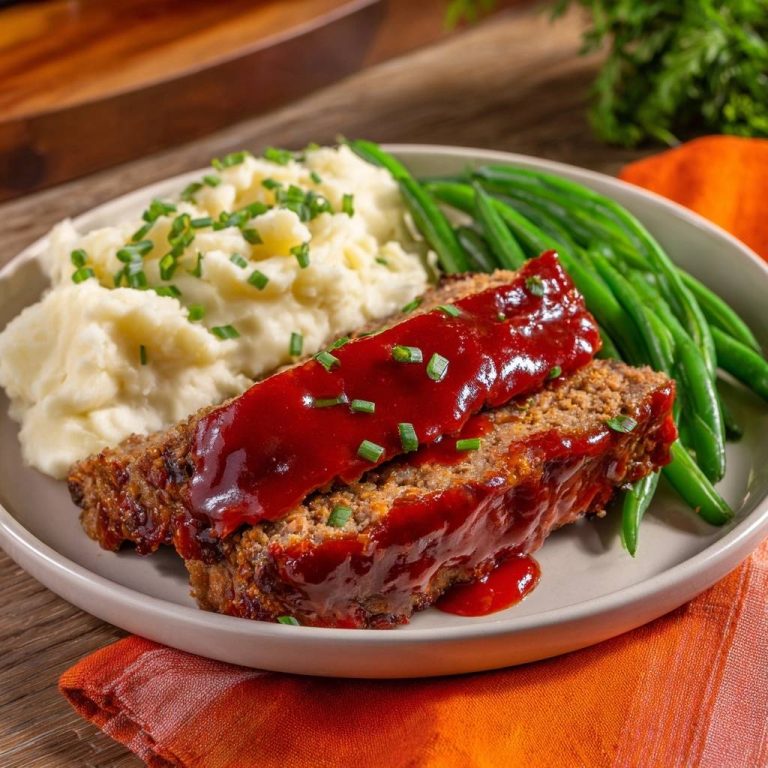
Grilled lamb chops or a pepper-crusted roast beef also work beautifully. I generally avoid serving this alongside other cream-based sides like creamed spinach. Instead, go for a bright vinegar-based slaw or roasted green beans to balance the plate.
Expert Troubleshooting and Technical FAQ
Can I use fresh potatoes instead of frozen?
Yes, but it requires more effort. You must peel, grate, and then soak the shreds in cold water for 30 minutes to remove excess starch. Afterward, you must dry them even more thoroughly than frozen ones. Expect the initial covered bake to take about 10 minutes longer.
Why is my casserole bubbling grease at the edges?
This usually happens if the cheese reaches its breaking point. To fix this, you can gently blot the edges with a paper towel. To prevent it next time, ensure you are using a high-quality block of sharp cheddar and avoid over-mixing the fats into the potatoes.
How do I achieve a darker, crunchier crust?
If the casserole is cooked through but the top isn’t as brown as you’d like, turn on the broiler for the last 2 to 3 minutes. Watch it like a hawk, though! The dairy in the cheese can go from golden to burnt in a matter of seconds.
What is the best dish for even heat distribution?
A heavy ceramic baking dish is the winner here. It provides steady, even heat that prevents the bottom from scorching while ensuring the middle gets hot. Cast iron is also a great choice if you want extra-crispy edges, though it may cook slightly faster.
The Importance of the Ten-Minute Set
I know it’s tempting to scoop into that bubbling cheese immediately, but patience is a virtue here. The ten-minute rest period is a functional part of the cooking process. During this time, the starches in the potatoes reabsorb the hot fats and liquids.
If you enjoy the rich, cheesy base here, try swapping the potatoes for cauliflower in this creamy roasted cauliflower gratin.
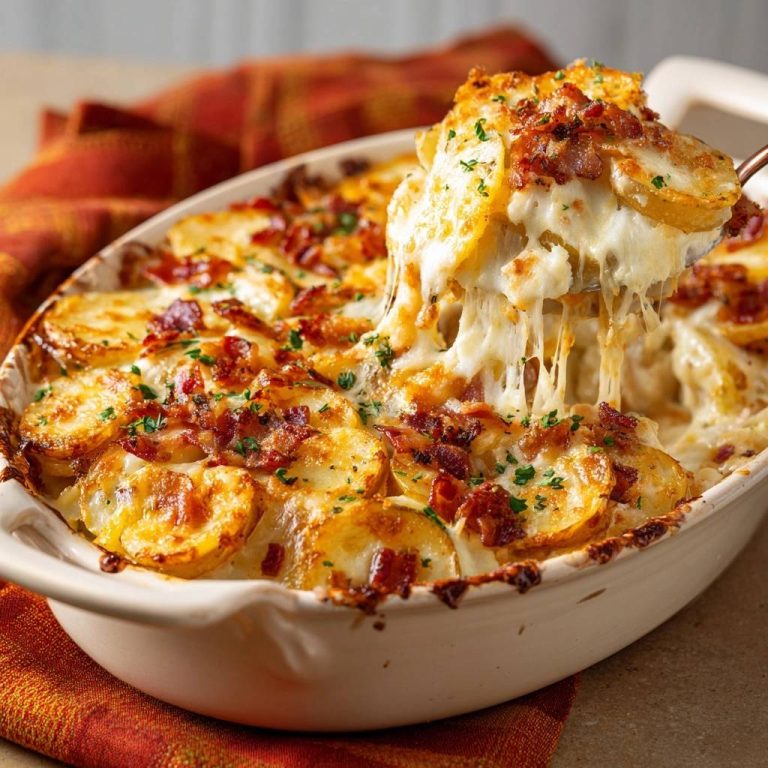
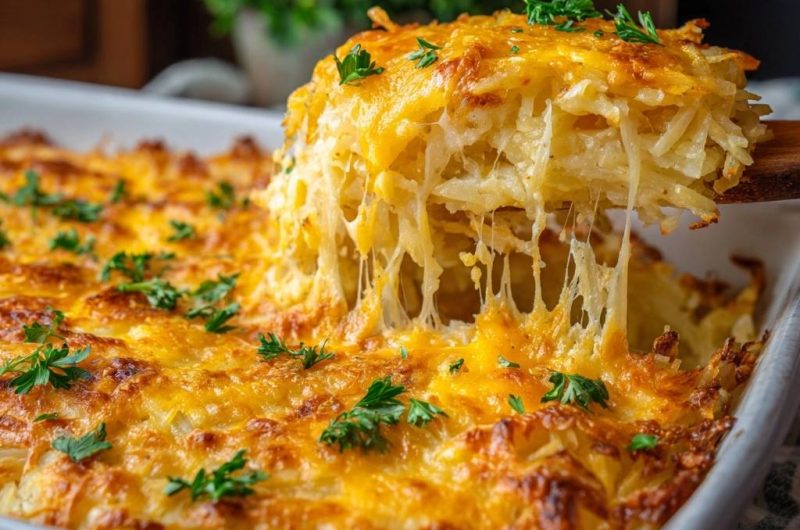
This “carry-over” cooking allows the casserole to firm up. If you cut it too early, the sauce will run, and the structure will collapse. After ten minutes, you’ll be able to lift out clean, tall squares that show off every beautiful, cheesy layer. Garnish with a little fresh parsley for a pop of color, and you’re ready to serve a masterpiece.
Cheesy Shredded Potato Casserole
Course: Side DishCuisine: AmericanDifficulty: medium10
servings20
minutes50
minutes345
kcal70
MinutesA structurally sound and golden-crisp potato bake that avoids the common ‘watery mess’ by using a moisture-removal technique and a high-heat finish for perfect texture.
Ingredients
30 ounces frozen shredded hash browns, thawed completely
2 cups sharp cheddar cheese, shredded
1.5 cups mozzarella cheese, shredded (divided)
1 cup sour cream
1 can (10.5 ounces) condensed cream of chicken soup
1/2 cup unsalted butter, melted
1 teaspoon onion powder
1 teaspoon garlic powder
1/2 teaspoon kosher salt
1/2 teaspoon black pepper
Fresh parsley, chopped for garnish
Directions
- Preheat and Prep: Preheat your oven to 375°F (190°C). Generously grease a 9×13 inch ceramic or glass baking dish with butter or non-stick spray.
- The Moisture Secret: To solve the soggy bottom problem, place your thawed shredded potatoes into a clean kitchen towel or several layers of heavy-duty paper towels. Wring them out forcefully over the sink to remove every drop of excess water. The potatoes should feel “bone-dry” and separated before mixing.
- Create the Binder: In a large mixing bowl, whisk together the melted butter, sour cream, cream of chicken soup, onion powder, garlic powder, salt, and black pepper until smooth and aerated.
- Combine: Fold the dried shredded potatoes, 1 cup of the cheddar, and 1/2 cup of the mozzarella into the cream mixture. Stir until the potatoes are thoroughly and evenly coated.
- Layer for Texture: Spread the mixture into your prepared baking dish. Do not pack it down too tightly; keeping it slightly airy allows the heat to penetrate and crisp the internal strands.
- The First Bake: Cover the dish with foil and bake for 20 minutes. This steams the potatoes through so they are tender.
- The Crisp Finish: Remove the foil. Top the casserole with the remaining 1 cup of cheddar and 1 cup of mozzarella. Increase the oven temperature to 400°F (200°C).
- Final Bake: Return to the oven uncovered for 25-30 minutes. Bake until the cheese is deeply browned and bubbling, and the potato shreds at the very edges are dark golden and crunchy.
- The Set: Let the casserole rest for 10 minutes before slicing. This is crucial; it allows the cheese and starches to “set,” ensuring the tall, clean-edged lift shown in the image. Garnish with fresh parsley and serve.
Notes
- The secret to success is wringing the thawed potatoes until bone-dry. Letting the dish rest for 10 minutes after baking is essential for clean slicing.