Mastering Slow-Simmered Red Potatoes and Green Beans
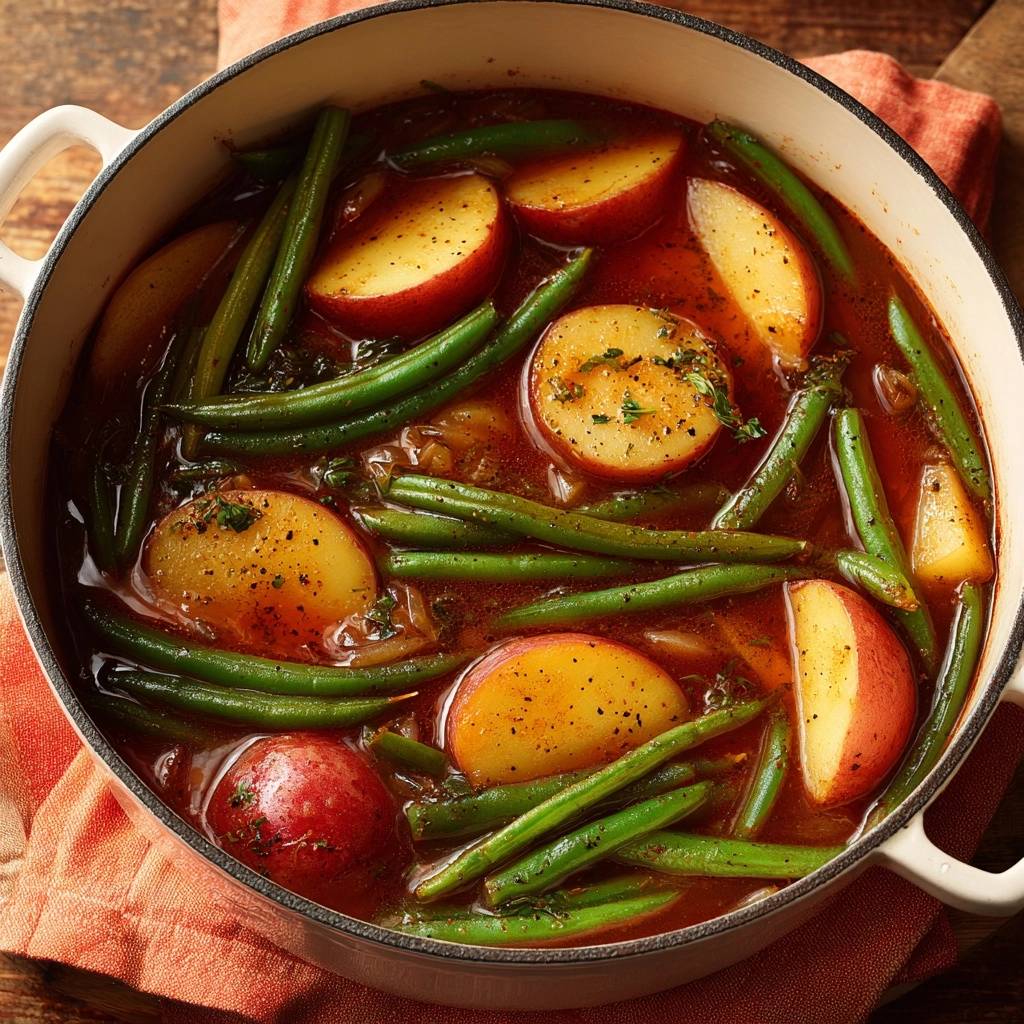
Most home cooks have faced the disappointment of a vegetable side dish where everything turns into a gray, mushy mess. It’s a common frustration when you’re trying to cook two vegetables with completely different structural needs in the same pot. You want the potatoes to be buttery and soft, but you don’t want the green beans to lose their snap or their vibrant color.
The secret to success lies in the “staggered-simmer” philosophy. Instead of throwing everything in at once, we respect the unique cooking times of each ingredient. This method ensures the waxy red potatoes have time to break down their starches while the green beans only hit the heat at the very end to stay bright and tender-crisp.
I’ve found that the real trick to a professional-grade braise is the “lid-off” finish. By removing the cover during the final ten minutes, you allow steam to escape and prevent the natural acids in the broth from dulling the green beans. This small technical adjustment makes the difference between a cafeteria-style side and a centerpiece-quality vegetable braise.
The Anatomy of a Perfect Vegetable Braise
A great braise isn’t just about the vegetables; it’s about the “pot liquor” they simmer in. By combining tomato paste, smoked paprika, and vegetable broth, you create an umami-rich liquid that seasons the vegetables from the inside out. The tomato paste adds a savory depth that mimics a long-simmered stew without needing hours on the stove.
Choosing red potatoes is a non-negotiable part of this equation. Because red potatoes are low-starch and high-moisture, they hold their shape beautifully even after forty-five minutes of simmering. While a Russet would disintegrate into the broth and turn it into a grainy soup, the red potato stays intact and develops a creamy, almost waxy texture that feels luxurious on the tongue.
Essential Components for Slow-Simmered Red Potatoes and Green Beans
Quality starts with the prep work. For the red potatoes, keep the skins on! The skin provides a necessary structural barrier that keeps the wedges from falling apart, and it adds a lovely earthy flavor. Look for potatoes that are firm to the touch with no sprouts or soft spots.
If you like keeping the skins on for texture, try these crispy garlic potato medallions for a different crunch.
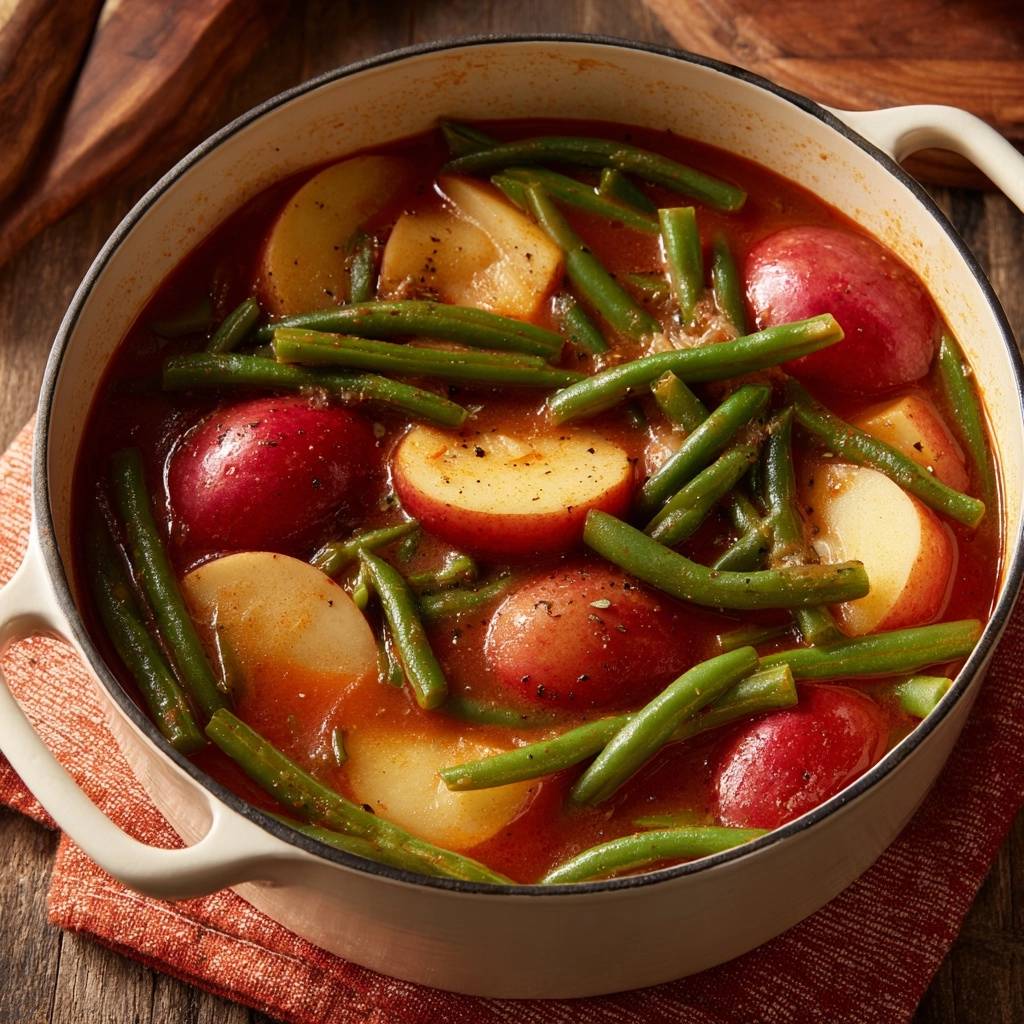
When shopping for green beans, look for “snap-fresh” produce. If you bend a bean and it feels rubbery or just curves, put it back. You want a bean that snaps cleanly in half with a distinct popping sound. Avoid beans that have large, bulging seeds inside, as these are often older and will stay fibrous and “stringy” no matter how long you cook them.
Aromatics like yellow onions and garlic provide the foundational sweetness. As the onions sauté in olive oil, they release natural sugars that balance the acidity of the tomato paste. Smoked paprika is the “secret weapon” here, providing a hint of wood-fired depth that makes the entire dish taste like it was cooked over an open flame.
Selecting the Right Potato Variety
If you try to swap red potatoes for Russets, you’ll end up with a pot of mashed potato soup. Russets are “mealy” potatoes designed to fall apart, which is great for baking but terrible for braising. Yukon Golds are a decent middle ground, but they still lack the resilient waxy cell structure of a true red-skinned potato.
Consistency in size is just as important as the variety. When you cut your potatoes into thick wedges or rounds, try to keep them all roughly the same thickness. This ensures that every piece reaches that perfect “fork-tender” stage at exactly the same time, preventing some pieces from being hard while others are mush.
Fresh vs. Frozen Green Beans
I strongly recommend avoiding frozen green beans for this specific recipe. Frozen beans are almost always pre-blanched, meaning they’ve already been partially cooked. If you add them to a simmering pot of potatoes, they will turn to mush in seconds. Fresh beans are the only way to achieve that satisfying “pop” when you bite into them.
The Science of the Staggered-Simmer Technique
Understanding the thermal transition of vegetables will change the way you cook forever. Potatoes are full of cellulose and complex starches that require a “low and slow” approach to soften. If you boil them too hard, the outside sloughs off while the inside stays raw. A gentle simmer allows the heat to penetrate evenly to the core.
Green beans, however, are all about chlorophyll. When you cook green beans, the heat eventually causes the plant’s cells to release organic acids. If the pot is covered, these acids are trapped and react with the chlorophyll, turning the beans from bright green to a dull, unappetizing olive-gray. This chemical reaction is known as pheophytin conversion.
By using the staggered-simmer, we give the potatoes their twenty-minute head start. Then, we increase the heat slightly and add the beans for the final ten minutes with the lid off. This allows the acids to vent out with the steam, preserving the vibrant color and ensuring the beans are cooked through but still have a structural “bite.”
Step-by-Step: Building the Savory Broth Base
The first fifteen minutes are where you build the soul of the dish. When you sauté the onions, be patient. You aren’t looking for a quick char; you want a deep golden color that indicates the sugars have caramelized. If the onions start to look dark brown or black on the edges, turn the heat down immediately.
Once the onions are soft, add your garlic, thyme, and smoked paprika. This is called “blooming.” Many of the flavor compounds in dried herbs and paprika are fat-soluble, meaning they need to hit the hot oil to fully release their aroma. You’ll smell the difference within seconds as the kitchen fills with a warm, peppery scent.
If you enjoy infusing vegetables with bold aromatics, try these garlic rosemary roasted potatoes for a crisp finish.
The final step in the base is the “pince” technique with the tomato paste. Don’t just stir it in and add broth. Let the paste cook in the oil for about two minutes until it turns from a bright red to a rusty brick color. This removes the raw, metallic “tin can” taste and replaces it with a concentrated, savory sweetness.
Simmering the Potatoes to Buttery Perfection
When you add the vegetable broth, make sure the potatoes are fully submerged. This ensures they cook evenly without the tops drying out. Bring the liquid to a boil, but as soon as you see those big bubbles, drop the heat to low. You want a “lazy bubble”—just a few small bubbles breaking the surface occasionally.
Cover the pot and let them go for about twenty minutes. You’ll know they are ready when you can pierce a wedge with a fork and it slides in with almost no resistance. However, they shouldn’t be so soft that they crumble. Remember, they still have ten more minutes of cooking once the beans are added!
The Final Phase: Achieving Tender-Crisp Green Beans
Now it’s time for the beans. Increase the heat to medium so the broth is bubbling a bit more actively. Nestling the beans into the liquid is key; use a spoon to push them down so they are mostly covered by the savory red broth. This allows them to absorb the flavors of the paprika and garlic while they soften.
Keep the lid off! This is the most important rule for the final stage. Not only does it protect the color of the beans, but it also allows the broth to reduce slightly. As the water evaporates, the flavors concentrate, creating a light glaze that clings to the vegetables rather than a thin, watery soup.
Troubleshooting Common Texture Issues
If you find that your broth is evaporating too quickly before the potatoes are done, don’t panic. Simply add a half-cup of warm water or extra broth to keep them submerged. Using warm liquid is better than cold, as cold water will shock the vegetables and slow down the cooking process.
If your potatoes are perfectly done but the beans still feel a bit too “squeaky” or tough, you can simmer for an extra two or three minutes. Just keep a close eye on them. Also, remember that the broth will become saltier as it reduces. Always wait until the very end to do your final salt adjustment to avoid an oversalted dish.
Flavor Variations and Herb Substitutions
You can easily pivot the flavor of this dish to match your main course. For a Mediterranean vibe, swap the smoked paprika for dried oregano and finish the dish with a burst of fresh lemon zest and a squeeze of lemon juice. The acidity cuts through the richness of the potatoes beautifully.
If you like a bit of heat, add a teaspoon of red pepper flakes or a dollop of harissa paste when you are blooming the spices. For a more earthy, autumnal version, use fresh rosemary instead of thyme and add a tiny splash of balsamic vinegar right before serving to deepen the color and add a complex tang.
Optimal Pairings for This Savory Side
This dish is incredibly versatile because it provides both a starch and a green vegetable in one pot. It pairs perfectly with roasted chicken or a thick-cut piece of seared fish. The savory broth is so delicious that you’ll want something to soak it up, like a side of quinoa or a thick slice of crusty sourdough bread.
Because the flavors are robust, it also stands up well as a vegetarian main course. You can serve a large bowl of these potatoes and beans topped with a dollop of Greek yogurt or some crumbled feta cheese. The creaminess of the cheese against the smoky, tomato-based broth is a fantastic combination.
What to Serve With These Potatoes and Green Beans
This slow-simmered side of tender red potatoes and green beans works well with a soup course on the side. Try one of these for a full, warming meal.
- For a creamy, slightly sweet contrast, pair it with a bowl of Velvety Sweet Potato Carrot Soup – the smooth texture balances the chunky potatoes and beans.
- If you want another vegetable-forward option, the Hearty Vegetable Soup doubles down on the same rustic, slow-cooked vibe with tender veggies in every spoonful.
Storage and Reheating for Maximum Quality
This is one of those rare dishes that actually tastes better the next day. As it sits in the fridge, the potatoes continue to soak up the seasoned broth, becoming even more flavorful. Store leftovers in an airtight container for up to four days. I don’t recommend freezing this dish, as the potatoes will become grainy and the beans will lose their texture upon thawing.
When reheating, the stovetop is your best friend. Place the vegetables and broth in a small pan over medium-low heat. Add a splash of water if the sauce has thickened too much. Cover it just until it’s warmed through. If you use a microwave, do it in short thirty-second bursts to avoid overcooking the beans into a rubbery state.
Expert Tips for Success
Never peel your red potatoes for this recipe. The skin is where a lot of the earthy flavor lives, and it acts as a “jacket” that keeps the potato from turning into mush. Also, use cracked black pepper rather than finely ground pepper. The larger cracks provide little bursts of heat that contrast well with the soft potatoes.
If you have leftover broth after the vegetables are gone, don’t throw it out! That liquid is liquid gold. It’s packed with onion, garlic, and potato starch. Use it as a base for a quick vegetable soup or use it to cook rice for a massive flavor boost. Finally, always use a heavy-bottomed pot like a Dutch oven; it distributes heat more evenly and prevents the bottom from scorching.
How do I prevent the potatoes from turning the broth cloudy?
Cloudy broth is usually caused by starch being knocked off the potatoes. To prevent this, keep the simmer gentle—never a rolling boil. Also, resist the urge to stir the pot constantly. Once the potatoes are in, only stir when you add the beans, and do it very gently. This keeps the potato edges intact and the broth clear and vibrant.
Can I use canned green beans in a pinch?
I would strongly advise against using canned green beans. Canned beans are already extremely soft and have a very different flavor profile due to the canning process. They would completely disintegrate in the time it takes to finish the dish. If you cannot find fresh beans, it is better to use a different vegetable entirely, like chopped kale or cabbage.
Is it possible to make this in a slow cooker?
Yes, you can adapt this for a slow cooker, but you must still follow the staggered timing. Cook the potatoes, broth, and aromatics on low for 5 to 6 hours. Only add the fresh green beans during the last 30 minutes of cooking. If you put the beans in at the start, they will turn gray and mushy by the time the potatoes are soft.
What is the best way to trim green beans quickly?
To save time, don’t trim beans one by one. Take a handful of beans and tap them on the cutting board so all the stem ends line up. Use a sharp chef’s knife to slice off all the stems at once. Flip the pile and repeat for the tail ends if desired, though many people prefer to leave the curly tails on for a rustic look.
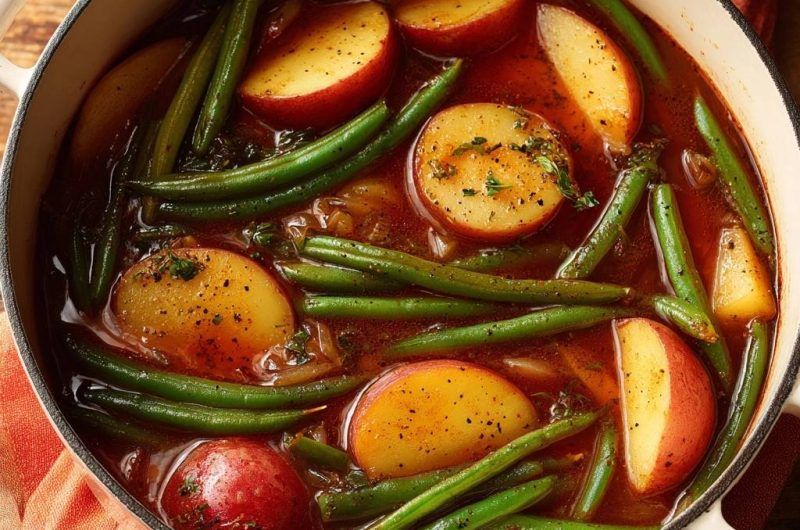
Red Potatoes and Green Beans
Course: Side DishCuisine: AmericanDifficulty: easy6
servings15
minutes45
minutes185
kcal60
MinutesA classic savory side dish featuring red potatoes and fresh green beans simmered in a rich, seasoned vegetable broth with caramelized onions and garlic.
Ingredients
1.5 pounds red potatoes, cut into thick wedges or rounds
1 pound fresh green beans, trimmed
1 large yellow onion, thinly sliced
4 cups vegetable broth (or enough to submerge potatoes)
3 tablespoons tomato paste
3 cloves garlic, minced
1 teaspoon dried thyme
1/2 teaspoon smoked paprika
1/2 teaspoon cracked black pepper
1 teaspoon kosher salt (plus more to taste)
2 tablespoons olive oil
Fresh parsley, finely chopped for garnish
Directions
- Heat the olive oil in a large heavy-bottomed pot or Dutch oven over medium heat. Add the sliced onions and cook for 6 to 8 minutes, stirring occasionally, until they are softened and develop a deep golden color.
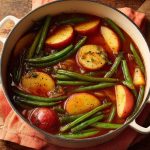
- Add the minced garlic, tomato paste, thyme, and smoked paprika. Stir constantly for 2 minutes. This “blooms” the spices and caramelizes the tomato paste, which creates the rich, reddish-brown savory broth seen in the image.
- Carefully place the red potato wedges into the pot. Pour in the vegetable broth until the potatoes are fully submerged. Bring the liquid to a gentle boil, then immediately reduce the heat to low.
- Cover and simmer for 20 to 25 minutes. The potatoes should be “fork-tender” (easily pierced but not falling apart) before moving to the next step.
- Here is the secret to avoiding mushy beans: Increase the heat slightly to a medium simmer. Add the fresh green beans to the pot, pressing them down so they are mostly submerged in the hot broth.
- Simmer uncovered for 7 to 10 minutes. Leaving the lid off during this final stage allows some steam to escape, preventing the acid in the broth from turning the beans gray and ensuring they stay a vibrant green.
- Once the beans are tender-crisp and the potatoes are buttery soft, remove from heat. Taste the broth and add salt or extra cracked pepper if needed. Garnish generously with fresh parsley and serve warm directly from the pot.
Notes
- To keep the green beans vibrant, simmer them uncovered during the final 7 to 10 minutes of cooking. This prevents the acid in the broth from turning the beans gray.