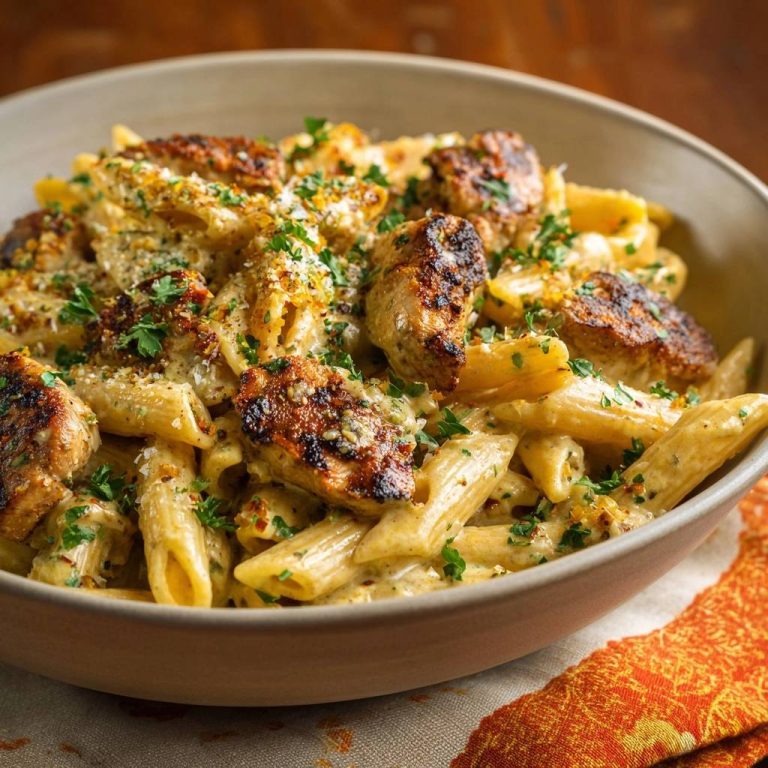
Mastering the Creamy Garlic Chicken Pasta Bake
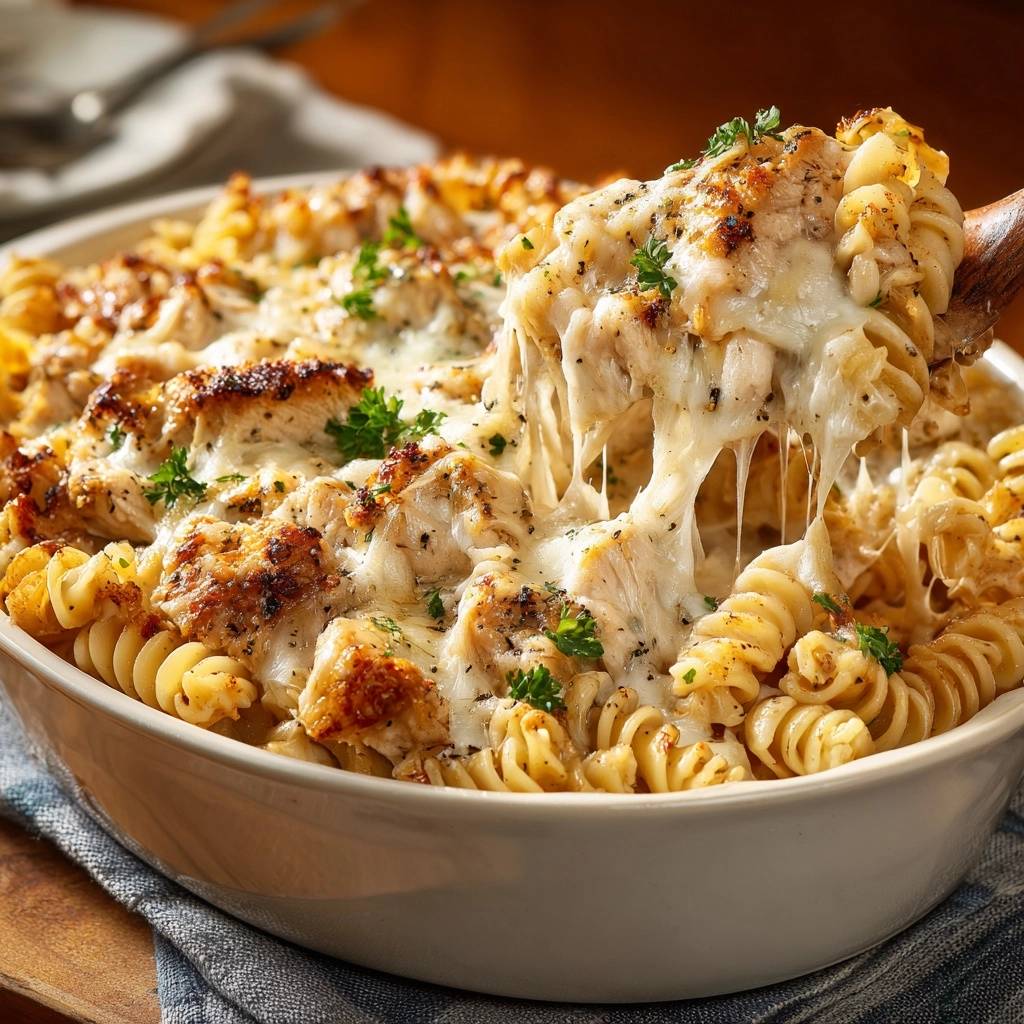
There is nothing more disappointing than pulling a bubbling tray of pasta out of the oven only to find a thin, watery puddle lurking at the bottom of the dish. You want a sauce that clings to every curve of the pasta, offering a velvety, rich mouthfeel that feels like a warm hug. Achieving that perfect emulsion requires more than just pouring cream over noodles; it requires a bit of kitchen science to keep the fats and liquids from separating under the high heat of the oven.
The secret to a restaurant-quality bake lies in the marriage of a stabilized roux and the natural starches found in your pasta water. When you create a proper base, the sauce stays thick and luscious instead of breaking into a greasy mess. This method ensures that every bite is packed with garlic-infused flavor and a texture that remains consistent from the first serving to the very last.
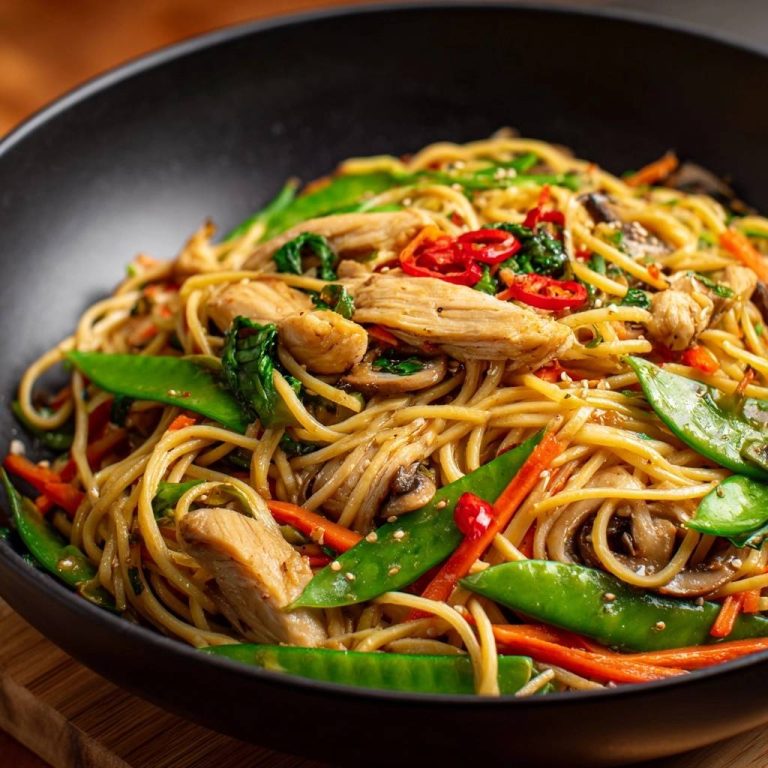
If you enjoy the creamy garlic base here, you’ll love the silky texture of this creamy garlic chicken linguine.
I’ve found that the most common mistake home cooks make is treating the oven time as just a “melting phase” for the cheese. In reality, the oven is where the pasta finishes its cooking process, absorbing the liquid around it. To master this, you must use a “blonde roux” as your insurance policy. This simple mixture of butter and flour acts as a stabilizer, holding the heavy cream together even when the temperature climbs to 400°F.
The Secret to a Non-Watery Cream Sauce
Heavy cream is a wonderful ingredient, but on its own, it is surprisingly fragile when subjected to prolonged oven heat. Without a stabilizer, the proteins in the cream can clump while the fats turn into oil, leading to that dreaded “puddle effect.” By starting your sauce with a roux, you create a structural framework that keeps the sauce thick and cohesive throughout the entire baking cycle.
Furthermore, the moisture balance in a pasta bake is a delicate dance. If you use a sauce that is too thin, the pasta won’t have enough “grip” to hold onto the flavor. Conversely, if the sauce is too thick, the dish will come out dry and gummy. We solve this by using a combination of heavy cream and reserved starchy pasta water, which adds silkiness without thinning the sauce out too much.
Starch management is the final piece of the puzzle. When you boil pasta, it releases valuable starches into the water. By adding a splash of this “liquid gold” back into your garlic cream, you create a natural bridge between the water-based elements and the fats. This results in a glossy, professional finish that looks like it came straight from a high-end Italian bistro.
Why Undercooking the Fusilli is Mandatory
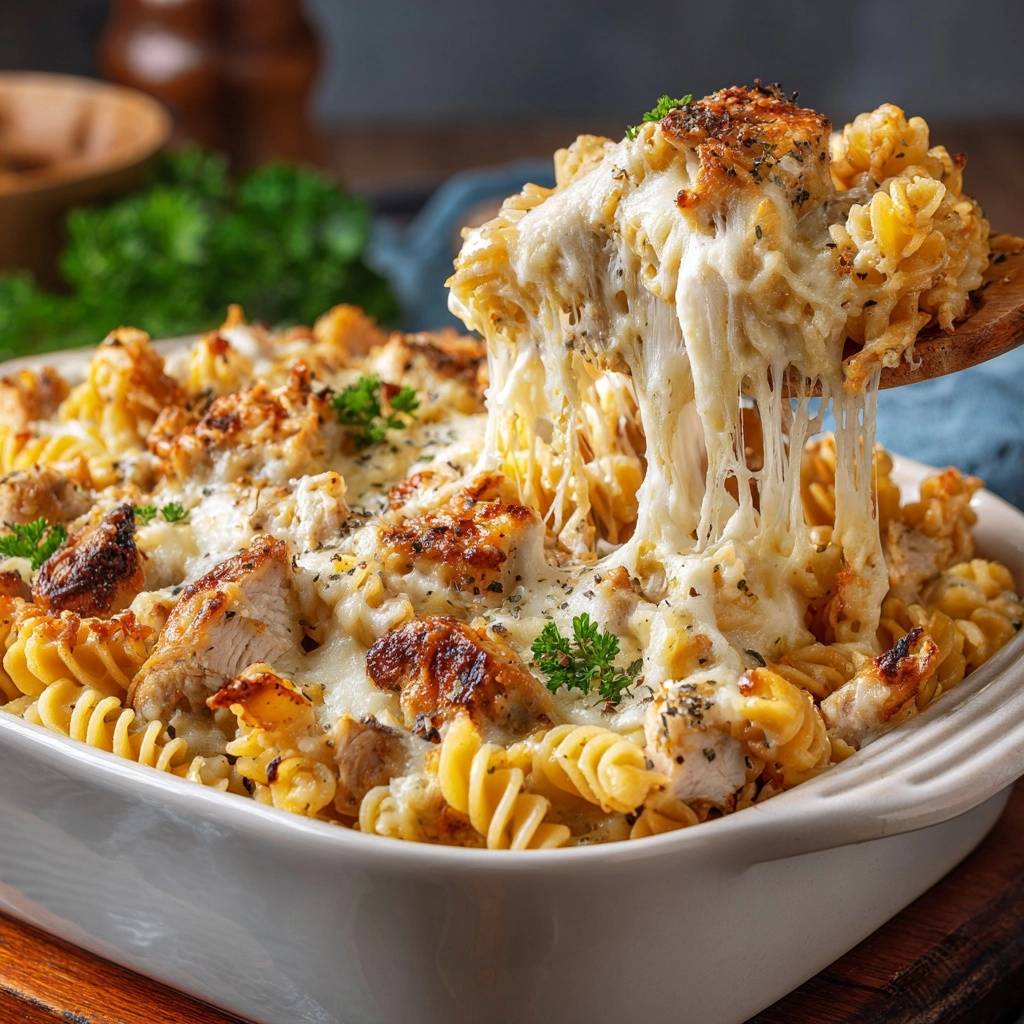
You must treat your pasta with a “less is more” approach during the boiling stage. If you cook the fusilli until it is perfectly tender in the pot, it will inevitably turn into mush once it spends 20 minutes in a hot oven. The pasta needs to be significantly undercooked—think “firm to the bite”—so it has the capacity to absorb the garlic cream sauce while it bakes.
This is known as carry-over cooking. As the dish bakes, the par-boiled spirals act like tiny sponges, drawing in the seasoned cream and chicken juices. If the pasta is already saturated with plain water from the boiling pot, it simply cannot take on any more liquid. This leads to the excess sauce sitting at the bottom of the pan rather than being integrated into the noodles themselves.
Essential Components for the Garlic Chicken Pasta
Choosing the right pasta shape is just as important as the sauce itself. I highly recommend fusilli or rotini because their corkscrew architecture is designed to trap sauce in every twist. While penne works in a pinch, the ridges of fusilli provide more surface area for the garlic and parmesan to latch onto, ensuring no bite is left dry.
When it comes to the cheese, quality and moisture content are the two factors that will make or break your crust. You should always reach for low-moisture mozzarella for the topping. Fresh mozzarella (the kind stored in water) contains too much liquid for a bake like this and will contribute to a soggy texture. Low-moisture mozzarella shreds easily and provides those beautiful, stretchy cheese pulls we all crave.
For the parmesan, please skip the green shaker can. Pre-grated, shelf-stable parmesan contains anti-caking agents like cellulose that prevent it from melting smoothly. This often results in a grainy, sandy texture in your sauce. Instead, grate a block of fresh parmesan yourself. It melts almost instantly into the cream, providing a sharp, salty punch that balances the richness of the heavy cream.
Selecting and Seasoning the Chicken Breast
Consistency is key when prepping your chicken. You want to cut the breasts into uniform, bite-sized pieces so they cook evenly in the skillet and remain tender in the oven. If the pieces are too large, you risk a rubbery texture; if they are too small, they might disappear into the pasta.
Before the chicken even hits the pan, we season it heavily with dried oregano, garlic powder, and black pepper. Using dry aromatics here is a deliberate choice. These spices adhere to the meat and toast in the olive oil, creating a flavorful crust through the Maillard reaction. This ensures the chicken tastes savory and robust even after being smothered in cream sauce.
Step-by-Step: Preparing the Starch and Protein
The first step to a flavorful dish is seasoning your pasta water until it tastes like the sea. This is your only opportunity to season the actual dough of the pasta. Once the water is at a rolling boil, drop the fusilli and set a timer for 3 minutes less than the package’s “al dente” suggestion. It will feel quite hard when you test it, but trust the process.
While the water boils, get your skillet screaming hot with a bit of olive oil. Sear the seasoned chicken in batches if necessary to avoid crowding the pan. You aren’t looking to cook the chicken all the way through to the center—you just want a deep, golden-brown color on the outside. This sear locks in the juices and provides a textural contrast to the soft pasta.
The Art of the 1/2 Cup Reserved Pasta Water
Before you drain your pasta, take a measuring cup and scoop out about half a cup of the cloudy boiling water. This liquid is packed with the starches that the fusilli shed during the boil. It might look like dirty water, but it is actually a powerful emulsifier that helps the butter and cream bind together.
When you add this water to your sauce later, it acts as a thickener that doesn’t dull the flavors. It provides a smooth, slippery texture to the sauce that allows it to coat the pasta perfectly. If you forget this step, you can use plain water, but you will lose that professional, silky finish that defines a great pasta bake.
Building the Stabilized Garlic Cream Base
Now we get to the most important part: the sauce. After removing the chicken, lower the heat and melt your butter in the same skillet. Toss in the minced garlic and stir constantly for about 60 seconds. You want the kitchen to smell like a garlic heaven, but be careful not to let the bits turn brown or bitter.
Whisk in the flour to create your roux. You are looking for a “blonde roux,” which means you only cook it for a minute or two until the raw flour smell is gone but the color remains pale. This is the stabilizer that prevents your sauce from breaking. If you skip the flour, your sauce will almost certainly separate in the oven.
Slowly pour in the heavy cream, whisking vigorously as you go. If you dump it all in at once, you might end up with flour lumps. By adding it in a slow, steady stream, you create a smooth, thick base. Once the cream is incorporated, whisk in the parmesan and the reserved pasta water. The sauce should be thick enough to coat the back of a spoon—if you run your finger through the sauce on the spoon, the line should stay clean.
Assembling the Bake for Maximum Texture
Don’t just layer the ingredients in the baking dish. Instead, grab a large mixing bowl and toss the undercooked pasta, seared chicken, and warm sauce together until every single piece of fusilli is drenched. This ensures that the pasta starts absorbing the sauce immediately, which is the best defense against a watery bake.
Once combined, transfer the mixture to your baking dish. Use a spoon to “nestle” the chicken pieces down into the pasta so they stay moist. If the chicken sits right on top, it can dry out under the high heat. By tucking it in, you allow the mozzarella to create a protective blanket that keeps the meat juicy and tender.
Achieving the Perfect Golden Mozzarella Crust
Set your oven to 400°F and place the rack in the center position. This high temperature is the “sweet spot” for pasta bakes. It is hot enough to create those beautiful, toasted brown spots on the mozzarella without overcooking the interior of the dish. You want the cheese to be bubbly and slightly charred in places, as those dark spots provide a hint of bitterness that cuts through the rich cream.
Keep a close eye on the oven during the last five minutes. Every oven is different, and the transition from “perfectly melted” to “burnt” can happen quickly. You are looking for a deep golden hue. If the cheese is melting but not browning, you can pop the broiler on for the final 60 seconds, but stay right there and watch it like a hawk!
Troubleshooting Common Pasta Bake Issues
If your sauce breaks and looks oily, it usually means the heat was too high when you added the cream or the roux wasn’t fully incorporated. To fix this next time, ensure you are whisking constantly and keeping the simmer gentle rather than a rolling boil. If the sauce is already broken, a tiny splash of warm water and a vigorous whisk can sometimes bring it back together.
Dry chicken is another common complaint. This usually happens if you cook the chicken completely in the skillet before it even goes into the oven. Remember, the chicken will spend another 20 minutes baking. Only sear the outside for color, and let the oven do the rest of the work. Also, using pre-shredded cheese can lead to an oily top because of the additives; always shred your own for the best results.
Finally, if your pasta is mushy, you likely boiled it for too long. Aim for a “white ring” in the center of the pasta when you bite into it before draining. It should feel slightly too firm to eat comfortably. That firmness is exactly what allows it to stand up to the heavy sauce and high oven temperatures without losing its shape.
Make-Ahead Strategies and Storage Logistics
This is a fantastic dish for meal prep, but you have to be smart about it. If you want to make this 24 hours in advance, I recommend preparing the sauce and pasta, but keeping them separate in the fridge. When you are ready to bake, combine them and add a splash of milk to loosen the sauce, as it will thicken significantly when cold.
For leftovers, store them in an airtight container for up to three days. When reheating, avoid the microwave if possible, as it tends to make the cream separate into oil. Instead, place a portion in a small oven-safe dish, add a teaspoon of water or milk, cover with foil, and bake at 350°F until heated through. This gently steams the pasta and keeps the sauce creamy.
Vegetable Additions and Flavor Variations
You can easily customize this bake, but be careful with high-moisture vegetables. Raw zucchini, mushrooms, or spinach will release water as they cook, which can ruin your stabilized sauce. If you want to add these, sauté them separately to cook out the moisture before folding them into the pasta mixture.
Sun-dried tomatoes or roasted red peppers are excellent additions because they offer a concentrated flavor without the extra water. You could also swap the chicken for sautéed shrimp or even steamed broccoli florets. Just remember to keep the ratio of “stuff” to sauce consistent so the dish doesn’t end up dry.
Optimal Side Dish Pairings
Because this pasta bake is incredibly rich and savory, you want side dishes that offer acidity or a bit of bitterness to cleanse the palate. A simple arugula salad tossed in a sharp lemon vinaigrette is the perfect companion. The peppery greens and citrus juice cut right through the heavy cream and garlic.
If you prefer cooked vegetables, try charred Brussels sprouts with a drizzle of balsamic glaze or roasted asparagus with a sprinkle of red pepper flakes. These earthy, slightly charred flavors provide a great contrast to the smooth, cheesy texture of the main dish. Avoid heavy, buttery sides like mashed potatoes, as they will compete with the richness of the pasta.
Expert Tips for Professional Results
The most important tip I can give you is to let the dish rest for at least 10 minutes after you take it out of the oven. I know it’s tempting to dive right in while the cheese is bubbling, but the sauce needs time to “set.” As it cools slightly, the starches and proteins bind together, ensuring the sauce stays on the pasta when you plate it.
Another pro tip is to use a deep baking dish rather than a wide, shallow one. A deeper dish reduces the surface area exposed to direct heat, which helps keep the interior of the bake moist and prevents the sauce from evaporating too quickly. Finally, always garnish with fresh parsley right before serving. The pop of green adds a necessary freshness that brightens up the entire meal.
How do I prevent the sauce from becoming watery?
The key is creating a roux with butter and flour before adding your cream. This stabilizes the sauce so it doesn’t break under high heat. Additionally, undercooking your pasta by 3 minutes ensures it absorbs excess moisture in the oven rather than releasing more water into the dish.
Can I use milk instead of heavy cream?
You can use whole milk, but the sauce will be significantly thinner and less stable. If you use milk, you may need to increase the flour in your roux to 3 tablespoons to ensure it thickens properly. Avoid skim or 1% milk, as they lack the fat content necessary to create a creamy emulsion and are much more likely to curdle.
Why is my cheese topping oily instead of stretchy?
This usually happens if you use pre-shredded cheese from a bag. Those products are coated in potato starch or cellulose to prevent clumping, which interferes with the melting process and can cause the fats to separate. For the best results, buy a block of low-moisture mozzarella and grate it yourself right before baking.
How should I store and reheat leftovers?
Store leftovers in an airtight container in the refrigerator for up to 3 days. To reheat, place the pasta in an oven-safe dish with a splash of milk or water, cover tightly with foil, and warm at 350°F. This prevents the sauce from drying out or separating, which often happens in the microwave.
Can I freeze this pasta bake?
Yes, you can freeze it, but it is best to freeze it before the final baking step. Assemble the dish, let it cool completely, and wrap it tightly with plastic wrap and foil. It will stay fresh for up to 2 months. Thaw it overnight in the refrigerator before baking as directed, though you may need to add 5-10 minutes to the cook time.
What is the best way to season the chicken?
Season the chicken pieces with dry spices like garlic powder, oregano, salt, and pepper before searing them in the skillet. This creates a flavorful crust. Avoid using fresh herbs or wet marinades during the searing phase, as they can burn or prevent the meat from getting a proper golden-brown sear.
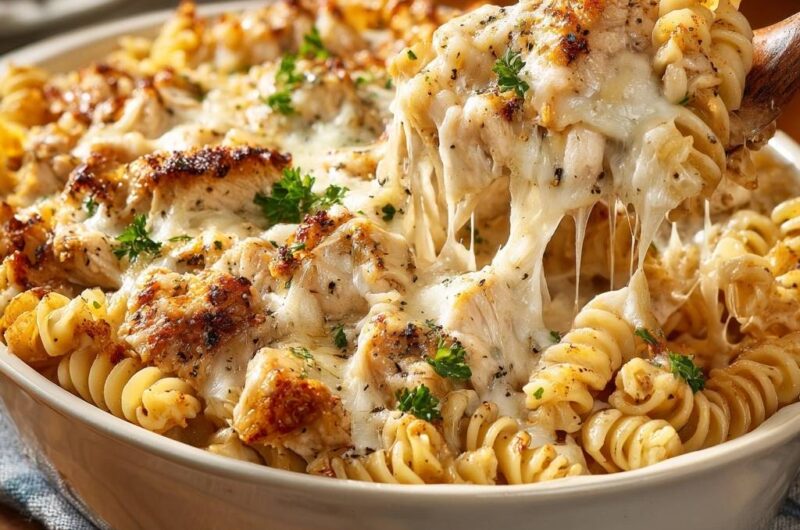
Chicken Pasta Bake
Course: Main CourseCuisine: AmericanDifficulty: medium6
servings15
minutes25
minutes580
kcal40
MinutesA rich and comforting pasta bake featuring fusilli, seared chicken, and a garlic-infused cream sauce. By undercooking the pasta and using a proper roux, this dish ensures a thick coating that stays creamy even after baking.
Ingredients
1 pound fusilli (corkscrew) pasta
1.5 pounds boneless skinless chicken breasts, cut into bite-sized pieces
2 tablespoons olive oil
2 tablespoons unsalted butter
2 tablespoons all-purpose flour
1 teaspoon garlic powder
1 teaspoon dried oregano
1/2 teaspoon onion powder
Salt and black pepper to taste
3 cups shredded mozzarella cheese (low-moisture for better melting)
2 cups heavy cream
1 cup freshly grated parmesan cheese
4 cloves garlic, minced
1/2 cup reserved starchy pasta water
Fresh parsley, chopped for garnish
Directions
- Preheat your oven to 400°F (200°C).
- Boil a large pot of heavily salted water. Add the fusilli and cook for 3 minutes less than the package directions for al dente. The pasta must be firm as it will finish cooking in the sauce.
- Before draining, scoop out 1/2 cup of the starchy pasta water and set it aside. Drain the pasta.
- While pasta cooks, heat olive oil in a large skillet over medium-high heat. Season chicken with salt, pepper, garlic powder, and oregano. Sear the chicken until golden brown and just cooked through. Remove chicken from the pan and set aside.
- In the same skillet, lower heat to medium and melt the butter. Add the minced garlic and cook for 1 minute until fragrant. Whisk in the flour and cook for 1-2 minutes to create a light roux (this prevents the sauce from breaking or becoming watery).
- Slowly pour in the heavy cream while whisking constantly to incorporate the roux. Bring to a gentle simmer.
- Whisk in the parmesan cheese, onion powder, and the reserved pasta water. Simmer for 2-3 minutes until the sauce is thick enough to coat the back of a spoon.
- In a large mixing bowl, combine the undercooked pasta, seared chicken, and the cream sauce. Toss thoroughly; the pasta will immediately begin to absorb the excess moisture.
- Transfer the mixture to a deep baking dish. Top generously with the shredded mozzarella cheese, ensuring the chicken pieces are nestled into the cheese for that toasted look.
- Bake for 15 to 20 minutes until the cheese is bubbly and shows deep golden-brown toasted spots as seen in the image.
- Let the dish rest for 5-10 minutes before serving. This allows the emulsion to set so the sauce stays on the pasta rather than running to the bottom. Garnish with fresh parsley.
Notes
- The secret to preventing a watery sauce is undercooking the pasta by 3 minutes and creating a roux with butter and flour. Always reserve starchy pasta water to help the sauce emulsify and cling to the noodles.