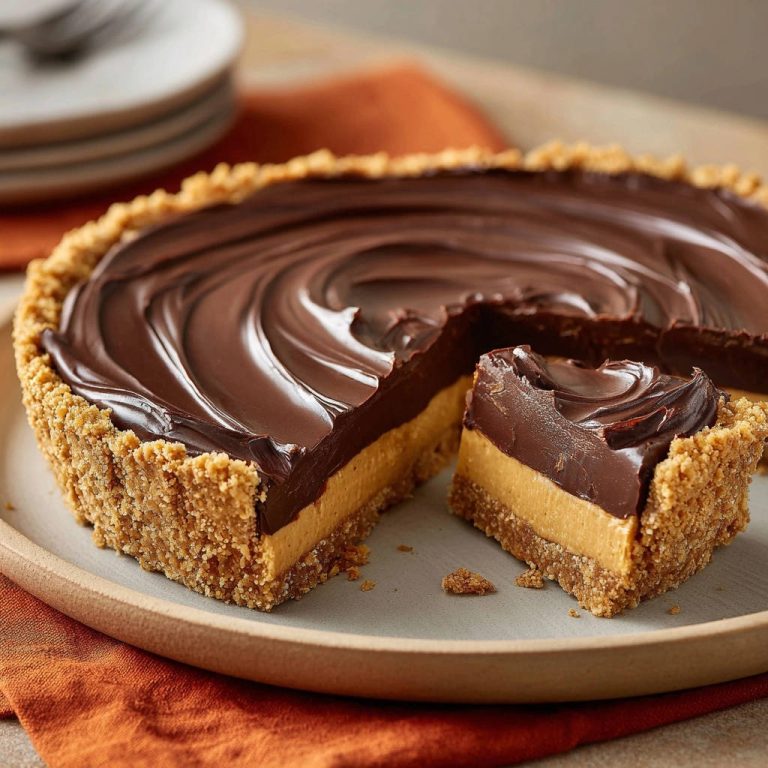
Peanut Butter Cream Pie: The Secret to Firm, Fluffy Slices
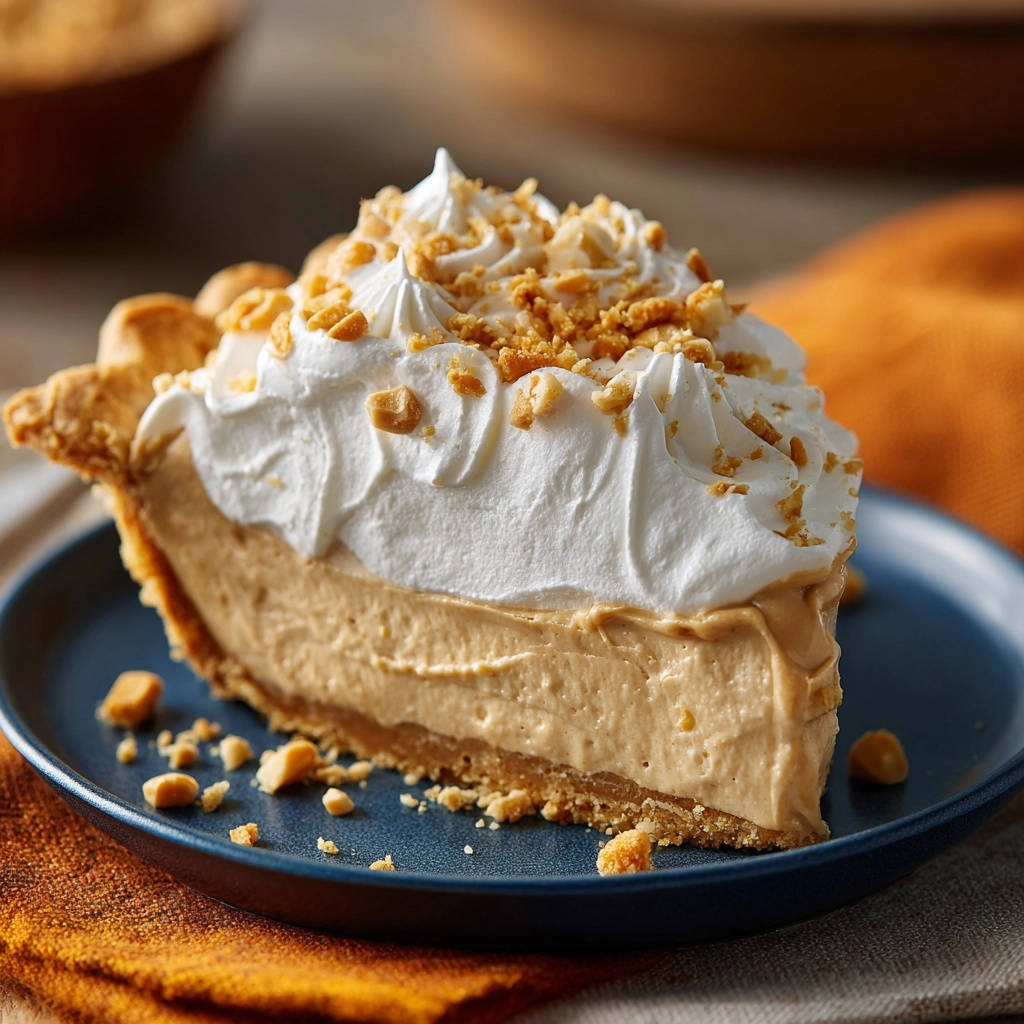
Few desserts evoke pure joy like a classic Peanut Butter Cream Pie, but achieving that elusive, perfectly firm slice often feels like a baking challenge. I’ve wrestled with runny fillings and crumbly crusts myself, determined to crack the code for a pie that holds its shape beautifully. This recipe for Peanut Butter Cream Pie is my perfected solution, guaranteeing a velvety smooth filling and a sturdy crust every single time.
Why This Peanut Butter Cream Pie Guarantees Perfect Slices Every Time
This recipe isn’t just another dessert; it’s a testament to simple techniques that yield incredible results.
It masterfully combines rich flavors with a texture that is both wonderfully creamy and reliably firm.
You’ll discover the secret to avoiding a runny pie, ensuring each slice lifts cleanly from the plate.
Its ease of preparation makes it a standout, proving that show-stopping desserts don’t have to be complicated.
Prepare for a truly satisfying Peanut Butter Cream Pie experience that will become your go-to recipe.
For a perfect pairing, try our Gooey Pecan Pie Cheesecake Bars with No-Sink Pecans.
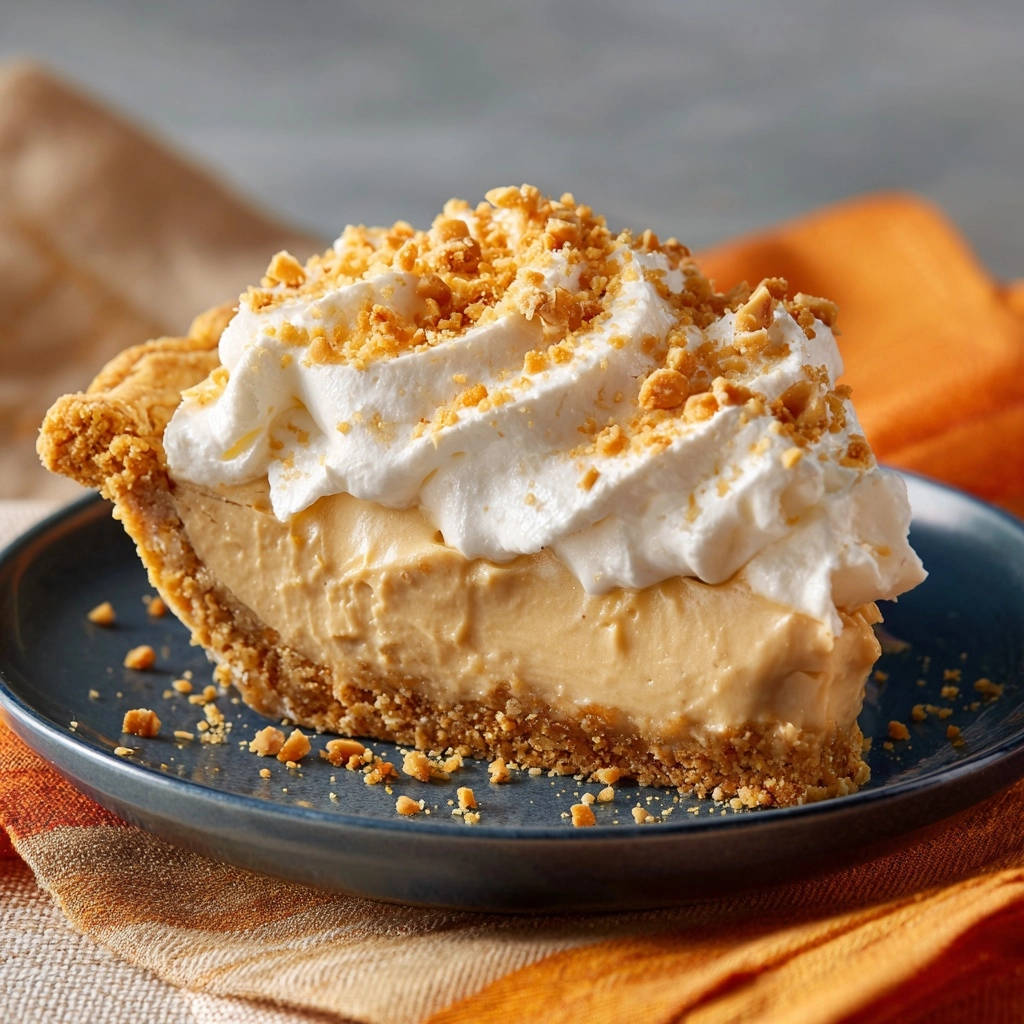
Gather Your Indulgences: Essential Ingredients for Your Pie
Selecting the right ingredients is the first step toward a flawless Peanut Butter Cream Pie. Quality matters, influencing both flavor and texture.
The Sturdy Crust Foundation
A resilient crust is paramount for a pie that slices cleanly and supports its rich filling.
- 1½ cups graham cracker crumbs
- ¼ cup granulated sugar
- 6 tablespoons unsalted butter, melted
Graham cracker crumbs provide a subtly sweet, crumbly base that compacts well. Granulated sugar adds a touch of sweetness and helps bind the crumbs. Melted unsalted butter is crucial for holding the crust together, ensuring it bakes (or chills) into a firm, cohesive layer.
The Velvety Peanut Butter Filling
The heart of this Peanut Butter Cream Pie lies in its smooth, decadent filling, a perfect balance of sweet and salty.
- 1 (8 ounce) package cream cheese, softened
- 1 cup creamy peanut butter
- ½ cup powdered sugar
- 1 teaspoon vanilla extract
- ½ cup whole milk
- 1 (8 ounce) container frozen whipped topping, thawed (or 2 cups heavy cream, whipped)
Softened cream cheese is the secret to a rich, stable, and lump-free filling, providing a tangy counterpoint to the peanut butter. Creamy peanut butter delivers that classic, beloved flavor and contributes to the pie’s luxurious texture. Powdered sugar sweetens the filling and helps achieve its smooth, airy consistency. Vanilla extract enhances the overall flavor profile. Whole milk thins the mixture just enough for perfect blendability, while thawed whipped topping or freshly whipped heavy cream lightens the filling, making it irresistibly fluffy yet firm.
For a perfect pairing, try our No-Bake Caramel Swirl Dream Pie: Effortless & Stunning Results!.
Finishing Touches: Garnishes for Delight
These simple garnishes elevate your pie from delicious to truly irresistible, adding both texture and visual appeal.
- ¼ cup crushed peanuts, for topping
- Remaining ½ cup whipped topping (from above)
A final layer of whipped topping provides a cloud-like aesthetic and extra creaminess. Crushed peanuts add a delightful crunch and reinforce the signature peanut butter flavor, making each bite an experience.
Your Culinary Arsenal: Tools for Peanut Butter Perfection
Having the right equipment on hand streamlines the baking process, ensuring efficiency and excellent results.
Mixing and Measuring Essentials
These basic tools are fundamental for accurate ingredient preparation and thorough mixing.
- Electric mixer: Indispensable for achieving a smooth, aerated filling.
- Large mixing bowls: Essential for combining ingredients without spills.
- Measuring cups and spoons: Critical for precise ingredient ratios, which impact the pie’s final set.
- Rubber spatula: Ideal for scraping down bowls and gently folding in whipped topping without deflating the mixture.
The Ideal Pie Dish
Choosing the correct pie plate ensures even setting and provides an attractive presentation.
- 9-inch pie plate: This standard size accommodates the recipe’s volume perfectly, allowing for optimal crust-to-filling ratio and proper chilling.
Crafting Your Masterpiece: A Step-by-Step Guide
Follow these steps carefully to create a Peanut Butter Cream Pie that will impress with its flavor and perfect texture.
Building the Unshakeable Crust
In a medium bowl, combine the graham cracker crumbs, granulated sugar, and melted butter until thoroughly mixed. This creates a cohesive, flavorful base for your pie.
Press this mixture firmly and evenly into the bottom and up the sides of a 9-inch pie plate. A well-compacted crust is key for structural integrity and preventing crumbling.
Next, chill the crust in the refrigerator for at least 30 minutes while you prepare the filling. This crucial step solidifies the butter, guaranteeing a firm, stable base that ensures incredibly clean slices.
Whisking the Velvety Cream Cheese Base
In a large mixing bowl, beat the softened cream cheese with an electric mixer until it’s perfectly smooth and creamy, which usually takes about 2 minutes. This ensures a completely lump-free base, essential for a silky filling texture.
Creating the Signature Peanut Butter Blend
Add the creamy peanut butter, powdered sugar, vanilla extract, and whole milk to the cream cheese mixture. These ingredients create the iconic flavor of your Peanut Butter Cream Pie.
Beat the mixture on medium speed until all ingredients are thoroughly combined, and the filling becomes light and fluffy. Scrape down the sides of the bowl as needed to ensure everything is incorporated evenly.
The proper ratio and complete blending of these ingredients are crucial for a filling that sets beautifully and has the perfect melt-in-your-mouth texture.
The Gentle Fold: Achieving Lightness and Stability
Now, gently fold 1½ cups of the thawed whipped topping (or freshly whipped heavy cream) into the peanut butter mixture using a rubber spatula. The goal is to incorporate it without deflating the air.
This aeration from the whipped topping lightens the filling significantly and contributes to its ultimate ability to set beautifully. Be delicate with your folding motions to maintain that airy texture.
Assembling Your Pie
Carefully pour the rich peanut butter filling into your pre-chilled graham cracker crust. Take a moment to spread it evenly across the crust using your spatula.
The Golden Rule: Patient Chilling for Perfect Slices
This is the most critical step for a firm Peanut Butter Cream Pie: place the pie in the refrigerator to chill for a minimum of 6 hours, or preferably overnight. Do not rush this process!
This extended chilling time is the absolute secret to guaranteed firm slices. It allows the cream cheese and whipped topping to fully stabilize, and the fats to firm up, ensuring your pie holds its perfect shape when cut. Patience truly pays off here.
The Grand Finale: Garnish and Serve
Just before serving, spread the remaining ½ cup of whipped topping evenly over the top of the pie. This adds a lovely visual appeal and an extra layer of creaminess.
Generously sprinkle the crushed peanuts over the whipped topping. For the cleanest slices, use a sharp knife. Enjoy your perfectly firm, never runny, Peanut Butter Cream Pie!
Chef’s Wisdom: Elevating Your Peanut Butter Cream Pie
Unlock even greater success with these expert tips, ensuring your pie is always a showstopper.
Mastering the Crust Chill
Chilling the crust before adding the filling is non-negotiable. It helps the butter firm up, preventing the crust from becoming soggy and ensuring it holds together perfectly when sliced.
Temperature Perfection for Cream Cheese
Always use truly softened cream cheese. Cold cream cheese will result in a lumpy filling, no matter how long you beat it. Take it out of the refrigerator at least an hour before you start.
The Art of Gentle Folding
When incorporating the whipped topping, use a gentle folding motion with a spatula. Aggressive mixing will deflate the air, making your pie denser and potentially less stable when set.
Don’t Rush the Chill: Patience Pays Off
The 6-hour minimum (preferably overnight) chill time is crucial for the pie to set properly. This allows the fats to solidify and the ingredients to bind, ensuring a firm, sliceable texture. Impatient chilling is the number one cause of runny pie.
Clean Slices Every Time
For pristine slices, dip your sharp knife in hot water and wipe it clean between each cut. This creates a smooth, warm blade that glides through the filling without dragging or tearing.
Rescue Missions: Common Peanut Butter Pie Quandaries
Encountered a hiccup? Here’s how to troubleshoot common issues and save your delicious Peanut Butter Cream Pie.
“My Peanut Butter Cream Pie is Too Soft/Runny!”
The most common culprit is insufficient chilling time. Ensure you’ve chilled the pie for at least 6 hours, or ideally overnight, to allow all ingredients to fully set. Double-check your measurements, especially for the milk and powdered sugar, as incorrect ratios can affect firmness.
“My Crust is Crumbly or Hard to Press!”
If your crust is crumbly, you might need a touch more melted butter to bind the graham cracker crumbs. If it’s too hard to press, your butter might have started to solidify; gently warm it slightly to make it more pliable. Ensure the crumbs are finely crushed for better compaction.
“My Filling Has Lumps!”
Lumps typically occur when your cream cheese isn’t fully softened before beating. Always start with room temperature cream cheese. Beat it thoroughly on its own for at least 2 minutes until completely smooth before adding other ingredients.
Beyond the Classic: Variations and Presentation Ideas
While this Peanut Butter Cream Pie is perfect as is, these ideas can add an extra flourish or cater to different dietary needs.
Creative Topping Embellishments
Elevate your pie with additional flourishes. A drizzle of melted chocolate or a sprinkle of mini chocolate chips adds a delightful visual and flavor contrast. A dusting of cocoa powder offers a sophisticated touch, while different types of nuts, like candied pecans, introduce new textures.
Dietary Adaptations and Substitutions
For a gluten-free option, use gluten-free graham crackers for the crust, or explore alternative crusts like crushed gluten-free cookies. For dairy-free needs, consider plant-based cream cheese alternatives and coconut whipped cream for the filling and topping. If you’re looking for a similar decadent treat without the oven, you might love this no-bake peanut butter fudge pie recipe.
Perfect Pairings: What to Serve Alongside
This rich pie pairs wonderfully with a hot cup of coffee, a glass of cold milk, or even a simple scoop of vanilla bean ice cream. For a lighter contrast, a small serving of fresh berries or a light fruit salad provides a refreshing balance to the pie’s indulgence.
More Ways With Peanut Butter
If you have leftover cream cheese or want another peanut butter fix, these two recipes share ingredients or flavors with the pie.
- For a shareable snack with the same creamy-peanut butter appeal, try this Loaded Peanut Butter Toffee Dip – it uses similar pantry staples and works as a no-bake option for parties.
- Start your morning with Creamy Blackberry Peanut Butter Oatmeal to get that nutty sweetness in a warm, filling bowl that avoids the gummy texture problem.
Planning Ahead: Storing Your Peanut Butter Cream Pie
Proper storage ensures your Peanut Butter Cream Pie remains fresh and delicious, ready for whenever a craving strikes.
Refrigeration Best Practices
Store your Peanut Butter Cream Pie in the refrigerator, loosely covered with plastic wrap or in an airtight container. This prevents it from absorbing odors and maintains its firm texture. The pie will remain fresh and delightful for up to 3-4 days.
Can You Freeze Peanut Butter Cream Pie?
Yes, Peanut Butter Cream Pie freezes beautifully! For best results, freeze the pie uncovered until solid (about 2-3 hours), then wrap it tightly in plastic wrap and then in aluminum foil. It can be stored in the freezer for up to 1 month. Thaw in the refrigerator overnight before serving.
Make-Ahead Magic: Enjoying it Later
This pie is an ideal make-ahead dessert. You can prepare it up to 2 days in advance, keeping it covered in the refrigerator. The extended chilling time actually improves its texture and makes it even easier to slice, perfect for entertaining or a relaxed weekend treat.
Your Peanut Butter Cream Pie Questions Answered
Here are answers to some common questions to help you master your Peanut Butter Cream Pie creation.
Why is my peanut butter pie not firm enough?
The primary reason is almost always insufficient chilling. Ensure your pie chills for a minimum of 6 hours, or preferably overnight. Also, double-check that your cream cheese was properly softened and that you gently folded the whipped topping to maintain its aeration, both crucial for stability.
Can I use homemade whipped cream instead of frozen topping?
Absolutely! Homemade whipped cream (2 cups heavy cream, whipped until stiff peaks form) offers an even richer flavor. Just be sure to fold it in gently to maintain its airiness, as specified in step 4 of the instructions.
How long does peanut butter cream pie last in the refrigerator?
When properly stored in an airtight container or covered loosely with plastic wrap, your Peanut Butter Cream Pie will remain fresh and delicious in the refrigerator for 3 to 4 days.
Can I make a mini peanut butter cream pie?
Yes, you can! This recipe scales down well for mini pies or individual servings. Simply divide the crust and filling among mini pie pans or ramekins, adjusting the chilling time slightly (though a full chill is still recommended for firmness). Consider serving these alongside some decadent pumpkin pie truffles for a delightful dessert spread.
Your Decadent Peanut Butter Cream Pie Awaits!
There’s nothing quite like the satisfaction of serving a perfectly firm, lusciously creamy Peanut Butter Cream Pie, knowing you’ve mastered the secrets to its flawless texture. This recipe ensures every slice is a testament to your baking prowess, delivering rich, peanut buttery bliss without the usual stress of a runny filling.
Go ahead, whip up this incredible dessert! It’s guaranteed to be a hit with its easy preparation and consistently delicious results. Share your creations, and get ready for rave reviews!
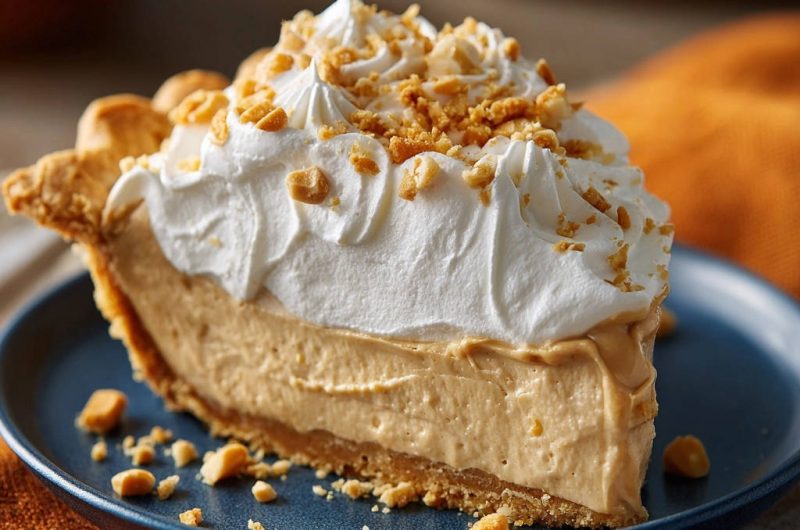
Peanut Butter Cream Pie
Course: DessertCuisine: AmericanDifficulty: easy8
servings20
minutes450
kcal360
minutesThis foolproof recipe reveals the simple trick to a perfectly firm, never runny, peanut butter pie. Enjoy a creamy texture that slices beautifully every single time, making it a dream dessert for any occasion.
Ingredients
1 and 1/2 cups graham cracker crumbs
1/4 cup granulated sugar
6 tablespoons unsalted butter, melted
1 (8 ounce) package cream cheese, softened
1 cup creamy peanut butter
1/2 cup powdered sugar
1 teaspoon vanilla extract
1/2 cup whole milk
1 (8 ounce) container frozen whipped topping, thawed (or 2 cups heavy cream, whipped)
1/4 cup crushed peanuts, for topping
Directions
- In a medium bowl, combine the graham cracker crumbs, granulated sugar, and melted butter until well mixed. Press firmly into the bottom and up the sides of a 9-inch pie plate. Chill the crust in the refrigerator for at least 30 minutes while you prepare the filling. This firm crust is key for a clean slice!
- In a large mixing bowl, beat the softened cream cheese with an electric mixer until smooth and creamy, about 2 minutes. This ensures a lump-free base for your filling.
- Add the creamy peanut butter, powdered sugar, vanilla extract, and milk to the cream cheese mixture. Beat on medium speed until all ingredients are thoroughly combined and the mixture is light and fluffy. Scrape down the sides of the bowl as needed. The proper ratio of these ingredients is crucial for a filling that sets.
- Gently fold in 1 and 1/2 cups of the thawed whipped topping (or freshly whipped heavy cream) into the peanut butter mixture using a spatula. Be careful not to deflate the whipped topping, as this aeration helps the pie set beautifully. This lightens the filling and helps it achieve a stable, yet creamy, texture.
- Pour the peanut butter filling into the chilled graham cracker crust and spread evenly.
- The Pain Point Solution: Place the pie in the refrigerator to chill for a minimum of 6 hours, or preferably overnight. Do not rush this step! This extended chilling time is the secret to guaranteed firm slices. It allows the cream cheese and whipped topping to fully stabilize and the fats to firm up, ensuring your pie holds its perfect shape when cut.
- Before serving, spread the remaining 1/2 cup of whipped topping over the top of the pie and sprinkle with crushed peanuts. Slice with a sharp knife and enjoy your perfectly firm, never runny, peanut butter pie!
Notes
- Extended chilling is the secret to guaranteed firm slices.