Stained Glass Star Cookies: Leak-Proof & Stunning Every Time
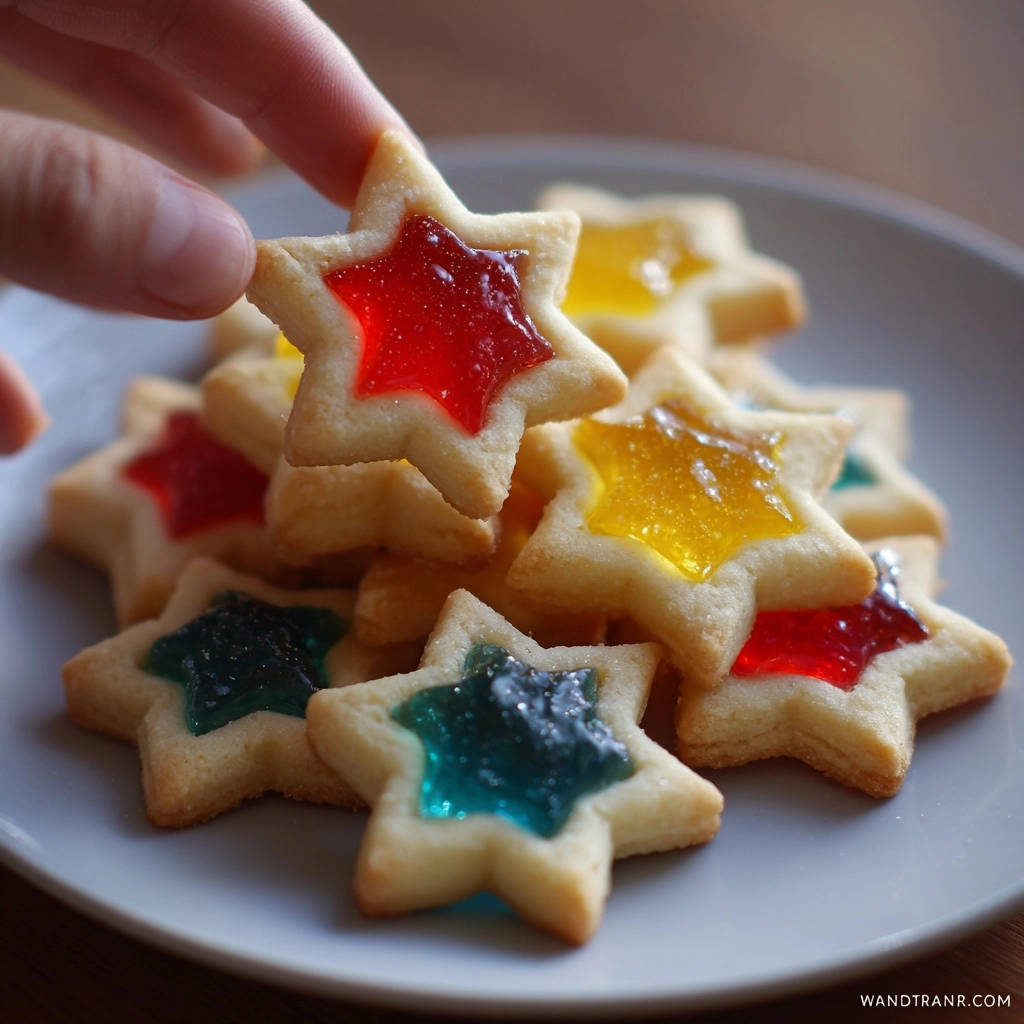
There’s nothing quite like the magic of baking, and few treats capture that enchantment better than Stained Glass Star Cookies. I’ve heard countless tales of aspiring bakers facing the heartbreak of vibrant candy centers melting right out onto the baking sheet.
After perfecting this recipe through countless batches, I’ve cracked the code to keeping those gorgeous, shimmering windows perfectly in place, giving you stunning, leak-free results every single time.
Why This Recipe Outshines the Rest (And Stays Leak-Free!)
Say Goodbye to Melted Candy Messes
The secret to perfect Stained Glass Star Cookies lies in two critical techniques: precise candy preparation and meticulous dough handling.
This recipe provides the exact steps to prevent those frustrating candy leaks, ensuring your stars emerge from the oven with their dazzling centers intact and shining brilliantly.
A Perfect Holiday Centerpiece & Beyond
These beautiful cookies aren’t just for looking at; their buttery, tender texture combined with the sweet, hard candy centers creates a delightful contrast.
They are an absolute showstopper for holiday gatherings, a thoughtful homemade gift, or a magical addition to any festive occasion.
For a perfect pairing, try our Mastering Triple Chocolate Chunk Brownie Cookies.
The Essential Ingredients for Sparkle & Structure
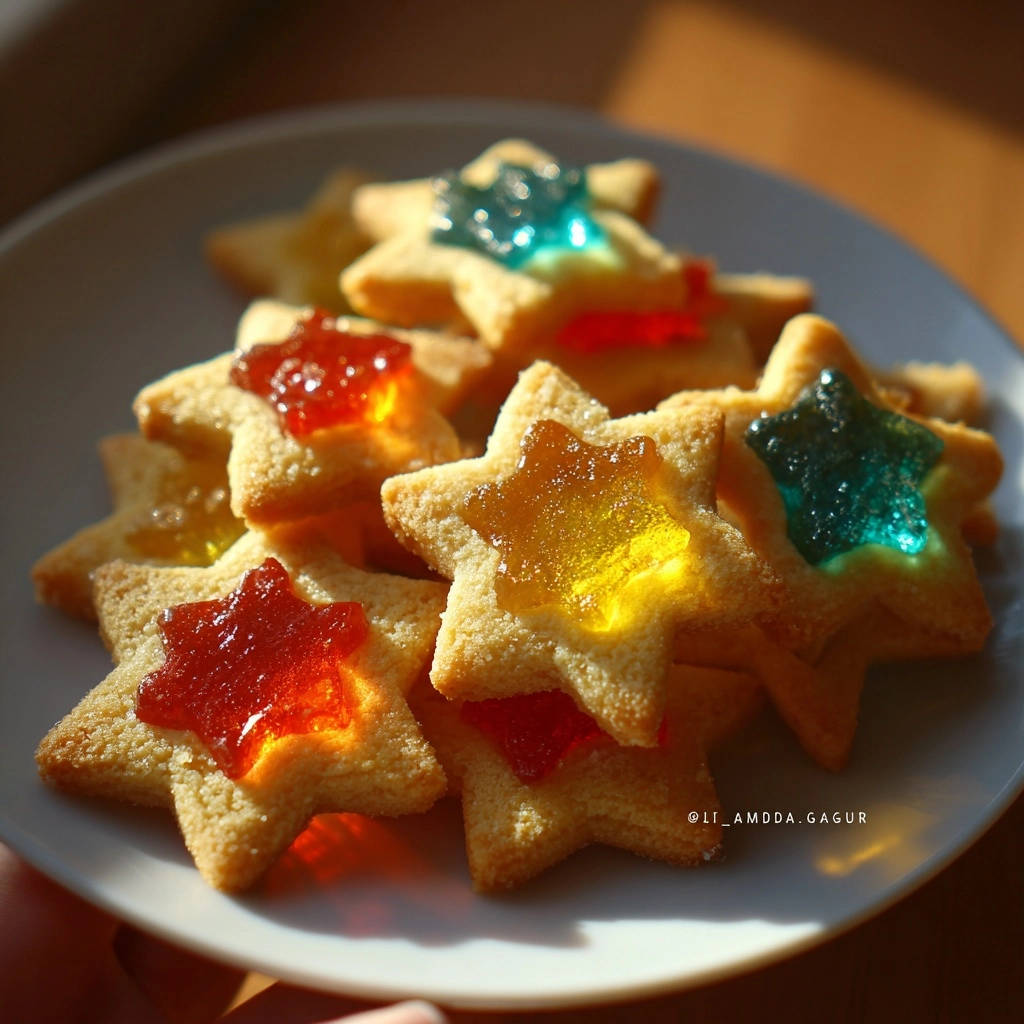
Achieving perfect Stained Glass Star Cookies starts with understanding the role of each ingredient.
Pantry Staples for Perfect Cookie Dough
Every element contributes to the dough’s stability and delicious flavor.
All-Purpose Flour: Provides the fundamental structure for your cookies, ensuring they hold their intricate shapes.
Baking Powder & Salt: These leavening agents and flavor enhancers work in harmony to give the cookies a slight lift and balance the sweetness.
Unsalted Butter (softened): Crucial for a rich, tender crumb. Softened butter creams beautifully with sugar, incorporating air for a light texture.
Granulated Sugar: Not only sweetens but also contributes to the cookie’s tenderness and helps achieve that desirable golden edge.
Large Egg: Acts as a binder, adding structure, moisture, and richness to the dough.
Vanilla Extract: Enhances all the other flavors, adding a warm, aromatic depth to your cookie base.
The Secret to Your “Glass” – Choosing Hard Candies Wisely
The visual impact of your cookies largely depends on your candy choice.
Select clear, brightly colored hard candies like Jolly Ranchers or Life Savers. Avoid opaque candies, as they won’t create the translucent “stained glass” effect.
Separating by color allows for controlled artistry, letting you create specific designs or a vibrant mix within each star.
Your Toolkit for Stained Glass Star Cookie Success
Having the right tools makes the baking process smoother and ensures professional-looking results.
Must-Have Baking Equipment
These common kitchen items are essential for any cookie baker.
Mixing Bowls: You’ll need at least one medium bowl for dry ingredients and a large one for wet, ensuring proper separation and mixing.
Electric Mixer: Whether stand or hand-held, an electric mixer is highly recommended for creaming butter and sugar to the correct fluffy consistency.
Rolling Pin: Essential for rolling out your cookie dough evenly to the specified thickness, preventing uneven baking.
Baking Sheets: Choose sturdy, light-colored baking sheets for even heat distribution and to prevent over-browning on the bottom.
Parchment Paper: A non-negotiable for easy cleanup and preventing sticking, especially with the melted candy.
Specialty Cutters for That Iconic Shape
The distinctive look of these cookies comes from using two specific sizes of star cutters.
You’ll need one larger star-shaped cookie cutter for the overall cookie shape and a smaller star cutter to cut out the center “window” where the candy will reside.
Crafting Your Dazzling Stained Glass Star Cookies: A Detailed Method
- Prepare Your Dry Ingredients:
In a medium bowl, whisk together the flour, baking powder, and salt until well combined.
This initial step ensures an even distribution of leavening agents throughout the dough.
- Cream Butter and Sugar:
In a large bowl, use an electric mixer to cream together the softened unsalted butter and granulated sugar until the mixture is light and fluffy.
This aeration is key for a tender cookie texture, as it incorporates air pockets into the dough.
- Incorporate Wet Ingredients:
Beat in the large egg and vanilla extract until they are fully combined with the butter mixture, scraping down the sides of the bowl as needed.
- Combine Wet and Dry:
Gradually add the dry ingredients to the wet ingredients, mixing on low speed until the dough just comes together and is soft. Avoid overmixing.
Overmixing can develop too much gluten, leading to tough, less tender cookies.
- Chill the Dough:
Divide the dough into two equal discs, flatten each, wrap tightly in plastic wrap, and refrigerate for at least 30 minutes (up to 2 hours).
This crucial chilling step prevents the cookies from spreading excessively during baking, maintaining their intricate star shape and ensuring the candy centers stay contained.
- Prepare for Baking:
Preheat your oven to 375°F (190°C). Line several baking sheets with parchment paper.
- Roll and Cut Your Stars:
On a lightly floured surface, roll out one disc of chilled dough to about 1/4 inch thickness.
Using a large star-shaped cookie cutter, cut out star shapes. Then, use a smaller star-shaped cutter to create the “window” in the center of each large star.
Carefully transfer these cut-outs to your prepared baking sheets, leaving about 1 inch of space between them. Re-roll scraps as needed until all dough is used.
- Crush the Candy (The “No Leak” Secret!):
Unwrap your assorted hard candies and separate them by color into sturdy zip-top bags.
Using a meat mallet or rolling pin, crush the candies into a very fine, almost powdery consistency. This fine texture is paramount to preventing leaks; larger pieces can leave gaps as they melt, allowing the liquid sugar to escape.
- Fill the Centers:
Spoon approximately 1/2 to 1 teaspoon of the finely crushed candy powder into the center of each cookie cutout, being careful not to overfill.
- Bake to Perfection:
Bake for 7-9 minutes, or until the edges of the cookies are lightly golden and the candy centers are completely melted and smooth.
Monitor closely, as baking times can vary by oven and cookie thickness. You’ll see the candy bubbling and then smoothing out.
- Cool Completely:
Remove the baking sheets from the oven and allow the Stained Glass Star Cookies to cool completely on the sheets before attempting to move them.
The candy will be liquid and fragile when hot; it will harden into its beautiful glass-like state only once fully cooled. This typically takes 30-60 minutes, depending on the thickness of the candy.
Chef’s Secrets: Elevate Your Stained Glass Star Cookies
The Chilling Effect: Why Cold Dough is Your Best Friend
Chilling cookie dough isn’t just a suggestion; it’s a critical step, especially for cut-out cookies like these holiday favorites.
Cold dough is firmer and less sticky, making it easier to roll and cut without distorting the shapes. More importantly, chilling prevents the butter from melting too quickly in the oven, which would cause the cookies to spread excessively and lose their definition.
For Stained Glass Star Cookies, this means your delicate window cut-outs stay perfectly contained, ensuring the candy melts within the lines.
Master the Crush: Achieving Flawless Candy Centers
The consistency of your crushed candy is the ultimate secret weapon against leaks.
If candy pieces are too large, they create gaps as they melt, allowing the liquid sugar to seep out onto the baking sheet. Aim for a texture that’s almost powdery; this ensures an even, quick melt that completely fills the cookie cavity.
Using a sturdy zip-top bag and a meat mallet or rolling pin will help you achieve this fine consistency efficiently.
The Golden Rule of Baking: Don’t Overcook!
Overbaking is a common pitfall that can lead to dry, tough cookies and potentially burnt or discolored candy centers.
Keep a close eye on your Stained Glass Star Cookies during the last few minutes of baking. The edges of the cookie should be just lightly golden, and the candy completely melted and smooth. Pull them out as soon as these cues are met.
Patient Cooling for Picture-Perfect Results
This step requires patience but is non-negotiable for success. When the cookies first come out of the oven, the candy centers are still liquid and extremely hot.
Attempting to move them too soon will lead to deformed stars and candy spilling. Allowing them to cool completely on the baking sheet ensures the candy hardens into a beautiful, solid, glass-like center, making them stable and easy to handle.
Troubleshooting: Common Pitfalls & Easy Fixes
My Candy Leaked! What Went Wrong?
This is the most common issue. The primary culprit is often candy that isn’t crushed finely enough.
Larger candy pieces create air pockets that allow molten sugar to escape. Another cause could be overfilling the cookie cavity or trying to move the cookies before the candy has completely set.
Cookies Lost Their Shape While Baking
If your stars look more like amorphous blobs, insufficient chilling is usually the reason.
Warm dough spreads much more rapidly in the oven. Additionally, rolling the dough too thin can make it fragile and prone to losing shape.
Dough Too Sticky or Too Crumbly
A sticky dough might result from inaccurate flour measurement or high humidity in your kitchen. Try adding a tiny bit more flour, a teaspoon at a time, until it’s workable.
If the dough is too crumbly, it might be over-floured or the butter wasn’t softened enough. A touch of milk, added half a teaspoon at a time, can help bring it together.
Storing, Serving, and FAQs for Your Stained Glass Stars
Keeping Your Cookies Fresh and Vibrant
Once completely cooled and hardened, store your Stained Glass Star Cookies in an airtight container at room temperature.
Layer them between sheets of parchment paper to prevent sticking and keep their beautiful designs pristine. They typically stay fresh for up to one week.
Creative Serving & Gifting Inspirations
These edible ornaments are perfect for so much more than just a dessert platter. Hang them on your Christmas tree using a small hole poked before baking (careful not to deform the star!).
They make enchanting homemade gifts, beautifully packaged in cello bags with a festive ribbon. Consider pairing them with other homemade treats, like a batch of decadent pumpkin pie truffles or a delightful perfect apple crumble bars, for a truly thoughtful gift basket.
For a perfect pairing, try our Mastering Soft-Set White Chocolate Cranberry Orange Cookies.
Frequently Asked Questions (FAQ)
Can I use different cookie cutters?
Absolutely! While stars are iconic, you can use any shape you like, as long as you have a corresponding smaller cutter to create the inner “window.” Hearts, circles, or even tiny gingerbread people work wonderfully.
What if I don’t have an electric mixer?
You can certainly cream the butter and sugar by hand with a sturdy whisk or a wooden spoon. It will require a bit more effort and arm strength, but it’s entirely achievable.
How long do they take to cool completely?
The cooling time can vary based on your room temperature and the thickness of the candy centers, but typically, these cookies will need 30-60 minutes to cool and for the candy to fully harden and set.
Your Stained Glass Star Cookies Await!
Now that you have the secrets to creating stunning, leak-proof Stained Glass Star Cookies, it’s time to unleash your inner baking artist!
Pair These with Your Stained Glass Cookies
If you are baking those colorful cookies for a brunch or a holiday table, these two pancake recipes share the same goal of delivering a light, fluffy texture that complements the sweetness of the cookies.
- Start the morning with a stack of Fluffy Blueberry Pancakes for a fruity contrast to the cookie’s sugar crunch.
- For a heartier option that still feels soft and airy, try the Fluffy Oatmeal Pancakes alongside your cookie platter.
These beautiful and delicious treats are sure to impress and bring a touch of magic to any occasion. Don’t hesitate to share your creations and experiences with us!
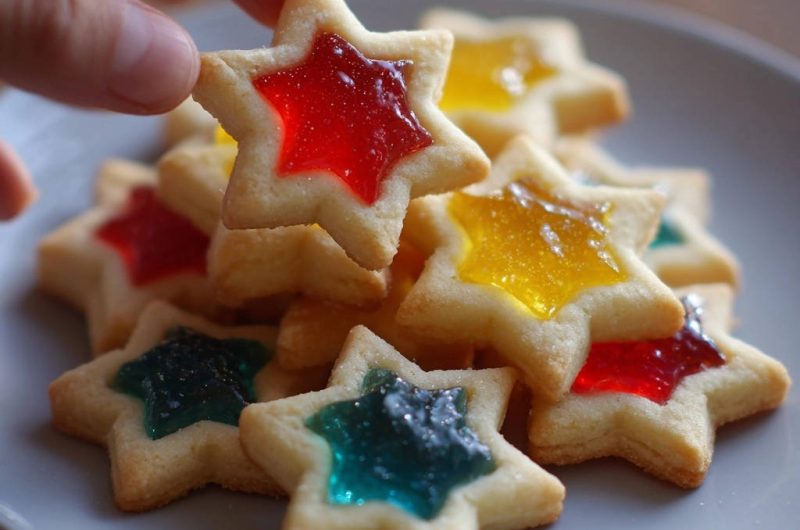
Star Cookies
Course: DessertCuisine: AmericanDifficulty: medium4
a batch of cookies1
hour7
minutes350
kcal67
minutesDiscover the magic of baking beautiful stained glass cookies without the common issue of melting candy. This recipe provides the secret to vibrant, leak-free centers, ensuring stunning results every time.
Ingredients
2 and 1/4 cups all-purpose flour
1/2 teaspoon baking powder
1/4 teaspoon salt
1 cup unsalted butter, softened
3/4 cup granulated sugar
1 large egg
1 teaspoon vanilla extract
Approximately 1 cup assorted hard candies (like Jolly Ranchers or Life Savers), separated by color
Directions
- In a medium bowl, whisk together the flour, baking powder, and salt. Set aside.
- In a large bowl, using an electric mixer, cream together the softened butter and granulated sugar until light and fluffy. Beat in the egg and vanilla extract until well combined.
- Gradually add the dry ingredients to the wet ingredients, mixing on low speed until just combined and a soft dough forms. Do not overmix.
- Divide the dough in half, flatten each half into a disc, wrap tightly in plastic wrap, and refrigerate for at least 30 minutes, or up to 2 hours, to chill thoroughly. This critical step prevents your cookies from spreading too much and losing their shape, ensuring your candy centers stay contained.
- Preheat your oven to 375 degrees Fahrenheit (190 degrees Celsius). Line baking sheets with parchment paper.
- Unwrap one disc of chilled dough and roll it out on a lightly floured surface to about 1/4 inch thickness. Using a large star-shaped cookie cutter, cut out star shapes. Then, use a smaller star-shaped cookie cutter to cut out the center from each large star, creating the window for your candy. Carefully transfer the cookie cut-outs to the prepared baking sheets, leaving about 1 inch between them. Repeat with the remaining dough, re-rolling scraps as needed.
- Unwrap your hard candies. Place each color of candy separately into a sturdy zip-top bag. Using a meat mallet or rolling pin, crush the candies into a very fine, almost powdery consistency. This is key to preventing leaks! Larger candy pieces can create gaps as they melt, allowing the liquid sugar to escape. Fine powder melts evenly and quickly, filling the cavity completely.
- Spoon about 1/2 to 1 teaspoon of the finely crushed candy powder into the center of each cookie cutout, being careful not to overfill.
- Bake for 7-9 minutes, or until the edges of the cookies are lightly golden and the candy centers are completely melted and smooth. Keep a close eye on them; the exact baking time depends on your oven and the thickness of your cookies.
- Remove the baking sheets from the oven and let the cookies cool completely on the baking sheets. Do not try to move them while the candy is hot and soft, as it will still be liquid and could leak or deform. Once completely cooled, the candy will harden into a beautiful, solid glass-like center. Store in an airtight container at room temperature.
Notes
- Ensure dough is thoroughly chilled (at least 30 mins) and candy is crushed to a fine powder to prevent leaks. Always cool cookies completely on baking sheets.