The Science of the Ultimate Deep Glaze Caramel Corn
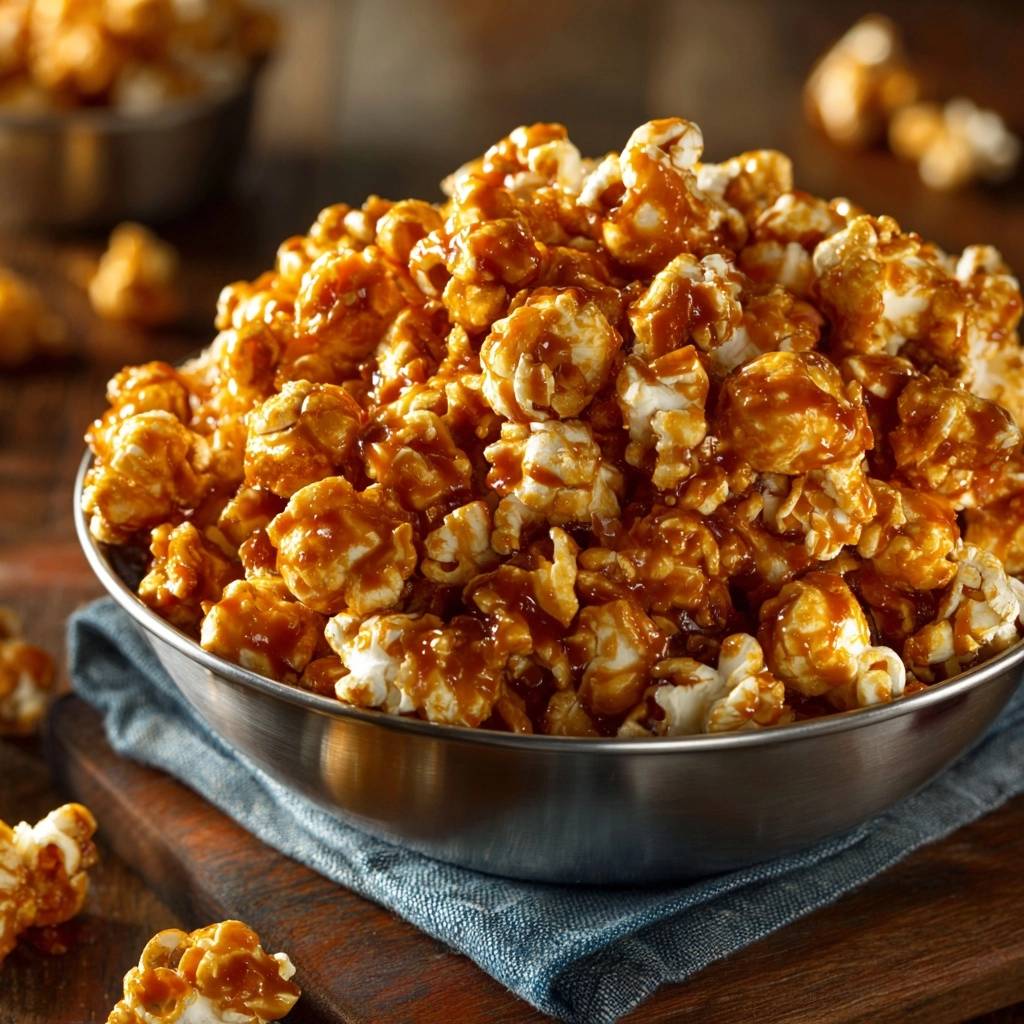
Most homemade caramel corn starts with high hopes but ends in a sticky, chewy disaster. You know the type: it clings to your teeth and turns into a soggy mess within an hour of sitting out. That frustrating texture happens because moisture stays trapped inside the sugar coating, preventing it from ever reaching that satisfying snap.
The “Anti-Soggy” philosophy changes everything by treating the caramel like a professional confection rather than a simple topping. We aren’t just coating the popcorn; we’re dehydrating the glaze through a specific slow-roasting process. This ensures every single kernel is encased in a thin, glass-like shell that stays shatteringly crisp for days.
Expertise in candy making often comes down to temperature control and chemistry. The secret to this recipe’s success is the low-and-slow 250°F oven bake combined with a precise aeration step. By adding baking soda to the hot sugar, we create a porous structure that makes the glaze easy to bite into rather than rock-hard and dangerous for your dental work.
The Physics of the Perfect Popcorn Crunch
Achieving a long-lasting crunch is a battle against evaporation. When you first boil your butter and sugar, the mixture contains a significant amount of water from the butter. If you simply pour this over popcorn and let it cool, that residual water migrates into the popcorn, making it soft and rubbery.
High-heat methods fail because they burn the sugar before the moisture can escape. However, the 250°F oven approach acts as a drying chamber. This gentle heat allows the caramel to remain fluid enough to spread thinly while the water content slowly steams away, leaving behind only the concentrated sugar and fats.
Why Aeration Matters: The Baking Soda Secret
When you stir baking soda into the hot caramel, you’ll notice a dramatic foaming reaction. This happens because the alkaline soda reacts with the acidic components in the brown sugar and corn syrup. This reaction releases thousands of tiny carbon dioxide bubbles into the syrup.
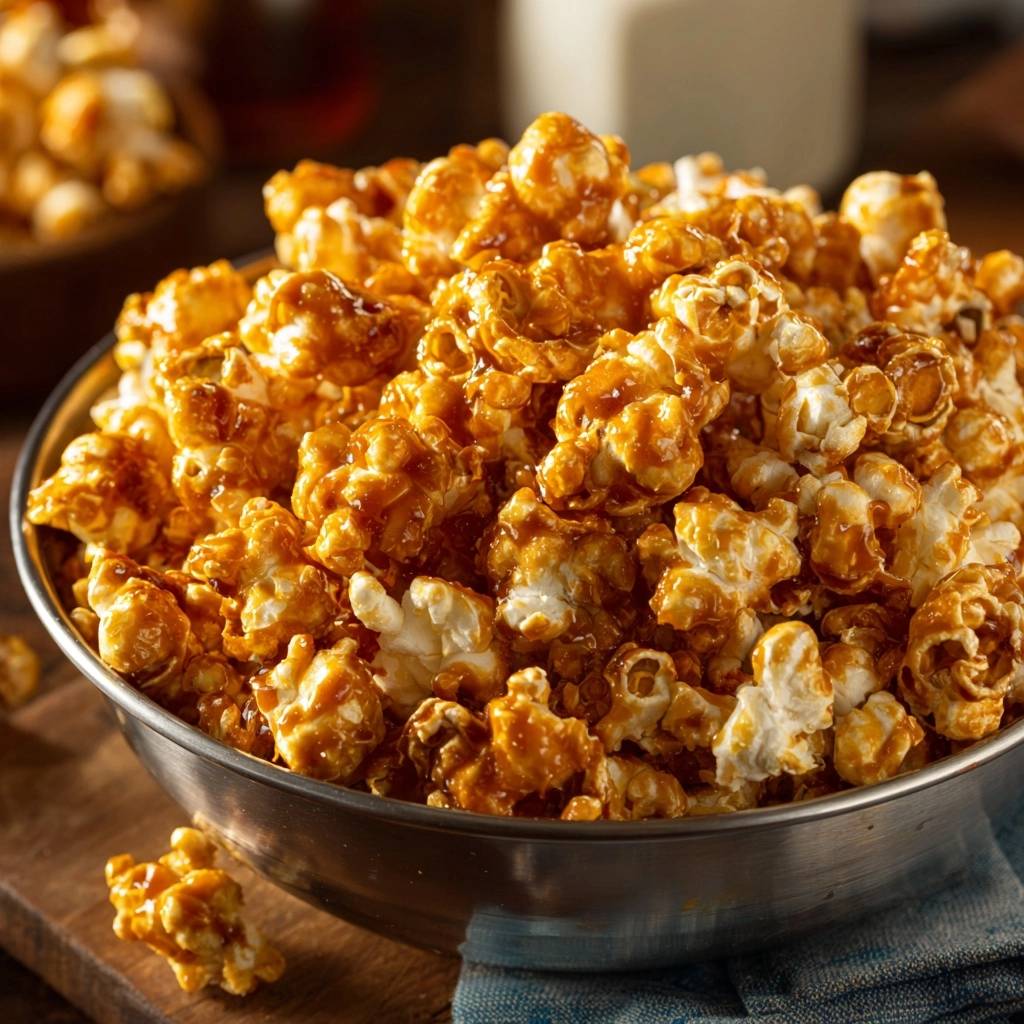
These bubbles are vital because they create a fragile, aerated texture within the hardened glaze. Instead of a solid, tooth-cracking sheet of candy, you get a light, crisp coating that shatters instantly when you bite down. It transforms the caramel from a dense “toffee” into a delicate, professional-grade glaze.
Essential Components for a Deep Glaze
Quality ingredients are the foundation of a deep, complex flavor profile. Use high-quality unsalted butter to control the salt content and ensure a rich, creamy mouthfeel. Since butter has a specific water-to-fat ratio, using a premium brand often results in a more stable emulsion that won’t break during the boiling process.
Light corn syrup is another non-negotiable player in this recipe. While some try to avoid it, it serves as an “interfering agent” in candy making. It prevents the sucrose molecules in the brown sugar from bonding together and forming grainy crystals, ensuring your glaze remains perfectly smooth and glossy.
Selecting the Right Popcorn Base
For a heavy glaze, the type of kernel you choose makes a massive difference. If you can find them, “mushroom” kernels are the gold standard because they pop into sturdy, round spheres that hold up under the weight of the caramel. “Butterfly” kernels, which are the common grocery store variety, have fragile “wings” that tend to break off during tossing.
Regardless of the shape, always use plain, unbuttered popcorn. Microwave bags with artificial butter flavorings contain oils that prevent the caramel from sticking properly. Stovetop or air-popped corn provides the cleanest canvas for the deep glaze to adhere to.
The Role of Light Brown Sugar and Salt
Light brown sugar provides a subtle molasses undertone that gives the popcorn its classic “deep” flavor without being overly bitter. It creates a warm, golden hue that looks beautiful on a serving platter. However, the sweetness needs a counterpoint to keep it from being cloying.
Silicone mats also work beautifully for these caramel oat bars, giving them that same clean release.
A full teaspoon of salt might seem like a lot, but it’s essential for balancing the glycemic load. Salt enhances the vanilla notes and cuts through the richness of the butter. It turns a simple sweet snack into a sophisticated treat that keeps you reaching back into the bowl for more.
Equipment: Tools for High-Heat Sugar Work
You’ll need a “very large” mixing bowl—much larger than you think. When you pour the hot caramel over the popcorn, you need ample space to toss the kernels vigorously without them flying over the sides. A stainless steel or heat-safe glass bowl works best as they won’t melt under the high heat of the sugar.
For the baking sheets, silicone mats are superior to parchment paper because they are completely non-stick. Caramel can occasionally find its way under parchment, but it will never bond to silicone. Additionally, a heavy-bottomed saucepan is vital; thin pots have hot spots that will scorch your butter and sugar before the mixture reaches a boil.
Step-by-Step: Mastering the Caramel Emulsion
The boiling process is where the magic happens. Start by melting your butter over medium heat before adding the sugar and syrup. You want to see the mixture transform into a uniform, bubbling liquid. Use a wooden spoon or silicone spatula to stir constantly until it reaches a full, rolling boil.
Once that boil is established, you must stop stirring. This is the technical core of the recipe. If you continue to agitate the syrup, you risk splashing sugar crystals onto the sides of the pot, which can trigger a chain reaction and turn your entire batch grainy. Just watch the clock and let the heat do the work.
The Four-Minute Boil Rule
The four-minute window is the sweet spot for reaching the “soft-crack” stage. During these minutes, the temperature of the sugar rises as the water evaporates. This specific timing ensures the glaze will be firm enough to set but not so hard that it becomes brittle and dark.
You’ll notice the bubbles changing from small and frantic to larger, slower-popping “lava” bubbles. This visual cue tells you the sugar concentration is increasing. Therefore, keeping a close eye on the timer is more important than using a thermometer for this specific recipe.
Integrating Vanilla and Aeration
As soon as the timer hits four minutes, pull the pot off the heat. Immediately stir in the baking soda and vanilla. The mixture will hiss and expand rapidly, which is why you need a saucepan with high sides. This foaming action is your sign that the aeration is working.
Adding the vanilla extract off-heat is a pro move. Vanilla contains volatile aromatic compounds that evaporate almost instantly at high temperatures. By stirring it in at the very end, you lock that floral, sweet scent into the foam so it perfumes every single kernel of corn.
The Anti-Soggy Method: The Baking Phase
Now comes the most important part: the 60-minute roast. Spread the coated popcorn onto your prepared sheets. At this stage, it will look clumped together and perhaps a bit unevenly coated. Don’t worry; the oven will fix this as the heat thins the caramel back out.
Every 15 minutes, you must pull the pans out and give them a thorough stir. This agitation cycle is the “Anti-Soggy” secret. It redistributes the melting glaze so it covers the bottom of the kernels and allows any trapped steam to escape. Without this step, the caramel would pool at the bottom, creating those dreaded soft spots.
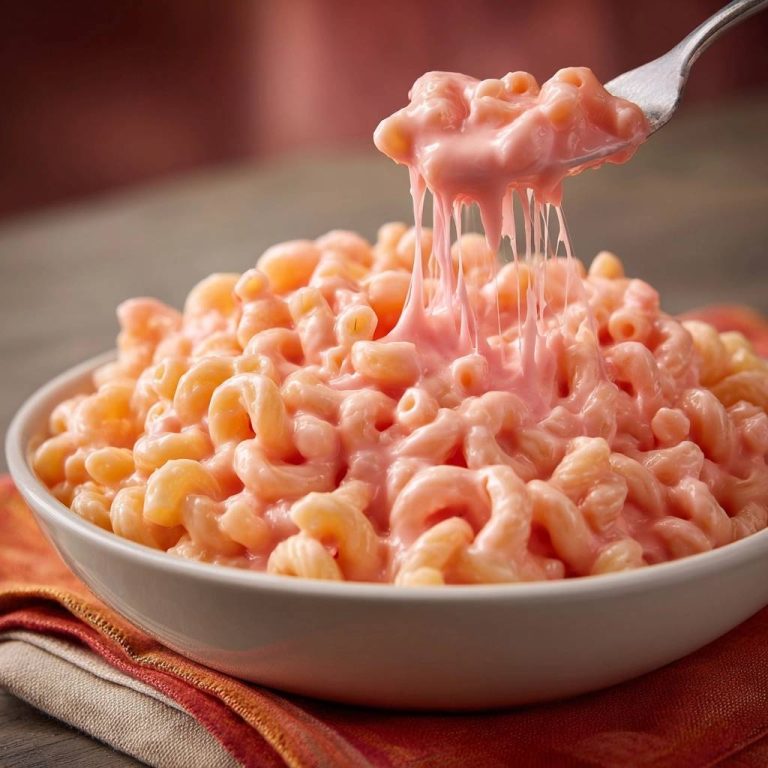
A similar sticky texture can happen with the white chocolate coating in this pink white chocolate popcorn if it isn’t tempered correctly.
Managing Heat Distribution in Home Ovens
Most home ovens have hot spots, usually at the back or on the bottom rack. To ensure uniform drying, rotate your pans between the top and bottom racks every time you stir. This prevents the sugar from darkening too much on one tray while the other stays tacky.
If you notice the caramel is browning too quickly, don’t be afraid to drop the temperature to 225°F. Every oven is different, and the goal is dehydration, not caramelization. You want the popcorn to feel dry to the touch by the end of the hour.
Cooling and Setting for a Professional Finish
When the hour is up, the popcorn will still feel slightly soft while hot. However, as it hits the cool air, the transition from tacky to glass-like happens quickly. Immediately dump the popcorn onto a fresh sheet of parchment paper on your counter and spread it into a single layer.
Avoid leaving it in a heap, or it will cool into one giant, unbreakable brick. As it reaches room temperature, you’ll hear the kernels start to “clink” against each other like marbles. This sound is the ultimate indicator that you’ve achieved a professional, moisture-free finish.
Troubleshooting Common Caramel Corn Failures
If your butter separates during the boiling phase, it usually means the heat was too high or you stopped stirring too early. You’ll see a layer of yellow oil sitting on top of the brown sugar. To fix this, add a tablespoon of hot water and whisk vigorously off the heat to bring the emulsion back together.
Another common issue is the caramel feeling “tacky” even after cooling. This almost always means the humidity in your kitchen was too high or the boiling time was slightly short. Don’t panic; you can usually save the batch by popping it back into a 250°F oven for another 15 minutes to finish the drying process.
Fixing Grainy or Gritty Texture
A grainy texture is caused by sugar crystallization. This happens if undissolved sugar granules from the side of the pot fall back into the syrup. To prevent this, you can use a wet pastry brush to wash down the sides of the saucepan during the initial melting phase.
If the batch is already grainy, there isn’t a perfect fix, but the long baking time in the oven will help melt some of those crystals back down. Next time, ensure your corn syrup ratio is exact, as the glucose in the syrup is your best defense against grittiness.
What to Do if the Glaze is Chewy
Chewiness is the enemy of great caramel corn. If your finished product isn’t crunchy, it’s likely because the moisture wasn’t fully evaporated. This often happens on rainy days when the sugar pulls moisture from the air. Simply put the popcorn back on a baking sheet and “re-crisp” it at 250°F for 10 to 15 minutes.
Storage Strategies for Long-Term Crispness
Sugar is hygroscopic, meaning it literally sucks moisture out of the air. To keep your caramel corn shatteringly crisp, you must store it in an airtight container the moment it reaches room temperature. Glass jars with rubber seals are superior to plastic containers because plastic is slightly porous and can let in microscopic amounts of air.
If stored correctly in a cool, dry place, this caramel corn will stay fresh for up to two weeks. However, never store it in the refrigerator. The cold, damp environment of a fridge will turn the glaze into a sticky mess within hours. Keep it on the pantry shelf for the best results.
Build a Sweet Snack Board Around That Caramel Corn
That deep-glazed caramel corn is already a showstopper on its own, but pairing it with a couple of other caramel-based treats turns it into a proper dessert spread. The salty crunch of shortbread bars and the bright, caramelized fruit will keep things interesting bite after bite.
- For a buttery, salty contrast that echoes the caramel corn’s glaze, try these Salted Caramel Pretzel Shortbread Bars — the pretzel crunch and shortbread base make them a natural partner.
- If you want something lighter to balance the richness, the Caramelized Brown Sugar Pine
Customizing the Deep Glaze Profile
Once you master the base glaze, you can start experimenting with sophisticated flavor boosters. A teaspoon of espresso powder added with the vanilla creates a “mocha” caramel that is incredible. Alternatively, try sprinkling smoked sea salt over the trays immediately after they come out of the oven for a savory twist.
If you want to add nuts, like toasted pecans or peanuts, toss them in with the popcorn before you pour the caramel. The glaze will act as a glue, creating delicious clusters of nuts and corn. Just ensure the nuts are toasted beforehand to maximize their flavor against the rich sugar.
Expert Tips for Large Batch Production
If you’re making this for holiday gifting, you can easily double the recipe. However, be mindful of your oven space. If you crowd too many pans into the oven at once, the air won’t circulate properly, and the popcorn won’t dry out. It’s better to bake in two separate batches than to stack four trays in at once.
When doubling, use a very large stockpot for the caramel. The foaming reaction from the baking soda is much more intense with a larger volume of sugar. Therefore, you’ll need the extra head space to prevent a sticky overflow on your stovetop.
The Importance of Removing Unpopped Kernels
There is nothing worse than biting down on a “widow-maker” unpopped kernel hidden in a cluster of caramel. Before you even start the caramel, sift through your popped corn. A great trick is to place the popcorn on a cooling rack and shake it; the small, heavy kernels will fall through the gaps while the fluffy popcorn stays on top.
Frequently Asked Questions
Can I use dark brown sugar instead of light?
Yes, you can substitute dark brown sugar for a more intense, molasses-forward flavor. However, keep in mind that dark brown sugar has a higher moisture content. You may need to bake the popcorn for an extra 5 to 10 minutes to ensure it reaches the same level of crispness as the light brown sugar version.
Why did my butter separate from the sugar?
Butter separation usually happens due to a sudden temperature change or lack of an emulsifier. Ensure you are stirring constantly until the mixture reaches a boil. If it separates, try whisking in a tablespoon of hot water. The corn syrup in this recipe usually acts as a stabilizer to prevent this, so make sure your measurements are precise.
Can I make this without corn syrup?
It is possible, but highly risky. Corn syrup is an “inverted sugar” that prevents the brown sugar from crystallizing and becoming grainy. If you must substitute, honey or maple syrup can work, but they change the flavor significantly and may result in a slightly stickier finish that doesn’t “shatter” as well.
How do I clean the hardened caramel off my pans and pot?
Don’t scrub! Hardened caramel is just sugar, which dissolves in water. Fill your pot with water and bring it to a boil; the caramel will melt away instantly. For baking sheets, soak them in hot, soapy water for ten minutes, and the sugar will wipe right off without any elbow grease required.
Is there a substitute for baking soda?
There is no direct substitute for baking soda in this recipe. It is the only ingredient that will create the necessary chemical reaction to aerate the caramel. Without it, the glaze will be extremely hard and dense, making it difficult to eat. If you’re out of baking soda, it’s worth a trip to the store before starting this batch.
Caramel Corn
Course: SnackCuisine: AmericanDifficulty: mediumYields8
servingsPrep Time10
minutesCook Time1
hourCalories320
kcalTotal Time70
MinutesA foolproof method for making caramel popcorn that avoids the common sticky mess. By slow-roasting the coated kernels at a low temperature, moisture is evaporated to create a perfectly crisp, deep glaze finish.
Ingredients
12 cups popped popcorn (plain, unbuttered)
1 cup unsalted butter
2 cups light brown sugar, packed
1/2 cup light corn syrup
1 teaspoon salt
1/2 teaspoon baking soda
1 teaspoon vanilla extract
Directions
- Preheat your oven to 250 degrees F. This low temperature is the key to drying out the caramel without burning it. Line two large rimmed baking sheets with parchment paper or silicone baking mats.
- Place the popped popcorn in a very large, heat-safe mixing bowl. Ensure you remove any unpopped kernels to avoid a tooth-cracking surprise later.
- In a medium saucepan over medium heat, melt the butter. Stir in the brown sugar, corn syrup, and salt. Bring the mixture to a gentle boil, stirring constantly.
- Once the mixture reaches a full boil, stop stirring and let it bubble for exactly 4 minutes. This ensures the sugar reaches the soft-crack stage necessary for a firm set.
- Remove the saucepan from the heat and immediately stir in the baking soda and vanilla extract. The mixture will foam up and lighten in color; this aeration creates tiny air bubbles that make the caramel crisp and easy to bite rather than rock-hard.
- Immediately pour the hot caramel over the popcorn. Using a large spatula, toss gently but thoroughly until every kernel is heavily glazed.
- Spread the popcorn evenly across the prepared baking sheets in a single layer.
- Bake for 60 minutes, removing the pans every 15 minutes to give the popcorn a thorough stir. This frequent stirring is the “Anti-Soggy” secret, as it redistributes the melting caramel to prevent pooling and allows all residual moisture to escape.
- Remove from the oven and immediately transfer the popcorn to a large piece of parchment paper on the counter. Let it cool completely. As it reaches room temperature, the glaze will harden into a perfectly crisp, professional finish. Break any large clusters into chunks and serve.
Notes
- The secret to the anti-soggy texture is stirring the popcorn every 15 minutes during the baking process to redistribute the glaze and allow moisture to escape.