Ultimate Moist Chocolate Cake: The Secret to Never-Dry Perfection
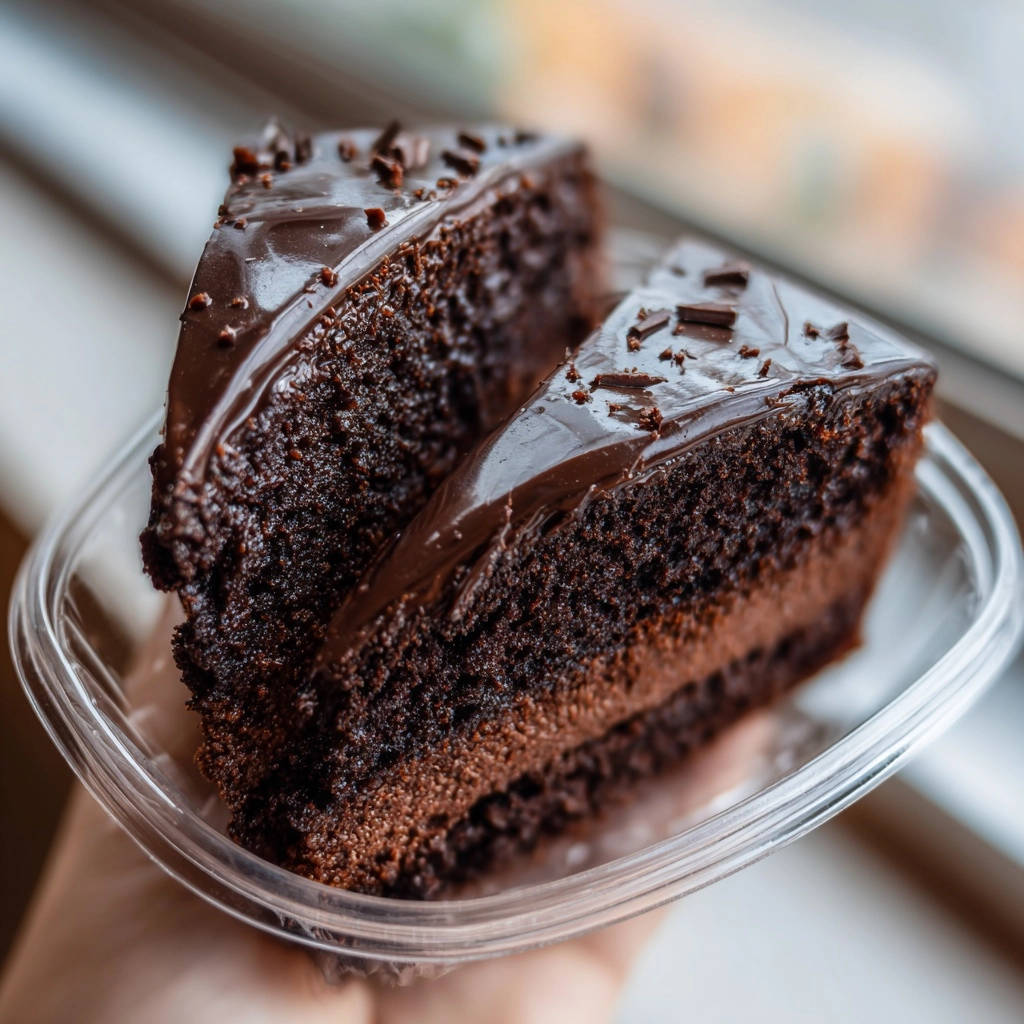
There’s nothing quite as satisfying as a perfectly baked chocolate cake, yet so many recipes fall short, resulting in dry, crumbly slices. I’ve been there, but after years of experimenting, I’ve finally perfected the Ultimate Moist Chocolate Cake that guarantees tender, luscious results every single time.
This recipe isn’t just another chocolate cake; it features a unique, simple trick – the hot liquid method – that transforms the texture into something truly special. Get ready to bake a cake so moist, rich, and decadent, it will instantly become your go-to for any occasion.
If you enjoy using a simple technique to keep cakes moist, try this glazed blueberry lemon bundt cake next.
Beyond Dry: Why This Ultimate Moist Chocolate Cake Stands Out
What sets this specific Ultimate Moist Chocolate Cake recipe apart? It’s more than just rich flavor; it’s about achieving an unparalleled texture that delights with every bite.
The Hot Liquid Secret: Unlocking Unrivaled Moistness
The core innovation in this recipe is the addition of hot liquid (water or coffee) to the batter. This method “blooms” the cocoa, intensifying its flavor, and creates a uniquely thin batter.
This thinness allows for a finer crumb structure during baking, resulting in an exceptionally tender, moist chocolate cake that defies dryness.
Effortless Elegance: Simple Steps, Stunning Results
Despite its impressive appearance and decadent flavor, this Ultimate Moist Chocolate Cake is surprisingly straightforward to make. The steps are intuitive, making it accessible even for novice bakers.
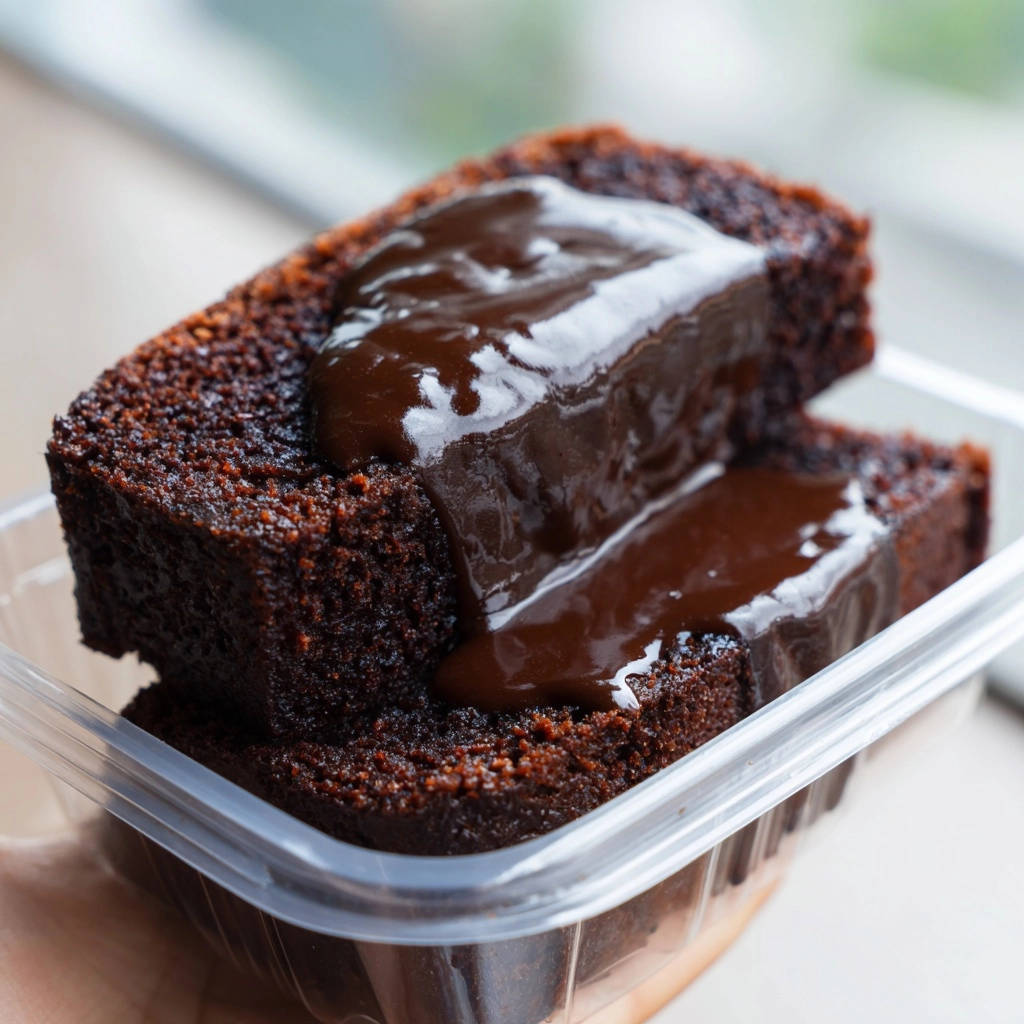
You’ll find that simple techniques yield professional-looking results, ensuring a showstopper without the stress.
A Flavor Journey: Rich Cocoa & Creamy Perfection
This cake is a symphony of chocolate, combining deep cocoa cake layers with a smooth, fluffy chocolate cream filling and a glossy ganache topping. Each component complements the others, building layers of irresistible flavor.
If the cocoa powder technique helps keep this cake moist, you will appreciate how the rich chocolate flavor deepens in this flourless dark chocolate torte.
The balanced sweetness ensures the rich chocolate notes truly shine, creating a truly decadent chocolate dessert experience.
Gather Your Essentials: Ingredients for Ultimate Moist Chocolate Cake
Quality ingredients are the foundation of any great bake. Here’s what you’ll need for this exquisite chocolate cake.
For the Rich Cake Layers: The Foundation of Flavor
Your basic dry ingredients like all-purpose flour, granulated sugar, unsweetened cocoa powder, baking soda, baking powder, and salt form the cake’s structure and primary flavor. The cocoa powder is key for that deep chocolate taste.
Large eggs add richness and bind the ingredients. Whole milk, vegetable oil, and vanilla extract contribute moisture and flavor, while hot water (or brewed coffee) is the crucial ingredient for that signature moistness.
Crafting the Creamy Chocolate Filling: A Sweet Centerpiece
Softened unsalted butter forms the creamy base of your filling. Powdered sugar provides sweetness and helps achieve a smooth texture.
Unsweetened cocoa powder and vanilla extract infuse the filling with luscious chocolate flavor, while a touch of milk adjusts the consistency to perfection.
The Glossy Ganache Topping: A Luxurious Finish
Semi-sweet chocolate chips are melted with heavy cream to create a rich, pourable ganache. An optional tablespoon of unsalted butter adds extra shine and silkiness.
This topping sets beautifully, providing a stunning visual and delicious final layer.
Simple Garnish Ideas: Elevating Presentation
Chocolate sprinkles or shavings are classic garnishes that add visual appeal and a textural contrast. These simple additions elevate the overall presentation, making your Ultimate Moist Chocolate Cake truly special.
Essential Tools for Your Ultimate Moist Chocolate Cake Success
Having the right tools on hand makes the baking process smoother and more enjoyable. These are the essentials for your Ultimate Moist Chocolate Cake.
Baking Basics: Pans and Bowls
Two 8-inch Round Cake Pans: Essential for baking even cake layers. Ensure they are well-greased and floured.
Large and Medium Mixing Bowls: Used for combining wet and dry ingredients separately before bringing them together.
Whisk: Perfect for aerating dry ingredients and thoroughly combining wet ones.
Mixing & Measuring: Precision is Key
Electric Mixer (Stand or Handheld): While not strictly mandatory, an electric mixer makes quick work of blending batter and whipping frosting to perfection.
Measuring Cups and Spoons: Accuracy is vital in baking; precise measurements ensure consistent results.
Rubber Spatula: Ideal for scraping down bowls and gently folding ingredients, ensuring no dry pockets remain.
Finishing Touches: Assembly Aids
Wire Racks: Crucial for cooling cakes completely and evenly, preventing condensation and sogginess.
Serving Plate or Cake Stand: For easy assembly and a beautiful presentation of your finished cake.
Offset Spatula or Knife: Best for spreading the chocolate cream filling and ganache smoothly and evenly.
Your Path to Perfection: Baking the Ultimate Moist Chocolate Cake
Follow these detailed steps to create your own Ultimate Moist Chocolate Cake masterpiece, ensuring every layer is perfect.
Preparing Your Pans & Dry Mix: Setting the Stage
Preheat your oven to 350°F (175°C) and prepare two 8-inch round cake pans by greasing and flouring them thoroughly. This ensures even baking and prevents sticking, allowing your cake layers to release cleanly.
In a large bowl, whisk together the all-purpose flour, granulated sugar, unsweetened cocoa powder, baking soda, baking powder, and salt. Whisking ensures these dry ingredients are evenly distributed, which is crucial for a consistent rise and tender crumb.
Combining Wet & Dry: The Batter Base
In a separate medium bowl, whisk together the eggs, whole milk, vegetable oil, and vanilla extract until they are well combined. This prepares the liquid base, ensuring the wet ingredients are homogenous before mixing with the dry.
Pour the whisked wet ingredients into the large bowl with the dry ingredients. Mix on low speed with an electric mixer until just combined. Overmixing at this stage can lead to a tough, rubbery cake by developing too much gluten.
The Moisture Magic: Incorporating Hot Liquid
Carefully pour the hot water (or hot brewed coffee for a richer chocolate flavor) into the batter and mix until just combined. The batter will be notably thin – this is completely normal and contributes directly to the cake’s ultimate moistness!
Remember the golden rule here: Do not overmix. This hot liquid method is the absolute secret to guaranteed tender, unbelievably moist chocolate cake slices every time.
Baking to Golden Perfection
Divide the thin batter evenly between your two prepared cake pans. Ensure the pans are placed in the oven in a way that allows for even air circulation around them, promoting uniform baking.
Bake for 30-35 minutes, or until a wooden skewer inserted into the center of the cakes comes out clean. This indicates they are fully cooked through and moist without being raw in the middle.
Cooling for Stability: The Patience Game
Let the cakes cool in their pans for 10 minutes. This allows them to firm up slightly, making them easier to handle without breaking.
After 10 minutes, carefully invert the cakes onto wire racks to cool completely. Cooling thoroughly is essential before frosting; attempting to frost warm cakes will result in melted frosting and a sliding mess.
Whipping Up the Creamy Filling
While the cakes cool, prepare your Chocolate Cream Filling. In a medium bowl, beat the softened butter until creamy and light. Gradually add the powdered sugar, unsweetened cocoa powder, milk (start with 2 tablespoons and add more if needed), and vanilla extract.
Beat until the filling is light and fluffy, adding a bit more milk if necessary to achieve your desired creamy consistency. This rich filling is a perfect counterpart to the moist cake.
Crafting the Luxurious Ganache
To make the Chocolate Ganache Topping, place semi-sweet chocolate chips in a heatproof bowl. Heat the heavy cream in a small saucepan over medium heat until it just begins to simmer. Pour the hot cream over the chocolate chips and let sit undisturbed for 5 minutes; this allows the chocolate to melt properly.
Add the optional tablespoon of unsalted butter (if using) and whisk gently until the mixture is completely smooth and beautifully glossy. Let it cool slightly at room temperature, stirring occasionally, until thickened but still pourable. It should be thick enough to coat the cake without running off too quickly.
Assembling Your Masterpiece: Layers of Delight
Once both cake layers are completely cooled, place one cake layer on your chosen serving plate. Spread the prepared chocolate cream filling evenly over the top of this layer, ensuring good coverage.
Carefully place the second cake layer on top, aligning it for an even stack. This creates a visually appealing and stable foundation for the final touches.
The Final Flourish: Garnish & Set
Pour the slightly cooled ganache over the top of the assembled cake, allowing it to drip gracefully down the sides for an elegant, rustic look. You can use an offset spatula to spread it evenly if you prefer a smoother finish.
Immediately sprinkle with chocolate sprinkles or shavings for garnish while the ganache is still soft. This ensures they adhere well and add a delightful textural contrast.
Let the ganache set slightly before slicing and serving. This firming up helps maintain the cake’s structure and makes for cleaner, more beautiful cuts, showcasing your decadent chocolate dessert.
Chef’s Secrets: Elevate Your Ultimate Moist Chocolate Cake Game
Unlock even more potential with these expert tips, ensuring your chocolate cake is nothing short of extraordinary.
The Hot Coffee Advantage: For an even deeper, more intense chocolate flavor that truly stands out, substitute hot brewed coffee for the hot water in the cake batter. Don’t worry, your cake won’t taste like coffee, but the richness will be amplified dramatically. For more delightful dessert ideas, consider trying our Decadent Pumpkin Pie Truffles next!
Don’t Overmix! Seriously: This cannot be stressed enough. Overmixing the batter, especially after adding flour and liquid, develops gluten excessively, which is the primary cause of a tough, dense cake. Mix only until ingredients are just combined and no dry streaks remain.
Room Temperature Ingredients: Always ensure your eggs, milk, and butter (for the filling) are at room temperature before you begin. This allows them to emulsify better, creating a smoother, more consistent batter and a beautifully creamy, lump-free frosting.
Chill Your Ganache Smartly: If your ganache is too thin and runny after cooling, pop it into the refrigerator for a few minutes. Stir it every 2-3 minutes until it reaches a spreadable but still pourable consistency. Be careful not to let it get too firm, or it will be difficult to work with.
Level Your Cake Layers: For a professional-looking, perfectly stacked cake, consider leveling your cake layers after they cool. Use a serrated knife or a dedicated cake leveler to trim off any domed tops. This creates flat surfaces for easier stacking and a neat, elegant appearance.
Solving Common Bakes: Troubleshooting Your Ultimate Moist Chocolate Cake
Even the most experienced bakers encounter challenges. Here are solutions to common issues you might face with your Ultimate Moist Chocolate Cake.
Why is My Cake Dry or Crumbly?
The most common culprit for a dry chocolate cake is overbaking. Keep a close eye on your baking time and always rely on the wooden skewer test for doneness rather than just the clock. Additionally, ensure you used the hot liquid (water or coffee) as specified, as this unique method is key to this recipe’s exceptional moistness.
My Cake Sank in the Middle!
This frustrating issue can be caused by an inaccurate oven temperature (too hot or too cold), using old or expired baking soda/powder, or opening the oven door too soon during baking. Avoid peaking into the oven too early, and always check the freshness dates on your leavening agents.
My Ganache is Too Thin or Too Thick!
If your ganache is too thin and runs off the cake, simply let it cool longer at room temperature or in the fridge, stirring occasionally, until it thickens. If it’s too thick and difficult to spread, gently reheat it over a double boiler or in the microwave in very short 10-second bursts, stirring well after each burst, until it reaches the desired pourable consistency.
Enjoying & Preserving Your Ultimate Moist Chocolate Cake
Make the most of your delicious creation with these serving and storage tips.
Creative Serving Suggestions
This Ultimate Moist Chocolate Cake is incredibly delicious on its own, but you can elevate the experience further! Serve slices with a scoop of premium vanilla bean ice cream for a delightful temperature contrast, or add a dollop of freshly whipped cream.
Pair These With Your Chocolate Cake
If you are serving that chocolate cake for a gathering or just want more chocolate on the table, these two recipes fit the occasion.
- For a breakfast treat that uses similar cocoa notes, bake a batch of Ultra-Gooey Chocolate Cinnamon Rolls alongside your cake so guests have a soft, spiced option.
- A creamy, cheesy side balances the rich chocolate, so this Classic Baked Mac & Cheese adds a savory contrast that works well on any dessert spread.
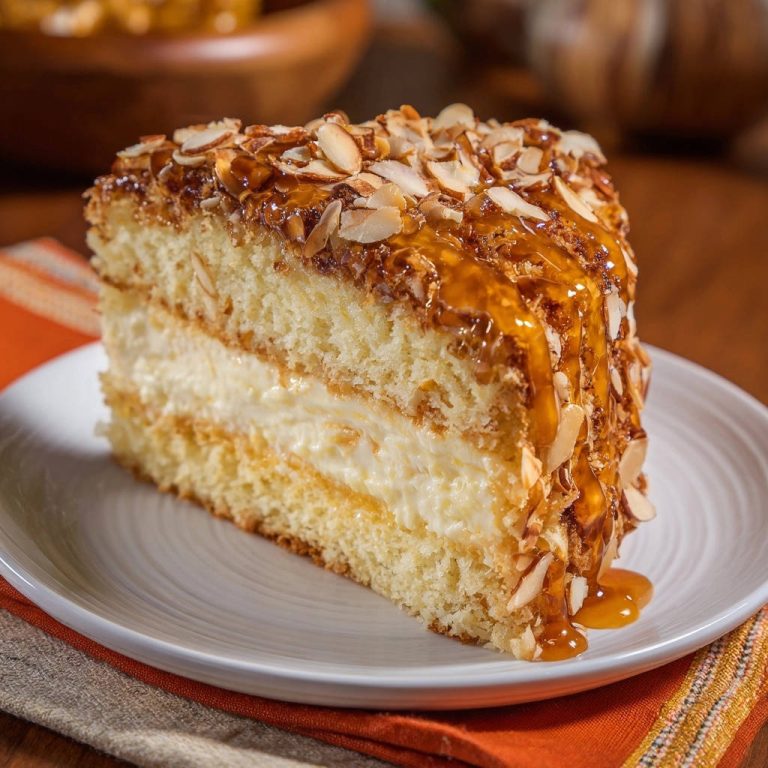
For a touch of brightness, a scattering of fresh raspberries or strawberries provides a wonderful tangy counterpoint to the rich chocolate flavors. Consider a dusting of high-quality cocoa powder for an elegant finish, or even a side of our delightful Almond Caramel Layer Cake for a dessert table feast.
Optimal Storage for Freshness
To keep your Ultimate Moist Chocolate Cake at its peak freshness, store it in an airtight container at room temperature for up to 3-4 days. If your kitchen is particularly warm, or if your frosting contains fresh dairy cream (beyond what’s in this recipe’s filling), refrigerate the cake.
Always bring a refrigerated cake to room temperature before serving for the best texture and flavor, allowing the cake and frosting to soften beautifully.
Make-Ahead Tips for Easy Entertaining
You can bake the cake layers up to 2 days in advance and store them, wrapped tightly in plastic wrap, at room temperature. For longer storage, the unfrosted layers can be frozen for up to a month. The chocolate cream filling can be made 1-2 days ahead and refrigerated, then re-whipped briefly before assembly to restore its fluffiness.
The ganache topping is generally best made just before assembly to ensure it has the perfect pourable consistency.
Your Ultimate Moist Chocolate Cake Questions, Answered
Here are some common questions to help you master this chocolate masterpiece.
Can I make this Ultimate Moist Chocolate Cake gluten-free?
Yes, you absolutely can! You can substitute a good quality 1:1 gluten-free all-purpose flour blend for the regular flour. Ensure your chosen blend already contains xanthan gum, or add about 1/2 teaspoon per cup of gluten-free flour. The inherent moistness of this recipe makes it very forgiving for gluten-free adaptations, yielding excellent results.
Can I use different pan sizes for this recipe?
Yes, you can adapt this recipe to different pan sizes. For a single 9×13 inch rectangular sheet cake, bake for approximately 35-40 minutes, adjusting your baking time based on the skewer test. For cupcakes, fill standard liners about two-thirds full and bake for 18-22 minutes, which should yield around 24 delicious cupcakes. Always adjust baking times and pan preparation accordingly for optimal results.
How far in advance can I make the ganache?
While freshly made ganache has the ideal texture and shine for pouring, you can make it up to 2-3 days in advance and store it in an airtight container in the refrigerator. When ready to use, gently reheat it over a double boiler or in very short microwave bursts (10-15 seconds), stirring frequently, until it returns to the desired pourable consistency.
What can I substitute for the vegetable oil?
You have a few options for substituting the vegetable oil without compromising the cake’s moistness significantly. You can use an equal amount of melted unsalted butter for a richer flavor, unsweetened applesauce for a slightly healthier alternative, or a light-flavored olive oil. Each substitution may subtly alter the flavor and texture, but will still result in a delicious, moist cake.
Ready to Bake? Share Your Ultimate Moist Chocolate Cake Creation!
You now have all the secrets and expert knowledge to bake the Ultimate Moist Chocolate Cake that will undoubtedly become a treasured family favorite. Embrace the simple magic of the hot liquid, enjoy the delightful process, and prepare for rave reviews from everyone lucky enough to try a slice!
We’d absolutely love to see your baking triumphs! Share your Ultimate Moist Chocolate Cake creations on social media and tag us. Happy baking and enjoy every decadent bite!
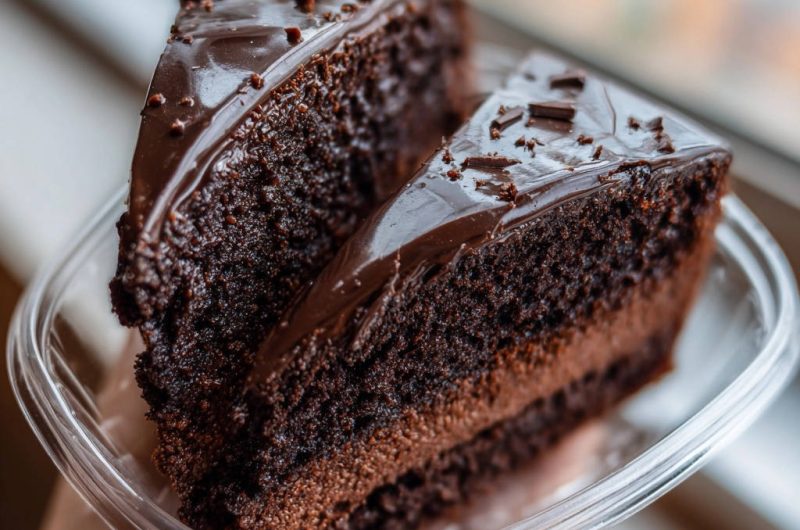
Chocolate Cake
Course: DessertCuisine: AmericanDifficulty: medium12
servings45
minutes35
minutes450
kcal180
minutesTired of dry, crumbly chocolate cakes? This recipe unlocks the secret to making a consistently rich, incredibly moist chocolate cake every time. Featuring a tender crumb, luscious chocolate cream filling, and a glossy ganache topping, it’s a dessert that will impress.
Ingredients
For the Cake:
1 3/4 cups all-purpose flour
1 3/4 cups granulated sugar
3/4 cup unsweetened cocoa powder
1 1/2 teaspoons baking soda
1 teaspoon baking powder
1 teaspoon salt
2 large eggs
1 cup whole milk
1/2 cup vegetable oil
2 teaspoons vanilla extract
1 cup hot water (or hot brewed coffee for richer flavor)
For the Chocolate Cream Filling:
1/2 cup unsalted butter, softened
1 1/2 cups powdered sugar
1/4 cup unsweetened cocoa powder
2-3 tablespoons milk
1 teaspoon vanilla extract
For the Chocolate Ganache Topping:
1 cup semi-sweet chocolate chips
1/2 cup heavy cream
1 tablespoon unsalted butter (optional)
For Garnish:
1-2 tablespoons chocolate sprinkles or shavings
Directions
- Preheat oven to 350°F (175°C). Grease and flour two 8-inch round cake pans.
- In a large bowl, whisk together the flour, granulated sugar, cocoa powder, baking soda, baking powder, and salt.
- In a separate medium bowl, whisk together the eggs, milk, vegetable oil, and vanilla extract until well combined.
- Pour the wet ingredients into the dry ingredients and mix on low speed with an electric mixer until just combined.
- Carefully pour the hot water (or hot coffee) into the batter and mix until just combined. The batter will be thin. Do not overmix. This hot liquid method is the secret to guaranteed moistness!
- Divide the batter evenly between the prepared cake pans.
- Bake for 30-35 minutes, or until a wooden skewer inserted into the center of the cakes comes out clean.
- Let the cakes cool in their pans for 10 minutes, then carefully invert them onto wire racks to cool completely.
- To prepare the Chocolate Cream Filling: In a medium bowl, beat the softened butter until creamy. Gradually add the powdered sugar, cocoa powder, milk, and vanilla extract. Beat until the filling is light and fluffy.
- To prepare the Chocolate Ganache Topping: Place the chocolate chips in a heatproof bowl. Heat the heavy cream in a small saucepan over medium heat until it just begins to simmer. Pour the hot cream over the chocolate chips and let sit for 5 minutes. Add the butter (if using) and whisk gently until the mixture is smooth and glossy. Let it cool slightly until thickened but still pourable.
- To assemble the cake, place one cooled cake layer on a serving plate. Spread the chocolate cream filling evenly over the top. Place the second cake layer on top.
- Pour the slightly cooled ganache over the top of the cake, allowing it to drip down the sides. Spread evenly if desired.
- Immediately sprinkle with chocolate sprinkles or shavings for garnish.
- Let the ganache set slightly before slicing and serving.
Notes
- The hot liquid method is crucial for a truly moist cake. Ensure cakes cool completely before filling and frosting.