Classic Baked Mac & Cheese: Perfectly Sliceable & Creamy
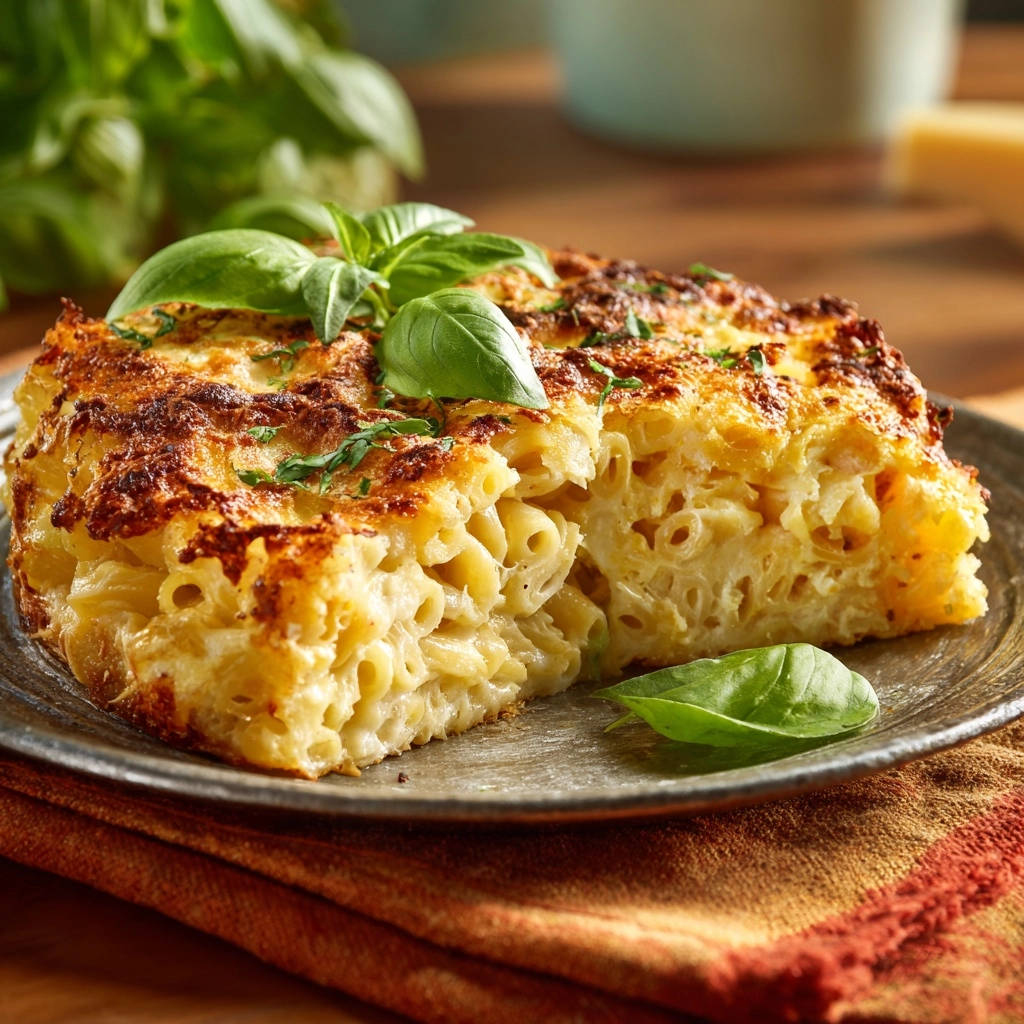
Have you ever painstakingly baked a mac and cheese, only for it to collapse into a crumbly mess on the plate? I’ve been there, struggling to achieve that elusive, perfectly sliceable Classic Baked Mac & Cheese that holds its shape. But through trial and error, I’ve mastered a recipe that delivers consistent creaminess and structural integrity every single time.
This method ensures your homemade mac and cheese emerges from the oven golden, bubbly, and ready to be served in beautiful, satisfying portions. It’s the ultimate comfort food classic, perfect for family dinners or impressive potlucks.
If you enjoy the rich, creamy texture of this cheese sauce, you will love the fluffy, never-dense layers of this classic coconut layer cake.
The Secret to Perfectly Sliceable & Creamy Baked Mac & Cheese
This isn’t just another mac and cheese recipe; it’s a meticulously developed guide to perfection. The secret lies in a few key culinary techniques that address common pitfalls like dryness, oiliness, or a sauce that refuses to set.
We incorporate two crucial steps: tempering eggs into the cheese sauce and a mandatory resting period post-bake. These elements work in harmony to create a rich, cohesive sauce that provides an incredible texture and allows for stunning, clean slices.
Say goodbye to soupy or crumbly baked mac and cheese and hello to a golden brown crust concealing a luscious, perfectly portioned cheesy indulgence.
Gear Up: Must-Have Tools for Mac & Cheese Mastery
Large Dutch Oven or Heavy-Bottomed Saucepan
Essential for building the roux and cheese sauce, providing even heat distribution.
Sturdy Whisk
Your best friend for creating a smooth, lump-free roux and sauce.
9×13 Inch Baking Dish
The perfect size to achieve the ideal pasta-to-sauce ratio and golden crust.
Measuring Cups and Spoons
Accuracy is key for perfectly balanced flavors and textures.
Cheese Grater
Freshly shredded cheese melts smoother and tastes better than pre-shredded.
Heat-Proof Spatula or Spoon
For combining the pasta with the rich sauce.
Building Blocks of Flavor: What You’ll Need
The Pasta Foundation: Choosing Your Macaroni
Elbow macaroni is the classic choice, its curves perfectly cradling the rich cheese sauce.
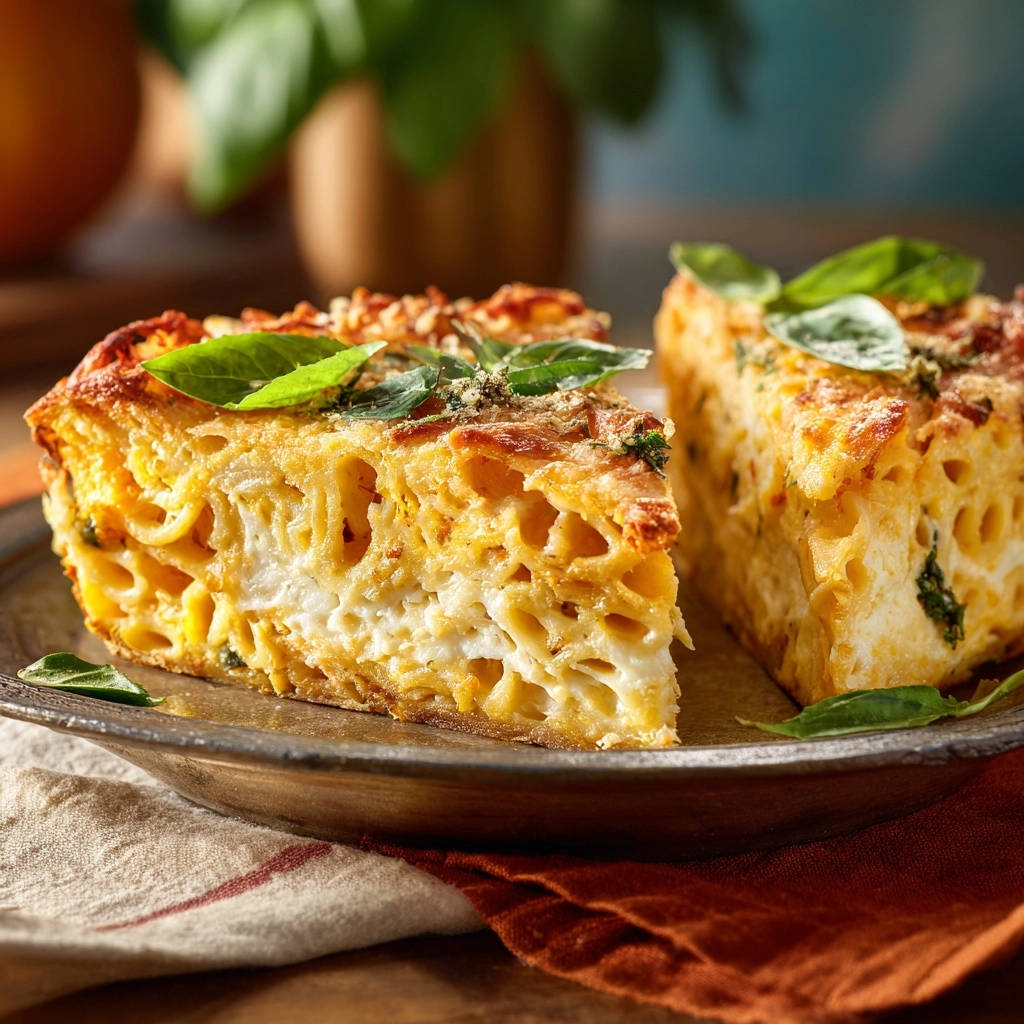
Alternatively, medium shells or cavatappi can also work wonderfully, offering a similar texture.
Crafting the Velvety Sauce Base: Dairy & Roux Essentials
Unsalted butter and all-purpose flour form the foundational roux, thickening the sauce to creamy perfection.
Whole milk is crucial for a rich, luxurious sauce. Avoid lower-fat alternatives for the best results.
Salt, black pepper, and ground mustard contribute essential seasoning and a subtle tang that complements the cheese.
The Cheese Blend: A Symphony of Melty Goodness
Sharp cheddar cheese delivers that quintessential, robust mac and cheese flavor everyone loves.
Gruyere or Monterey Jack adds a smooth, nutty complexity and an excellent melt, contributing to the dish’s irresistible texture.
Remember to shred your own cheese for the smoothest melt and best flavor.
The “Secret” Ingredient: Eggs for Structure
Large eggs are the unsung heroes of this recipe, providing critical structure that helps the mac and cheese hold its shape, preventing it from collapsing on the plate.
Finishing Touch: A Hint of Freshness
Fresh basil leaves offer a fragrant, herbaceous garnish, brightening the rich flavors of the dish.
Your Culinary Journey: Crafting Flawless Baked Mac & Cheese
Perfect Pasta Prep: The Al Dente Advantage
Cook elbow macaroni according to package directions, but shave off 2 minutes from the lowest recommended cooking time.
The goal is very al dente pasta; it will finish cooking in the oven, ensuring it’s never mushy. Drain thoroughly and set aside without rinsing.
Mastering the Roux: Foundation of Richness
In a large saucepan or Dutch oven, melt the unsalted butter over medium heat.
Whisk in the flour and cook for 1 to 2 minutes, stirring constantly until a thick, nutty-smelling paste forms. This cooked roux prevents a raw flour taste.
Whisking the Velvety Sauce to Perfection
Gradually whisk in the whole milk, a little at a time, ensuring each addition is fully incorporated before adding more.
Continue whisking constantly until the sauce thickens enough to coat the back of a spoon, then stir in the salt, black pepper, and optional ground mustard.
The Crucial Tempering Step: No Scrambled Eggs Here!
In a small bowl, whisk the two large eggs until well combined. This is a critical step for a cohesive mac and cheese.
Slowly pour about 1 cup of the hot cheese sauce into the whisked eggs while continuously whisking. This gentle tempering raises the eggs’ temperature gradually, preventing them from scrambling when mixed with the hot sauce.
Infusing the Cheese and Incorporating Tempered Eggs
Remove the saucepan from the heat. Stir in the shredded cheddar and Gruyere or Monterey Jack cheeses until fully melted and smooth.
Then, slowly pour the tempered egg mixture into the cheese sauce, stirring well to combine thoroughly. This adds richness and ensures the dish sets beautifully.
Combining, Baking, and Golden Perfection
Add the drained, slightly undercooked macaroni to the cheese sauce and stir until all the pasta is evenly coated.
Pour the macaroni mixture into a greased 9×13 inch baking dish. Bake in a preheated oven at 375°F (190°C) for 25 to 30 minutes, or until the top is golden brown and bubbly.
The Non-Negotiable Rest: Achieving Sliceable Bliss
This step is absolutely key for perfectly sliceable mac and cheese! Remove the dish from the oven and let it rest for at least 15 to 20 minutes before serving.
This allows the sauce to set and the structure to firm up, ensuring every slice holds its shape beautifully on the plate.
Finishing Touch: A Hint of Freshness
Garnish with fresh basil leaves before serving. The vibrant green adds a pop of color and fresh aroma.
Elevate Your Bake: Pro Tips for Unforgettable Mac & Cheese
Choosing the Right Cheese Blend for Optimal Melt
Always shred your own cheese from blocks. Pre-shredded varieties often contain anti-caking agents that can lead to a grainy or clumpy sauce.
Experiment with other good melting cheeses like fontina, colby jack, or even a touch of smoked gouda for added depth.
Why Undercooking Your Pasta is Key
Pasta cooked al dente will absorb some of the sauce and finish cooking in the oven, preventing it from becoming mushy or overcooked in the final dish.
Avoiding a Grainy Sauce: The Tempering Technique
The egg tempering step is non-negotiable for a silky, smooth sauce. Skipping it risks scrambling the eggs directly in the hot cheese mixture.
Pouring slowly and whisking continuously are crucial for success.
The Power of Patience: Don’t Skip the Rest!
Allowing your Classic Baked Mac & Cheese to rest after baking is perhaps the most important tip for achieving those clean, sliceable portions.
This resting period gives the sauce time to set, creating a firm yet creamy texture that holds its shape beautifully.
Beyond Basil: Creative Garnish Ideas
While fresh basil is lovely, consider a sprinkle of paprika for color, toasted breadcrumbs for crunch, or a dusting of finely chopped chives for a mild oniony zest.
Troubleshooting Your Mac & Cheese: From Dry to Dreamy
“Why is my Classic Baked Mac & Cheese dry or crumbly?”
This often happens from overbaking or not having enough liquid in your sauce. Ensure you follow the baking times closely and don’t skip the eggs, which add moisture and structure.
Also, make sure your pasta is slightly undercooked initially, as fully cooked pasta can absorb too much sauce in the oven.
“My sauce is lumpy, what went wrong?”
Lumps typically occur in the roux or when adding milk. Ensure you whisk constantly when making the roux and gradually add the milk, whisking vigorously until smooth before adding more.
“The cheese didn’t melt smoothly or became oily.”
Using pre-shredded cheese can cause this due to anti-caking agents. Always shred your own cheese. Overheating the cheese sauce can also cause the fat to separate; remove the saucepan from heat before stirring in the cheese.
“My Classic Baked Mac & Cheese didn’t hold its shape.”
The most common culprit is skipping the crucial resting step after baking. The resting period allows the sauce to set and the internal structure to firm up, making it perfectly sliceable. Additionally, ensure you properly tempered the eggs, as they provide essential structure.
Your Questions Answered: Classic Baked Mac & Cheese FAQs
Can I use different types of pasta for Classic Baked Mac & Cheese?
Absolutely! While elbow macaroni is traditional, other short, sturdy pasta shapes like medium shells, cavatappi, or even penne can work well. Choose pastas with ridges or hollows to trap the sauce.
Can I prepare this Classic Baked Mac & Cheese ahead of time?
You can assemble the mac and cheese up to a day in advance. Cover it tightly and refrigerate. Let it come to room temperature for about 30 minutes before baking, and you might need to add a few extra minutes to the baking time.
How do I store leftovers?
Store any leftover Classic Baked Mac & Cheese in an airtight container in the refrigerator for up to 3-4 days. For best results, reheat gently in the microwave or oven until warmed through.
Can I freeze baked mac and cheese?
Yes, baked mac and cheese freezes fairly well. Allow it to cool completely, then portion into freezer-safe containers. It can be frozen for up to 2-3 months. Thaw in the refrigerator overnight before reheating.
Is ground mustard really necessary for Classic Baked Mac & Cheese?
While optional, ground mustard adds a subtle tang and enhances the cheesy flavor without making the dish taste distinctly like mustard. It’s a secret ingredient many chefs use to elevate cheese sauces.
Round Out Your Meal: Perfect Sides for Classic Baked Mac & Cheese
Classic Baked Mac & Cheese is a hearty dish, making it pair wonderfully with lighter, fresh sides. A crisp green salad with a vinaigrette dressing provides a refreshing contrast.
Steamed or roasted vegetables like broccoli, green beans, or asparagus offer a nutritious balance and a lovely textural element.
For a heartier meal, consider serving it alongside grilled chicken, a simple roasted beef sirloin, or even a juicy meatloaf.
Ready to Indulge? Your New Go-To Classic Baked Mac & Cheese Recipe!
Gone are the days of dry, crumbly baked mac and cheese that refuses to hold its shape. With this meticulously crafted recipe, you’re now equipped with the secrets to a truly unforgettable Classic Baked Mac & Cheese: one that’s lusciously creamy, deeply flavorful, and perfectly sliceable every single time.
Embrace the tempering technique and the crucial resting period, and prepare to impress your family and friends with a dish that embodies comfort and culinary perfection. It’s time to make this your new go-to recipe for the ultimate cheesy indulgence!
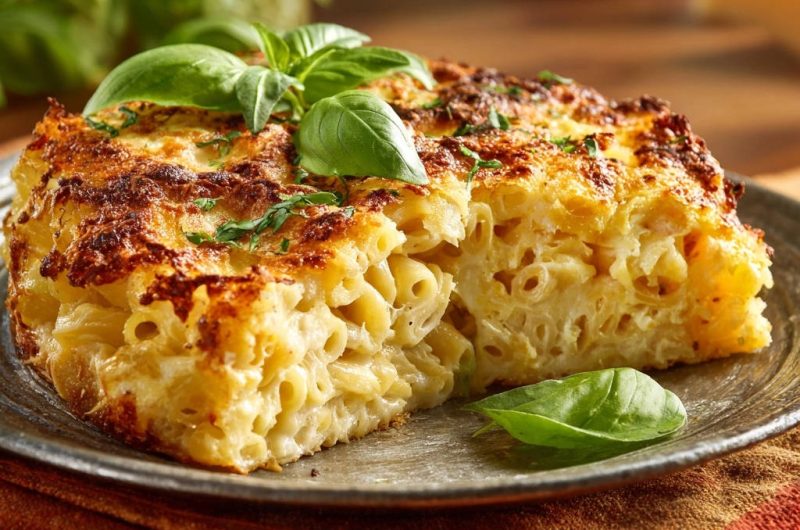
Baked Mac and Cheese
Course: Main CourseCuisine: AmericanDifficulty: medium8
servings25
minutes30
minutes650
kcal60
minutesSay goodbye to dry, crumbly mac and cheese! This recipe delivers a rich, creamy, and perfectly sliceable baked mac and cheese that holds its shape. With a blend of sharp cheddar and Gruyere, it’s a guaranteed crowd-pleaser.
Ingredients
1 pound elbow macaroni
1/2 cup (1 stick) unsalted butter
1/2 cup all-purpose flour
4 cups whole milk
1 teaspoon salt
1/2 teaspoon black pepper
1/4 teaspoon ground mustard (optional)
4 cups shredded sharp cheddar cheese
1 cup shredded Gruyere or Monterey Jack cheese
2 large eggs
Fresh basil leaves, for garnish
Directions
- Prepare Pasta: Cook the elbow macaroni according to package directions, but subtract 2 minutes from the lowest recommended cooking time. The pasta should be very al dente. Drain well and set aside in a large bowl. Do not rinse.
- Make Roux: In a large saucepan or Dutch oven, melt the butter over medium heat. Whisk in the flour and cook for 1 to 2 minutes, stirring constantly, until a thick paste forms and smells nutty.
- Create Sauce: Gradually whisk in the milk, a little at a time, ensuring no lumps. Continue whisking constantly until the sauce thickens enough to coat the back of a spoon. Stir in the salt, black pepper, and ground mustard (if using).
- Temper Eggs: In a small bowl, whisk the two large eggs until well combined. Slowly pour about 1 cup of the hot cheese sauce into the whisked eggs while continuously whisking. This crucial step tempers the eggs, preventing them from scrambling when added to the hot sauce.
- Add Cheese and Eggs: Remove the saucepan from the heat. Stir in the cheddar and Gruyere or Monterey Jack cheeses until fully melted and smooth. Then, slowly pour the tempered egg mixture into the cheese sauce, stirring well to combine thoroughly.
- Combine and Bake: Add the drained, slightly undercooked macaroni to the cheese sauce and stir until all the pasta is evenly coated. Pour the macaroni mixture into a greased 9×13 inch baking dish. Bake in a preheated oven at 375F (190C) for 25 to 30 minutes, or until the top is golden brown and bubbly.
- Rest Crucially: This step is key for perfect slices! Remove the mac and cheese from the oven and let it rest for at least 15 to 20 minutes before serving. This allows the sauce to set and the structure to firm up, ensuring every slice holds its shape beautifully.
- Garnish: Garnish with fresh basil leaves before serving.
Notes
- Resting the mac and cheese for 15-20 minutes after baking is crucial for perfect, sliceable portions.