Cheesy Chicken Skewers: The Secret to Juicy Perfection
Who else has made chicken skewers, only to bite into that disappointing, dry, and rubbery chicken? I certainly have, and it took me countless attempts to truly crack the code for perfectly tender, incredibly juicy chicken every single time.
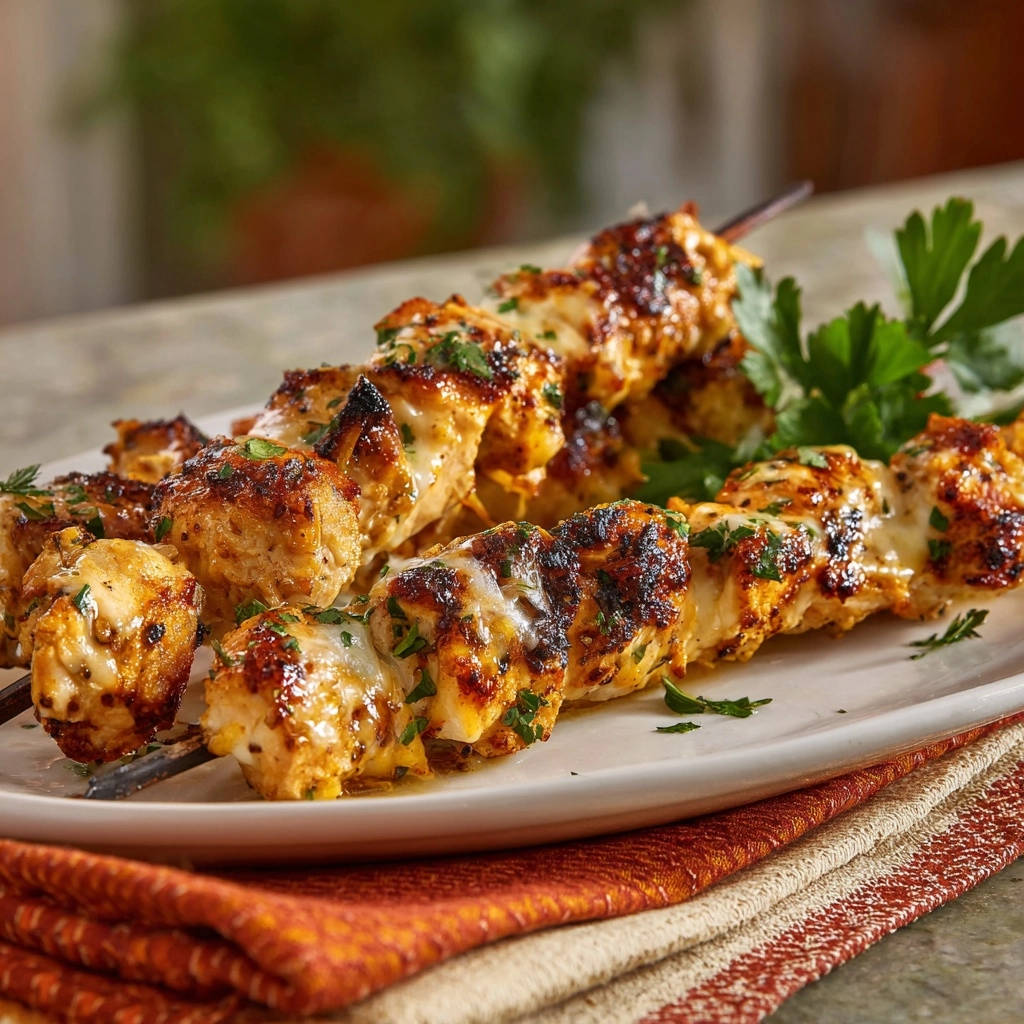
This recipe for Cheesy Chicken Skewers isn’t just easy; it’s a foolproof method to achieve that succulent texture, bursting with flavor, and topped with irresistible gooey mozzarella. Get ready to transform your weeknight dinners into a vibrant, delicious experience.
Why This Cheesy Chicken Skewers Recipe is Your New Favorite
Beyond being incredibly simple to prepare, these skewers offer a symphony of textures and flavors that make them a standout dish. They’re designed for maximum enjoyment with minimal fuss.
The “Never Dry” Secret: Our Proven Method for Tenderness
The key to our consistently juicy chicken lies in precise cooking temperatures and a crucial resting period. We’ll guide you through each step to ensure your chicken remains moist and tender from the inside out.
Irresistible Flavor That Delights Every Palate
A simple yet potent blend of garlic, paprika, salt, and pepper infuses the chicken with a savory depth. This foundational seasoning creates a universally appealing taste that complements the richness of the melted cheese beautifully.
Quick Prep & Easy Cleanup: Perfect for Weeknights
With minimal marination time needed and straightforward cooking steps, these cheesy chicken skewers are ideal for busy evenings. Most of the cooking happens in one pan or on the grill, simplifying your cleanup.
Gooey Mozzarella Magic: The Ultimate Finish
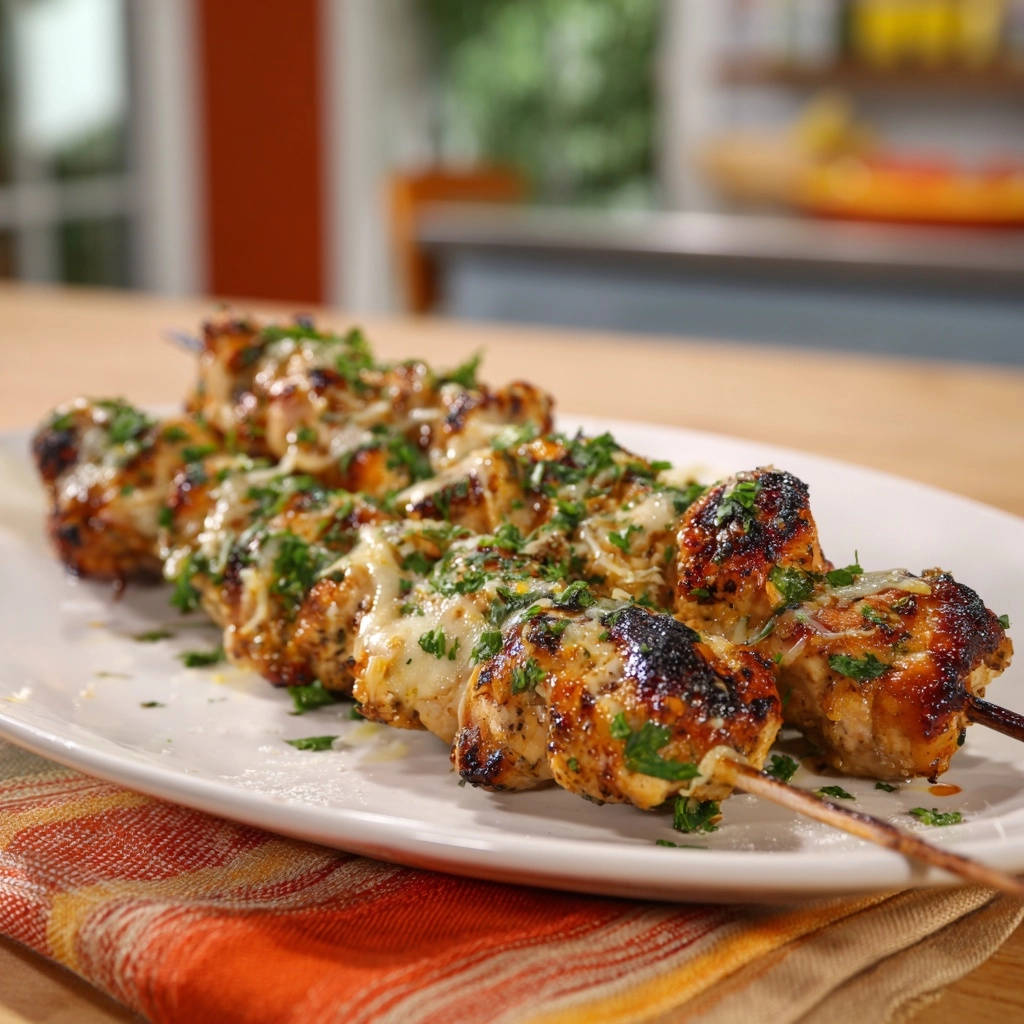
Adding mozzarella during the final minute of cooking creates a luscious, melted layer that locks in moisture and adds a creamy, savory dimension. This gooey cheese transforms each bite into a truly indulgent experience.
Essential Tools for Your Cheesy Chicken Skewers Adventure
Having the right equipment ensures a smooth cooking process and the best possible outcome for your delicious skewers.
Must-Have Kitchen Gadgets
Meat Thermometer: Absolutely essential for perfect doneness, preventing dry chicken by guaranteeing it reaches precisely 165°F (74°C).
Large Skillet or Grill Pan: A spacious pan allows for even cooking and browning without overcrowding, or use your outdoor grill.
Tongs: Necessary for safely turning the skewers during cooking, ensuring all sides are beautifully browned.
Mixing Bowls: You’ll need one medium bowl for seasoning the chicken and another for prep work.
Skewers: Wooden or Metal?
Both wooden and metal skewers work wonderfully for this recipe. Metal skewers are reusable and conduct heat well, while wooden skewers are disposable for easy cleanup.
If using wooden skewers, remember to soak them in water for at least 30 minutes prior to threading. This prevents them from charring or burning during cooking, ensuring your presentation is as perfect as the taste.
Gathering Your Ingredients for Irresistible Skewers
High-quality ingredients are the foundation of any great dish. Here’s a closer look at what you’ll need and why each component is important.
The Star: Boneless, Skinless Chicken Breast
We use boneless, skinless chicken breast, cut into 1-inch cubes, for its lean protein and quick cooking time. Cutting uniform pieces ensures that every part of the chicken cooks evenly.
Mozzarella Magic: Achieving That Melted Perfection
Shredded mozzarella cheese is ideal here for its excellent meltability and mild, creamy flavor. It creates that signature gooey texture without overpowering the chicken.
You can substitute with other meltable white cheeses like provolone or Monterey Jack if you prefer, ensuring a similarly satisfying cheesy finish.
Flavor Foundations: Olive Oil & Seasoning Blend
Olive oil helps the seasonings adhere to the chicken and facilitates beautiful browning while adding moisture. Our blend of salt, black pepper, garlic powder, and paprika provides a balanced, aromatic base.
Garlic powder offers a consistent savory depth, and paprika adds a hint of sweet earthiness and a lovely color to the cooked chicken.
Fresh Parsley: The Bright Finishing Touch
Fresh chopped parsley is added at the end, providing a burst of vibrant color and a fresh, herbaceous counterpoint to the rich chicken and cheese. It brightens the overall flavor profile.
Step-by-Step: Crafting Your Perfect Cheesy Chicken Skewers
Prepping for Success: Seasoning the Chicken
In a medium bowl, combine your 1.5 pounds of cubed chicken breast with 1 tablespoon of olive oil, 1 teaspoon salt, 1/2 teaspoon black pepper, 1 teaspoon garlic powder, and 1 teaspoon paprika. Toss gently until every piece of chicken is thoroughly and evenly coated.
This initial coating is crucial for infusing flavor deep into the chicken, and the oil helps to lock in moisture, setting the stage for perfectly juicy skewers.
The Art of Threading: Building Your Skewers
Carefully thread the seasoned chicken pieces onto your prepared skewers (remember to soak wooden ones). Aim for about 5-6 pieces per skewer, depending on their length.
It’s important not to pack the chicken cubes too tightly; leave a small gap between each piece. This allows hot air to circulate, ensuring even cooking, proper browning, and preventing a steamed texture.
Heat It Up: Pan or Grill Setup
If using a skillet or grill pan, heat the remaining 1 tablespoon of olive oil over medium-high heat until shimmering. If grilling outdoors, preheat your grill to medium-high heat.
Ensuring your cooking surface is adequately hot before adding the chicken is key to achieving that desirable golden-brown crust.
Cooking to Perfection: Browning & Doneness
Place the skewers in the hot pan or on the grill. Cook for 3-4 minutes per side, turning occasionally, until the chicken is beautifully browned on all sides and cooked through.
CRITICAL: Use a meat thermometer to check the internal temperature, aiming for exactly 165°F (74°C). Cooking just until this temperature is reached is the ultimate secret to tender, juicy chicken, avoiding any dryness.
The Cheesy Finale: Melting to Gooey Perfection
During the last minute of cooking, generously sprinkle 1 cup of shredded mozzarella cheese over the chicken skewers. If using a skillet, cover the pan; if grilling, close the lid briefly.
This allows the cheese to melt into a wonderfully gooey layer, adhering perfectly to the chicken. The brief covering also helps steam the chicken slightly, preventing any last-minute dryness.
Crucial Resting Period: Locking in Juices
Once the cheese is melted, remove the skewers from the heat and transfer them to a serving platter. Immediately sprinkle with 1/4 cup of fresh chopped parsley.
Do not skip this step: Let the skewers rest for 5 minutes before serving. This vital resting period allows the chicken’s juices to redistribute throughout the meat, ensuring every single bite is incredibly tender and moist.
Elevate Your Skewers: Expert Tips & Tricks
Take your cheesy chicken skewers from great to extraordinary with these seasoned chef insights.
Precision Cooking: The Meat Thermometer Advantage
Investing in a good instant-read meat thermometer is the single most effective way to prevent dry chicken. It eliminates guesswork, ensuring your chicken is perfectly cooked to 165°F (74°C) without going over.
Maximize Juiciness: The Power of Resting
The science behind resting meat is simple but profound: when cooked, meat juices move towards the center. Resting allows these juices to redistribute back through the muscle fibers, resulting in a significantly more tender and moist texture.
Flavor Variations: Spice Things Up!
While our classic seasoning is fantastic, feel free to experiment! Try adding a pinch of smoked paprika for depth, a dash of cayenne for a subtle kick, or dried oregano for an Mediterranean twist. You could even swap the cheese for a sharper cheddar for a different profile.
Pre-Soak Wooden Skewers: A Simple Preventative Measure
Soaking wooden skewers in water for 30 minutes before use is a simple step that prevents them from burning and splintering during cooking. This ensures your skewers cook evenly and present beautifully.
Don’t Overcrowd the Pan: Ensure Even Cooking
Resist the urge to cram too many skewers into your pan or grill at once. Overcrowding lowers the temperature, preventing proper browning and leading to steamed, rather than seared, chicken. Cook in batches if necessary for optimal results.
Troubleshooting Common Cheesy Chicken Skewers Challenges
Even expert cooks encounter hurdles. Here’s how to overcome common issues with your skewers.
Why Are My Chicken Skewers Dry?
The most common culprit is overcooking. Always use a meat thermometer to ensure chicken reaches 165°F (74°C) and no higher. Also, don’t skip the 5-minute resting period, as this locks in juices.
Cheese Not Melting Evenly or Burning?
Ensure you add the cheese only during the last minute of cooking, and immediately cover the pan or close the grill lid. This traps heat, allowing the cheese to melt gently without burning. If using a very hot grill, place skewers in a cooler zone briefly after sprinkling cheese.
Chicken Sticking to the Pan/Grill?
Make sure your pan or grill grates are properly preheated and oiled before adding the chicken. A good sear often ensures the chicken releases easily. If using a grill, ensure grates are clean.
Lack of Flavor or Bland Taste?
Confirm you used the specified amounts of salt and seasoning for the quantity of chicken. For a deeper flavor, you can marinate the seasoned chicken for an extra 15-30 minutes before cooking. Fresh herbs at the end also significantly boost taste.
What to Serve with Your Delicious Cheesy Chicken Skewers
These versatile skewers pair beautifully with a variety of sides, making them perfect for any meal occasion.
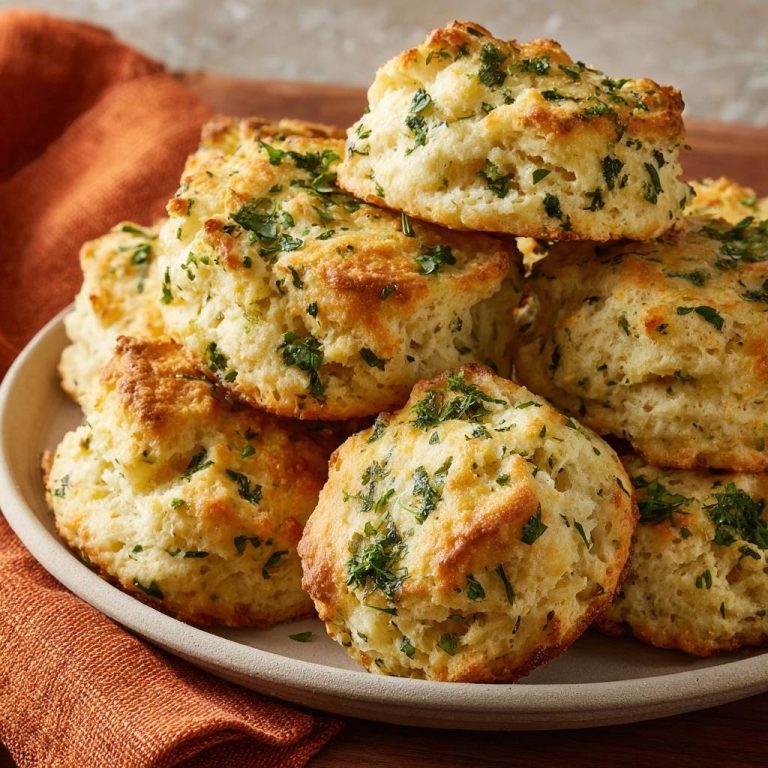
If the fresh parsley finish appeals to you, you might enjoy the herb-flecked topping on this crispy cheesy chicken casserole.
Light & Fresh Sides
For a balanced meal, serve your skewers with a crisp green salad or some simply roasted vegetables. Our recipe for crispy baked asparagus makes an excellent, flavorful addition.
Hearty & Satisfying Options
If you’re looking for something more substantial, consider serving the skewers alongside a fluffy rice pilaf, a light couscous, or warm whole-wheat pita bread.
Another fantastic pairing that adds both freshness and a touch of sweetness is a vibrant skillet street-style corn, bringing a wonderful textural contrast.
The same careful grilling technique works well for these charred BBQ chicken quesadillas too.
Sauces & Dips for Extra Zing
Elevate the experience with a cooling tzatziki sauce, a bright lemon-herb vinaigrette, or even a spicy aioli for those who enjoy a little kick.
What to Serve with Cheesy Chicken Skewers
These skewers are rich and savory, so you want sides that balance the cheese and keep things interesting.
- A cool, tangy Loaded Creamy Potato Salad cuts through the richness with its creamy dressing and crisp mix-ins.
- Warm, pull-apart Spinach Artichoke Pull-Apart Bread shares the same cheesy, indulgent vibe and is perfect for sopping up any juices.
FAQs About Cheesy Chicken Skewers
Get answers to your most common questions about preparing these delightful skewers.
Can I use chicken thighs instead of breast?
Yes, absolutely! Chicken thighs will result in an even juicier skewer due to their higher fat content. You might need to add a minute or two to the cooking time, but still aim for an internal temperature of 165°F (74°C).
How long can I marinate the chicken?
While this recipe works without extended marination, you can let the seasoned chicken sit in the refrigerator for up to 4 hours. For food safety, avoid marinating for longer than 24 hours.
Can these skewers be made in advance?
You can prep the chicken by cutting and seasoning it, and even threading it onto skewers, up to 24 hours in advance. Store the prepared skewers in an airtight container in the refrigerator, ready to cook when you are.
Is there a dairy-free cheese alternative that melts well?
Many plant-based shredded mozzarella alternatives melt quite well, though their texture and flavor can vary. Look for brands specifically designed for melting to ensure a gooey, dairy-free finish.
What’s the best way to reheat leftovers?
To retain moisture, gently reheat leftover skewers in a preheated oven at 300°F (150°C) for 10-15 minutes, or in an air fryer at 325°F (160°C) for 5-7 minutes, until warmed through. Avoid microwaving if possible, as it can dry out the chicken.
Storing & Reheating Your Cheesy Chicken Skewers
Proper storage ensures your delicious leftovers remain safe and tasty for future enjoyment.
Proper Storage for Leftovers
Allow any leftover skewers to cool completely, then transfer them to an airtight container. Store in the refrigerator for up to 3-4 days. For longer storage, you can freeze cooked skewers (without the cheese, if possible) for up to 2 months.
Best Ways to Reheat Without Drying Out
To reheat, the oven or air fryer are your best bets for maintaining moisture. For oven reheating, place skewers on a baking sheet and heat at 300°F (150°C) until warm. In an air fryer, use 325°F (160°C) for a few minutes. Avoid high heat to prevent drying the chicken.
Ready to Impress? Share Your Cheesy Chicken Skewers Masterpiece!
Now that you have the secrets to perfectly juicy, cheesy chicken skewers, it’s your turn to shine in the kitchen! This recipe is more than just a meal; it’s an invitation to savor simple, incredible flavors.
Don’t just take my word for it-whip up these delightful skewers tonight and experience the difference yourself. I can’t wait to hear how much you and your family loved them. Happy cooking!

Chicken Skewers
Course: Main CourseCuisine: AmericanDifficulty: easy4
servings20
minutes15
minutes340
kcal45
minutesSay goodbye to dry, rubbery chicken with this foolproof Cheesy Chicken Skewers recipe! These incredibly juicy skewers are packed with flavor, thanks to a simple seasoning and a secret melting cheese step. Perfect for a delicious and easy meal.
Ingredients
1.5 pounds boneless, skinless chicken breast, cut into 1-inch cubes
1 cup shredded mozzarella cheese (or similar meltable white cheese)
2 tablespoons olive oil
1 teaspoon salt
1/2 teaspoon black pepper
1 teaspoon garlic powder
1 teaspoon paprika
1/4 cup fresh parsley, chopped, plus more for garnish
8-10 wooden or metal skewers (if using wooden, soak in water for 30 minutes)
Directions
- In a medium bowl, combine the chicken cubes with 1 tablespoon of olive oil, salt, pepper, garlic powder, and paprika. Toss until the chicken is evenly coated. This step helps infuse flavor and begin the process of moisture retention during cooking.
- Thread the chicken pieces onto the prepared skewers. Do not pack the chicken too tightly; leave a small space between pieces to ensure even cooking and better browning.
- Heat the remaining 1 tablespoon of olive oil in a large skillet or grill pan over medium-high heat. Alternatively, preheat your outdoor grill to medium-high.
- Place the skewers in the hot pan or on the grill. Cook for 3-4 minutes per side, turning occasionally, until the chicken is nicely browned on all sides and cooked through. The trick to avoiding dry chicken is to cook it just until it reaches an internal temperature of 165°F (74°C) without going over. Using a meat thermometer is key here to guarantee perfect tenderness every time.
- During the last minute of cooking, sprinkle the shredded cheese over the chicken skewers. Cover the pan (if using a skillet) or close the grill lid briefly to allow the cheese to melt and become gooey. This also helps steam the chicken slightly, preventing dryness.
- Remove the skewers from the heat and transfer them to a serving platter. Immediately sprinkle with the 1/4 cup of fresh chopped parsley. Let the skewers rest for 5 minutes before serving. This resting period is crucial as it allows the juices to redistribute throughout the chicken, ensuring tender and moist chicken every single time you take a bite. Garnish with additional fresh parsley if desired.
Notes
- If using wooden skewers, soak them in water for 30 minutes before use. A meat thermometer is key to ensure chicken reaches 165°F (74°C) for perfect tenderness.