Fudgy Crumb Pie: The Anti-Soggy Bottom Secret!
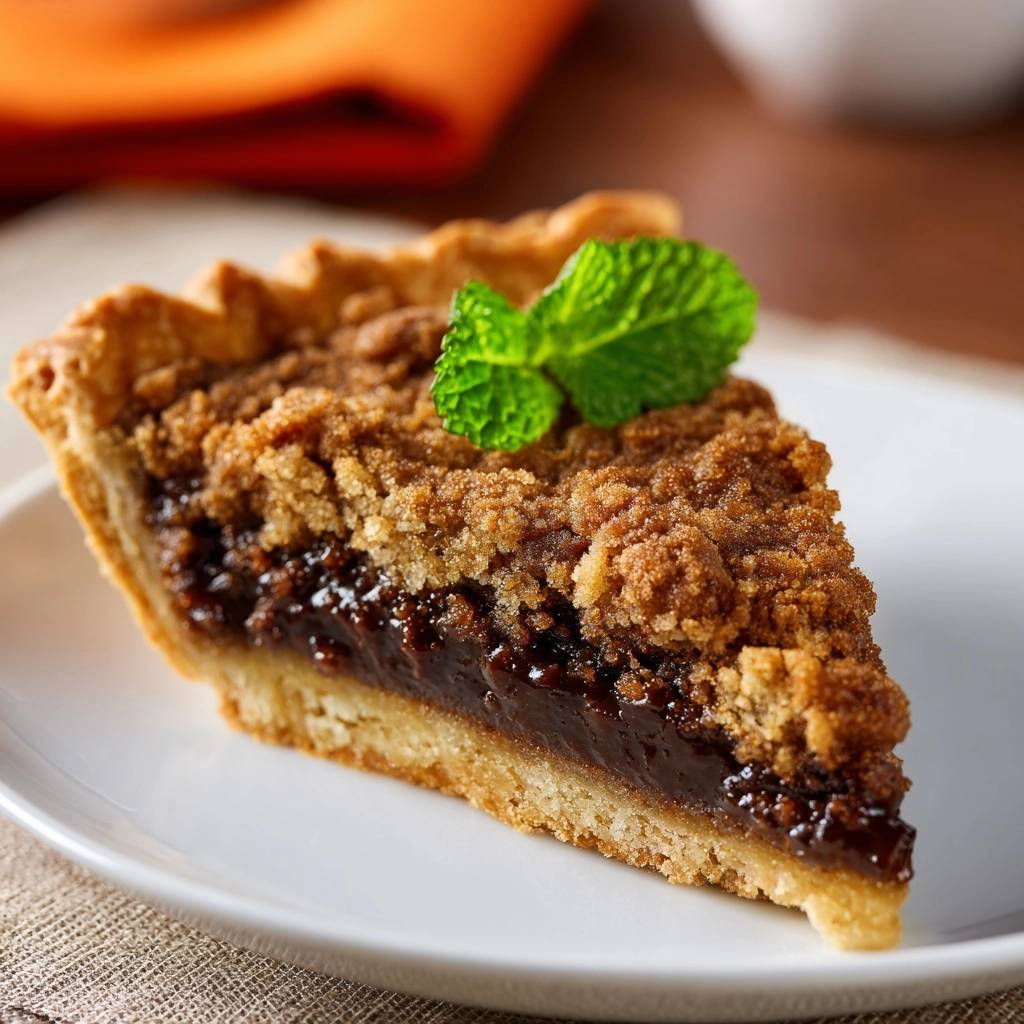
There’s nothing quite as disappointing as slicing into a homemade pie, only to find a soggy bottom crust. It’s a common baker’s lament, but with this incredible Fudgy Crumb Pie recipe, those days are over. This isn’t just another pie; it’s a triumph of texture and taste, featuring a rich chocolatey core beneath a buttery streusel, all resting on a perfectly crisp foundation.
I’ve refined this recipe to guarantee a golden, firm crust every single time, making it the ultimate solution for any pie lover. Get ready for a dessert that delivers on its promise of fudgy perfection without the common pitfalls.
Why THIS Fudgy Crumb Pie Will Be Your New Favorite
This Fudgy Crumb Pie stands out from the rest, offering a harmonious blend of textures and an assurance of baking success. Its thoughtful design elevates a classic dessert to new heights of deliciousness.
The Game-Changing Anti-Soggy Bottom Trick
Our secret weapon against the dreaded soggy bottom is a crucial blind-baking step. This creates a fortified, golden crust that acts as an impermeable barrier against the moist, rich filling.
It’s a simple technique that promises a firm, flaky foundation for every slice, transforming your pie-making confidence.
Irresistible Layers: Fudgy Filling Meets Buttery Crumb
Imagine a dense, intensely chocolatey filling that melts in your mouth, perfectly complemented by a sweet, golden, and buttery streusel topping. Each bite of this Fudgy Crumb Pie offers a delightful contrast of smooth and crumbly textures.
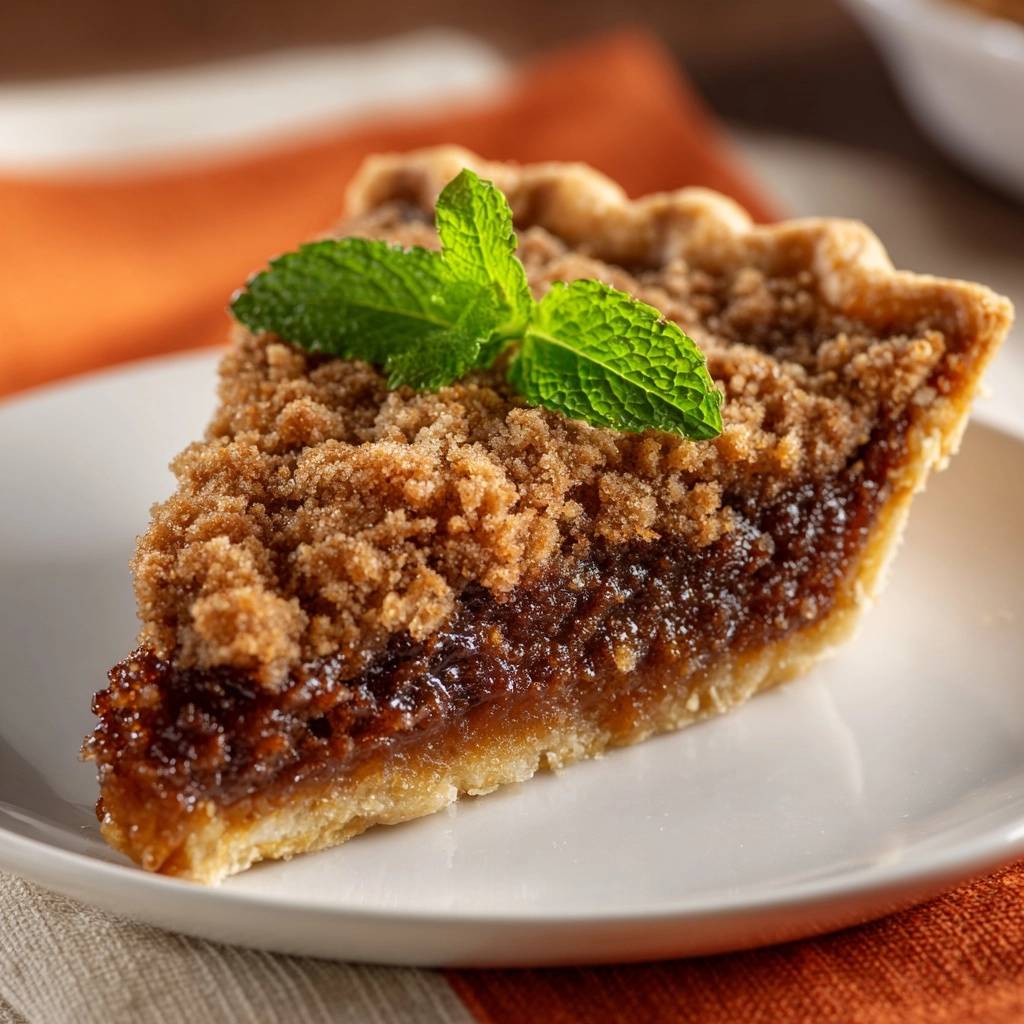
This perfect marriage creates an unforgettable dessert experience that satisfies the deepest chocolate cravings.
A Dessert for Every Occasion (and Craving!)
Whether you’re hosting a festive holiday gathering, a casual family dinner, or simply treating yourself, this pie fits every scenario. Its rich flavors and comforting presence make it a versatile dessert that everyone will adore.
It’s equally impressive served warm with ice cream or enjoyed chilled with a cup of coffee.
Gather Your Goodies: Essential Ingredients for Perfection
The quality of your ingredients directly impacts the final taste and texture of your Fudgy Crumb Pie. Here’s what you’ll need, with a few crucial insights.
For the Flaky, Firm Crust
You’ll need all-purpose flour and a touch of salt for structure and flavor. The key ingredient here is very cold, cubed unsalted butter, which creates pockets of steam for a flaky texture.
Ice water is also essential for binding the dough without developing too much gluten, ensuring a tender crust.
The Rich, Chocolatey Fudgy Filling
Granulated sugar and melted unsalted butter form the sweet, rich base. Large eggs bind the filling and contribute to its characteristic fudgy texture.
Unsweetened cocoa powder provides deep chocolate flavor, while a small amount of all-purpose flour helps with structure. Vanilla extract and a pinch of salt enhance all the flavors beautifully.
Crafting the Golden, Crumbly Topping
All-purpose flour, packed light brown sugar, and ground cinnamon create a sweet, aromatic base for the crumbs. Just like the crust, cold, cubed unsalted butter is vital for achieving that perfect crumbly texture.
The butter coats the flour, preventing it from turning into a paste and ensuring distinct, buttery crumbs.
If you enjoy a fruit-filled pie with a sturdy crust, this deep dish golden apple pie follows the same principle.
Garnish for a Touch of Elegance
Fresh mint leaves offer a beautiful visual contrast and a refreshing aromatic finish. It’s an optional but highly recommended touch that brightens the rich chocolate.
Your Kitchen Arsenal: Tools for Fudgy Crumb Pie Success
9-inch Pie Plate: The ideal vessel for baking your pie to perfection, ensuring even heat distribution.
Pastry Blender or Forks: Essential for efficiently cutting cold butter into flour, creating perfectly flaky crusts and crumb toppings.
Large and Medium Mixing Bowls: For combining various ingredients cleanly and efficiently, keeping your workspace organized.
Rolling Pin: For evenly rolling out your chilled pie dough, achieving a consistent thickness.
Parchment Paper & Pie Weights (or Dried Beans/Rice): CRUCIAL for blind baking, preventing the crust from shrinking and puffing up.
Wire Rack: For cooling the pie completely and evenly, allowing air circulation around all sides to prevent condensation.
Whisk: For blending liquid ingredients smoothly and incorporating dry ingredients into the filling without lumps.
Your Path to Fudgy Crumb Pie Perfection: A Detailed Guide
-
Prepare the Pie Crust: A Flaky Beginning
In a large bowl, whisk together the flour and salt. Cut in the very cold, cubed butter using a pastry blender or your fingertips until the mixture resembles coarse crumbs with some pea-sized pieces of butter remaining. This texture is key for a truly flaky crust, as the butter creates steam pockets during baking.
Gradually add the ice water, a tablespoon at a time, mixing until the dough just comes together. Do not overmix, as this can develop gluten and lead to a tough, less tender crust. Form the dough into a disk, wrap it tightly in plastic, and refrigerate for at least 30 minutes to chill thoroughly.
-
Blind Bake: The Anti-Soggy Bottom Blueprint
Preheat your oven to 375F (190C). On a lightly floured surface, roll out the chilled pie dough into a 12-inch circle. Carefully transfer the rolled dough to a 9-inch pie plate. Trim any excess dough and crimp the edges decoratively as desired.
Line the unbaked pie crust with parchment paper, then fill it generously with pie weights (or dried beans/rice). This crucial step prevents the crust from shrinking down the sides and puffing up during its initial bake. Bake for 15 minutes.
Carefully remove the parchment paper and pie weights. Prick the bottom of the crust all over with a fork to allow any trapped steam to escape, which further prevents puffing. Return the crust to the oven and bake for another 10-12 minutes, or until the bottom is lightly golden and appears completely dry. This creates a vital moisture barrier against the rich, fudgy filling. Let the blind-baked crust cool slightly.
-
Crafting the Rich Fudgy Filling
In a medium bowl, whisk together the granulated sugar and melted butter until smooth and well combined. Beat in the large eggs one at a time, ensuring each egg is fully incorporated before adding the next. This helps emulsify the ingredients and creates a cohesive texture for the filling.
Sift in the cocoa powder and all-purpose flour, then add the vanilla extract and salt. Mix gently until the filling is smooth and free of any lumps. Avoid overmixing once the flour is added to maintain a tender, fudgy consistency.
If you enjoy the rich chocolate base in this pie, you should try these chocolate peanut rice krispie bars for a different take on a sweet treat.
-
Assembling the Buttery Crumb Topping
In a separate small bowl, combine the all-purpose flour, packed light brown sugar, and ground cinnamon. Cut in the cold, cubed butter with a pastry blender or your fingertips until the mixture is beautifully crumbly. You want varied sizes of crumbs for the best texture and visual appeal.
-
The Grand Assembly: Bringing Layers Together
Carefully pour the rich fudgy filling into the prepared, blind-baked pie crust, spreading it evenly across the bottom. Then, evenly sprinkle the buttery crumb topping over the entire surface of the filling, ensuring good, consistent coverage.
-
Baking to Golden Perfection
Bake the assembled pie in the preheated oven for 35-40 minutes, or until the filling is set but still slightly jiggly in the center when gently shaken. The crumb topping should be beautifully golden brown and fragrant. A slight jiggle indicates a perfectly moist, fudgy center that will set upon cooling.
-
Cooling for Optimal Stability (and Taste!)
This is a critical step for perfect slicing and the best possible texture! Let the Fudgy Crumb Pie cool completely on a wire rack for at least 2-3 hours, or until it reaches room temperature. Cooling allows the filling to fully set and firm up, preventing a messy, unset slice.
-
The Elegant Finish: Garnish and Serve
Once completely cool, slice your magnificent Fudgy Crumb Pie into wedges. Garnish each slice with a fresh mint leaf, if desired, for a pop of vibrant color and a hint of fresh aroma that beautifully complements the rich chocolate flavors.
Expert Tips & Tricks for Your Best Fudgy Crumb Pie Yet
Keep Your Butter and Water COLD: For both the crust and crumb topping, very cold butter and ice water are non-negotiable. This prevents the butter from melting too quickly into the flour, which creates distinct pockets of steam during baking for a flaky crust and distinct, tender crumbs.
Don’t Skip the Blind Bake! This is truly the ultimate secret weapon against a soggy bottom. The initial bake sets the crust’s structure, creating a vital barrier that prevents the moist filling from seeping in and making it soft or undone.
The Art of Not Overmixing: Whether it’s the pie crust or the fudgy filling, overmixing can develop gluten, leading to a tough, dense texture. Always mix just until the ingredients are combined, no more.
Patience with Cooling is a Virtue: Resist the urge to slice into your warm pie immediately! Allowing it to cool completely (2-3 hours) is absolutely essential for the filling to fully set, ensuring clean, beautiful slices and the best possible firm-but-fudgy texture.
Listen to Your Oven (and Your Pie): Oven temperatures can vary significantly. Pay close attention to visual cues like a golden-brown crumb topping and a filling that’s mostly set but still has a slight wobble in the center for perfect doneness. A thermometer can help ensure accuracy.
Solving Common Challenges: Troubleshooting Your Fudgy Crumb Pie
My Crust is Still Soggy!
This is almost always due to insufficient blind baking. Ensure your crust is truly golden and appears dry before adding the filling. Using enough pie weights to fully support the crust and baking long enough are absolutely critical.
Also, make sure to prick the bottom of the crust thoroughly after removing the weights; this allows steam to escape, preventing a puffed-up and potentially soggy bottom by creating a solid base.
The Filling is Too Runny (or Too Dry)!
A runny filling typically means the pie was underbaked. Return it to the oven for an additional 5-10 minutes, checking for that slight jiggle in the center, which indicates it’s nearly set. Conversely, a dry filling means it was overbaked; next time, reduce baking time slightly and watch carefully for doneness.
Crumb Topping Isn’t Crumbly Enough (or Burned!)
If the topping isn’t crumbly, your butter might not have been cold enough, or you overmixed it, creating more of a paste. For a topping that’s browning too quickly, cover the pie loosely with aluminum foil during the last 10-15 minutes of baking to protect it.
Pie is Hard to Slice Neatly
Lack of sufficient cooling time is the primary culprit here! The fudgy filling needs ample time to set and firm up into its proper consistency. Always allow the pie to cool completely on a wire rack for several hours before attempting to slice, ideally until room temperature.
Pair These with Your Fudgy Crumb Pie
If you’re leaning into chocolate and warm spice, a few extra treats can round out the table.
- For more gooey chocolate richness alongside the crumbly pie, try these Ultra-Gooey Chocolate Cinnamon Rolls with their soft, swirled texture.
- A lighter, snackable option that shares the cinnamon note: these Cinnamon Sugar Mini Loaves are fluffy and easy to grab between slices of pie.
Serving Suggestions, Storage, and Make-Ahead Magic
How to Serve Your Fudgy Crumb Pie
This Fudgy Crumb Pie is truly divine on its own, its rich flavors needing no accompaniment. However, it’s also wonderfully versatile and pairs beautifully with a scoop of vanilla bean ice cream, a dollop of freshly whipped cream, or a dusting of powdered sugar.
For an extra touch, consider a light drizzle of raspberry sauce or a side of fresh seasonal berries; their tartness beautifully complements the rich chocolate.
Storing Leftovers for Lasting Enjoyment
To keep your Fudgy Crumb Pie fresh, store any leftovers covered tightly with plastic wrap or in an airtight container. It can be kept at room temperature for up to 2 days, maintaining its wonderful texture and flavor.
Alternatively, refrigerate it for up to 4-5 days. For the best flavor and texture, allow refrigerated slices to come to room temperature or gently warm them for a few seconds in the microwave before serving.
Can You Make Fudgy Crumb Pie Ahead?
Absolutely! The blind-baked pie crust can be prepared up to 2 days in advance and stored, covered, at room temperature. The crumb topping can also be made ahead and kept in the refrigerator for up to 3 days, ready to sprinkle.
The assembled and baked pie can be made a day in advance; just ensure it cools completely on a wire rack before storing, then cover tightly.
Your Fudgy Crumb Pie Questions, Answered!
Can I use a store-bought pie crust?
While this recipe emphasizes a homemade crust for optimal flakiness and flavor, you can certainly use a high-quality store-bought pie crust in a pinch. However, it is absolutely essential that you still perform the blind baking step as instructed; this is crucial for preventing a soggy bottom, regardless of the crust type.
What if I don’t have pie weights for blind baking?
No pie weights? No problem at all! You can easily use common pantry items as a substitute. Dried beans, uncooked rice, or even granulated sugar can effectively weigh down the parchment-lined crust. Just make sure whatever you choose covers the bottom of the crust completely to prevent it from bubbling up.
Can I make this Fudgy Crumb Pie gluten-free?
Yes, you can adapt this recipe to be gluten-free! Simply substitute the all-purpose flour in the crust, fudgy filling, and crumb topping with a good quality 1:1 gluten-free all-purpose flour blend. For best results, choose a blend that contains xanthan gum, as it helps with structure.
The blind-baking step is even more important for gluten-free crusts, as they can be more prone to shrinking or becoming gummy without proper preparation.
Is it possible to freeze this pie?
Yes, this Fudgy Crumb Pie freezes exceptionally well, making it perfect for future cravings! Once completely cooled, wrap the entire pie (or individual slices) tightly in plastic wrap, then encase it in a layer of aluminum foil. It can be frozen for up to 2-3 months.
To serve, thaw the pie in the refrigerator overnight. Then, bring it to room temperature or gently warm it in a low oven before enjoying.
Ready to Impress? Share Your Fudgy Crumb Pie Masterpiece!
There you have it – the ultimate guide to creating a truly spectacular Fudgy Crumb Pie, complete with the foolproof anti-soggy bottom secret! This dessert isn’t just about indulging in rich chocolate and buttery crumbs; it’s about the joy of baking something incredible and sharing it with loved ones.
So, preheat your oven, gather your ingredients, and get ready to transform your kitchen into a haven of sweet aromas. We can’t wait to see your Fudgy Crumb Pie creations and hear about your success!
Did you make this recipe? Share your photos and tag us on social media – we love celebrating your baking triumphs!
Fudgy Pie
Course: DessertCuisine: AmericanDifficulty: medium8
servings45
minutes1
hour450
kcal240
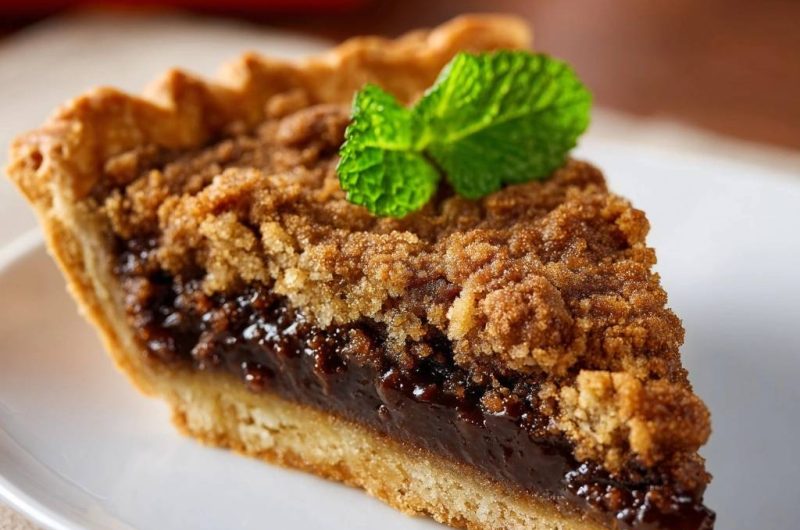
minutesThis Fudgy Crumb Pie features a rich, chocolatey center and a buttery streusel topping, designed with a foolproof blind-baking trick to ensure a perfectly crisp bottom crust every time. Enjoy a truly incredible, non-soggy pie!
Ingredients
For the Crust:
1 and 1/4 cups all-purpose flour
1/2 teaspoon salt
1/2 cup (1 stick) unsalted butter, very cold and cubed
1/4 cup ice water
For the Fudgy Filling:
1 cup granulated sugar
1/2 cup (1 stick) unsalted butter, melted
2 large eggs
1/2 cup unsweetened cocoa powder
1/4 cup all-purpose flour
1 teaspoon vanilla extract
1/4 teaspoon salt
For the Crumb Topping:
1/2 cup all-purpose flour
1/2 cup packed light brown sugar
1/4 cup (1/2 stick) unsalted butter, cold and cubed
1/2 teaspoon ground cinnamon
For Garnish:
Fresh mint leaves
Directions
- Prepare the Pie Crust: In a large bowl, whisk together the flour and salt. Cut in the very cold, cubed butter using a pastry blender or your fingertips until the mixture resembles coarse crumbs with some pea-sized pieces of butter remaining. Gradually add the ice water, a tablespoon at a time, mixing until the dough just comes together. Do not overmix. Form into a disk, wrap in plastic, and refrigerate for at least 30 minutes.
- Blind Bake the Crust (Your Anti-Soggy Bottom Secret!): Preheat your oven to 375F (190C). On a lightly floured surface, roll out the chilled pie dough into a 12-inch circle. Carefully transfer it to a 9-inch pie plate. Trim and crimp the edges as desired. Line the unbaked pie crust with parchment paper, then fill it with pie weights (or dried beans/rice). This step is crucial! Bake for 15 minutes. Carefully remove the parchment paper and pie weights. Prick the bottom of the crust all over with a fork. Return the crust to the oven and bake for another 10-12 minutes, or until the bottom is lightly golden and appears dry. This creates a barrier against the filling. Let cool slightly.
- Make the Fudgy Filling: In a medium bowl, whisk together the granulated sugar and melted butter. Beat in the eggs one at a time until well combined. Sift in the cocoa powder and flour, then add the vanilla extract and salt. Mix until smooth.
- Prepare the Crumb Topping: In a separate small bowl, combine the flour, brown sugar, and cinnamon. Cut in the cold, cubed butter with a pastry blender or your fingertips until crumbly.
- Assemble and Bake: Pour the fudgy filling into the blind-baked pie crust. Evenly sprinkle the crumb topping over the filling.
- Bake for 35-40 minutes, or until the filling is set but still slightly jiggly in the center, and the crumb topping is golden brown.
- Cool Completely: This is also important for stability! Let the pie cool on a wire rack for at least 2-3 hours, or until completely cool, before slicing and serving.
- Garnish each slice with a fresh mint leaf, if desired.
Notes
- Ensure the pie cools completely for best stability and texture, about 2-3 hours.