Hearty Braised Beef: Achieve Unbelievable Melt-in-Mouth Flavor
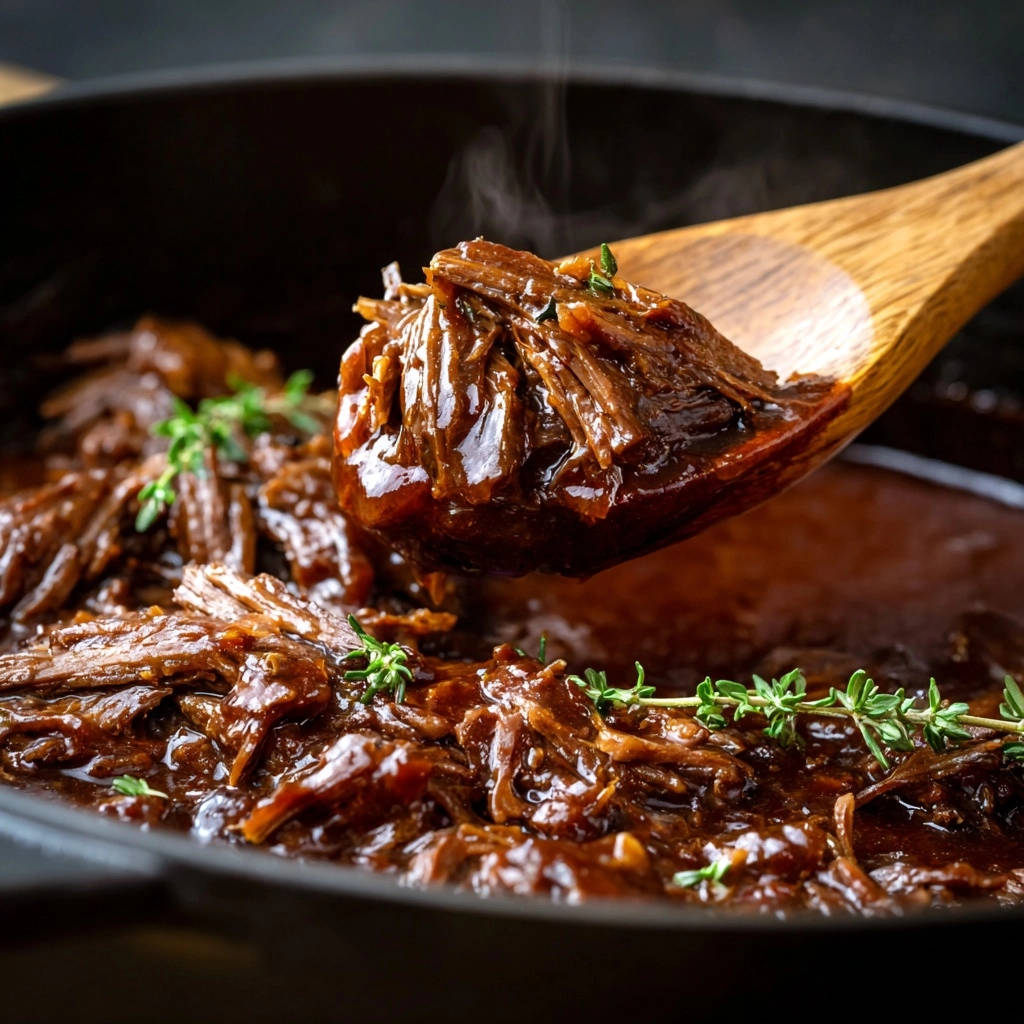
For years, I struggled to achieve that perfect, melt-in-your-mouth texture when making braised beef, often ending up with meat that was simply tough. Discovering one simple technique, however, transformed my results entirely, and now my Hearty Braised Beef is consistently unbelievably tender and packed with rich flavor.
This recipe for Hearty Braised Beef isn’t just a meal; it’s a guaranteed success story, ensuring every forkful is a testament to patience and proper technique.
Why This Hearty Braised Beef Recipe Is Your New Favorite
The “Secret” to Unrivaled Tenderness
Many home cooks face the disappointment of tough beef, despite hours of cooking. This recipe introduces you to the power of low, slow oven braising, combined with a crucial “no-peek” policy.
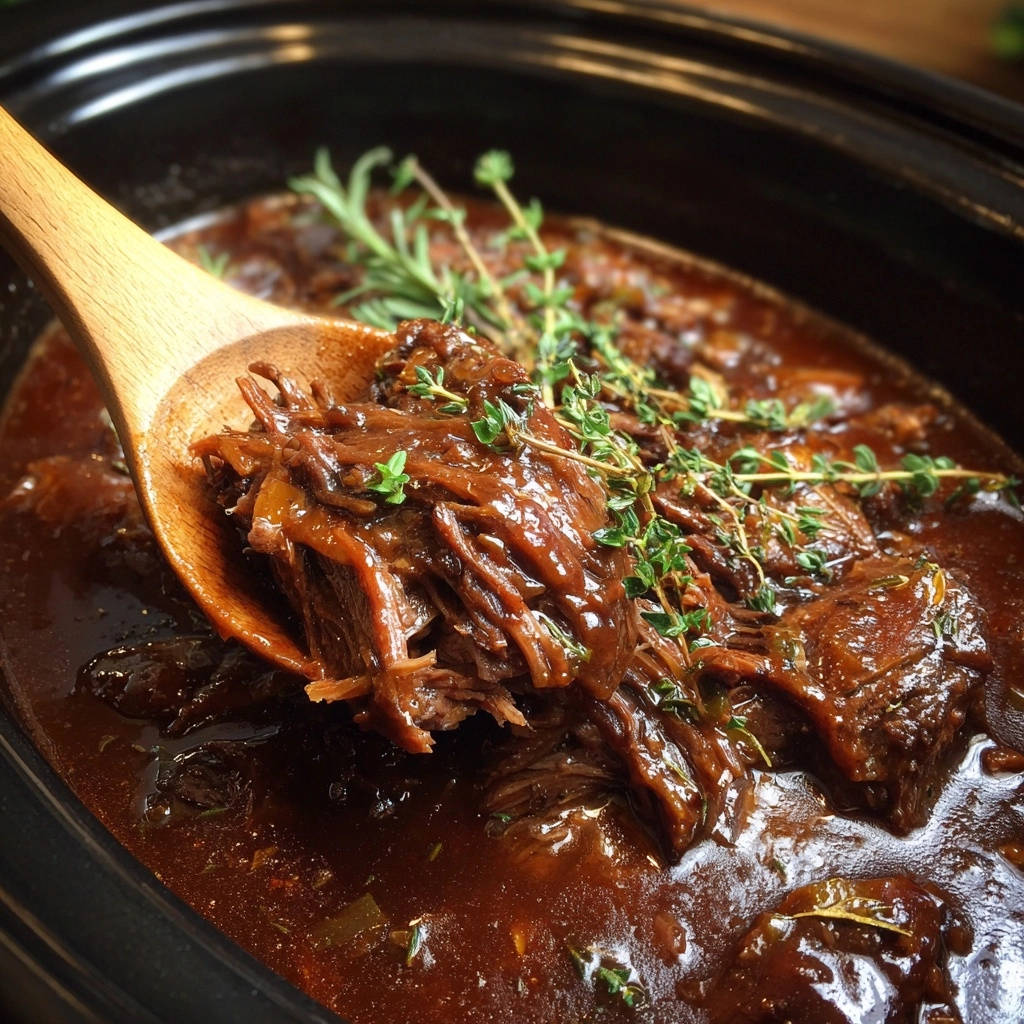
This method gently coaxes the connective tissues in the beef to break down completely, leaving you with luxurious, fall-apart tender braised beef every single time.
Rich, Deep Flavor in Every Forkful
Flavor development is paramount in great braising. We build layers of savory taste from the initial deep sear of the beef to the careful sautéing of aromatics and the deglazing of the pot.
These initial steps create an intense foundation, allowing the long braise to meld everything into a complex, comforting sauce that beautifully complements the tender meat.
Effortless Elegance for Any Occasion
While the results are undeniably impressive, the hands-on time for this slow-cooked beef is surprisingly minimal. Once it’s in the oven, your work is done.
This makes Hearty Braised Beef an ideal choice for both cozy weeknight dinners and elegant gatherings, offering a dish that looks and tastes like you spent hours slaving over it.
Gather Your Culinary Arsenal: Ingredients & Tools
The Core Components: Essential Ingredients
Beef Chuck Roast: The Star of the Show
Chuck roast is the ideal cut for braising due to its excellent marbling and abundance of connective tissue. These elements slowly render during cooking, transforming into gelatin and giving the beef its signature tender, succulent quality.
Look for a well-marbled piece with good color; trimming excess hard fat is wise, but don’t remove all of it, as some fat contributes greatly to flavor.
Aromatic Foundations: Onion, Garlic, Tomato Paste
These humble ingredients are the unsung heroes, forming the essential flavor base for your sauce. Onion and garlic provide a sweet, pungent depth that enriches the broth.
Tomato paste adds a concentrated umami punch and a subtle acidity that brightens the overall flavor profile, ensuring a well-rounded and savory braise.
Liquid Gold: Beef Broth & Worcestershire Sauce
Low-sodium beef broth forms the bulk of our braising liquid, infusing the beef with rich, savory notes as it cooks. Choosing low-sodium allows you to control the final seasoning.
Worcestershire sauce is a secret weapon, contributing complex layers of savory, tangy, and slightly sweet flavors that enhance the beef’s natural taste and deepen the sauce’s character.
Herbaceous Notes: Thyme & Bay Leaf
Fresh thyme sprigs lend an earthy, slightly floral aroma that beautifully complements beef. Its delicate flavor mellows during the long braise.
A single bay leaf adds a subtle, almost minty depth to the sauce. These herbs subtly elevate the dish without overpowering the core beef flavor.
Essential Equipment for Braising Success
Your Trusty Dutch Oven (or Heavy-Bottomed Pot)
A Dutch oven is paramount for this Hearty Braised Beef. Its heavy construction ensures even heat distribution, preventing hot spots and allowing the beef to braise uniformly.
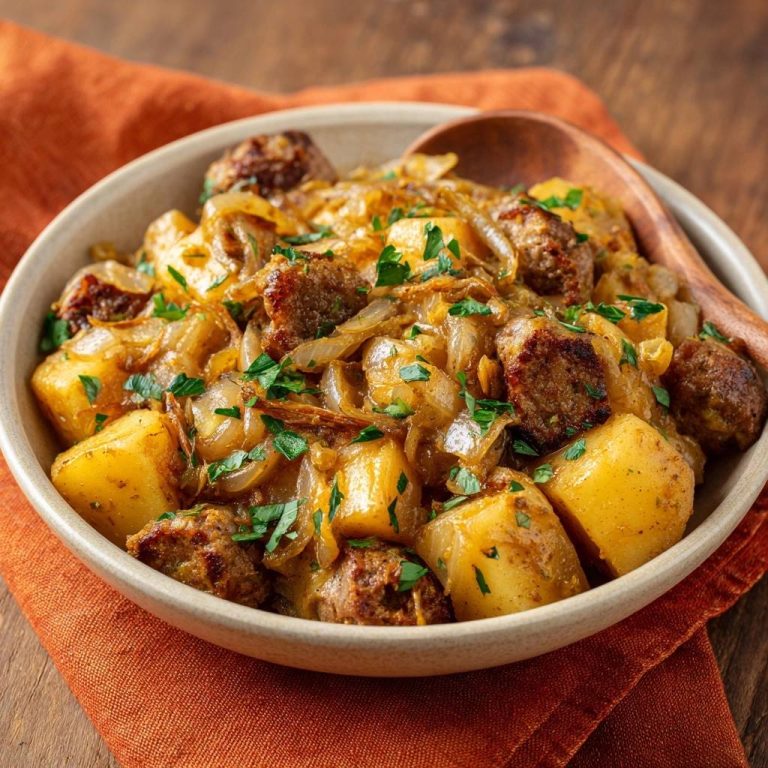
For a heartier option, this same braising method works beautifully in a slow-simmered beef and potato stew.
The tight-fitting lid is equally crucial for retaining moisture and creating a humid environment, essential for breaking down tough cuts of meat.
Other Handy Kitchen Companions
Tongs: Essential for handling and turning hot beef during searing without piercing the meat.
Wooden Spoon: Perfect for scraping up those flavorful browned bits from the bottom of the pot, integrating them into your sauce.
Measuring Cups and Spoons: For accurate ingredient measurement, ensuring balanced flavors.
Cutting Board and Sharp Knife: For safely and efficiently preparing your beef and aromatics.
Crafting Perfection: Step-by-Step Braising Guide
Prepare and Sear: Building the Flavor Base
- Pat and Season the Beef:
Thoroughly pat beef chunks dry with paper towels and season generously all over with salt and black pepper.
This is crucial for achieving a deep, flavorful crust during searing, which locks in moisture and taste, preventing the beef from steaming.
- Sear the Beef:
Heat olive oil in a large, heavy-bottom pot or Dutch oven over medium-high heat until shimmering. Add the beef in a single layer, working in batches if necessary, and sear for 3-4 minutes per side until deeply browned.
Remove the beef from the pot and set aside to rest, allowing the incredibly flavorful browned bits, called fond, to develop at the bottom of the pot.
Sauté and Deglaze: Layering Aromatics
- Sauté Aromatics:
Reduce the heat to medium. Add the chopped onion to the pot and cook, stirring occasionally, until softened and translucent, about 5-7 minutes. Add the minced garlic and tomato paste, cooking for another 1-2 minutes until fragrant.
This step creates the foundational aromatic base that will infuse the entire dish with depth and complexity, developing a rich background for your Hearty Braised Beef.
- Deglaze the Pot:
Pour in the beef broth and Worcestershire sauce, immediately scraping up any browned bits from the bottom of the pot with a wooden spoon. Bring to a simmer.
These browned bits (fond) are packed with concentrated flavor; deglazing ensures they become an integral part of your rich sauce, preventing them from burning and adding unparalleled depth.
The Slow Oven Simmer: Unlocking Tenderness
- Return Beef and Add Herbs:
Return the seared beef to the pot. Add the fresh thyme sprigs and bay leaf. The liquid should mostly cover the beef; if not, add a little more broth or water.
Ensure the beef is adequately submerged for even cooking and maximum flavor absorption during the long braise, resulting in exceptionally tender braised beef.
- Braise in the Oven:
Cover the pot tightly with a lid and transfer it to a preheated oven at 325°F (160°C). Braise for at least 3 to 3.5 hours, or even up to 4 hours, without peeking or stirring.
If you enjoy the deep, rich flavors from slow braising, try this hearty beef and corn chili for a different take.
This low, consistent oven heat for an extended period is the exact technique that breaks down tough connective tissues, ensuring the beef becomes unbelievably fall-apart tender. Peeking releases crucial steam and heat.
Finishing Touches: Shredding and Serving
- Remove from Oven and Discard Herbs:
Once the cooking time is complete, carefully remove the pot from the oven. Discard the thyme sprigs and bay leaf, as their flavors have fully infused the dish.
- Shred and Season:
Use two forks to easily shred the beef directly in the pot. Stir the shredded beef into the rich sauce, allowing it to soak up all the delicious flavors.
Taste and adjust seasoning if needed, adding more salt or pepper to perfect the flavor balance, as tastes can vary after concentration.
- Serve Hot:
Serve hot and immediately, savoring the most tender, flavorful braised beef you’ve ever made!
Mastering the Art: Expert Tips for Impeccable Braised Beef
Don’t Skip Patting the Beef Dry: Surface moisture prevents proper browning, leading to a grey, steamed exterior instead of a delicious crust. A dry surface allows for a beautiful, flavor-building sear, which is paramount for this dish.
Sear in Batches for Flavor: Overcrowding the pot will lower the temperature and steam the meat instead of searing it, resulting in less flavorful beef. Give each batch ample space to brown deeply and create that essential fond.
The “No Peek” Policy is Key: Resisting the urge to open the lid maintains a consistent, even temperature and humidity inside the pot. This stable environment is vital for the slow breakdown of connective tissues and ultimately guarantees the fall-apart tenderness of your slow-cooked beef.
Seasoning to Perfection: When and How: While you season the beef initially, always taste and adjust the seasoning at the end, just before serving. The flavors concentrate during braising, and you might need to add more salt or pepper for balance and to bring out the dish’s full potential.
Consider Browning Vegetables: For an even deeper flavor in your savory beef stew, after removing the seared beef and before adding onions, you can brown chunky carrots and celery with the onions. This adds another layer of complex sweetness and savoriness to the finished dish.
Pairings & Presentation: Elevate Your Meal
Classic Sides That Complement
Hearty Braised Beef shines with comforting sides that can absorb its rich, luscious sauce. Creamy mashed potatoes are a quintessential choice, providing a velvety contrast.
Soft polenta, fluffy rice, or even a crusty artisanal bread are also excellent options. These pairings ensure every drop of the incredible sauce is savored, making for a truly satisfying meal.
Creative Ways to Repurpose Leftovers
Leftover braised beef is a treasure, easily transformed into exciting new meals. Shred it further for hearty tacos or slider sandwiches, topped with your favorite fixings.
It’s also fantastic as the base for a rich shepherd’s pie, topped with a golden potato crust. Another idea is to enclose it in puff pastry for savory hand pies, perfect for a packed lunch.
Planning Ahead: Storage & Make-Ahead Tips
Refrigeration and Freezing Best Practices
Cooked Hearty Braised Beef stores wonderfully. Allow it to cool completely, then transfer it to an airtight container with its sauce.
It will keep beautifully in the refrigerator for 3-4 days. For longer storage, freeze it in freezer-safe containers for up to 3 months, ensuring optimal freshness and safety.
What to Serve With Braised Beef
A pot of braised beef calls for something to soak up all that rich, savory sauce. These two bread options will do the job nicely.
- Pull apart a batch of Soft Buttery Garlic Herb Dinner Rolls to mop up every last drop of the braising liquid.
- For a sharper, cheesier contrast to the deep beef flavor, bake some Garlic Herb Cheddar Biscuits using the cold-grate method for a flaky crumb.
Reheating for Optimal Flavor
To reheat, gently warm the braised beef on the stovetop over low heat, or in a covered dish in the oven at 300°F (150°C). Adding a splash of extra beef broth or water helps maintain its tender texture and prevents it from drying out.
Always reheat until it’s simmering hot throughout. This gentle approach ensures the rich flavor and melt-in-your-mouth beef texture are perfectly preserved.
Troubleshooting Common Braising Challenges
“My Beef Isn’t Tender Enough!”
The primary culprit for tough braised beef is often insufficient cooking time or an oven temperature that’s too high. Braising relies on low, consistent heat for extended periods.
Ensure your oven is calibrated correctly, and resist opening the lid, as this releases heat and steam crucial for tenderizing. If still tough, simply return it to the oven for more time, checking every 30-60 minutes.
“The Sauce is Too Thin/Thick.”
If your sauce is too thin, remove the beef and reduce the liquid by simmering it uncovered on the stovetop until it reaches your desired consistency. You can also mix a cornstarch slurry (1 tbsp cornstarch with 2 tbsp cold water) and whisk it into the simmering sauce.
Conversely, if the sauce is too thick, simply whisk in a splash of additional beef broth or water until it thins to your preference.
“Where Did All the Liquid Go?”
Excessive liquid evaporation usually indicates that your pot lid isn’t sealed tightly enough, allowing steam to escape. Ensure your Dutch oven lid forms a snug fit.
If you notice the liquid levels dropping significantly during cooking, you can carefully add a little more warmed beef broth to keep the beef mostly submerged, without disturbing the braise too much.
Your Hearty Braised Beef Questions Answered
Can I make this in a slow cooker?
Yes, this Hearty Braised Beef recipe adapts beautifully to a slow cooker. You’ll still want to sear the beef and sauté the aromatics in a separate pan first; this critical step builds foundational flavor.
After searing and sautéing, transfer everything to your slow cooker and cook on low for 6-8 hours or on high for 3-4 hours, until the beef is fall-apart tender. The “no-peek” rule is less critical here, but still beneficial.
What’s the best cut of beef for braising?
Beef chuck roast is hands down the best cut for braising due to its ideal balance of marbling and connective tissue. These elements break down into luscious gelatin during slow cooking, yielding incredibly tender braised beef.
Other suitable alternatives include beef short ribs for their rich flavor, or beef round if you’re looking for a leaner option, though it might require slightly longer braising for optimal tenderness.
Can I add vegetables to the braise?
Absolutely! Adding vegetables can enhance the flavor and make it a complete meal. Root vegetables like carrots, potatoes, or parsnips are excellent choices. Cut them into 1-inch chunks.
Add them during the last 1.5 to 2 hours of braising, ensuring they cook through and become tender without turning mushy. This timing allows them to absorb the rich sauce beautifully.
Is it possible to make this gluten-free?
Yes, this recipe can easily be made gluten-free. The main ingredient to check is Worcestershire sauce, as some brands contain gluten.
Simply opt for a certified gluten-free Worcestershire sauce or omit it entirely and add a touch more beef broth and a pinch of balsamic vinegar for a similar depth of flavor.
Ready to Savor? Your Culinary Journey Awaits!
Now that you’re armed with the secrets to perfect slow-cooked beef, it’s time to create your own masterpiece. This Hearty Braised Beef recipe promises to deliver an unforgettable meal, filling your home with incredible aromas and your plate with unmatched flavor.
Dive in, experiment with your favorite sides, and discover the joy of truly tender braised beef. We’d love to hear about your experience and see your delicious creations!
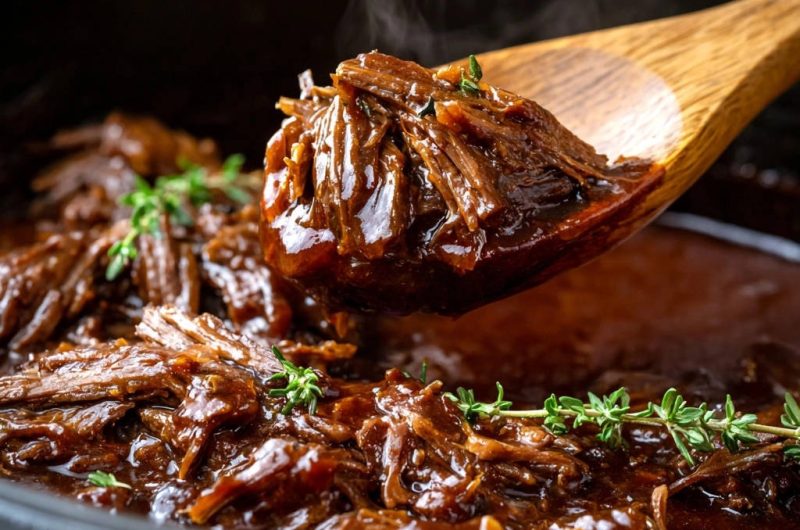
Braised Beef
Course: Main CourseCuisine: AmericanDifficulty: medium4
servings30
minutes3
hours30
minutes550
kcal240
minutesThere’s nothing more satisfying than a rich, savory beef dish that practically melts in your mouth. This recipe ensures unbelievably tender, flavor-packed results every single time thanks to one simple technique.
Ingredients
3 pounds beef chuck roast, trimmed and cut into 2-inch chunks
2 tablespoons olive oil
1 large yellow onion, chopped
4 cloves garlic, minced
2 tablespoons tomato paste
4 cups beef broth (low sodium)
2 tablespoons Worcestershire sauce
2 sprigs fresh thyme
1 bay leaf
1 teaspoon salt
1/2 teaspoon black pepper
Directions
- Pat the beef chunks thoroughly dry with paper towels. Season generously all over with salt and pepper.
- Heat the olive oil in a large, heavy bottom pot or Dutch oven over medium-high heat until shimmering. Add the beef in a single layer, working in batches if necessary to avoid overcrowding, and sear for 3-4 minutes per side until deeply browned on all sides. Remove the beef from the pot and set aside.
- Reduce the heat to medium. Add the chopped onion to the pot and cook, stirring occasionally, until softened and translucent, about 5-7 minutes. Add the minced garlic and tomato paste, cooking for another 1-2 minutes until fragrant.
- Pour in the beef broth and Worcestershire sauce, scraping up any browned bits from the bottom of the pot with a wooden spoon. Bring to a simmer.
- Return the seared beef to the pot. Add the fresh thyme sprigs and bay leaf. The liquid should mostly cover the beef. If not, add a little more broth or water.
- Cover the pot tightly with a lid and transfer it to a preheated oven at 325 degrees Fahrenheit (160 degrees Celsius). This is the key to that incredible tenderness. Braise the beef in the oven for at least 3 to 3.5 hours, or even up to 4 hours, without peeking or stirring. The low, consistent heat for an extended period breaks down the connective tissues in the chuck roast, ensuring it becomes fall-apart tender.
- Once the cooking time is complete, carefully remove the pot from the oven. Discard the thyme sprigs and bay leaf. Use two forks to easily shred the beef directly in the pot. Stir the shredded beef into the rich sauce.
- Taste and adjust seasoning if needed. Serve hot and enjoy the most tender braised beef you’ve ever made!
Notes
- Ensure beef is patted dry for best sear. Discard thyme sprigs and bay leaf before shredding.