Classic Baked Cheesecake: The Secret to Crack-Free Perfection
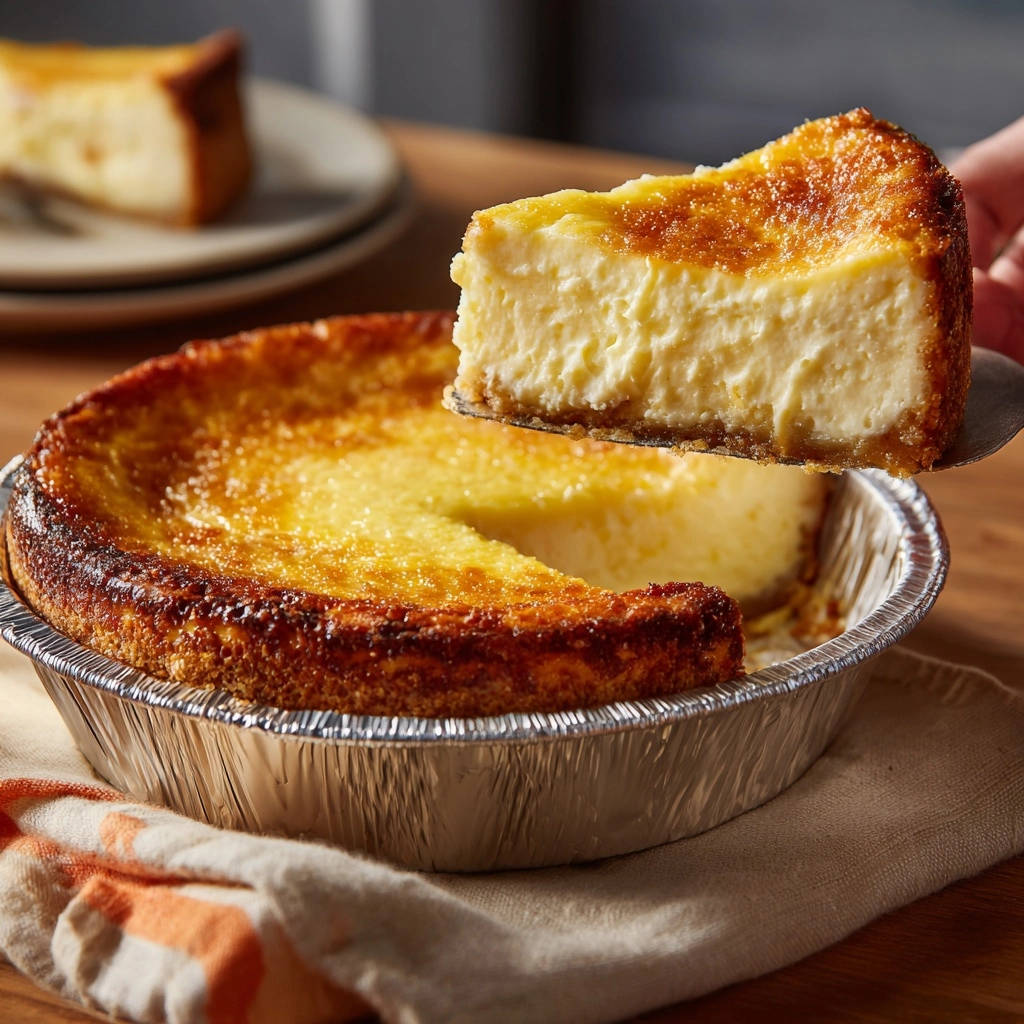
For years, I believed a truly flawless, crack-free Classic Baked Cheesecake was the exclusive domain of professional pastry chefs. The thought of achieving that ethereal, creamy perfection at home felt daunting, fraught with fears of sunken centers or tell-tale fissures. But what if I told you the secret to a perfectly smooth, divinely creamy Classic Baked Cheesecake is simpler than you’ve ever imagined?
This recipe transforms perceived complexity into a gentle, approachable process, guaranteeing stunning results every single time. Prepare to unveil a dessert so elegant and rich, it will become your new signature bake, impressing everyone who takes a bite.
Why This Classic Baked Cheesecake Recipe is Your New Go-To
This isn’t just another recipe; it’s a meticulously crafted guide designed to ensure your success. We tackle common cheesecake challenges head-on, delivering consistent, beautiful results.
You’ll discover how easy it is to achieve that coveted crack-free top, thanks to a few simple, strategic steps.
The resulting texture is unbelievably smooth and creamy, melting in your mouth with every forkful.
It demystifies the baking process, transforming what can be an intimidating dessert into an accessible triumph for any home baker.

Essential Ingredients for a Silky-Smooth Classic Baked Cheesecake
The Foundation: Crust Components
The crust forms the delicious base of our Classic Baked Cheesecake. Graham cracker crumbs provide a sweet, earthy flavor and a satisfying texture.
Granulated sugar adds just the right amount of sweetness, while melted unsalted butter acts as the binder, ensuring the crumbs hold together firmly and create a rich, buttery foundation.
The Creamy Core: Dairy & Flavor Essentials
For the filling, softened cream cheese at room temperature is non-negotiable. This critical step ensures the cheese beats into a smooth, lump-free consistency, which is vital for a silky cheesecake.
Sour cream, also at room temperature, adds a delicate tang, moisture, and contributes significantly to the cheesecake’s characteristic creamy texture.
Vanilla extract provides warm, aromatic depth, and a touch of salt perfectly balances the sweetness, enhancing all the other flavors.
Binders & Balancers: Flour & Eggs
A small amount of all-purpose flour works as a structural stabilizer, helping to prevent cracks and give the cheesecake a subtle density without being heavy.
Large eggs, also brought to room temperature, are essential binders that emulsify the ingredients, add richness, and are crucial for the cheesecake to set properly during baking.
Crafting Your Classic Baked Cheesecake: A Step-by-Step Guide
- Preheat and Prepare Your Pan:
Begin by preheating your oven to 325 degrees Fahrenheit (160°C). This stable temperature is key for even baking.
If using a 9-inch springform pan, carefully wrap the outside bottom and sides tightly with heavy-duty aluminum foil. This creates a barrier, preventing any water from seeping into your crust during the water bath.
- The Perfect Graham Cracker Crust:
In a medium bowl, combine your graham cracker crumbs, 1/4 cup granulated sugar, and melted butter until well mixed. The mixture should resemble wet sand.
If you enjoy baking with berries, this glazed blueberry lemon bundt cake is a natural next step.
Press this mixture firmly and evenly into the bottom of your prepared pan. Use the flat bottom of a glass or your knuckles to ensure a sturdy, compact crust.
- Achieving a Lump-Free Filling:
In a large bowl, using an electric mixer on low speed, beat the softened cream cheese until it’s exceptionally smooth and creamy. This initial step is absolutely crucial for a lump-free Classic Baked Cheesecake.
Gradually incorporate the 1 and 1/2 cups granulated sugar, flour, vanilla extract, and salt. Continue to beat on low speed only until the ingredients are just combined, being careful not to overmix.
- Incorporating Eggs with a Gentle Touch:
Add the large eggs one at a time, mixing on low speed only until each egg is just incorporated into the batter. This is a critical stage where gentle mixing is paramount.
Do not overmix the batter at this point; overmixing introduces too much air, which expands during baking and can lead to unsightly cracks as your cheesecake cools. Remember to scrape down the sides of the bowl as needed to ensure everything is well combined.
- The Sour Cream Fold:
Gently fold in the room temperature sour cream until it is just blended into the batter. Over-folding here can also incorporate excess air.
Once your filling is smooth and velvety, pour it evenly over your prepared graham cracker crust in the pan.
- The Essential Water Bath Setup:
Carefully place the cheesecake pan into a larger roasting pan. This setup is fundamental for preventing cracks.
Pour hot water into the larger roasting pan until it reaches about halfway up the sides of the cheesecake pan. The steam from this water bath creates a moist baking environment, which is vital for preventing the cheesecake from cracking and ensuring incredibly even, gentle baking.
- Baking to Perfection:
Bake your cheesecake for 60-75 minutes, or until the edges are set but the center still has a slight jiggle (about 2 inches in diameter). This gentle jiggle indicates that your Classic Baked Cheesecake is perfectly cooked and will continue to set as it cools.
- The “Anti-Crack” Cooling Method (Crucial Step!):
Once baking is complete, turn off the oven, but leave the cheesecake in the water bath inside the oven with the oven door ajar for 1 hour. This slow, gradual cooling is the ultimate secret to preventing cracks caused by sudden temperature changes and ensuring a beautiful, unblemished top for your Classic Baked Cheesecake.
- Final Cooling & Chilling:
After the oven cooling period, remove the cheesecake from the water bath and oven. Let it cool completely on a wire rack at room temperature for another 1-2 hours.
Once fully cooled, cover the Classic Baked Cheesecake with plastic wrap and refrigerate for at least 4 hours, or preferably overnight, before slicing and serving. This extended chill time ensures it’s fully set and has that perfect, dense yet creamy texture we all crave.
Expert Tips for Your Best Classic Baked Cheesecake Ever
Room Temperature is Key: Ensure all cold ingredients-especially cream cheese, eggs, and sour cream-are at true room temperature. This is crucial for a smooth, lump-free batter that mixes evenly and prevents overworking the ingredients.
The Gentle Mix is Non-Negotiable: Avoid over-beating the batter, particularly after adding the eggs. Overmixing introduces too much air, which expands during baking and can cause unsightly cracks as the cheesecake cools and contracts.
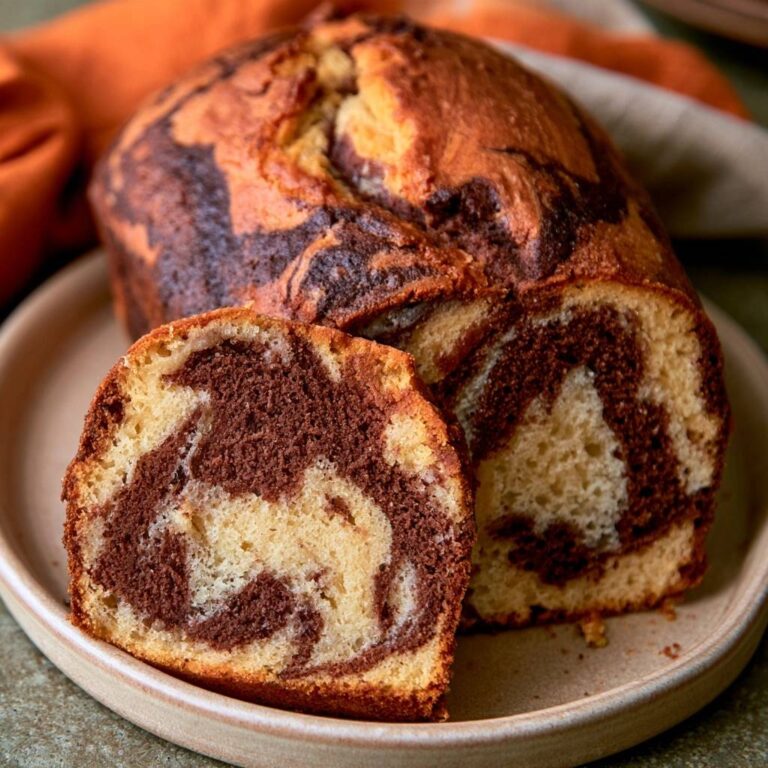
If you want to keep that same creamy texture with a fruity twist, try this blueberry swirl pound cake.
Don’t Skip the Water Bath: This step is foundational for our recipe’s success and the signature creamy texture of your Classic Baked Cheesecake. The steam from the water bath creates a humid environment, promoting even baking and preventing the cheesecake from drying out and cracking.
Patience with the Slow Cool Down: Adhere strictly to the “Anti-Crack Cooling Method” by leaving the cheesecake in the turned-off oven with the door ajar. This gradual cooling prevents thermal shock, a common culprit for cracks, allowing the cheesecake to settle gracefully.
Chill Thoroughly: While tempting to dive in, an extended chill time in the refrigerator (preferably overnight) is essential. This allows the cheesecake to fully set, develop its rich flavor, and achieve that signature dense yet creamy texture for perfect, clean slices. For another delectable no-bake option that requires ample chill time, try our No-Bake Strawberry Cheesecake.
Troubleshooting Common Cheesecake Challenges
Why Did My Cheesecake Crack?
Cracks are most often caused by sudden temperature changes or overmixing. Over-beating introduces too much air, which collapses during cooling.
Not using a water bath or skipping the “anti-crack” cooling method can also cause thermal shock, leading to fissures.
Overbaking the cheesecake can dry it out and make it more prone to cracking as it cools and shrinks.
My Cheesecake is Lumpy/Grainy. What Went Wrong?
The most common culprit for a lumpy or grainy cheesecake is cold cream cheese. It must be at true room temperature to beat smoothly.
Not beating the cream cheese sufficiently initially, before adding other ingredients, can also result in an uneven texture.
Why Isn’t My Cheesecake Set?
If your cheesecake is too wobbly, it might be underbaked. Ensure you follow the baking time guidelines and look for the slight jiggle only in the center.
Insufficient chilling time is another common reason. A Classic Baked Cheesecake needs at least 4 hours, and ideally overnight, in the refrigerator to fully firm up.
My Crust is Soggy. How Can I Fix It?
A soggy crust typically means water leaked into the pan during the water bath. Ensure your springform pan is wrapped very tightly and thoroughly with heavy-duty aluminum foil, creating a watertight seal.
Alternatively, too much melted butter in the crust mixture can also lead to a greasy or soggy base. Stick to the precise measurements.
Serving, Storing, and Making Ahead Your Classic Baked Cheesecake
Elegant Serving Suggestions
A Classic Baked Cheesecake is incredibly versatile. Serve it simply adorned with a dusting of powdered sugar to let its rich flavor shine.
For a burst of color and freshness, top slices with fresh berries like strawberries, raspberries, or blueberries.
Other delicious options include a homemade fruit compote, delicate chocolate shavings, or a dollop of freshly whipped cream.
What to Serve with Cheesecake
That baked cheesecake is rich and creamy, so the right partner can balance the sweetness or add a savory contrast. Here are two recipes that work well alongside it or for a different course.
- For a sweet-and-savory starter that shares the same creamy base, try this Warm Pepper Jelly Cream Cheese Dip with crackers or pretzels before dessert.
- If you want a hearty main dish before slicing into cheesecake, this Ultra Creamy Cheesy Chicken Casserole offers the same rich, comforting texture in a savory form.
How to Store Leftover Classic Baked Cheesecake
To store leftover Classic Baked Cheesecake, cover it tightly with plastic wrap and refrigerate. It will remain fresh and delicious for 3 to 5 days.
For longer storage, cheesecake freezes beautifully. Wrap individual slices or the whole cheesecake tightly in plastic wrap, then again in aluminum foil. It can be frozen for 1 to 2 months; thaw overnight in the refrigerator before serving.
Can I Make This Classic Baked Cheesecake Ahead of Time?
Absolutely! This Classic Baked Cheesecake is an ideal make-ahead dessert. Its flavor and texture actually improve with proper chilling time.
Bake, cool, and chill the cheesecake completely, preferably overnight. Then, simply cover and refrigerate until you’re ready to serve, making entertaining effortless.
Frequently Asked Questions About Baked Cheesecake
Can I use different types of crust for this recipe?
Yes, you can certainly experiment with different crusts! While graham crackers are classic, you could use crushed Oreo cookies for a chocolate crust, shortbread cookies for a buttery base, or even gluten-free cookies for an alternative.
Ensure the crumb-to-butter ratio provides a firm pressable mixture, similar to what you’d use for our delightful Chocolate Crumb Cheesecake Bars.
Is a water bath really necessary for this Classic Baked Cheesecake?
For this Classic Baked Cheesecake recipe, the water bath is highly recommended and truly necessary for optimal results. It creates a humid environment in the oven, which promotes even baking, prevents the cheesecake from drying out, and is key to achieving that signature crack-free, silky smooth texture.
While some cheesecake recipes omit it, for this specific Classic Baked Cheesecake, it’s a non-negotiable step for perfection.
How do I know when my cheesecake is done baking?
Your Classic Baked Cheesecake is done when the edges are set and appear slightly puffed, but the center (about 2 inches in diameter) still has a slight, gentle jiggle when you gently nudge the pan. It should not be liquid or watery. The residual heat will continue to set the center as it cools.
Can I reduce the sugar in this recipe?
While some sugar reduction is possible, it’s generally not recommended to drastically cut down on sugar in baked goods as it affects both taste and texture. Sugar contributes to moisture, browning, and structure in cheesecake.
If you prefer a less sweet Classic Baked Cheesecake, you could try reducing the sugar by 1/4 cup, but be aware it might slightly alter the final texture or browning.
What kind of cream cheese is best for Classic Baked Cheesecake?
For the absolute best Classic Baked Cheesecake, always use full-fat, block cream cheese. Brands like Philadelphia are consistently reliable. Avoid using whipped, spreadable, or low-fat cream cheese varieties, as their higher water content and different stabilizers will negatively impact the texture and richness of your baked cheesecake.
Ready to Impress? Share Your Classic Baked Cheesecake Masterpiece!
You now possess the secrets to baking a truly magnificent, crack-free Classic Baked Cheesecake. This recipe is more than just ingredients and steps; it’s a pathway to creating unforgettable moments and delicious memories.
Don’t be surprised when friends and family ask for your recipe – it’s truly that good! I encourage you to embrace this rewarding baking experience.
Once you’ve unveiled your perfectly set, creamy creation, share your masterpiece with us! Tag your photos on social media or leave a comment below to let us know how your Classic Baked Cheesecake turned out. Happy baking!
Cheesecake
Course: DessertCuisine: AmericanDifficulty: medium12
servings25
minutes1
hour15
minutes450
kcal100
minutesAchieve perfectly smooth, crack-free Classic Baked Cheesecake with this gentle, foolproof recipe. It guides you through simple steps for a creamy, elegant dessert every time. Say goodbye to intimidation and hello to delicious perfection.
Ingredients
1 and 1/2 cups graham cracker crumbs
1/4 cup granulated sugar for crust
1/2 cup unsalted butter, melted
32 ounces cream cheese, softened to room temperature (four 8-ounce blocks)
1 and 1/2 cups granulated sugar for filling
1/4 cup all-purpose flour
1 teaspoon vanilla extract
1/2 teaspoon salt
4 large eggs, room temperature
1 cup sour cream, room temperature
Directions
- Preheat your oven to 325 degrees Fahrenheit.
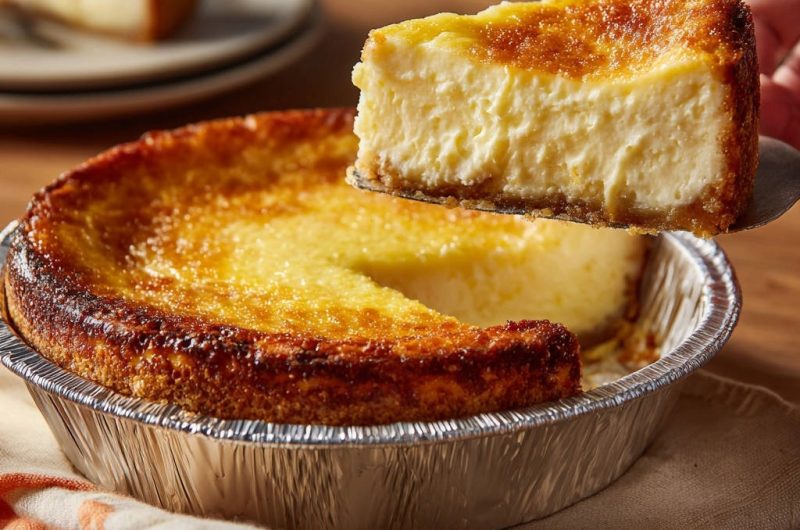
- Prepare the crust: In a medium bowl, combine graham cracker crumbs, 1/4 cup granulated sugar, and melted butter until well mixed. Press the mixture firmly and evenly into the bottom of a 9-inch springform pan or the foil pan shown in the image. If using a springform, wrap the outside bottom and sides of the pan tightly with heavy-duty aluminum foil to prevent water from seeping in during the water bath.
- Make the filling: In a large bowl, using an electric mixer on low speed, beat the softened cream cheese until smooth and creamy. This is crucial for a lump-free cheesecake. Add the 1 and 1/2 cups granulated sugar, flour, vanilla extract, and salt. Continue to beat on low speed until just combined.
- Add eggs one at a time, mixing on low speed only until each egg is just incorporated. Do not overmix the batter at this stage; overmixing introduces too much air, which can lead to cracks. Scrape down the sides of the bowl as needed.
- Gently fold in the sour cream until just blended. Pour the cheesecake filling over the prepared crust in the pan.
- Prepare the water bath: Place the cheesecake pan into a larger roasting pan. Carefully pour hot water into the larger roasting pan until it reaches about halfway up the sides of the cheesecake pan. The steam from the water bath creates a moist baking environment, which helps prevent the cheesecake from cracking and ensures even baking.
- Bake for 60-75 minutes, or until the edges are set but the center still has a slight jiggle (about 2 inches in diameter).
- The Anti-Crack Cooling Method: Turn off the oven, but leave the cheesecake in the water bath inside the oven with the oven door ajar for 1 hour. This slow, gradual cooling is the secret to preventing cracks caused by sudden temperature changes.
- Remove the cheesecake from the water bath and oven. Let it cool completely on a wire rack at room temperature for another 1-2 hours.
- Once completely cooled, cover the cheesecake with plastic wrap and refrigerate for at least 4 hours, or preferably overnight, before slicing and serving. This ensures it’s fully set and has the perfect creamy texture.
Notes
- The water bath and slow cooling are essential for a crack-free top and creamy texture.