Stuffed Chicken Breasts: Juicy & Golden Perfection
Stuffed Chicken Breasts
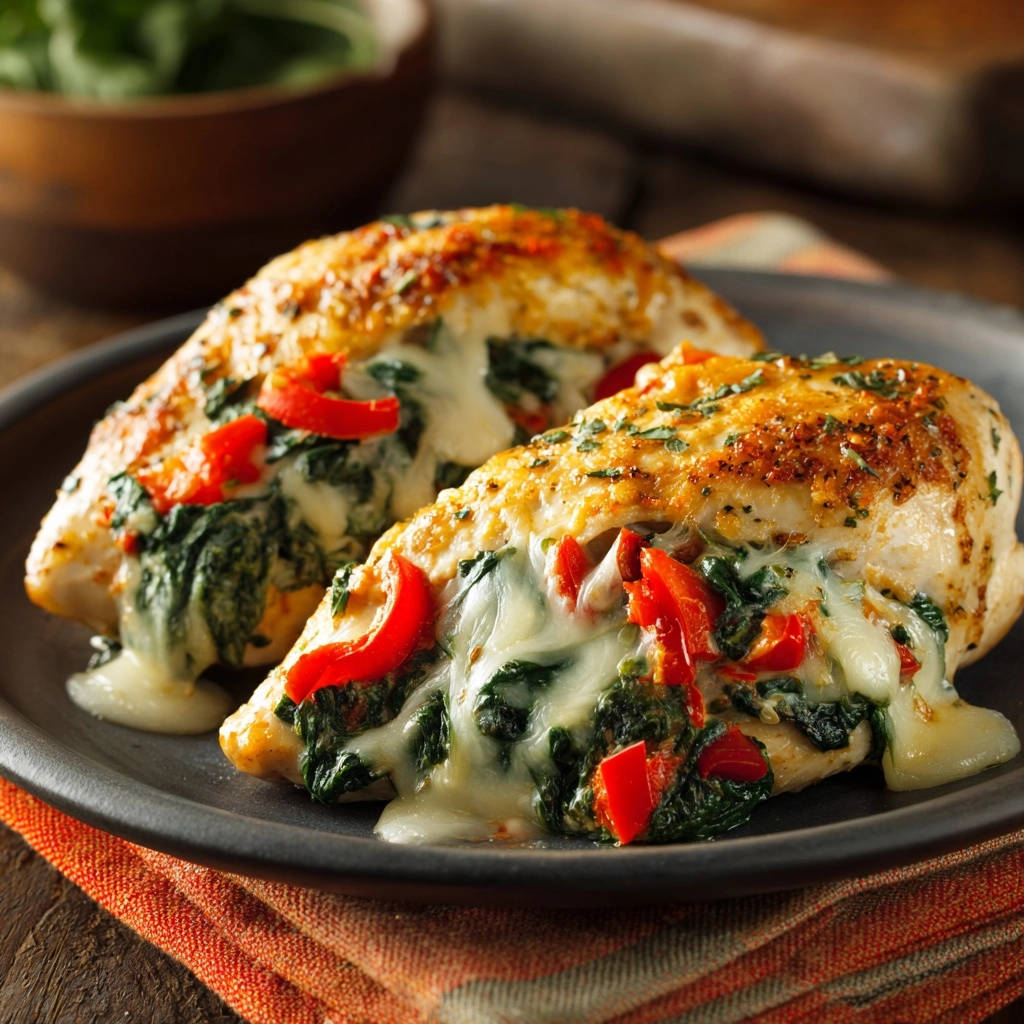
changed everything in my kitchen. This recipe is your secret weapon, transforming a simple ingredient into a juicy, golden-crusted marvel with a delightful, gooey cheese filling that spills out with every slice.Beyond Dry & Bland: Why THIS Stuffed Chicken Breasts Recipe Works
This isn’t just another chicken recipe; it’s a testament to simple techniques delivering extraordinary results. We’re tackling common chicken challenges head-on to bring you a dish that consistently impresses.The Secret to Unbelievably Juicy Chicken
The key to preventing dry chicken lies in our two-step cooking method: a quick, high-heat sear on the stovetop followed by a gentle finish in the oven.
This initial sear rapidly develops a flavorful crust, locking in the natural juices, while the consistent heat of the oven ensures the interior cooks through evenly and slowly, preventing moisture loss.
Achieving that Perfect Golden Crust (and Gooey Cheese!)
The searing step is crucial for that beautiful golden-brown exterior. This process caramelizes the chicken’s surface, enhancing its flavor and texture.
Simultaneously, the oven’s consistent warmth allows the cheese inside to melt slowly and beautifully, becoming luxuriously gooey without completely escaping, thanks to the secured pocket.
Simplified Yet Sophisticated: Weeknight Wow Factor
Despite its impressive appearance, this recipe for
Stuffed Chicken Breasts
is remarkably straightforward.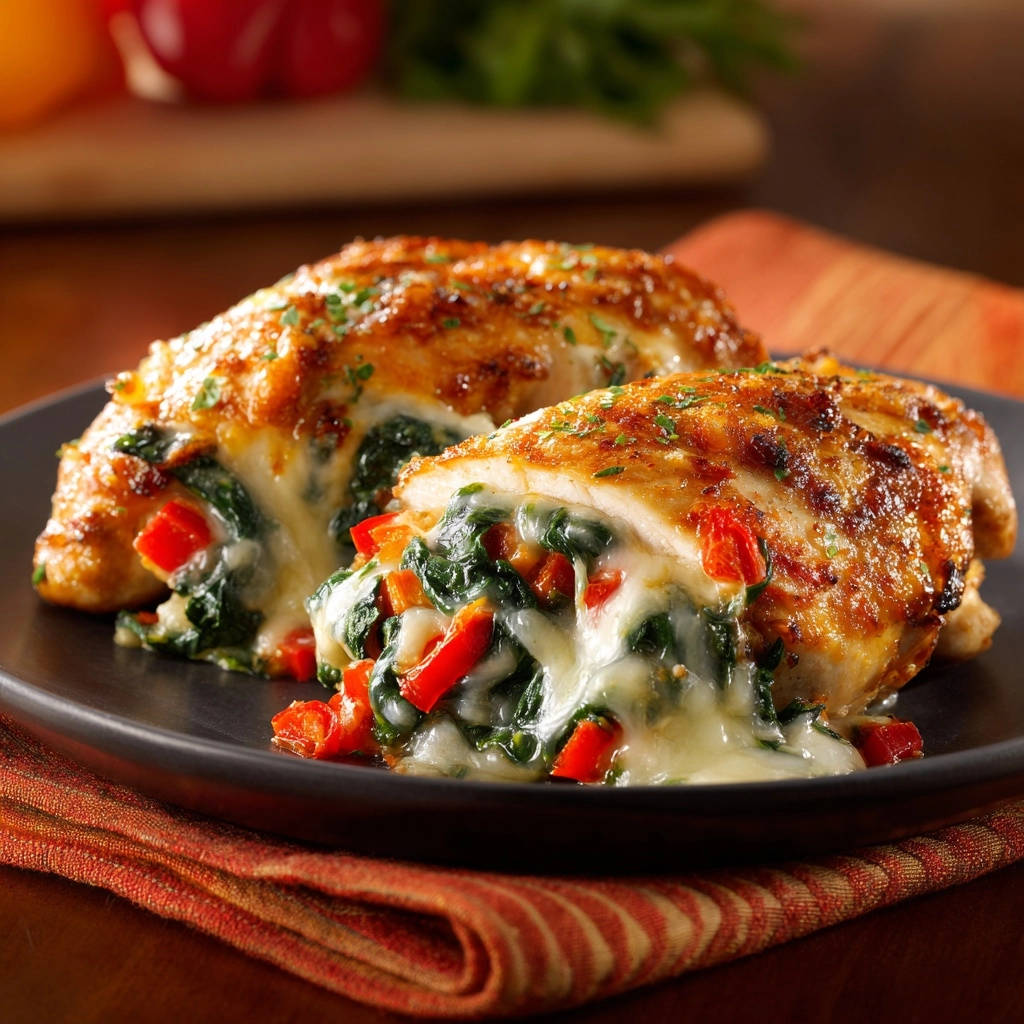
It utilizes common ingredients and accessible techniques, making it perfect for a busy weeknight meal yet elegant enough to serve for special occasions or entertaining guests.
Gather Your Gourmet: Key Ingredients for Stuffed Chicken Breasts
Every great dish starts with quality ingredients. Here’s what you’ll need and why each component plays a vital role.The Heart of the Dish: Chicken Breasts
Start with two boneless, skinless chicken breasts, ideally 6-8 ounces each. Opt for organic or free-range chicken if possible for superior flavor and texture.
Uniformly sized breasts are helpful for even cooking, ensuring both pieces finish at the same time.
Flavorful Filling: Spinach, Bell Pepper & Cheese
Fresh spinach wilts down beautifully, adding a mild earthy flavor and a pop of green. Chopped red bell pepper introduces a subtle sweetness and vibrant color, contrasting wonderfully with the rich chicken.
Shredded mozzarella cheese is a classic for its incredible melt and mild flavor, but provolone or even a white cheddar can offer delightful variations and a creamy, satisfying interior to your
Stuffed Chicken Breasts
.The Aromatic Boost: Seasonings & Olive Oil
Garlic powder and dried Italian herbs (like parsley, oregano, or a blend) provide a foundational aromatic profile that complements the chicken and filling without overpowering it.
Good quality olive oil is essential for searing, creating that desirable golden crust and contributing a subtle, fruity note to the dish.
Essential Gear: Tools for Stuffed Chicken Success
Having the right tools makes all the difference in achieving culinary perfection. These are the non-negotiables for this recipe.Pounding Perfection: Mallet or Heavy Skillet
A meat mallet is ideal for evenly pounding chicken breasts to a uniform 1/2-inch thickness. This ensures consistent cooking and creates a larger, easier-to-stuff surface.
If you don’t have a mallet, the bottom of a sturdy, heavy skillet works just as well; simply place plastic wrap over the chicken to prevent tearing.
Searing & Roasting: Your Oven-Safe Skillet
An oven-safe skillet, such as cast iron or stainless steel, is critical for this recipe. It allows you to sear the chicken on the stovetop and then seamlessly transfer it directly to the oven.
This continuous cooking in one pan minimizes cleanup and maximizes flavor development.
Precision Matters: The Meat Thermometer
A reliable instant-read meat thermometer is your best friend in the kitchen. It eliminates guesswork, ensuring your chicken is perfectly cooked to a safe internal temperature of 165°F (74°C) without becoming dry.
This tool is invaluable for consistent, juicy results every single time.
Crafting Your Stuffed Chicken Breasts: Step-by-Step Mastery
Follow these detailed steps to create flawlessStuffed Chicken Breasts
that are juicy, flavorful, and incredibly satisfying.Step 1: Preheat & Prep Your Workspace
Preheat your oven to 375°F (190°C) and ensure all your ingredients are measured and ready for a smooth cooking process. Gathering everything beforehand makes the process much more enjoyable and efficient.
Step 2: Transforming the Chicken: Pound & Pocket
Place each chicken breast between two sheets of plastic wrap. Gently but firmly pound them to an even 1/2-inch thickness using a meat mallet or the bottom of a heavy skillet. This uniform thickness is vital for even cooking and creating a substantial pocket.
Carefully cut a deep, horizontal pocket into the thickest side of each breast, being careful not to cut through the other side. You’re aiming for a pouch that will securely hold your delicious filling.
Step 3: Assembling the Irresistible Filling
In a small bowl, combine the chopped fresh spinach, chopped red bell pepper, and shredded mozzarella cheese. Mix them thoroughly until well combined.
Ensure the ingredients are evenly distributed for a balanced flavor in every bite.
Step 4: The Art of Stuffing & Securing
Evenly divide the prepared filling mixture into each chicken breast pocket. Gently press the filling in to ensure a full but not overstuffed pocket. Overfilling can make sealing difficult and lead to leakage.
If needed, use one or two toothpicks to secure the openings, minimizing cheese leakage during cooking. Remember to remove them before serving!
Step 5: Seasoning for Maximum Flavor
In a separate small dish, whisk together the garlic powder, dried Italian herbs, salt, and black pepper. The blend provides a balanced seasoning that complements the chicken and filling.
Generously sprinkle this seasoning blend over both sides of each stuffed chicken breast, ensuring even coverage for maximum flavor. Don’t be shy; this is where a lot of the delicious taste comes from.
Step 6: The Golden Sear: Locking in Juices
Heat the olive oil in an oven-safe skillet (such as cast iron or stainless steel) over medium-high heat until it shimmers. The oil should be hot enough to create an immediate sizzle when the chicken is added.
Carefully place the seasoned, stuffed chicken breasts into the hot skillet. Sear for 3-4 minutes per side, until a beautiful golden-brown crust forms. This crucial step locks in moisture and develops rich flavor, which is key for incredible
Stuffed Chicken Breasts
.Step 7: Oven Perfection: Finishing the Cook
Transfer the skillet directly into the preheated oven. Bake for 12-15 minutes, or until the internal temperature of the chicken reaches 165°F (74°C) when measured with a meat thermometer at its thickest part.
The oven finish ensures even cooking and perfectly melted cheese without drying out the chicken, giving you consistently juicy results.
Step 8: The Critical Rest: Don’t Skip This!
Once cooked, carefully remove the skillet from the oven. Let the chicken rest in the skillet for at least 5 minutes before slicing and serving. This resting period is just as important as the cooking itself.
This essential resting period allows the juices to redistribute throughout the meat, resulting in exceptionally moist and tender bites. Skipping this step often leads to dry chicken, as the juices will simply run out when cut.
Chef’s Wisdom: Pro Tips for Flawless Stuffed Chicken Breasts
These expert tips will elevate yourStuffed Chicken Breasts
from good to truly phenomenal, ensuring a consistently delicious outcome.Even Pounding for Even Cooking: Unevenly pounded chicken can lead to dry spots or undercooked areas. Aim for a consistent 1/2-inch thickness for uniform cooking and a better stuffing pocket. Precision here pays off in tenderness.
Securing the Filling: Beyond Toothpicks: While toothpicks work, you can also try folding the thinner side of the pounded chicken over the stuffing to create a more enclosed pouch, or even tying it lightly with kitchen twine. This offers an extra layer of security for your delicious filling.
Don’t Crowd the Pan: If making more than two chicken breasts, sear them in batches. Crowding the skillet lowers the temperature and steams the chicken instead of searing, preventing that beautiful golden crust you’re aiming for.
The Power of a Hot Skillet: Ensure your skillet and oil are sufficiently hot before adding the chicken. A sizzling sound upon contact indicates the right temperature for a good sear, creating that desired crust quickly.
Trust Your Thermometer: Visual cues can be misleading. A reliable meat thermometer is your best friend for ensuring perfectly cooked, safe, and juicy chicken every time (165°F/74°C). It’s the ultimate guarantee against overcooked chicken.
Let it Rest, Seriously: This isn’t just an optional step; it’s crucial. Resting allows the muscle fibers to relax and reabsorb juices, guaranteeing moist and tender results. Skipping this step leads to dry chicken, as all the delicious moisture will run out when you cut into it.
Common Kitchen Questions: Troubleshooting Your Stuffed Chicken
Even seasoned cooks encounter challenges. Here are solutions to common issues you might face when makingStuffed Chicken Breasts
.Why Is My Chicken Dry?
Dry chicken is often a result of overcooking. Use a meat thermometer to ensure you remove the chicken from the oven precisely when it reaches 165°F (74°C).
Also, ensure you allow the chicken to rest for 5 minutes after cooking. This allows the juices to redistribute, leading to a much juicier final product.
My Cheese Melted Out! What Happened?
Excessive cheese leakage can occur if the pocket isn’t sealed well. Use toothpicks more liberally or try to fold the chicken over the filling more securely.
Also, ensure your pan is hot enough for a quick sear to seal the exterior before the cheese has too much time to melt out. A faster sear helps create a barrier.
How Do I Know It’s Cooked Through?
The most reliable way is to use an instant-read meat thermometer inserted into the thickest part of the chicken (avoiding the stuffing). It should register 165°F (74°C).
The juices should also run clear when poked with a fork, but the thermometer provides the most accurate and safe reading.
Elevate Your Meal: Delicious Pairings for Stuffed Chicken Breasts
TheseStuffed Chicken Breasts
are a complete meal on their own, but pairing them with the right sides can truly complete the experience.Classic Sides & Veggies
Serve your
Stuffed Chicken Breasts
For a perfect pairing, try our Mastering Loaded Chicken Club Baked Potatoes with Shatter-Crisp Skin.
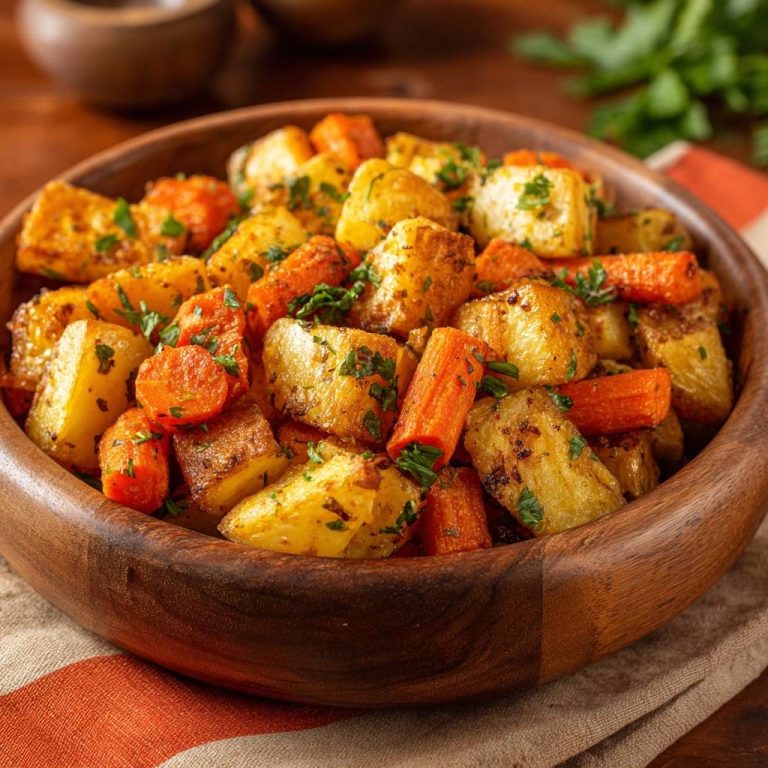
with simple roasted asparagus, green beans, or a vibrant mixed greens salad with a light vinaigrette. For an easy yet elegant vegetable, consider a side of crispy baked asparagus.Mashed potatoes or fluffy rice are also excellent choices to soak up any delicious juices and make the meal more hearty.
For a perfect pairing, try our Mastering the Crispy Stuffed Chicken Cordon Bleu.
Sauces That Shine
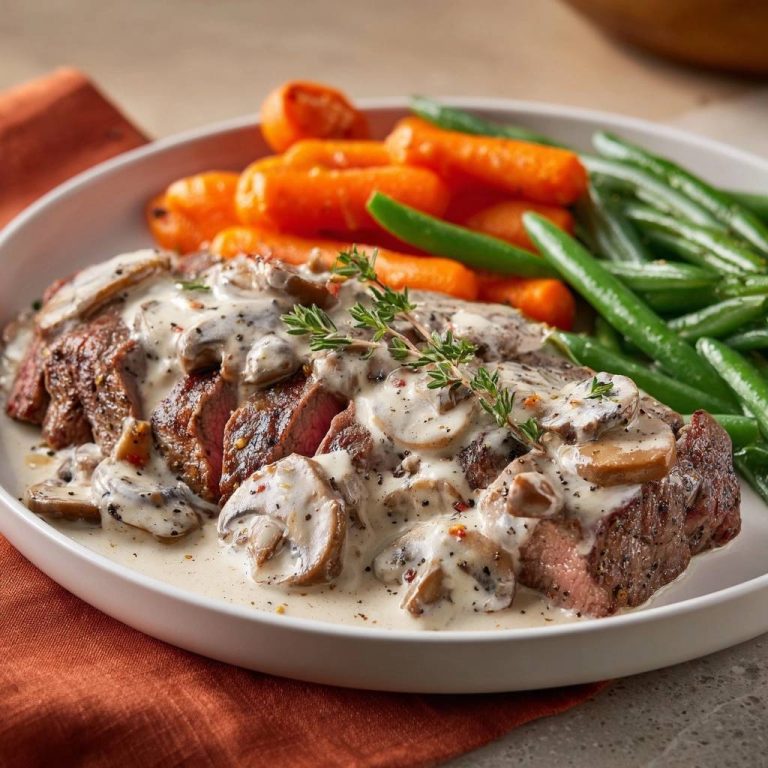
While delicious on its own, a light lemon-butter sauce, a creamy mushroom sauce, or a fresh tomato bruschetta topping can elevate this dish even further, adding an extra layer of flavor and moisture.
What to Serve Alongside
These stuffed chicken breasts pair well with a creamy side and a shareable starter that match the rich, cheesy filling.
- The cool, tangy Loaded Creamy Potato Salad balances the warm, golden chicken with a similar indulgent texture.
- For a warm, cheesy appetizer, pull apart the Spinach Artichoke Pull-Apart Bread to soak up any extra juices from the chicken.
Smart Kitchen: Make-Ahead & Storage Tips
Planning ahead and knowing how to store leftovers properly ensures you can enjoy these deliciousStuffed Chicken Breasts
with ease.Prepping Ahead for Busy Nights
You can prepare the chicken pockets and the filling mixture a day in advance. Store the chicken in an airtight container in the refrigerator and the filling in a separate container.
Stuff and cook just before serving. This prep work significantly cuts down on active cooking time when you’re ready to eat.
Storing Leftovers Safely
Store any leftover
Stuffed Chicken Breasts
in an airtight container in the refrigerator for up to 3-4 days. Ensure it cools completely before refrigerating to prevent condensation, which can lead to sogginess.Reheating for Best Results
For best results, reheat leftover chicken gently in the oven at 300°F (150°C) until warmed through, or in a covered skillet over low heat with a splash of broth to prevent drying out.
Avoid microwaving if possible, as it can make the chicken rubbery and less appealing. Gentle reheating preserves texture and juiciness.
Your Top Questions Answered: Stuffed Chicken Breasts FAQs
We’ve got the answers to your most common inquiries about making these fantasticStuffed Chicken Breasts
.Can I Use Different Cheeses in the Filling?
Absolutely! While mozzarella is classic for its melt, you can experiment with provolone, Swiss, or even a blend of Monterey Jack and cheddar. Just ensure the cheese melts well and complements your chosen flavors.
What About Other Fillings Besides Spinach and Bell Pepper?
The possibilities are endless! Consider sautéed mushrooms, caramelized onions, sun-dried tomatoes, artichoke hearts, or a blend of herbs. For inspiration on other delicious stuffed dishes, you might enjoy trying this spinach and sun-dried tomato stuffed salmon.
Just ensure any vegetables are pre-cooked to avoid releasing too much moisture into the chicken pocket during baking, which could make the chicken watery.
Can I Bake Without Searing First?
While you can, the initial sear is highly recommended. It creates that desirable golden crust, locks in moisture, and adds a significant depth of flavor that baking alone won’t achieve.
Searing also helps the chicken hold its shape and prevents too much filling from escaping.
Is This Recipe Gluten-Free?
Yes, this recipe is naturally gluten-free! All ingredients listed (chicken, vegetables, cheese, seasonings, olive oil) are typically gluten-free.
Always check labels on packaged goods like seasonings or cheese blends to be certain, especially if catering to strict dietary needs.
How Long Do Leftovers Last?
Cooked
Stuffed Chicken Breasts
, when properly stored in an airtight container in the refrigerator, will remain fresh and safe to eat for up to 3 to 4 days.Always ensure they are cooled quickly and stored promptly after your meal for optimal safety and freshness.
Ready to Impress? Share Your Stuffed Chicken Breasts Masterpiece!
You now have all the tools and knowledge to transform ordinary chicken breasts into an extraordinary meal. This recipe forStuffed Chicken Breasts
isn’t just about cooking; it’s about creating a moment of pure culinary delight, a dish that will have your family and friends asking for the recipe. So go ahead, gather your ingredients, and prepare to impress! We’d love to see your creations! Share yourStuffed Chicken Breasts
masterpieces with us on social media, or leave a comment below to tell us how it turned out and what delicious sides you paired with it. Happy cooking!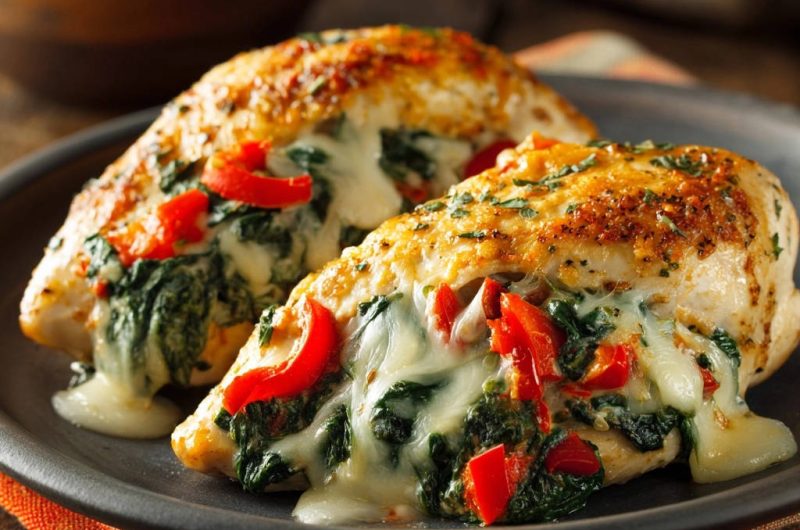
Stuffed Chicken Breasts
Course: Main CourseCuisine: AmericanDifficulty: easy2
servings20
minutes25
minutes450
kcal50
minutesDiscover the secret to perfectly juicy stuffed chicken breasts! This recipe features tender chicken filled with spinach, bell pepper, and gooey mozzarella, seared to a golden crust and finished in the oven. Say goodbye to dry chicken!
Ingredients
2 boneless, skinless chicken breasts (about 6-8 oz each)
1 cup fresh spinach, roughly chopped
1/4 cup chopped red bell pepper
1/2 cup shredded mozzarella cheese (or provolone)
1 tablespoon olive oil
1/2 teaspoon garlic powder
1/2 teaspoon dried Italian herbs (like parsley or oregano blend)
Salt to taste
Black pepper to taste
Directions
- Preheat your oven to 375 degrees Fahrenheit.
- Prepare the chicken: Place each chicken breast between two sheets of plastic wrap. Using a meat mallet or the bottom of a heavy skillet, pound the chicken breasts gently and evenly to about 1/2 inch thickness. This helps them cook uniformly and creates a larger surface for stuffing. Carefully cut a deep pocket into the thickest side of each chicken breast, making sure not to cut all the way through.
- Prepare the filling: In a small bowl, combine the chopped fresh spinach, chopped red bell pepper, and shredded mozzarella cheese. Mix well.
- Stuff the chicken: Evenly divide the filling mixture between the two chicken breast pockets. If needed, use toothpicks to secure the openings to prevent the filling from escaping too much during cooking.
- Season the chicken: In a small dish, combine the garlic powder, dried Italian herbs, salt, and black pepper. Sprinkle this seasoning generously over both sides of the stuffed chicken breasts.
- Sear the chicken: Heat the olive oil in an oven-safe skillet (like cast iron or stainless steel) over medium-high heat. Once the oil is shimmering, carefully place the stuffed chicken breasts in the hot skillet. Sear for 3-4 minutes per side, until golden brown. This quick sear locks in flavor and creates a beautiful crust without overcooking the inside.
- Finish in the oven: Transfer the skillet with the seared chicken directly into the preheated oven. Bake for 12-15 minutes, or until the internal temperature of the chicken reaches 165 degrees Fahrenheit when measured with a meat thermometer at its thickest part. The precise temperature control of the oven, after the initial sear, is key to achieving consistent juiciness and perfectly melted cheese without drying out the chicken.
- Rest and serve: Carefully remove the skillet from the oven. Let the chicken rest in the skillet for 5 minutes before serving. This crucial resting period allows the juices to redistribute throughout the meat, ensuring every bite is moist and tender. Remove any toothpicks before serving.
Notes
- Ensuring chicken reaches 165°F and resting are key for juiciness.