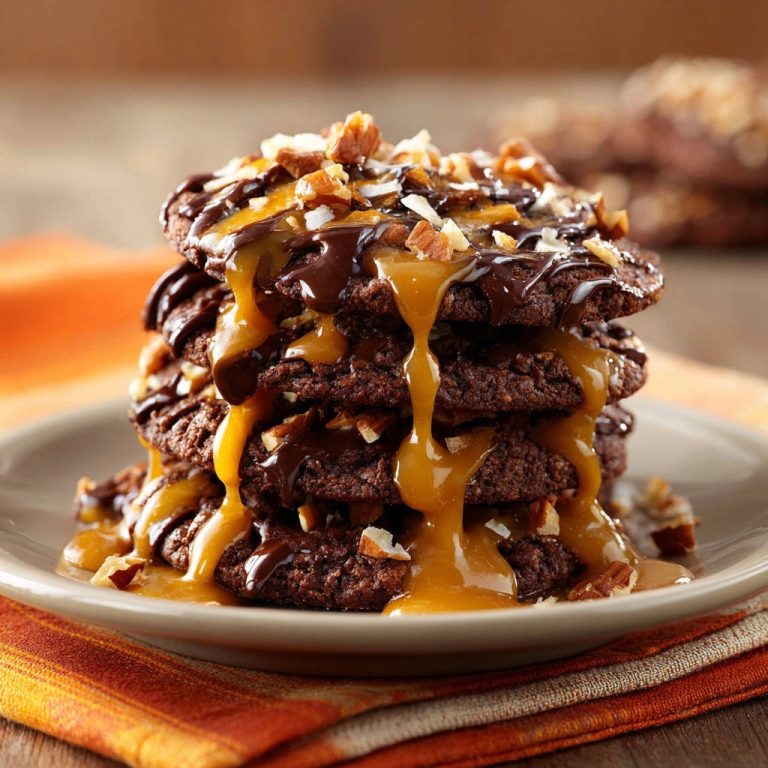
Classic Chocolate No-Bake Cookies: Perfect Texture Every Time
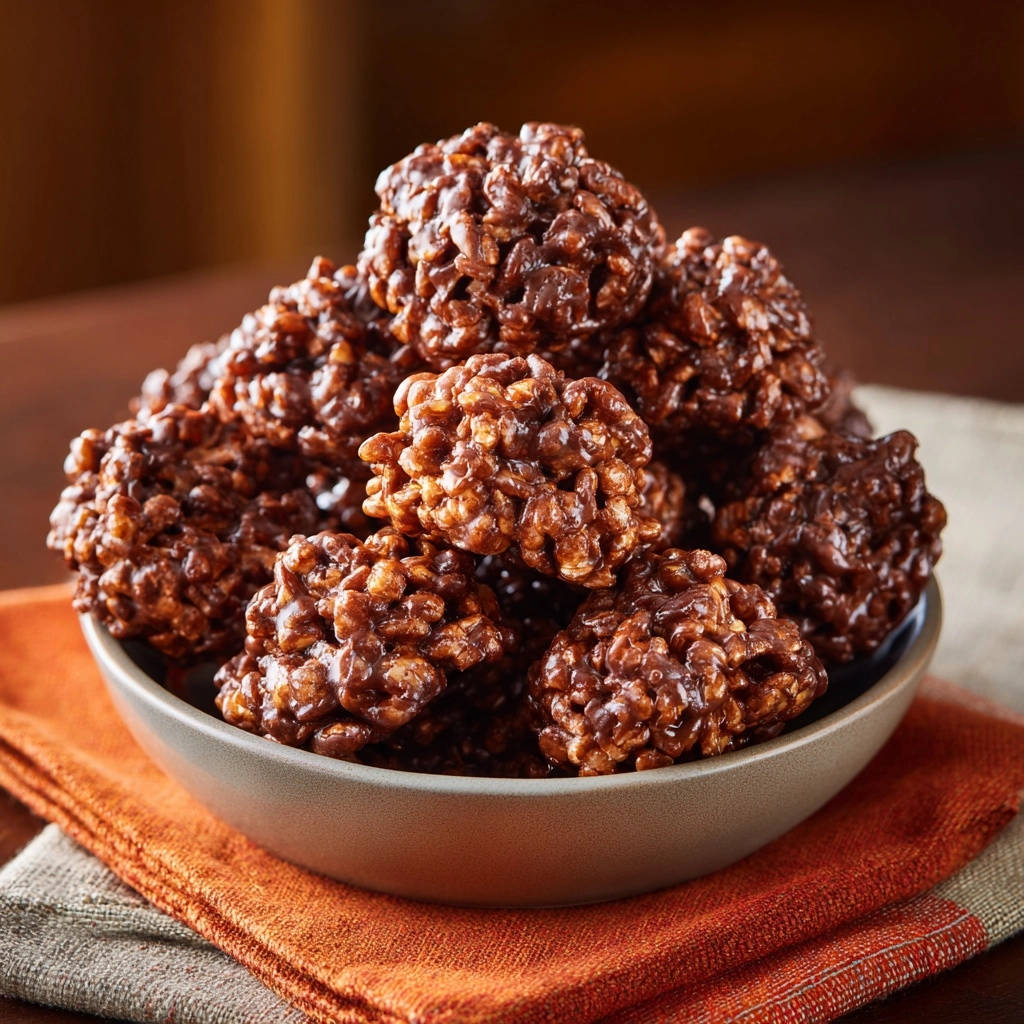
There’s nothing quite like the nostalgic taste of classic chocolate no-bake cookies, yet achieving that ideal texture can be surprisingly tricky. I’ve personally navigated the frustration of cookies that refuse to set or turn into dry, crumbly pucks. This recipe is my tried-and-true solution, guaranteeing that perfect chewy yet firm bite every single time.
Why This Classic No-Bake Cookie Recipe Wins Every Time
This particular recipe for classic chocolate no-bake cookies stands out because it precisely addresses the most common failures, ensuring a consistent, delicious outcome. It eliminates the guesswork often associated with these simple yet finicky treats.
The “Never Dense” Secret: Achieving That Ideal Chewy Bite
The core secret to this recipe’s success lies in one crucial, precise step: the exact 60-second boil time. This specific duration allows the mixture to reach the perfect sugar crystallization point, which is critical for setting properly without becoming overly hard or disappointingly gooey.
This controlled boiling ensures a delightful chewiness that prevents the cookies from becoming dense or brittle. You’ll achieve that coveted balance of firm exterior and soft interior every time.
Quick & Easy Indulgence for Any Occasion
Beyond texture, this recipe is incredibly fast and straightforward, requiring no oven and minimal cleanup. It’s the perfect solution for last-minute dessert cravings or when you need a simple, satisfying treat for a potluck or family gathering.
The speed and simplicity make these classic chocolate no-bake cookies an ideal choice for busy schedules. You can enjoy homemade goodness without the extensive time commitment of traditional baking.
If you enjoy the rich chocolate flavor here, try these sea salt dark chocolate chunk cookies for a chewier alternative.
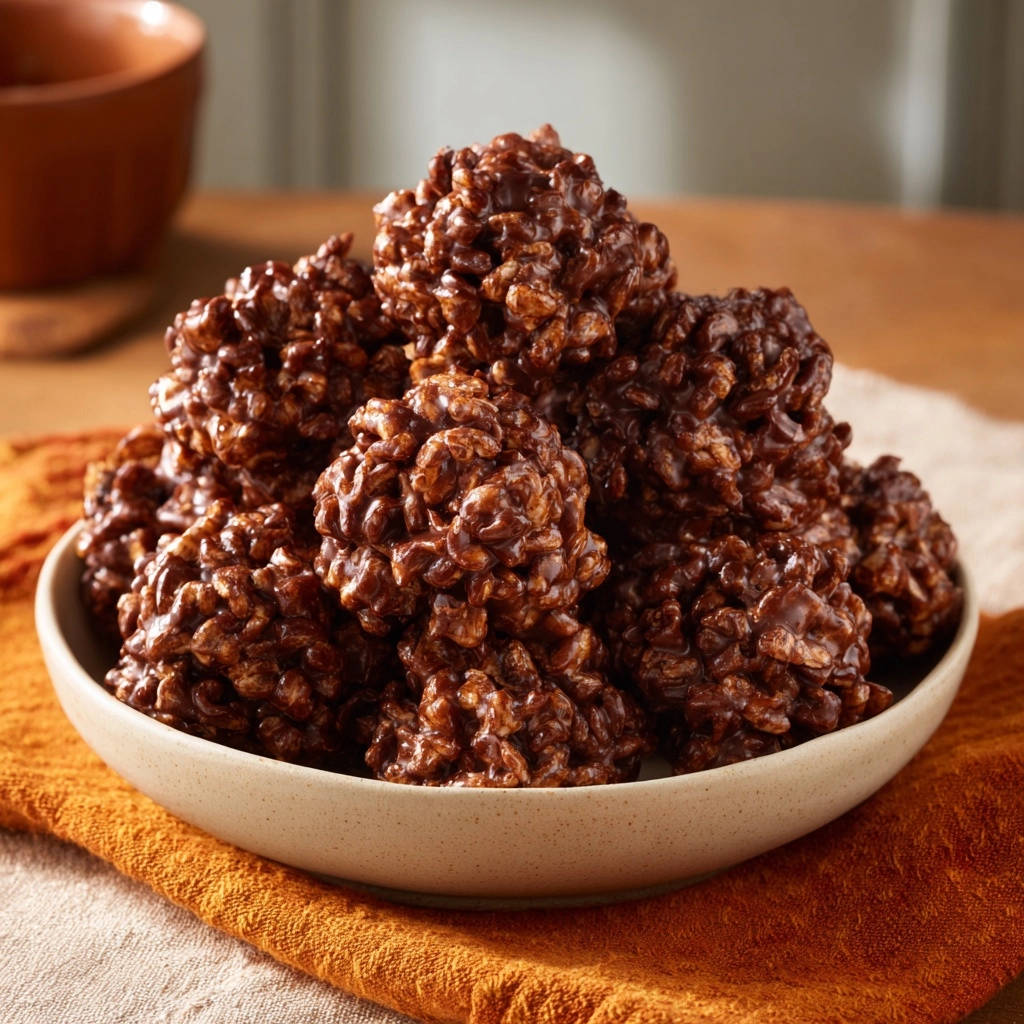
Essential Building Blocks: Ingredients for Your No-Bake Masterpiece
The quality and type of each ingredient play a vital role in the final texture and flavor of your no-bake cookies.
Dairy & Fats: The Rich Foundation
Unsalted Butter: Using unsalted butter allows you to control the overall salt content in the recipe. Its fat content is crucial for the rich flavor and smooth consistency of the cookie base.
Milk (Dairy or Non-Dairy): Whole milk is ideal for richness, but any dairy or non-dairy milk (like almond or oat) works well. The liquid helps dissolve the sugar and creates the necessary syrup base for the oats.
Sweetness & Chocolate: Pure Indulgence
Granulated Sugar: This is the primary sweetener and structure builder. The sugar crystals dissolve during the boiling process, creating the syrup that binds the oats together. Do not substitute with powdered or brown sugar, as this will alter the texture.
Unsweetened Cocoa Powder: Opt for a good quality unsweetened cocoa powder for the best chocolate flavor. Dutch-processed cocoa will give a darker color and milder chocolate taste, while natural cocoa provides a slightly fruitier, more intense chocolate note.
The Texture Makers: Oats and Vanilla
Quick-Cooking Oats: These are essential for the perfect no-bake cookie texture. Quick-cooking oats are pre-steamed and rolled thinner than old-fashioned oats, allowing them to absorb the hot mixture rapidly and set quickly without becoming overly chewy or raw-tasting.
Pure Vanilla Extract: Vanilla is a flavor enhancer that rounds out the rich chocolate and sweet notes. Use pure vanilla extract for the most authentic and vibrant flavor profile.
Ingredient Substitutions for Dietary Needs
Gluten-Free Oats: Ensure your quick-cooking oats are certified gluten-free if you or your guests have gluten sensitivities. Oats are naturally gluten-free but often processed in facilities with wheat.
Non-Dairy Milk: Any unsweetened non-dairy milk (almond, soy, oat, cashew) can be used as a direct 1:1 substitute for dairy milk. Keep in mind flavor might vary slightly.
Plant-Based Butter: Use a high-quality stick plant-based butter alternative that mimics dairy butter for best results. This substitution works well for a dairy-free or vegan version of these chewy chocolate treats.
Tools You’ll Need for Effortless Cookie Making
Large Saucepan: Crucial for boiling the mixture without overflow, especially when it comes to a full rolling boil. A larger pan also provides more surface area for quicker heating and cooling.
Parchment Paper or Wax Paper: Prevents sticking and makes cleanup a breeze. It’s essential for easy removal of the set cookies from the baking sheet.
Whisk & Spatula: A whisk is ideal for initially combining ingredients and stirring constantly during the boil. A sturdy rubber spatula is best for quickly mixing in the oats.
Baking Sheet: To drop and cool your cookies. Having it ready before you start boiling is key to working quickly.
Measuring Cups & Spoons: For precise ingredient amounts, which are vital for the proper setting of these perfect texture cookies.
Timer: An absolute must for the critical 60-second boil. Don’t eyeball this step!
Mastering the Method: Your Step-by-Step Guide to Perfect No-Bake Cookies
- Prep Your Station:
Line a baking sheet with parchment paper or wax paper. This crucial first step ensures your cookies won’t stick and makes for easy removal, allowing you to work efficiently when the mixture is hot.
- Combine Wet & Dry:
In a large saucepan, combine the butter, granulated sugar, milk, and cocoa powder. Stir these ingredients together until well blended and no dry pockets of cocoa remain before placing on the heat. This pre-mixing prevents clumps.
- The Crucial Boil:
Bring the mixture to a full rolling boil over medium heat, stirring constantly to prevent sticking and burning. This constant agitation is vital for even heating and dissolving the sugar completely, which is foundational for the correct cookie set.
- The 60-Second Magic:
Once at a full rolling boil, continue to boil for exactly 60 seconds, stirring vigorously. This precise timing is the secret to achieving the perfect chewy-yet-firm texture, ensuring your cookies set beautifully without becoming too hard or too soft. Use a timer and do not deviate.
- Off the Heat & Vanilla Infusion:
Remove the saucepan immediately from the heat after the 60 seconds. Stir in the pure vanilla extract. The residual heat will help the vanilla meld perfectly into the rich chocolate mixture, enhancing its flavor.
- Quick Oat Integration:
Quickly add the quick-cooking oats to the hot mixture, stirring until completely coated and combined. Work fast, as the mixture will begin to thicken and set rapidly once the oats are introduced. Ensure all oats are evenly coated.
- Shape & Drop:
Drop spoonfuls of the mixture onto the prepared baking sheet. For a classic look and consistent size, aim for about 1 1/2 tablespoons per cookie. You can use a cookie scoop for uniformity.
- Cool & Set:
Let the cookies cool completely at room temperature, which typically takes about an hour, or chill them in the refrigerator for about 30 minutes to speed up the setting process. They will firm up considerably as they cool, achieving that ideal no-bake cookie consistency.
Pro Tips for No-Bake Cookie Perfection
Don’t Deviate from Boil Time: The 60-second boil is non-negotiable for these classic chocolate no-bake cookies. Too short, and your cookies won’t set; too long, and they’ll be dry and crumbly. Set a timer and stick to it precisely.
Work Quickly with Oats: Once oats are added, the mixture thickens very fast. Have your baking sheet ready and work swiftly to drop the cookies before it becomes too stiff and difficult to scoop.
Evenly Sized Drops: Using a cookie scoop or consistent spoonfuls ensures all cookies set at a similar rate and look uniform. This also helps with even portioning.
Room Temperature vs. Chill: While chilling speeds up setting, allowing them to cool naturally at room temperature often yields a slightly softer, chewier final texture for these perfect chocolate oat cookies. Experiment to find your preference.
Clean Up Immediately: The residual mixture in the saucepan can become very hard and difficult to clean. Clean the pan with hot, soapy water immediately after dropping cookies to avoid difficult scrubbing later.
Troubleshooting Common No-Bake Cookie Issues
My Cookies Are Too Gooey and Won’t Set!
This is almost always due to not boiling the mixture long enough, or not reaching a full rolling boil. Ensure you hit a vigorous, rolling boil where bubbles burst across the entire surface, and then time it for the full 60 seconds precisely. A high altitude can also affect setting, sometimes requiring an extra 15-30 seconds of boiling.
My Cookies Are Too Hard and Dry!
If your cookies turn out like bricks, it’s likely you boiled the mixture for too long. Over-boiling evaporates too much moisture, leading to a hard, crumbly texture. Stick to the exact 60-second timing, as even a small deviation can impact the final result significantly.
The Oats Aren’t Fully Incorporated!
The key here is speed! The mixture sets very quickly once removed from heat and oats are added. Ensure you have your oats pre-measured and add them immediately, stirring vigorously until fully combined before the mixture cools too much. This ensures every bite has the right texture.
My Cookies Are Sticking to the Paper!
While parchment or wax paper helps immensely, ensure your cookies are fully cooled and set before attempting to remove them. Humidity can also play a role; on very humid days, they might take longer to firm up. Sometimes a brief chill in the fridge can help them release cleanly.
For a perfect pairing, try our Mastering Loaded Almond Chocolate Chunk Cookies.
Serving Suggestions & Storage Tips
Creative Ways to Enjoy Your No-Bake Cookies
These classic chocolate no-bake cookies are perfect on their own, but also make a delightful addition to an ice cream sundae, or crushed as a topping for yogurt or even a no-bake peanut butter fudge pie. A sprinkle of flaky sea salt before they set can also elevate the flavor profile, adding a sophisticated touch.
Optimal Storage for Freshness
Store your classic chocolate no-bake cookies in an airtight container at room temperature for up to 5-7 days. To maintain optimal freshness and prevent them from drying out, ensure the container is sealed tightly after each serving.
For extended freshness, they can be stored in the refrigerator for up to 2 weeks. Be aware that refrigeration can make them slightly firmer, but they will soften slightly at room temperature.
Can You Freeze No-Bake Cookies?
Yes! No-bake cookies freeze wonderfully. Place them in a single layer on a baking sheet to freeze solid, then transfer to a freezer-safe bag or container with parchment paper between layers for up to 3 months. Thaw at room temperature for about 30 minutes before enjoying your stored treats.
Your Burning Questions Answered: No-Bake Cookie FAQs
Can I Use Old-Fashioned Oats Instead of Quick-Cooking Oats?
While quick-cooking oats are highly recommended for their ability to absorb moisture quickly and yield the desired soft, chewy texture, old-fashioned oats can be used. However, the resulting cookies will have a chewier, less uniform texture, and they might require a slightly longer setting time.
What If My Milk Curdles During Boiling?
This can sometimes happen if the heat is too high or the mixture isn’t stirred constantly, causing the milk solids to separate. While slightly curdled milk won’t ruin the taste or safety of your chocolate oat cookies, it can affect the smoothness. Ensure constant stirring and maintain a steady medium heat to prevent this issue.
Can I Add Nuts or Other Mix-ins?
Absolutely! Feel free to fold in about 1/2 cup of chopped nuts (like pecans or walnuts), shredded coconut, or mini chocolate chips along with the oats. Just be sure to mix them in quickly and thoroughly before the mixture sets, ensuring even distribution.
Is There a Dairy-Free or Vegan Option?
Yes, this easy no-bake recipe is easily adaptable for dairy-free or vegan diets! Simply use a high-fat plant-based butter alternative and an unsweetened non-dairy milk (like almond, soy, or oat milk). These swaps work seamlessly to create equally delicious and chewy chocolate treats. You might also enjoy our chocolate crumb cheesecake bars for another delightful no-bake dessert.
Ready to Enjoy Your Classic Chocolate No-Bake Cookies?
You’ve now unlocked the secret to making perfectly textured classic chocolate no-bake cookies every single time. Gone are the days of sticky messes or hard-as-rock discs! With this foolproof recipe and our expert tips, you’re ready to whip up a batch of nostalgic, chewy, chocolatey goodness that will delight everyone.
We’d love to see your creations! Share your beautiful no-bake cookie masterpieces on social media and tag us, or drop a comment below to let us know how your batch turned out. Happy no-baking!
Pair These with Your No-Bake Cookies
If you’re in the mood for more chocolate, or want a savory counterpoint, these two recipes round out the experience nicely.
- For a double dose of chocolate and gooey cinnamon swirl, bake a batch of Ultra-Gooey Chocolate Cinnamon Rolls to enjoy alongside your cookies.
- When you need something savory to balance the sweetness, the gravy in The Ultimate Southern Biscuits and Mushroom Gravy offers a rich, earthy contrast.
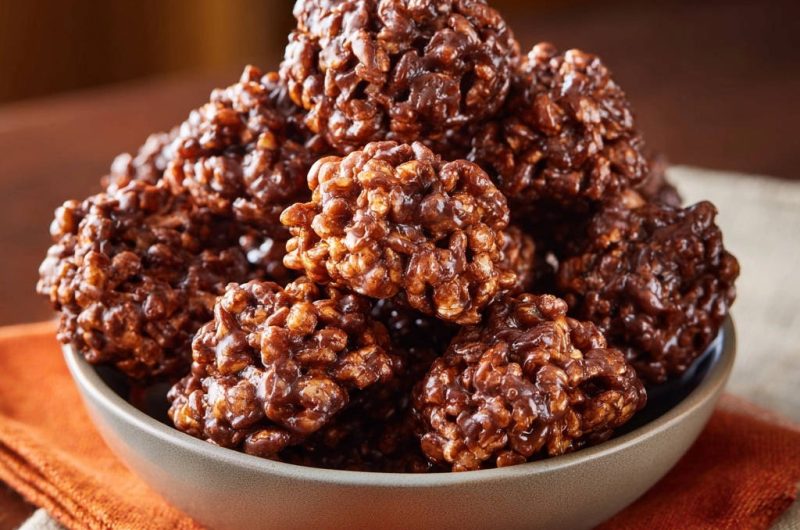
Chocolate No-Bake Cookies
Course: DessertCuisine: AmericanDifficulty: easy18
cookies15
minutes1
minute80
kcal16
minutesAchieve the ideal chewy yet firm texture for classic chocolate no-bake cookies with this perfected recipe. The secret is a precise boiling time that ensures they set beautifully every time, avoiding gooey or hard results. Enjoy this nostalgic treat with confidence!
Ingredients
1/2 cup (1 stick) unsalted butter
2 cups granulated sugar
1/2 cup milk (dairy or non-dairy)
1/4 cup unsweetened cocoa powder
1/2 teaspoon pure vanilla extract
3 cups quick-cooking oats
Directions
- Line a baking sheet with parchment paper or wax paper.
- In a large saucepan, combine the butter, granulated sugar, milk, and cocoa powder.
- Bring the mixture to a full rolling boil over medium heat, stirring constantly to prevent sticking and burning. This is the crucial step for perfect texture!
- Once at a full rolling boil, continue to boil for exactly 60 seconds, stirring vigorously. Do not boil for less or more time. This precise timing ensures your cookies will set perfectly without becoming too hard or too soft.
- Remove the saucepan immediately from the heat. Stir in the vanilla extract.
- Quickly add the quick-cooking oats to the hot mixture, stirring until completely coated and combined. Work fast, as the mixture will start to set.
- Drop spoonfuls of the mixture onto the prepared baking sheet. For a classic look, use about 1 1/2 tablespoon per cookie.
- Let the cookies cool completely at room temperature or chill them in the refrigerator for about 30 minutes to speed up the setting process. Once fully set, enjoy your perfectly textured no-bake cookies!
Notes
- The 60-second boil is crucial for perfect setting without becoming too hard or too soft.