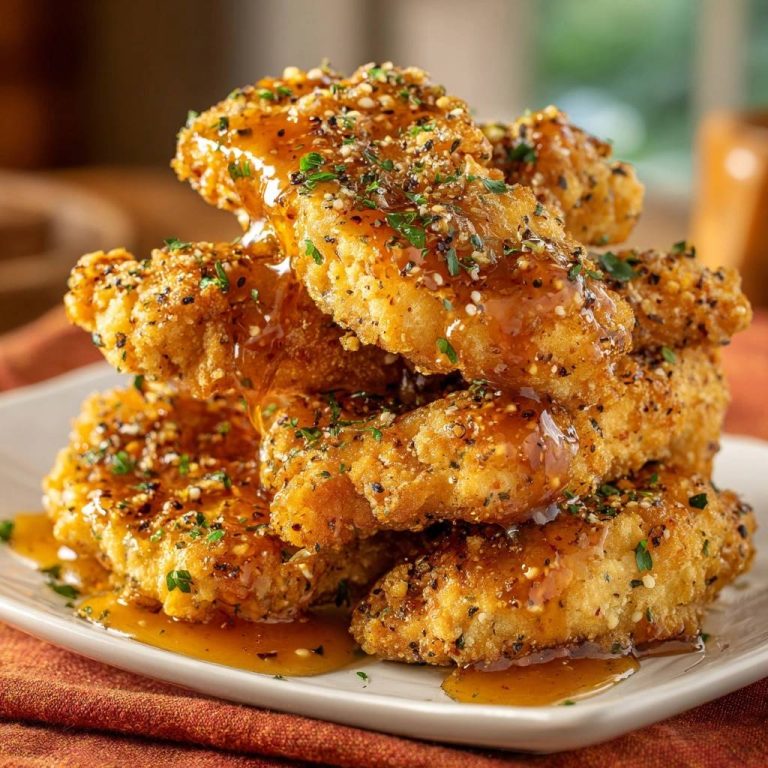
Crispy Herb-Crusted Chicken: Your Juiciest Dinner Yet!
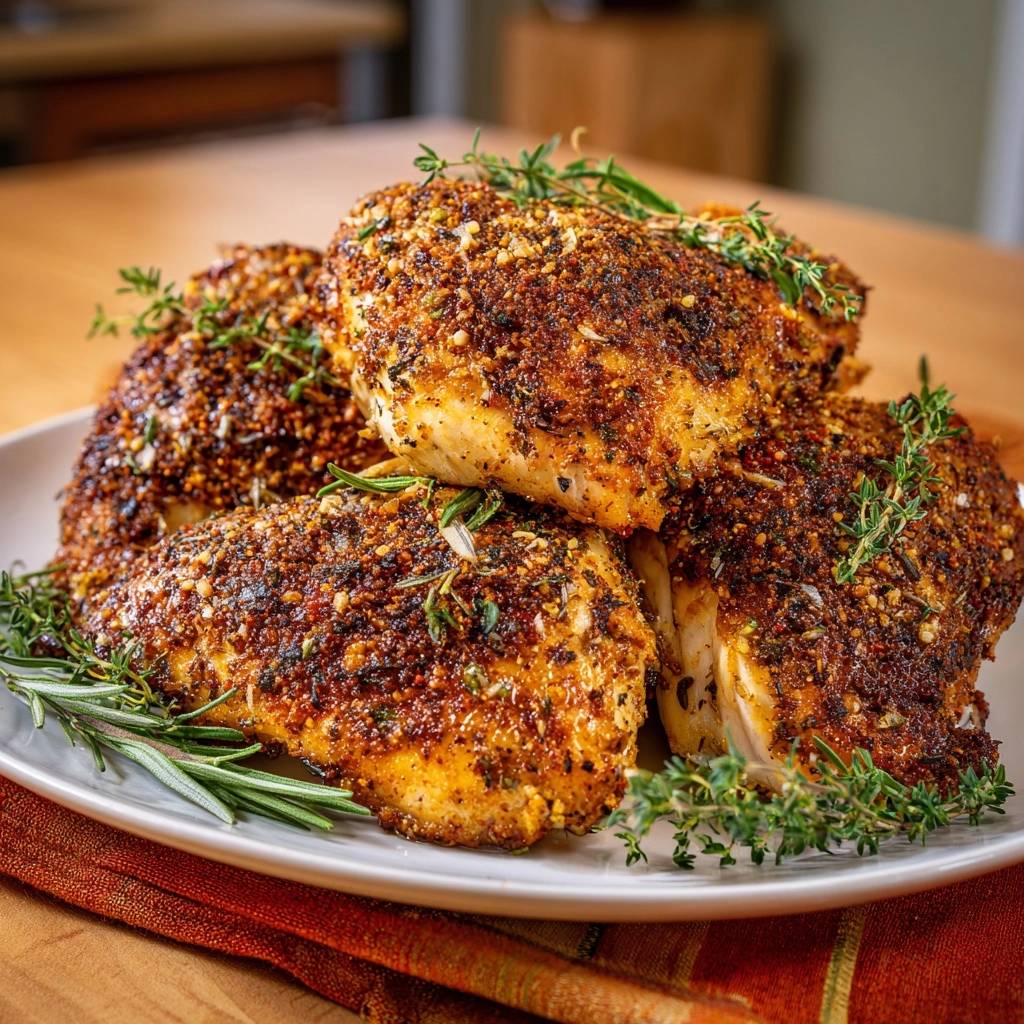
As a seasoned home cook, I’ve had my share of dry, uninspiring chicken breasts. But after countless experiments, I finally cracked the code to truly exceptional Crispy Herb-Crusted Chicken that stays incredibly juicy.
This recipe isn’t just about cooking chicken; it’s about transforming a simple ingredient into a flavor-packed, show-stopping meal that’s reliably tender and moist every single time.
Say Goodbye to Dry Chicken: Why THIS Recipe Works Wonders
This Crispy Herb-Crusted Chicken recipe guarantees success by focusing on key techniques that prevent dryness and maximize flavor.
We achieve incredibly juicy, tender chicken every single time through precise cooking temperatures and a crucial resting period. These steps lock in moisture, making every bite succulent.
The secret to its irresistible appeal lies in a truly crispy, flavor-packed herb crust, created by combining the right ingredients and searing methods. This coating protects the chicken while baking, delivering an amazing texture contrast.
Despite its gourmet results, the recipe is surprisingly straightforward, relying on simple steps that are easy for any home cook to master. This ensures a delicious, hassle-free meal.
Gather Your Flavor Arsenal: Key Ingredients for Success
The Star: Boneless, Skinless Chicken Breasts
Select four boneless, skinless chicken breasts, totaling about 1.5 lbs, aiming for similar thickness to ensure even cooking. Quality chicken makes a noticeable difference in taste and texture.
Crucially, patting the chicken breasts thoroughly dry with paper towels removes surface moisture. This creates the ideal surface for the herb crust to adhere firmly and crisp beautifully.
Building the Ultimate Crispy Herb Crust
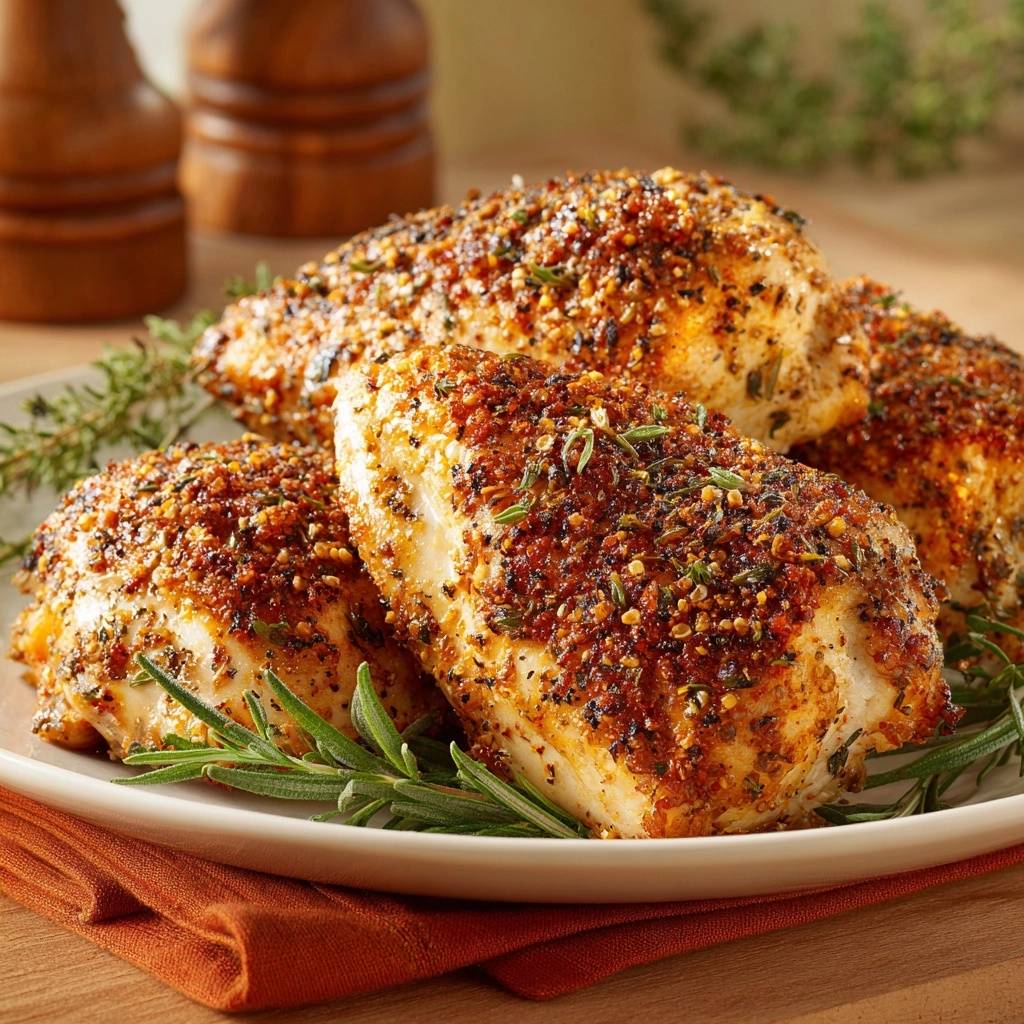
Panko breadcrumbs are essential for their lighter, airier texture, which yields a superior crispy crunch compared to regular breadcrumbs. For a gluten-free option, finely crushed plain cornflakes work perfectly as a substitute.
Smoked paprika contributes a rich, savory depth and a beautiful reddish hue to the crust. Garlic powder and onion powder provide foundational savory notes, enhancing the overall flavor profile without adding moisture.
Dried oregano and thyme infuse the crust with classic, aromatic herbaceousness that complements chicken perfectly. Salt and black pepper are vital for seasoning, while a pinch of cayenne pepper is optional for a subtle, warming kick.
The Binding & Browning Agent: Olive Oil
Olive oil plays a dual role in this recipe. Firstly, it helps the herb crust adhere evenly to the chicken, ensuring full coverage.
Secondly, it facilitates a beautiful golden-brown sear in the skillet, contributing significantly to the crust’s incredible crispiness and flavor development.
If you love that fresh rosemary and thyme garnish, these crispy herb chicken skewers pack the same herb punch in a fun, portable form.
Fresh Garnishes for a Final Flourish
Fresh rosemary and thyme sprigs are perfect for garnishing the finished dish. They add a fresh, aromatic finish and elevate the presentation, making your meal feel extra special.
Essential Tools for Your Crispy Chicken Masterpiece
- Oven-Safe Skillet:
A cast iron or heavy-bottomed stainless steel skillet is crucial for achieving that initial deep sear and then transferring directly to the oven.
- Instant-Read Thermometer:
Your secret weapon for perfectly juicy chicken, ensuring it reaches 165F (74C) without overcooking. This tool guarantees success.
- Shallow Bowl:
Ideal for mixing the herb crust ingredients evenly and for coating the chicken thoroughly.
- Tongs:
For safely handling and flipping the chicken in the hot skillet without disturbing the precious crust.
- Paper Towels:
Absolutely essential for thoroughly drying the chicken breasts before coating, which is a non-negotiable step for crispiness.
- Cutting Board & Foil:
These are necessary for resting the chicken after it cooks, allowing the juices to redistribute and ensuring maximum moisture.
Your Step-by-Step Path to Perfectly Crispy Herb-Crusted Chicken
- Preheat Your Oven:
Set your oven to 375F (190C) well in advance. A fully preheated oven ensures consistent baking and even cooking once the seared chicken is transferred.
- Prepare and Dry the Chicken:
Remove any excess moisture by thoroughly patting each chicken breast dry with paper towels. This absolutely critical step prevents steaming and promotes superior crust adhesion and crispiness.
- Craft Your Flavorful Herb Crust:
In a shallow bowl, combine the Panko breadcrumbs, smoked paprika, garlic powder, onion powder, dried oregano, dried thyme, salt, black pepper, and optional cayenne pepper. Mix these ingredients thoroughly until uniformly combined, creating your aromatic and flavor-packed coating.
- Oil the Chicken:
Drizzle 1 tablespoon of olive oil evenly over the chicken breasts. Use your hands to rub the oil gently across all surfaces of each breast, creating a light, even layer for the crust to stick to.
- Coat Generously:
Working one chicken breast at a time, press each oiled piece firmly into the herb crust mix. Ensure all sides are completely covered, gently pressing the mixture to create a thick, even layer that will become wonderfully crispy.
If you enjoy the brightness lemon adds here, try the same citrus trick in this creamy roasted mushroom chicken.
- Sear for Golden Crispiness:
Heat the remaining 2 tablespoons of olive oil in a large, oven-safe skillet over medium-high heat until it shimmers. Carefully place the coated chicken breasts in the hot skillet, ensuring not to overcrowd the pan. Sear for 3-5 minutes per side, or until the crust achieves a deep golden brown color and is beautifully crispy. Sear in batches if needed to maintain high heat.
- Finish in the Oven:
Once both sides of the chicken are perfectly seared and crispy, transfer the skillet directly to your preheated oven. This seamless transition ensures the chicken cooks through evenly while preserving its magnificent exterior.
- Bake to Perfect Juiciness:
Bake for 10-15 minutes, or until the internal temperature of the thickest part of the chicken reaches precisely 165F (74C) when measured with an instant-read thermometer. This exact temperature is the ultimate secret to guaranteed juiciness, so watch carefully and avoid overcooking past this point!
- The Crucial Resting Period:
Immediately remove the chicken from the oven and transfer it to a clean cutting board. Cover it loosely with foil and allow the chicken to rest for 5-10 minutes. This essential resting period permits the juices to redistribute throughout the meat, locking in moisture and ensuring every bite is tender and succulent, eliminating any chance of dryness.
- Serve and Enjoy:
Garnish your perfectly cooked Crispy Herb-Crusted Chicken with fresh rosemary and thyme sprigs if desired. Then, slice or serve it whole, and prepare for an incredibly juicy, flavor-packed experience. Get ready for rave reviews from your table!
Chef’s Secrets for Unbeatable Crispy Herb-Crusted Chicken
The Power of Patting Dry: Never skip this step! Excess moisture on the chicken’s surface creates steam, which prevents the crust from crisping up effectively. A thoroughly dry surface allows for maximum crust adhesion and superior crunch.
Achieving the Perfect Sear: A hot skillet is non-negotiable for a deep golden-brown, flavorful crust. Overcrowding the pan drastically lowers the temperature, leading to steamed rather than seared chicken. Cook in smaller batches if necessary to maintain consistent heat.
Mastering Oven Temperature & Doneness: The combination of a 375F (190C) oven and an internal temperature of 165F (74C) is your golden rule for juicy chicken. Invest in a reliable instant-read thermometer; it eliminates guesswork and guarantees perfectly cooked results every time.
Don’t Skip the Rest! This short, patient waiting period is absolutely essential for moisture retention. It allows the muscle fibers to relax and reabsorb all those delicious juices, ensuring they stay within the meat instead of running out when you slice.
Experiment with Herbs & Spices: While this recipe uses classic, delicious herbs, feel free to customize your blend! Try adding a pinch of smoked paprika for a deeper smoky note, or a touch of red pepper flakes for an extra kick. Always use freshly ground spices for the most vibrant flavor.
Common Challenges & Quick Fixes for Your Crispy Chicken
“My Crust Isn’t Crispy Enough!”
Ensure your chicken was absolutely dry before coating; any moisture will hinder crispiness. Also, verify your skillet was hot enough during searing and avoid overcrowding, which lowers the pan temperature and causes the chicken to steam instead of crisp.
“My Chicken is Dry!”
Overcooking is the most frequent cause of dry chicken. Always use an instant-read thermometer and remove the chicken promptly the moment it reaches 165F (74C). Equally important is the resting period; ensure you let the chicken rest for the full 5-10 minutes after baking, as this step is crucial for moisture retention.
What to Serve With That Chicken
That herb-crusted chicken needs company on the plate, and these two vegetable sides bring their own textures and flavors to the meal.
- Roasted squash wedges get the same crispy treatment as the chicken, making Crispy Roasted Squash Wedges a natural fit for anyone who loves that browned, crunchy edge.
- For a sweeter, tangier contrast to the savory herb crust, Roasted Butternut Squash with Cranberries, Feta and Pepitas adds pops of tartness and salt that cut through the richness.
“The Coating Fell Off!”
This often occurs if the chicken wasn’t sufficiently dry before oiling, or if the olive oil coating wasn’t rubbed in evenly. Press the breadcrumb mixture very firmly onto the chicken to help it adhere better. Additionally, avoid aggressive flipping of the chicken while searing.
Elevate Your Meal: Delicious Pairings & Serving Ideas
Perfect Vegetable Companions
Crispy Herb-Crusted Chicken pairs wonderfully with a variety of fresh vegetables. Consider roasted asparagus, steamed green beans with a hint of garlic, or a vibrant mixed green salad with a light vinaigrette. These sides offer a refreshing contrast to the rich chicken.
Hearty Carb Sides
For a complete and satisfying meal, serve your chicken alongside creamy mashed potatoes, fluffy rice pilaf, or roasted sweet potatoes. A light quinoa salad or even a simple pasta primavera would also make excellent accompaniments.
Sauces & Garnishings to Impress
A simple squeeze of fresh lemon juice over the finished chicken brightens all the flavors beautifully. For an elevated touch, consider a quick pan sauce made with a splash of chicken broth, or a dollop of fresh herb aioli on the side.
Planning Ahead: Storage & Make-Ahead Tips
Refrigerating Cooked Chicken
Leftover Crispy Herb-Crusted Chicken can be stored in an airtight container in the refrigerator for up to 3-4 days. While the crust may soften slightly, the chicken will remain incredibly flavorful and juicy.
Reheating for Best Results
To best revive the crispness, reheat the chicken in a preheated oven or an air fryer at 350F (175C) for 10-15 minutes, or until thoroughly warmed through. This method helps the crust regain some of its crunch.
Make-Ahead Prep Steps
You can prepare the herb crust mix in advance and store it in an airtight container at room temperature, ready for use. The chicken can also be seasoned and coated up to an hour before cooking and kept refrigerated, allowing the flavors to meld beautifully.
Your Crispy Herb-Crusted Chicken Questions, Answered!
Can I use bone-in chicken?
While this recipe is specifically designed for boneless, skinless chicken breasts for quick, even cooking, you can use bone-in, skin-on chicken pieces. However, you will need to adjust the cooking time significantly, as they require longer in the oven. Always cook to an internal temperature of 165F (74C).
Is this recipe gluten-free?
Yes, this recipe is easily adaptable to be gluten-free. Simply substitute the Panko breadcrumbs with an equal amount of finely crushed plain cornflakes. Always double-check that all your other ingredients, especially spices, are certified gluten-free.
How do I know when the chicken is done without a thermometer?
While an instant-read thermometer is highly recommended for guaranteed juicy results, you can check for doneness by cutting into the thickest part of one breast. The juices should run clear, and the meat should be opaque white throughout. However, this method risks losing some precious juices and potentially overcooking.
Can I bake this without searing first?
You can certainly bake the chicken without an initial sear, but you will unfortunately miss out on the deep golden-brown color and much of the “crispy” texture that truly defines this Crispy Herb-Crusted Chicken. Searing is essential for locking in flavor and creating a superior crust that baking alone cannot achieve.
What if I don’t have an oven-safe skillet?
No oven-safe skillet? No problem! You can sear the chicken in a regular skillet on the stovetop as directed. Then, simply transfer the seared chicken pieces to a baking sheet lined with parchment paper to finish cooking in the preheated oven.
Ready to Create Your Own Crispy Chicken Masterpiece?
You now possess all the knowledge and expert tips to conquer the common challenge of dry chicken and deliver truly exceptional Crispy Herb-Crusted Chicken. This recipe is your reliable guide to tender, juicy meat encased in a perfectly seasoned, crunchy crust.
Don’t just take my word for it-try this recipe tonight and experience the difference yourself! I’m confident it will become a cherished staple in your kitchen. I’d love to hear about your culinary triumphs in the comments below!
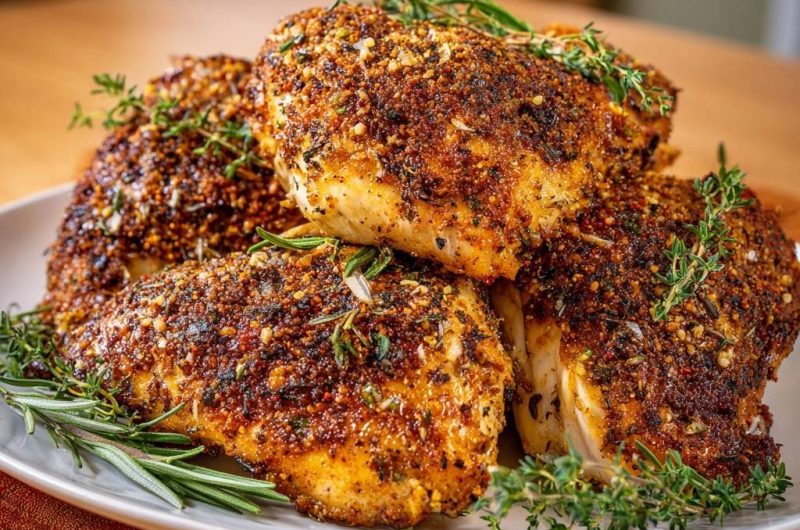
Crispy Herb-Crusted Chicken
Course: Main CourseCuisine: AmericanDifficulty: easy4
servings15
minutes25
minutes350
kcal50
minutesSay goodbye to dry chicken forever with this incredibly juicy and tender Crispy Herb-Crusted Chicken recipe. Each bite is bursting with flavor, thanks to a savory herb crust and perfect cooking technique. Impress yourself and your family with this easy-to-make, satisfying meal.
Ingredients
4 boneless, skinless chicken breasts (about 1.5 lbs total)
3 tablespoons olive oil, divided
1/2 cup Panko breadcrumbs (or finely crushed, plain cornflakes for gluten-free)
1 tablespoon smoked paprika
1 teaspoon garlic powder
1 teaspoon onion powder
1 teaspoon dried oregano
1 teaspoon dried thyme
1/2 teaspoon salt
1/4 teaspoon black pepper
Pinch of cayenne pepper (optional, for a subtle kick)
Fresh rosemary sprigs, for garnish
Fresh thyme sprigs, for garnish
Directions
- Preheat your oven to 375F (190C).
- Prepare the chicken. Pat the chicken breasts thoroughly dry with paper towels. This crucial step helps the coating stick and ensures a beautiful, crispy crust forms.
- In a shallow bowl, combine the Panko breadcrumbs, smoked paprika, garlic powder, onion powder, dried oregano, dried thyme, salt, black pepper, and cayenne pepper (if using). This is your flavorful herb crust mix.
- Drizzle the chicken breasts all over with 1 tablespoon of olive oil, then rub the oil evenly across the surface of each breast.
- Generously coat each chicken breast with the herb crust mix, pressing it gently to adhere firmly to the oiled surface. Ensure all sides are well covered for maximum flavor and crust.
- Heat the remaining 2 tablespoons of olive oil in a large, oven-safe skillet (cast iron or heavy-bottomed stainless steel works best) over medium-high heat until shimmering.
- Carefully place the seasoned chicken breasts in the hot skillet, leaving a little space between each piece. Sear for 3-5 minutes per side, or until the crust is deeply golden brown and beautifully crispy. Do not overcrowd the pan; cook in batches if necessary.
- Once both sides are seared and crispy, transfer the skillet directly to the preheated oven.
- Bake for 10-15 minutes, or until the internal temperature of the thickest part of the chicken reaches 165F (74C) using an instant-read thermometer. This precise temperature is the secret to guaranteed juiciness. Do not overcook past this point!
- Once cooked, remove the chicken from the oven and transfer it to a clean cutting board. Cover loosely with foil and let the chicken rest for 5-10 minutes. This resting period allows the juices to redistribute throughout the meat, locking in moisture and ensuring every bite is tender and succulent, eliminating any chance of dry meat.
- Garnish with fresh rosemary and thyme sprigs if you like, then slice or serve whole. Enjoy your perfectly juicy, flavor-packed, crispy-crusted chicken!
Notes
- For a gluten-free option, use finely crushed plain cornflakes instead of Panko breadcrumbs.