Funfetti Snack Cakes: Vibrant Sprinkles, Perfect Every Time
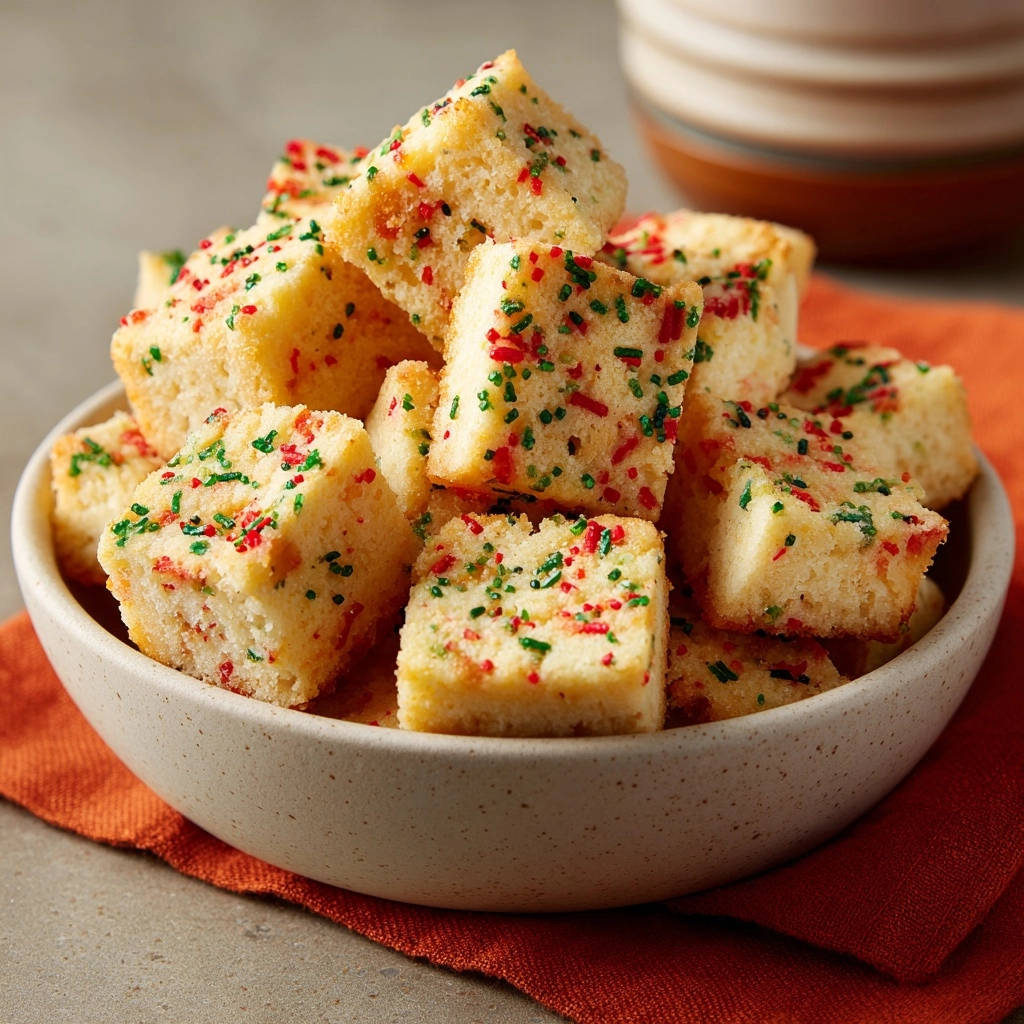
I remember the frustration of baking funfetti cakes, only to have the vibrant sprinkles bleed into a murky mess. But after perfecting this recipe, I’m thrilled to share the secret to making truly show-stopping Funfetti Snack Cakes where every sprinkle pops with color. Get ready for moist, fluffy bites that are as beautiful as they are delicious, perfect for any celebration!
Unlock the Secret: Why These Funfetti Snack Cakes Shine
Guaranteed Vibrant Sprinkles: Discover the simple trick that keeps every sprinkle perfectly distinct and colorful, avoiding the dreaded bleed-out in your Funfetti Snack Cakes.
Perfectly Moist & Fluffy Texture: Our careful balance of ingredients ensures a tender, never-dry crumb in every single bite.
Effortlessly Simple: This is a straightforward process perfect for bakers of all levels, yielding impressive results without complicated steps.
Versatile & Fun: These cheerful treats are ideal for celebrations, lunchboxes, or a delightful everyday snack that brings a smile.
Essential Tools for Flawless Funfetti Snack Cakes
Basic Baking Essentials
Measuring Cups & Spoons: Accuracy is key for consistent results, ensuring your snack cakes turn out perfectly every time.
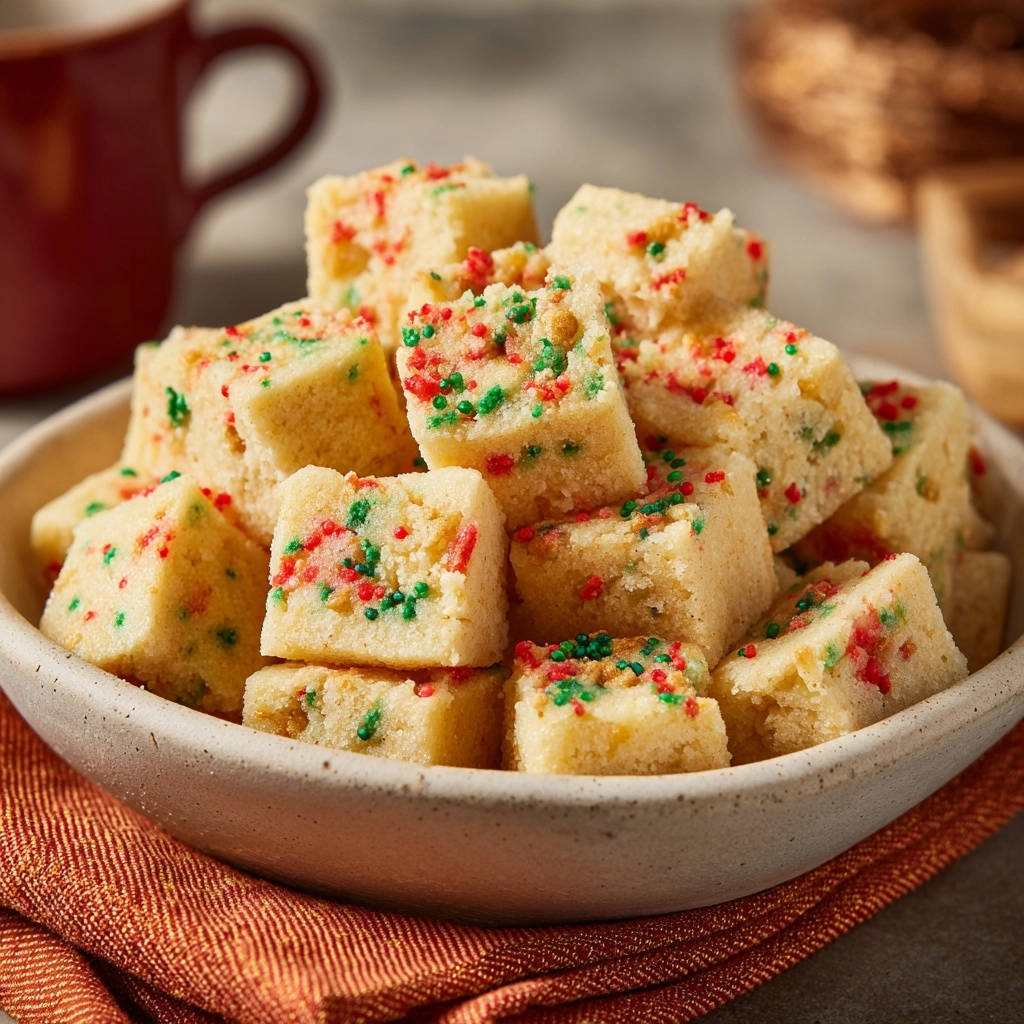
Large Mixing Bowls: Essential for combining wet and dry ingredients without any mess, allowing for thorough mixing.
Whisks & Spatulas: Crucial tools for proper mixing, scraping down bowls, and gently folding in those vibrant sprinkles.
Specialty Items (If Applicable)
9×13 Inch Baking Pan: This is the ideal size for creating neat, evenly sized snack cake squares.
Parchment Paper: For incredibly easy release and cleanup, lining your pan with parchment ensures your cakes never stick.
Wire Rack: Crucial for proper cooling, a wire rack allows air circulation around the cakes and prevents soggy bottoms.
The Building Blocks: Key Ingredients for Your Snack Cakes
Pantry Staples for Structure & Sweetness
All-Purpose Flour: This forms the essential structure of your cakes, providing the necessary body and texture.
Granulated Sugar: Not only does sugar provide sweetness, but it also helps with moisture retention, keeping your cakes tender.
Baking Powder: As the primary leavening agent, baking powder is responsible for a light, airy rise in your Funfetti Snack Cakes.
Salt: A small amount of salt balances the flavors and significantly enhances the sweetness, preventing the cakes from tasting flat.
If that color bleed issue sounds familiar, the same careful folding technique helps keep the blueberries from sinking in a glazed blueberry lemon bundt cake.
The Heart of Moistness: Wet Ingredients
Large Eggs: Eggs bind all the ingredients together, add richness, and contribute significantly to the cake’s overall structure.
Milk: Milk adds essential moisture and contributes directly to achieving that desirable tender crumb.
Unsalted Butter (Melted & Cooled): Butter provides incredible richness and ensures a moist, flavorful texture. Cooling it completely is absolutely critical for maintaining sprinkle integrity.
Vanilla Extract: A must-have for classic cake taste, vanilla extract enhances the overall flavor profile, adding warmth and depth.
The Star of the Show: Vibrant Sprinkles
Red and Green Sprinkles: These provide the iconic festive touch! The type and careful handling of your sprinkles are crucial for ensuring they remain vibrant and distinct.
Baking Brilliance: Step-by-Step Funfetti Snack Cakes Guide
- Prepare Your Oven & Pan:
Preheat your oven to 350 degrees F (175 degrees C).
Lightly grease and flour a 9×13 inch baking pan, or line it with parchment paper for incredibly easy cake removal.
- Combine Dry Ingredients:
In a large bowl, whisk together the all-purpose flour, granulated sugar, baking powder, and salt.
Whisking ensures all dry ingredients are evenly distributed, which is crucial for a consistent rise and uniform flavor in your snack cakes.
- Whisk Wet Ingredients Separately:
In a separate medium bowl, whisk together the eggs, milk, cooled melted butter, and vanilla extract until they are well combined.
Ensure the melted butter is completely cooled to prevent the eggs from cooking and, most importantly, the sprinkles from melting prematurely.
- Gently Combine Wet & Dry:
Pour the whisked wet ingredients into the bowl containing the dry ingredients.
Mix with a spatula or whisk just until combined and no streaks of flour remain. Be careful not to overmix the batter, as this can lead to tough, dense Funfetti Snack Cakes.
- Fold in the Sprinkles with Care:
Gently fold in the red and green sprinkles until they are just evenly distributed throughout the batter.
If you prefer a richer, denser chocolate experience, try this flourless dark chocolate torte next.
The key here is minimal mixing! Excessive stirring can cause the sprinkles to melt or bleed their color into the batter, completely losing their vibrant appearance.
- Pour & Spread Batter:
Pour the prepared batter into your greased or parchment-lined baking pan.
Use your spatula to spread the batter evenly across the bottom of the pan for consistent baking.
- Bake to Golden Perfection:
Bake for 20-25 minutes, or until a wooden skewer inserted into the center comes out clean.
Keep a close eye on them towards the end of baking; cakes are often done when the edges are lightly golden and spring back when gently touched.
- Cool Before Cutting:
Let the Funfetti Snack Cakes cool in the pan on a wire rack for at least 15 minutes before attempting to cut them into small squares.
Proper cooling allows the cakes to firm up, making them much easier to cut cleanly and preventing any crumbling.
Chef’s Secrets: Elevate Your Funfetti Snack Cakes Game
The Golden Rule of Sprinkles: Cool Butter is Key! Always ensure your melted butter has cooled completely before incorporating it into the wet ingredients. Hot butter is the primary culprit for melted sprinkles and color bleeding into your batter.
Never Overmix: A Cake Baker’s Mantra. Overmixing develops gluten in the flour, which leads to a tough, dense cake texture. Mix the batter just until the flour streaks disappear, and for sprinkles, stop mixing as soon as they are evenly distributed.
The Right Sprinkles Matter: While this recipe uses classic red and green, nonpareils or jimmie-style sprinkles tend to hold their color best and are less prone to bleeding. Avoid “sugar pearls” or very fine colored sugars if vibrant, distinct sprinkles are your main goal.
Don’t Overbake! Keep a close eye on your cakes as they bake. Overbaking is the quickest way to dry them out. A clean wooden skewer inserted into the center is always your best indicator of doneness.
Parchment Paper for Easy Release: Lining your pan with parchment paper, especially leaving a slight overhang on the sides, makes lifting the cooled cake out of the pan incredibly easy. This ensures clean cuts and a perfect presentation every time.
Common Questions & Troubleshooting Your Snack Cakes
Why Did My Sprinkles Bleed?
Sprinkle bleeding is almost always due to excess moisture or heat exposure. Ensure your melted butter is completely cooled before mixing it into the batter. Also, avoid overmixing the batter once the sprinkles are added, as excessive friction can cause them to dissolve and spread their color.
Why Are My Funfetti Snack Cakes Dry?
The most common culprit for dry cakes is overbaking. Keep a close eye on your oven and remove the cakes as soon as a wooden skewer comes out clean. Using accurate measurements and ensuring your butter and milk are at room temperature also helps achieve a consistently moist crumb.
Pair These with Your Funfetti Cakes
If you are baking those sprinkle-packed snack cakes, here are two recipes that share a similar cozy, sweet vibe or use complementary textures.
- For a savory contrast to the sweet cakes, try the rich, creamy Southern Biscuits and Mushroom Gravy as a brunch side.
- If you want another crumb-topped treat, the Cinnamon Streusel Coffee Cake offers a warm spice flavor and a crunchy streusel layer.
My Cakes Sank in the Middle, What Happened?
Sinking can occur for a few reasons: opening the oven door too early during baking, underbaking, or using too much leavening agent. Ensure your baking powder is fresh and avoid opening the oven door until the last few minutes of the designated baking time.
Can I Use Gluten-Free Flour?
Yes, you can substitute a 1:1 gluten-free baking flour blend for the all-purpose flour. Note that the texture may vary slightly with gluten-free flours, and baking times might need minor adjustments. Always check for a clean skewer before removing from the oven.
Serving & Storage Tips for Peak Freshness
Creative Serving Suggestions
These Funfetti Snack Cakes are delightful on their own, offering a burst of color and flavor. For an extra touch, a simple dusting of powdered sugar or a light vanilla glaze can elevate them further.
Serve them warm with a scoop of creamy vanilla ice cream for a truly decadent treat, or simply enjoy alongside a cold glass of milk for a classic, comforting snack.
Storing Your Funfetti Snack Cakes
Store leftover snack cakes in an airtight container at room temperature for up to 3-4 days. This method helps maintain their moisture and keeps them perfectly fresh for enjoyment.
Make-Ahead Magic: Freezing Your Cakes
For longer storage, Funfetti Snack Cakes freeze beautifully! Once completely cooled, wrap individual squares tightly in plastic wrap, then place them in a freezer-safe bag or container for up to 2-3 months.
Thaw the frozen cakes at room temperature for a few hours before serving, and they’ll taste just as fresh as the day they were baked.
Your Funfetti Snack Cakes Questions Answered
Can I Make These Dairy-Free?
Yes, you can absolutely make these Funfetti Snack Cakes dairy-free. Substitute the cow’s milk with a non-dairy alternative like almond or oat milk, and use a plant-based butter substitute. The texture should remain very similar.
How Can I Make These Even More Festive?
Consider adding a simple vanilla glaze or a fluffy cream cheese frosting once the cakes are completely cooled for an extra layer of sweetness. You can also press extra sprinkles onto the tops of the cakes immediately after baking (while still warm) for an even more vibrant pop of color and texture.
What’s the Best Way to Cut Even Squares?
Once the cake has cooled completely in the pan, use a long, sharp knife for clean cuts. For perfectly even squares, you can use a ruler to mark your cuts before slicing. Wiping the knife clean between each cut helps maintain neatness and prevents crumbs from dragging.
Can I Bake These as Cupcakes?
Absolutely! This Funfetti Snack Cakes batter works wonderfully for cupcakes. Line a muffin tin with cupcake liners and fill each about two-thirds full. Baking time will be shorter, typically 18-22 minutes, so start checking for doneness around 15 minutes. If you enjoy baking individual treats, you might also love our recipe for delicious Peach Cupcakes, perfect for spring and summer gatherings.
Ready to Bake? Share Your Funfetti Joy!
Now that you’ve unlocked the secrets to perfectly vibrant Funfetti Snack Cakes, it’s time to bring that sprinkle-filled joy to your kitchen! This recipe is more than just a dessert; it’s a guaranteed way to bring smiles and a touch of whimsy to any occasion.
For another impressive dessert perfect for celebrations, consider trying our bright and zesty Lemon Bundt Cake. We love seeing your creations! Share your beautiful Funfetti Snack Cakes on social media and tag us, or leave a comment below with your favorite tip or memory of making these delightful treats. Happy baking!
Snack Cakes
Course: DessertCuisine: AmericanDifficulty: easy4
(approx. 12-16 servings from 9×13 pan)20
minutes20
minutes340
kcal40
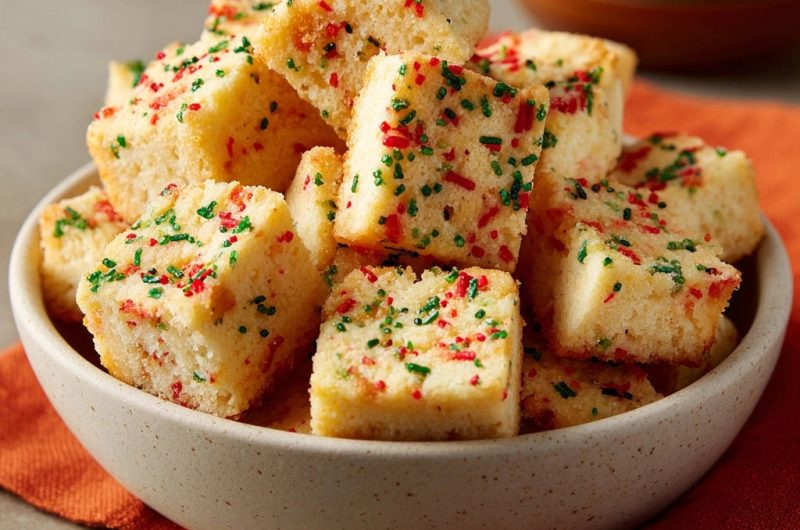
minutesEver struggled with sprinkles bleeding in your cakes? This easy Funfetti Snack Cakes recipe cracks the code to keeping them perfectly vibrant and distinct. A simple trick ensures beautiful, colorful bites every time.
Ingredients
1 and 1/2 cups all-purpose flour
1 cup granulated sugar
1 and 1/2 teaspoons baking powder
1/2 teaspoon salt
2 large eggs
1/2 cup milk
1/2 cup unsalted butter, melted and cooled
1 teaspoon vanilla extract
1/2 cup red and green sprinkles
Directions
- Preheat oven to 350 degrees F (175 degrees C). Lightly grease and flour a 9×13 inch baking pan, or line with parchment paper.
- In a large bowl, whisk together the flour, sugar, baking powder, and salt.
- In a separate medium bowl, whisk together the eggs, milk, cooled melted butter, and vanilla extract.
- Pour the wet ingredients into the dry ingredients. Mix with a spatula or whisk just until combined and no streaks of flour remain. Be careful not to overmix the batter.
- Gently fold in the red and green sprinkles just until evenly distributed. Do not overmix, as excessive stirring can cause the sprinkles to melt or bleed their color into the batter. For best results, ensure your melted butter has cooled completely before adding to the batter to prevent premature melting of sprinkles.
- Pour the batter into the prepared baking pan and spread evenly.
- Bake for 20-25 minutes, or until a wooden skewer inserted into the center comes out clean.
- Let the cake cool in the pan on a wire rack for at least 15 minutes before cutting into small squares. Serve and enjoy those beautifully vibrant sprinkles!
Notes
- Ensure melted butter is completely cooled before adding to batter to prevent premature melting of sprinkles.