The Ultimate Zesty Orange Sponge Cake: Solving the Soggy Bottom
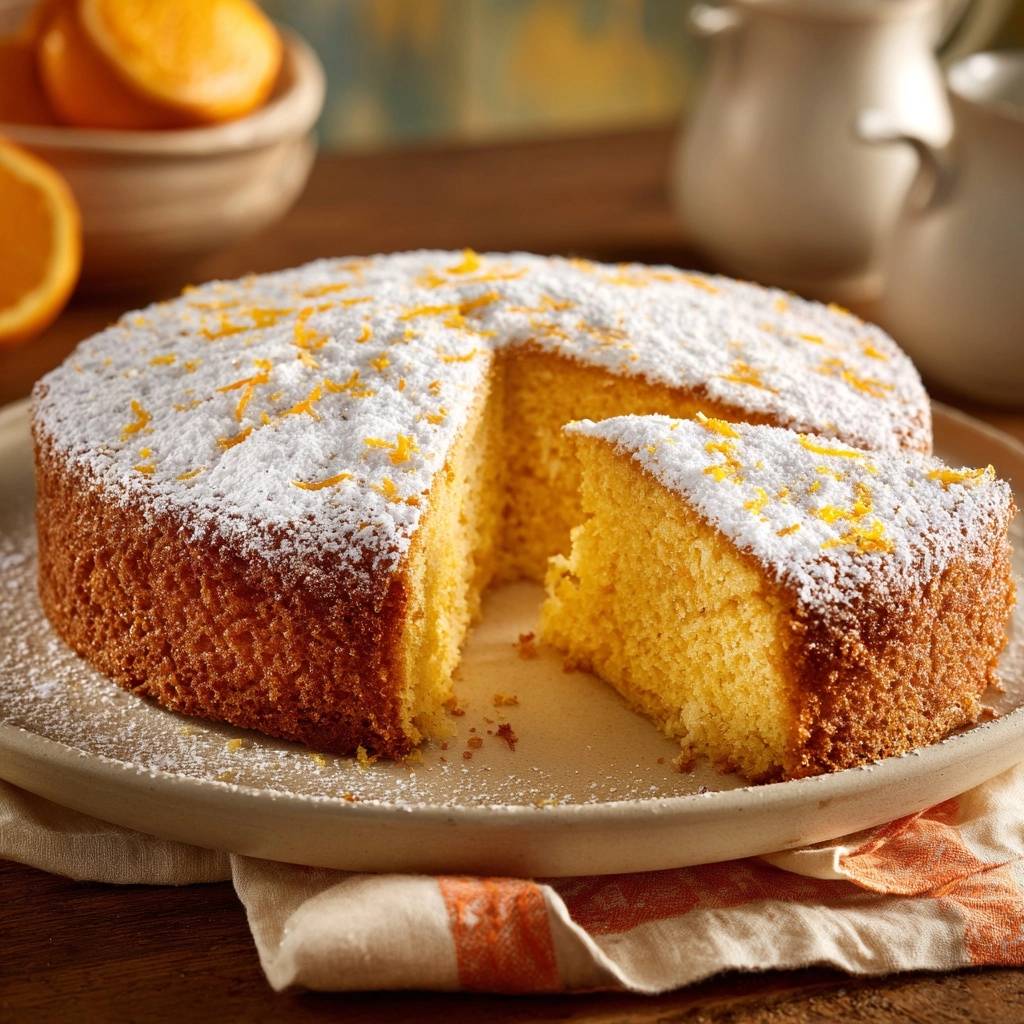
There is nothing quite like the bright, floral aroma of fresh oranges wafting through a warm kitchen. A perfect orange sponge should be a cloud of citrus-infused joy, boasting a delicate crumb that practically melts when it hits your tongue. However, many home bakers struggle with the heartbreaking reality of a “soggy bottom,” where the moisture from the juice settles into a dense, rubbery layer at the base.
This recipe isn’t just about mixing ingredients; it’s about mastering the physics of moisture control and aeration. We’re aiming for a professional-grade crumb that stays light and airy from the top crust all the way to the bottom. By understanding how heat interacts with citrus acids, you can create a cake that looks as beautiful on the plate as it tastes in the first bite.
The secret to this success lies in a specific temperature-staggering technique. Most people put a cold pan into a hot oven and hope for the best, but that slow warm-up period is exactly when moisture pools. I’ve found that by using a preheated base, we can “shock” the batter into setting its structure immediately, locking that citrus goodness into the crumb rather than letting it sink.
The Physics of the Anti-Soggy Bottom Technique
Temperature-staggering is a game-changer for fruit-based cakes. When you place your cake pan onto a preheated heavy baking sheet or pizza stone, you create an immediate thermal shock. This intense, direct heat from below forces the starches in the flour to gelatinize and set before the heavy orange juice and fruit acids have a chance to migrate downward.
In a standard baking environment, the center and bottom of the cake are the last parts to reach the necessary temperature. During those first fifteen minutes, gravity pulls the denser liquids toward the floor of the pan. By the time the heat finally penetrates the center, you’re left with a “pudding” layer. Our method ensures the bottom is the first part to cook, creating a structural foundation that supports the rising sponge.
Why Traditional Citrus Cakes Often Fail
The chemistry of orange juice is tricky because it’s both heavy and acidic. When orange juice interacts with baking powder, it triggers an immediate release of carbon dioxide. If the oven heat isn’t high enough at the base of the pan, those bubbles escape before the cake structure is strong enough to hold them, leading to a collapse.
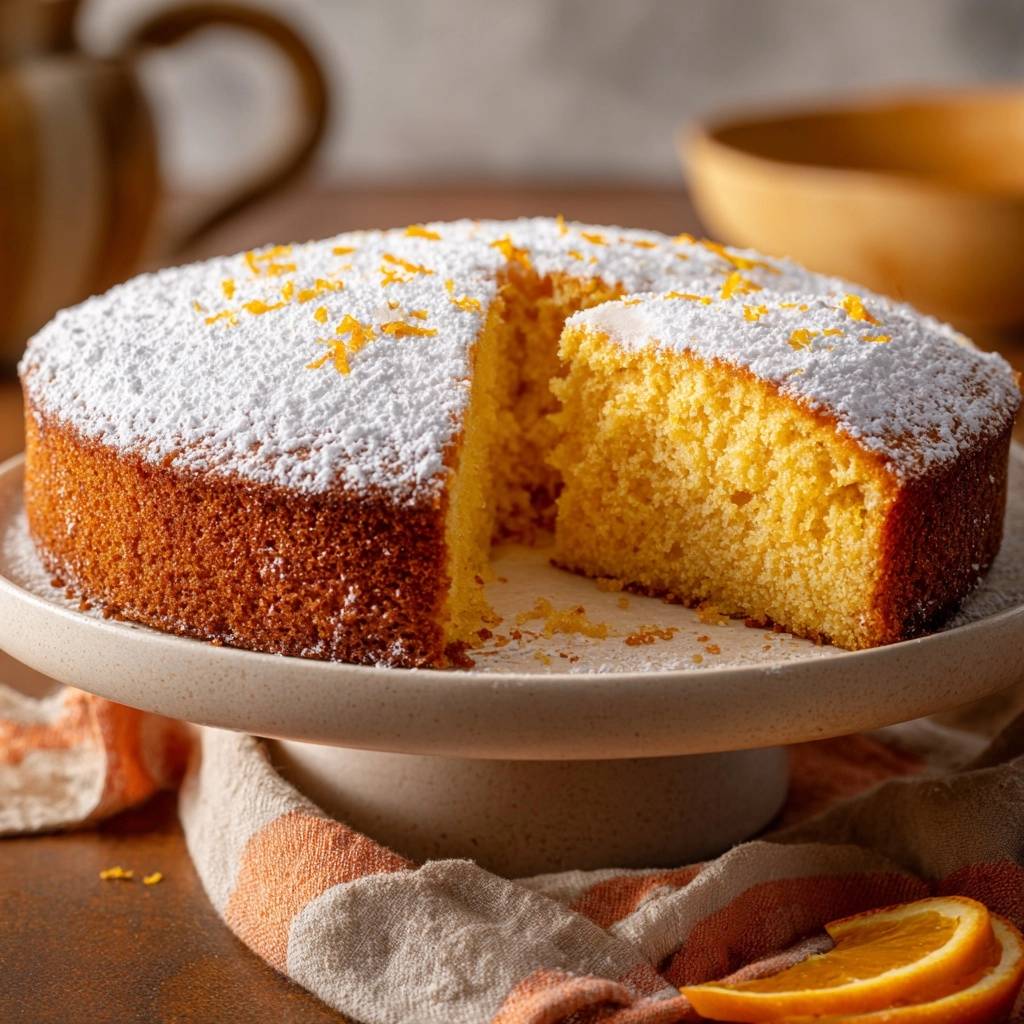
Furthermore, excess moisture often pools at the base if the heat transfer is too slow. This results in a dense, translucent, and rubbery layer that feels undercooked even if the top is perfectly browned. Without the thermal boost of a preheated stone, the moisture simply has nowhere to go but down.
Essential Components for a Zesty Orange Sponge
For this specific structural method, all-purpose flour is actually superior to delicate cake flour. While cake flour provides a fine crumb, it lacks the protein strength needed to withstand the “thermal shock” technique we use. All-purpose flour provides just enough gluten to hold those air pockets open while the orange juice does its work.
Room-temperature eggs are non-negotiable here. Cold eggs will cause your creamed butter to seize and curdle, breaking the emulsion you worked so hard to build. When eggs are at room temperature, they incorporate smoothly, allowing for maximum air entrapment during the beating process. This air is what gives the sponge its signature lift.
Selecting and Prepping Fresh Citrus
The variety of orange you choose will drastically change the flavor profile. Navel oranges are fantastic for their thick, oil-rich skins, which provide the best zest. Valencia oranges, on the other hand, are the kings of juice. If you want a more sophisticated, tart edge, try using Blood Oranges for a stunning pink-hued crumb.
Never use bottled orange juice for this recipe. Bottled juice is pasteurized and often contains added sugars or preservatives that mess with the pH balance of the batter. Freshly squeezed juice contains active enzymes and volatile oils that provide that authentic “zing” you just can’t get from a carton.
The Role of Fat: Softened Butter vs. Oil
We use the creaming method with softened butter because it’s the only way to trap the tiny air bubbles needed for a true sponge. While oil-based cakes are incredibly moist, they tend to be heavier and more “snack-cake” like in texture. Butter provides that classic, melt-in-your-mouth feel and a rich flavor that complements the citrus perfectly.
The trade-off is that butter-based cakes can firm up more quickly than oil-based ones. However, the high moisture content from the fresh orange juice in this recipe compensates for that. You get the structural integrity and flavor of butter with the lasting softness usually reserved for oil cakes.
Required Equipment for Thermal Heat Transfer
To pull off the anti-soggy technique, you need a heavy-duty baking sheet or, even better, a pizza stone. These tools act as a heat reservoir. When the cake pan touches them, the energy transfer is instantaneous. A thin, flimsy cookie sheet won’t hold enough heat to make a difference.
I highly recommend a springform pan for this recipe. The removable sides allow for better airflow during the initial cooling phase. Additionally, always line the bottom with parchment paper. This creates a tiny barrier that helps with moisture release and ensures your perfectly set bottom crust doesn’t stick to the pan.
Step-by-Step: Aerating the Zesty Orange Batter
The creaming process is where the soul of the cake is born. You want to beat your softened butter and sugar for at least 3 to 5 minutes. Don’t stop when it looks mixed; stop when it looks like pale, whipped clouds. This step creates the millions of microscopic air pockets that the baking powder will later expand.
If you enjoy baking with citrus, this same bright approach works beautifully for a glazed blueberry lemon bundt cake.
When adding your eggs, do it one at a time. If you dump them all in at once, the fat and liquid will separate, and your batter will look like curdled milk. If this happens, don’t panic! Just add a tablespoon of your flour to help bind the emulsion back together before continuing.
The Alternating Addition Method
We use a “Dry-Wet-Dry” sequence for a very specific reason. If you add all the orange juice at once, the high acidity can cause the butter mixture to break. By starting with a portion of the flour, you coat the fats and create a protective barrier. This keeps the batter smooth and stable.
Always end with the dry ingredients. This ensures that any excess liquid is fully absorbed into the flour’s structure. It prevents the “pooling” effect that we’ve been working so hard to avoid. Mix only until the last white streaks of flour disappear; over-mixing at this stage is the enemy of a light sponge.
Folding Techniques to Preserve Air Pockets
Once the flour is in, you must switch from a beating motion to a gentle folding motion. Use a large spatula to cut through the center of the batter, scrape the bottom, and lift it over the top. This physical motion incorporates the ingredients without deflating the air you spent ten minutes creating.
If you stir vigorously, you’ll develop the gluten in the flour. This results in a tough, bread-like texture. You want a sponge that yields to a fork, not one that fights back. Think of the batter as a delicate mousse that needs to be handled with care.
The Precision Baking and Cooling Phase
When you’re ready to bake, move quickly. Open the oven, slide the pan directly onto the preheated stone, and close the door immediately. You want to keep that internal oven pressure high. This is why the “No-Peek” rule for the first 30 minutes is so vital; every time you open the door, the temperature drops and the cake’s “lift” can falter.
The cake is done when the top is a deep golden brown and feels springy to the touch. Use a toothpick to check the center. It should come out clean or with a few dry crumbs. If you see wet batter, give it another five minutes. That final stretch is when the last of the internal moisture evaporates.
The 10-Minute Cooling Window
Timing the cooling process is just as important as the baking. You must let the cake sit in the pan for exactly 10 minutes. This allows the structure to firm up so it doesn’t fall apart when you move it. However, if you leave it in the pan any longer, the residual heat will create steam.
That steam has nowhere to go, so it condenses at the bottom of the pan, turning your crisp crust into a soggy mess. After 10 minutes, run a knife around the edge and move the cake to a wire cooling rack. This allows for 360-degree airflow, ensuring the bottom stays as dry and light as the top.
Troubleshooting Common Sponge Cake Obstacles
If your cake sinks in the middle, it’s usually due to one of two things: underbaking or too much leavening. If the center isn’t fully set, it will collapse as it cools. Always double-check with a toothpick. If you find the cake is dry, you likely overbaked it or your oven runs hot. Invest in an oven thermometer to be sure.
Large tunnels or holes in your cake are a classic sign of over-mixing. When you work the batter too much, you trap large pockets of air that expand aggressively in the oven. Keep your mixing to a minimum once the flour hits the wet ingredients to maintain a tight, uniform crumb.
Flavor Variations and Citrus Swaps
This base recipe is incredibly versatile. You can easily swap the orange for a Lemon-Lime version by using a 50/50 mix of juices. If you go with a more acidic fruit like grapefruit, you might want to add an extra tablespoon of sugar to balance the bitterness. A Grapefruit-Ginger variation is particularly refreshing in the summer.
If you enjoy citrus-based cakes, you might also like the bright flavor of this glazed lemon blueberry loaf.
When swapping citrus, always match the zest to the juice. The zest contains the essential oils that provide the “nose” of the cake, while the juice provides the “tongue” flavor. Combining different citrus fruits can create a complex, “citrus punch” flavor that is always a hit at parties.
Storage and Make-Ahead Instructions
To maintain the “Anti-Soggy” integrity, store this cake at room temperature in an airtight container. Do not put it in the refrigerator! The cold temperature of a fridge causes the starches in the cake to recrystallize, which makes the sponge go stale and tough much faster.
If you need to keep it longer than three days, this cake freezes beautifully. Wrap individual slices in plastic wrap and then foil. When you’re ready for a treat, let a slice thaw on the counter for about an hour. It will taste just as fresh as the day you baked it.
Expert Tips for the Perfect Powdered Finish
The final dusting of powdered sugar should be thick and snowy. The trick is to wait until the cake is completely cold. If the cake is even slightly warm, the sugar will melt into the surface, creating a sticky glaze rather than a beautiful white coating. I like to use a fine-mesh sieve for the most even distribution.
What to Serve with Zesty Orange Sponge Cake
If you’re planning a dessert spread or just want more baked treats alongside that bright orange cake, these two recipes share the same tender crumb and fruit-forward appeal.
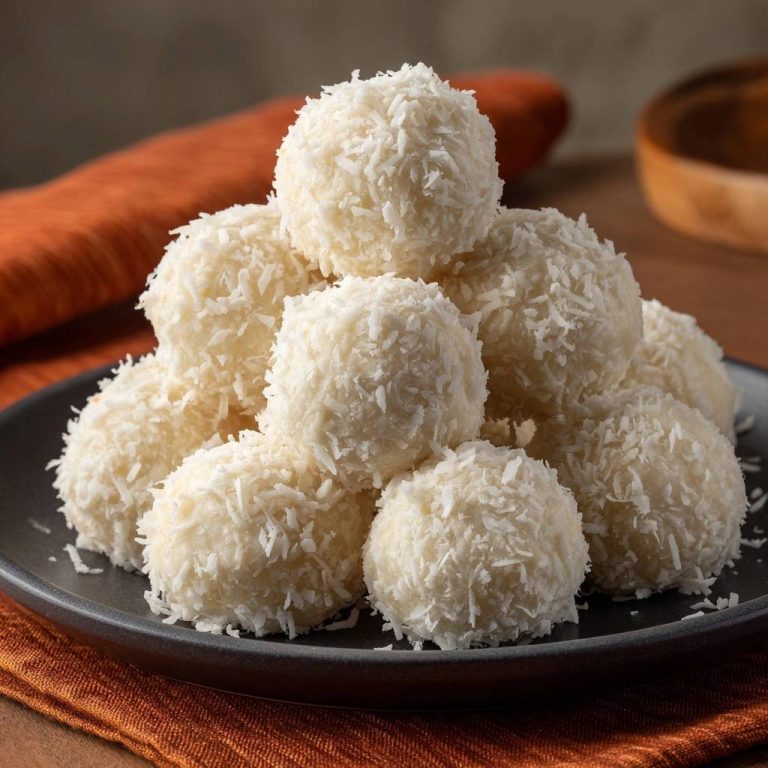
- Pair the citrus notes with the tropical softness of Coconut Dream Muffins for a contrast in sweetness and texture.
- For a nutty counterbalance that won’t overshadow the orange, slice some Ultimate Banana Nut Bread alongside the cake, especially if you love fruit-and-nut combinations.
For a professional look, use a zester to create long, elegant strands of orange peel to scatter over the top. You can even place a lace doily on the cake before dusting with sugar. When you lift the doily, you’ll be left with an intricate, bakery-style pattern that makes this simple sponge look like a masterpiece.
Frequently Asked Questions
Can I use a gluten-free flour blend for this cake?
Yes, you can use a high-quality 1-to-1 gluten-free baking flour. However, ensure your blend contains xanthan gum, which provides the structural support usually offered by gluten. The texture may be slightly more delicate, so be extra careful when transferring the cake to the cooling rack.
Why did my orange zest sink to the bottom of the cake?
Zest usually sinks if the batter is too thin or if the zest pieces are too large and heavy. Ensure you are creaming your butter and sugar sufficiently to create a thick, aerated base. Also, try to use a microplane for very fine zest, which stays suspended in the batter more easily.
Can I add poppy seeds to this specific batter?
Absolutely! Adding two tablespoons of poppy seeds provides a lovely crunch and visual contrast. Add them at the same time you stir in the orange zest. The poppy seeds won’t affect the “anti-soggy” technique or the moisture balance of the cake.
What if I don’t have a pizza stone or a heavy baking sheet?
If you don’t have a stone, you can use a heavy cast-iron skillet. Place the skillet in the oven while it preheats, then set your cake pan inside the skillet. The goal is simply to have a preheated mass of metal or stone to provide that initial burst of bottom heat.
How do I get more “zing” without adding more liquid?
If you want an intense orange flavor without making the batter too wet, increase the amount of zest. You can also rub the orange zest into the granulated sugar with your fingertips before creaming it with the butter. This releases the citrus oils directly into the sugar for maximum flavor impact.
Orange Sponge Cake
Course: DessertCuisine: AmericanDifficulty: medium8
servings15
minutes45
minutes310
kcal60
MinutesA citrus-infused sponge cake designed to be perfectly dry and fluffy from top to bottom. This recipe uses temperature-staggering and a preheated baking sheet to ensure a professional crumb and vibrant orange flavor.
Ingredients
2 cups all-purpose flour
2 teaspoons baking powder
1/2 teaspoon salt
1 cup granulated sugar
3 large eggs, room temperature
1/2 cup unsalted butter, softened
1/2 cup fresh orange juice
2 tablespoons orange zest
1/2 cup powdered sugar for dusting (thick coating)
Directions
- Preheat your oven to 350°F (175°C). Place a heavy baking sheet or pizza stone on the middle rack while the oven preheats. Grease an 8-inch round springform or deep cake pan and line the bottom with parchment paper.
- In a medium bowl, whisk together the flour, baking powder, and salt.
- In a large bowl, cream the softened butter and granulated sugar until very pale and fluffy (about 3-5 minutes). Add eggs one at a time, beating well after each addition to ensure maximum aeration.
- Stir in the orange zest. Gradually add the dry ingredients to the butter mixture, alternating with the orange juice. Start and end with the dry ingredients, mixing only until just combined to keep the sponge light.
- Pour the batter into the prepared pan. To solve the soggy bottom issue, place the cake pan directly onto the preheated baking sheet in the oven. This immediate heat transfer sets the bottom crust instantly, preventing moisture from pooling at the base.
- Bake for 40 to 45 minutes. Do not open the oven door for the first 30 minutes. The cake is done when the top is golden brown and a toothpick inserted into the center comes out clean.
- Let the cake cool in the pan for exactly 10 minutes. Run a knife around the edge and remove the cake from the pan, transferring it to a wire cooling rack immediately. Removing it from the pan while still warm prevents steam from condensing at the bottom.
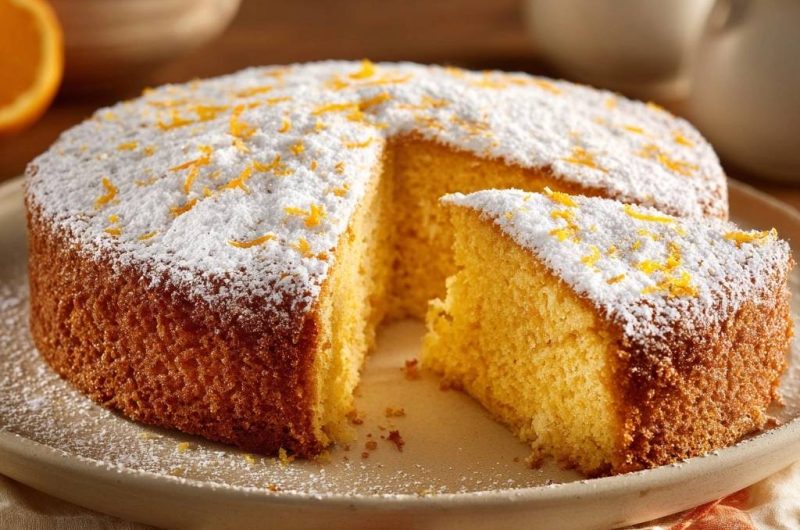
- Once completely cool, dust very generously with powdered sugar until a thick, white layer forms. Top with fresh orange zest strands as shown in the image.
Notes
- To prevent a soggy base, place the cake pan directly on a preheated baking sheet. Ensure eggs are at room temperature for maximum aeration during the creaming process.