Ultimate Banana Nut Bread: Perfectly Moist & Never Dry
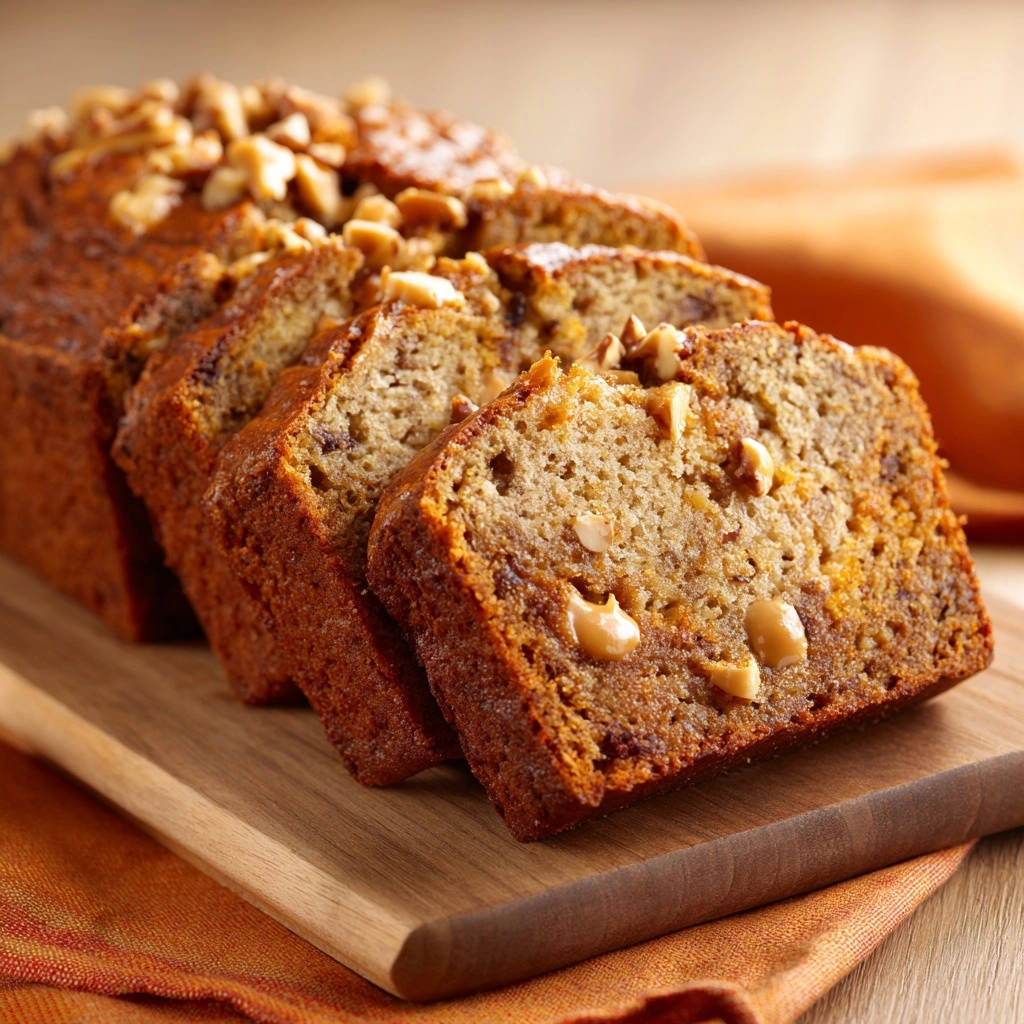
There’s nothing quite like the aroma of freshly baked banana bread filling your kitchen, but the disappointment of a dry, crumbly loaf is a common heartbreak. For years, I perfected my recipe, determined to crack the code to an incredibly tender and moist result every single time.
This Ultimate Banana Nut Bread recipe isn’t just another sweet treat; it’s a guaranteed success for a consistently moist, flavor-packed loaf that truly lives up to its name. Say goodbye to dry disappointments and hello to your new favorite baking staple.
Beyond Basic: What Makes Our Ultimate Banana Nut Bread Truly Special?
This isn’t just any banana bread. This recipe has been crafted to eliminate the most common baking frustrations, ensuring a consistently delightful outcome.
The “No More Dry” Promise: Unlocking Unbeatable Moisture
The most frequent complaint about homemade banana bread is its tendency to be dry. Our Ultimate Banana Nut Bread recipe combats this with a combination of high-moisture ingredients and precise techniques.
We leverage the natural moisture of very ripe bananas, combined with the optional yet highly recommended sour cream or Greek yogurt, to create a supremely tender crumb.
Gentle mixing and careful attention to baking time are also paramount. These elements work in harmony to ensure your loaf is never dry, but always incredibly moist and tender.
The Power of Perfectly Ripe Bananas: Flavor & Sweetness
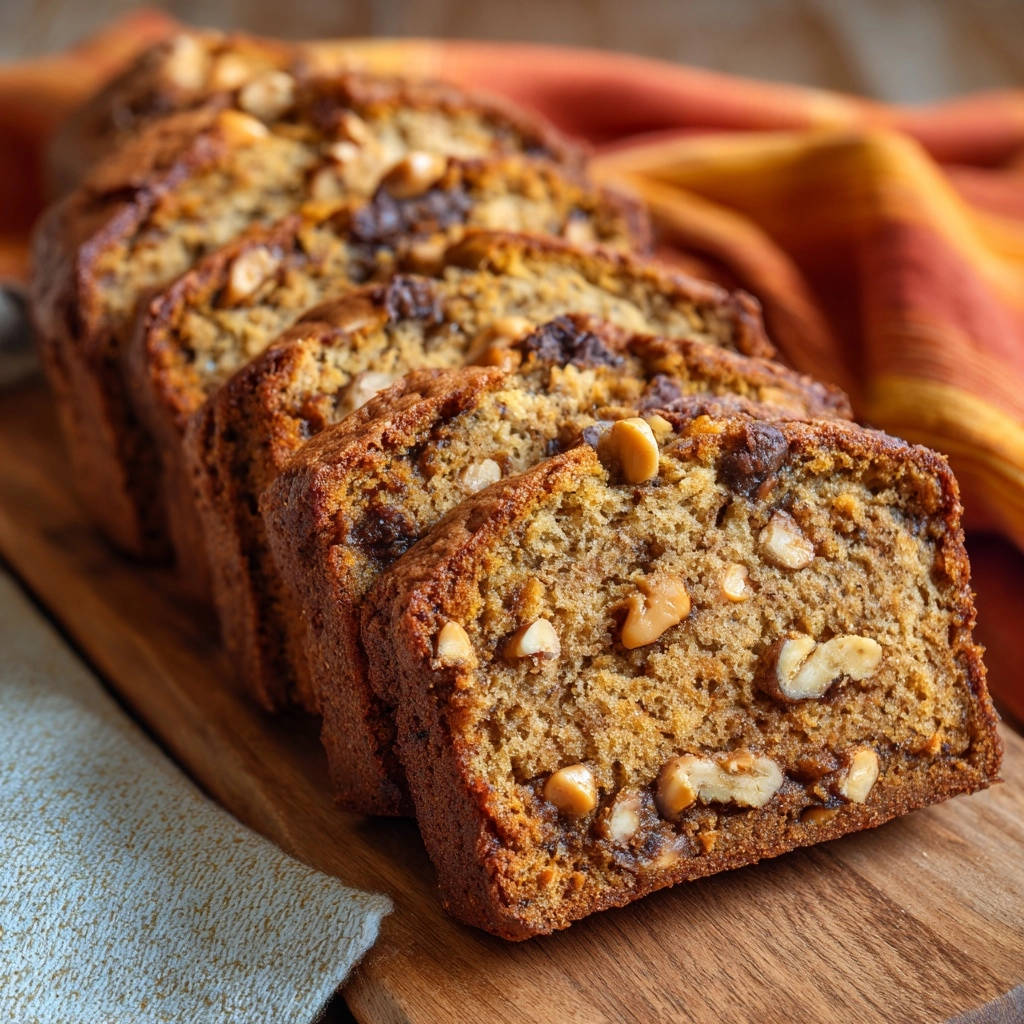
The secret to exceptional banana bread flavor lies in the ripeness of your bananas. We call for very ripe, speckled bananas for a reason.
As bananas ripen, their starches convert to sugars, intensifying their natural sweetness and deepening their flavor profile. This means less added sugar is needed, and you get a richer, more authentic banana taste.
Beyond flavor, very ripe bananas are softer and contain more moisture, which directly contributes to the incredibly moist texture of the Ultimate Banana Nut Bread.
Our Secret Weapon: The Role of Sour Cream or Greek Yogurt
While optional, sour cream or plain Greek yogurt is truly the unsung hero of this moist banana nut bread recipe. It’s a game-changer for texture.
The fat content in these ingredients adds richness and moisture, while their acidity helps to tenderize the gluten in the flour, resulting in an incredibly soft and tender crumb.
This addition ensures your banana bread stays moist for days, providing that desired melt-in-your-mouth experience.
The Building Blocks of Flavor: Essential Ingredients Demystified
Understanding the role of each ingredient is key to appreciating the brilliance of this Ultimate Banana Nut Bread.
Wet Ingredients: The Foundation of Tenderness
Softened unsalted butter forms the creamy base, contributing richness and a delicate texture. It also helps in leavening when creamed with sugars.
Granulated sugar and packed light brown sugar provide sweetness and moisture. Brown sugar adds a deeper, more complex caramel note that perfectly complements the bananas.
Large eggs bind the ingredients, add structure, and contribute to the loaf’s richness and tender texture. Vanilla extract enhances all the flavors, offering a warm and inviting aroma.
Dry Ingredients: Structure and Spice
All-purpose flour provides the necessary structure for the loaf. Baking soda is our leavening agent, reacting with the acidic ingredients (bananas, brown sugar, sour cream) to create a beautiful rise.
Salt balances the sweetness and enhances the overall flavor profile. Ground cinnamon is optional but highly recommended; it adds a warm, comforting spice that elevates the classic banana bread taste.
Mashed Bananas: The Sweet Star
As discussed, four very ripe medium bananas are the absolute star, providing the primary flavor and natural sweetness. Their mashed consistency is crucial for smooth incorporation and even moisture distribution throughout the loaf.
Optional Add-ins: Texture & Sweet Surprises
Chopped walnuts add a delightful textural contrast and a nutty depth that complements the sweet banana flavor perfectly. They contribute to the “nut” in Ultimate Banana Nut Bread.
Caramel or butterscotch chips are an optional addition for those who love an extra layer of sweetness and a chewy, melt-in-your-mouth surprise in every bite. They elevate the decadence of this banana nut bread recipe.
Gather Your Gear: Essential Tools for Baking Success
Having the right tools ready makes the baking process smooth and enjoyable, leading to a perfectly executed Ultimate Banana Nut Bread.
The Right Loaf Pan Makes a Difference
A 9×5 inch loaf pan is the ideal size for this recipe, ensuring the bread bakes evenly and achieves the correct height. Using a metal pan often provides the best browning.
Properly greasing and flouring the pan, or using parchment paper with an overhang, is critical. This prevents sticking and allows for easy removal of your beautiful loaf, preventing any post-bake frustration.
Mixing & Measuring Must-Haves
You’ll need at least two medium to large mixing bowls: one for dry ingredients and one for wet. A whisk is essential for combining dry ingredients thoroughly.
Measuring cups and spoons are vital for accurate ingredient proportions, which is fundamental for consistent baking results. An electric mixer, while optional, makes creaming butter and sugar much easier and more efficient.
From Bowl to Oven: Your Step-by-Step Ultimate Banana Nut Bread Guide
- Prepare Your Pan and Oven:
Preheat your oven to 350F (175C). Prepare your 9×5 inch loaf pan by greasing and flouring it, or lining with parchment paper with an overhang. This ensures your Ultimate Banana Nut Bread releases cleanly after baking.
- Whisk Dry Ingredients:
In a medium bowl, combine the flour, baking soda, salt, and optional cinnamon. Whisk them thoroughly to ensure even distribution, which is crucial for a consistent rise and flavor throughout your loaf.
- Cream Butter and Sugars:
In a large bowl, using an electric mixer or by hand, cream together the softened unsalted butter, granulated sugar, and light brown sugar for 2 to 3 minutes until the mixture becomes light and fluffy. This step incorporates air, contributing to the tender crumb of your Ultimate Banana Nut Bread.
- Incorporate Eggs and Vanilla:
Beat in the large eggs one at a time, ensuring each is fully incorporated before adding the next. Stir in the vanilla extract. This sequential addition helps create a smooth, emulsified batter, preventing a curdled appearance.
- Add Mashed Bananas & Sour Cream/Yogurt:
To the wet ingredients, add the mashed ripe bananas and the optional sour cream or Greek yogurt. Mix until just combined, about 30 seconds to 1 minute. Overmixing at this stage can lead to a tough loaf, so gentle handling is key.
- Combine Wet and Dry Ingredients:
Gradually add the whisked dry ingredients to the wet mixture. Mix on low speed or by hand until just combined. This is a critical step: do not overmix! A few small lumps are perfectly fine and indicate proper mixing, ensuring your Ultimate Banana Nut Bread stays moist and tender by not overdeveloping gluten.
- Fold in Walnuts and Chips:
Gently fold in 3/4 cup of the chopped walnuts and the optional caramel or butterscotch chips. Use a spatula to ensure they are evenly distributed throughout the batter for delicious bites in every slice of your homemade banana bread.
- Fill Pan and Top:
Pour the prepared batter into your loaf pan, leveling the top gently with a spatula. Sprinkle the remaining 1/4 cup of chopped walnuts evenly over the top of the batter. This adds a beautiful, professional finish and extra nutty crunch.
- Bake to Golden Perfection:
Bake for 55 to 65 minutes, or until a wooden skewer or toothpick inserted into the center of the loaf comes out with only moist crumbs attached (not wet batter). Start checking frequently after 50 minutes to avoid overbaking, which is the most common cause of dry banana bread.
- Cool Before Slicing:
Let the Ultimate Banana Nut Bread cool in the pan for 10 minutes before carefully removing it and transferring it to a wire rack. Allow it to cool completely before slicing. This crucial cooling period allows the internal moisture to redistribute, ensuring your bread remains incredibly tender and perfectly moist throughout.
Prepping Your Pan & Dry Mix
Creaming for Fluffy Perfection
Incorporating Wet & Dry: The Gentle Touch
Folding in the Goodies & Baking
The Critical Cooling Phase
Baking Brilliance: Expert Tips for Ultimate Banana Nut Bread Perfection
Achieving the best banana nut bread is easy when you follow these expert tips.
Banana Ripeness: Your Key to Intense Flavor
The ideal bananas for this recipe are those with plenty of brown speckles, or even mostly brown skin. This indicates peak ripeness, ensuring maximum sweetness and moisture.
If your bananas aren’t quite ripe enough, you can ripen them faster. Place them on a baking sheet and bake at 300°F (150°C) for 15-30 minutes until skins are black and shiny. Let them cool before mashing.
The Art of Not Overmixing: Avoiding a Tough Loaf
Overmixing is the enemy of a tender crumb. When flour is overmixed, gluten develops excessively, leading to a tough, dense banana bread instead of a light and airy one.
Mix the dry and wet ingredients only until just combined. A few small lumps of flour are perfectly acceptable and indicate proper mixing, ensuring your loaf remains moist and tender.
Spotting Perfection: How to Avoid Overbaking
The toothpick test is your best friend. Insert a wooden skewer or toothpick into the center of the loaf; it should come out with moist crumbs attached, but no wet batter.
Start checking your banana bread around the 50-minute mark. Every oven is different, so vigilance in the last 10-15 minutes is crucial to prevent overbaking, which instantly dries out the loaf.
Cooling Down: The Secret to Moisture Distribution
Cooling the bread in the pan for 10 minutes allows it to set and prevents it from crumbling when removed. This initial cooling also lets residual heat continue the baking process gently.
Transferring to a wire rack to cool completely is vital. This allows air circulation around the entire loaf, preventing condensation that can make the bottom soggy, and allows the internal moisture to redistribute evenly, locking in that incredible tenderness.
Customizing Your Ultimate Banana Nut Bread
This recipe is a fantastic base for customization. Feel free to experiment with other nuts like pecans or even a mix of nuts for varied texture.
Chocolate chips (milk, dark, or white), dried cranberries, or shredded coconut are wonderful additions for extra flavor and texture. A simple vanilla glaze or cream cheese frosting can also elevate your homemade banana bread.
For a perfect pairing, try our Mastering Golden Skillet Dinner Rolls for Bakery-Quality Results.
Troubleshooting Your Banana Bread: Common Issues & Quick Fixes
Even expert bakers encounter challenges. Here are solutions to common banana bread problems.
Why is My Bread Dry or Crumbly?
The most common culprits are overbaking, overmixing the batter, or using bananas that aren’t ripe enough. Ensure you measure flour accurately, using the spoon-and-level method, as too much flour can also lead to dryness.
Check for doneness frequently after 50 minutes, and mix only until just combined. Always use very ripe, speckled bananas for optimal moisture.
Help! My Loaf Sank in the Middle!
A sunken center usually indicates underbaking, especially in the middle. It can also be due to opening the oven door too early, causing a sudden temperature drop, or using too much leavening agent.
Ensure your oven temperature is accurate and resist the urge to peek during the first 40 minutes of baking. Verify doneness with the toothpick test in multiple spots.
Uneven Browning or Undercooked Center
Uneven browning can result from hot spots in your oven. Try rotating the pan halfway through baking. An undercooked center, despite browned edges, often means the temperature was too high, cooking the outside too quickly.
Ensure your oven is calibrated and your loaf pan is centered on the oven rack. If your loaf is browning too quickly, you can loosely tent it with foil.
Enjoying & Preserving Your Ultimate Banana Nut Bread Masterpiece
Once cooled, your Ultimate Banana Nut Bread is ready to be enjoyed in many delicious ways.
Serving Suggestions: Perfect Pairings
This moist banana nut bread is delicious on its own, but it truly shines when paired with a cup of hot coffee or tea. Serve it warm with a pat of butter, a dollop of cream cheese, or even a drizzle of honey for an extra treat.
You can use the same muffin-baking method for this glazed lemon blueberry loaf too.
It makes a wonderful breakfast, a comforting snack, or a delightful dessert. You can even warm slices gently in the microwave for a fresh-baked feel.
Storing for Optimal Freshness
To keep your banana nut bread fresh at room temperature, wrap it tightly in plastic wrap or aluminum foil, or store it in an airtight container. It will stay moist and delicious for up to 3-4 days.
For longer storage, especially in warmer climates, you can store it in the refrigerator for up to a week. Ensure it’s well-wrapped to prevent it from drying out.
Freezing for Future Indulgence
Ultimate Banana Nut Bread freezes beautifully! Once completely cooled, wrap the entire loaf or individual slices tightly in plastic wrap, then an additional layer of aluminum foil.
Store in a freezer-safe bag or container for up to 3 months. Thaw frozen bread overnight in the refrigerator or at room temperature. You can gently warm individual slices in the microwave or toaster oven.
Your Ultimate Banana Nut Bread FAQs
Can I Use Frozen Bananas?
Yes, absolutely! Frozen ripe bananas are perfect for banana bread. Thaw them completely in a bowl (they will release a lot of liquid), then drain off any excess liquid before mashing. This prevents your batter from becoming too watery.
What About Sugar Substitutes?
While you can experiment with sugar substitutes, be aware that they may affect the texture and moisture of the bread. Sugar contributes to moisture and browning, so results might vary. For best results, I recommend sticking to the specified sugars.
Can I Make This Gluten-Free?
This recipe can be adapted to be gluten-free. Use a good quality 1:1 gluten-free all-purpose flour blend that contains xanthan gum. The baking time might vary slightly, so monitor closely with the toothpick test.
How Long Does It Last?
At room temperature, tightly wrapped, your Ultimate Banana Nut Bread will last for 3-4 days. In the refrigerator, it will stay fresh for up to a week. When frozen properly, it can be kept for up to 3 months.
Can I Make This Recipe Into Muffins?
Yes, this recipe is easily adaptable for muffins! Divide the batter evenly into a greased or lined 12-cup muffin tin. Bake at 375F (190C) for 20-25 minutes, or until a toothpick inserted into the center comes out clean. This is a fantastic way to make individual portions of this tender banana nut bread.
More Ways to Use Your Baking Skills
If you enjoyed working with nuts and fruit in that banana bread, these two cakes follow a similar approach to texture and sweetness.
- The Glazed Blueberry Lemon Bundt Cake adds a tart citrus glaze that cuts through the richness of nuts and bananas.
- For a deeper chocolate flavor that pairs well with the banana bread’s sweetness, try the Frosted Chocolate Walnut Cake with its crunchy walnut topping.
Ready to Bake Your Ultimate Banana Nut Bread?
There’s immense satisfaction in baking a loaf of banana bread that is not only incredibly delicious but also consistently moist and tender. This Ultimate Banana Nut Bread recipe promises exactly that, turning everyday ingredients into a truly comforting masterpiece.
So, gather your perfectly ripe bananas and get ready to fill your home with the irresistible aroma of this best banana bread. We encourage you to try this recipe and share your baking triumphs in the comments below!
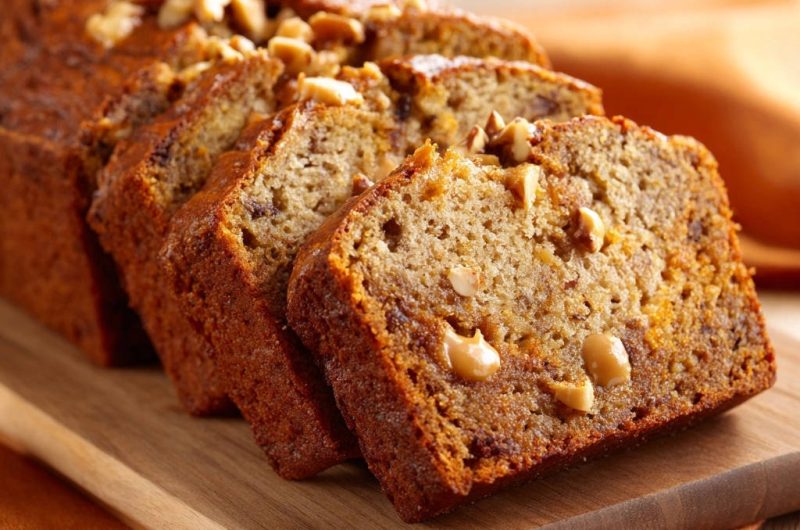
Banana Nut Bread
Course: BakingCuisine: AmericanDifficulty: medium1
loaf (10-12 servings)20
minutes55
minutes350
kcal75
minutesSay goodbye to dry, crumbly banana bread with this ultimate recipe. Achieve an incredibly tender and perfectly baked loaf every single time, guaranteed to be moist and flavorful.
Ingredients
2 cups all-purpose flour
1 teaspoon baking soda
1/2 teaspoon salt
1 teaspoon ground cinnamon (optional, but delicious!)
1/2 cup (1 stick) unsalted butter, softened
3/4 cup granulated sugar
1/2 cup packed light brown sugar
2 large eggs
1 teaspoon vanilla extract
4 very ripe medium bananas, mashed (about 1.5 cups)
1/2 cup sour cream or plain Greek yogurt (optional, for extra moisture)
1 cup chopped walnuts, divided
1/2 cup caramel or butterscotch chips (optional)
Directions
- Preheat your oven to 350F (175C). Grease and flour a 9×5 inch loaf pan, or line with parchment paper leaving an overhang on the sides for easy lifting.
- In a medium bowl, whisk together the flour, baking soda, salt, and cinnamon (if using).
- In a large bowl, using an electric mixer or by hand, cream together the softened butter, granulated sugar, and brown sugar until light and fluffy. This usually takes about 2 to 3 minutes.
- Beat in the eggs one at a time, ensuring each is fully incorporated before adding the next. Stir in the vanilla extract.
- Add the mashed bananas and sour cream or yogurt (if using) to the wet ingredients and mix until just combined. The key here is to incorporate everything without overmixing.
- Gradually add the dry ingredients to the wet ingredients. Mix on low speed or by hand until just combined. Do not overmix! Overmixing develops gluten, which can lead to a tough, dry loaf. A few small lumps are perfectly fine.
- Gently fold in 3/4 cup of the chopped walnuts and the caramel or butterscotch chips (if using).
- Pour the batter into your prepared loaf pan. Sprinkle the remaining 1/4 cup of chopped walnuts evenly over the top of the batter.
- Bake for 55 to 65 minutes, or until a wooden skewer or toothpick inserted into the center of the loaf comes out with only moist crumbs attached, not wet batter. The most common mistake leading to dry bread is overbaking. Check frequently after 50 minutes.
- Let the banana bread cool in the pan for 10 minutes before carefully removing it and transferring it to a wire rack to cool completely before slicing. This allows the internal moisture to redistribute, keeping your bread perfectly tender.
Notes
- Avoid overbaking to prevent dry bread; check after 50 minutes. Cooling completely on a wire rack allows moisture to redistribute for perfect tenderness.