Chocolate Puff Pastry Triangles: Perfectly Light & Flaky Bites
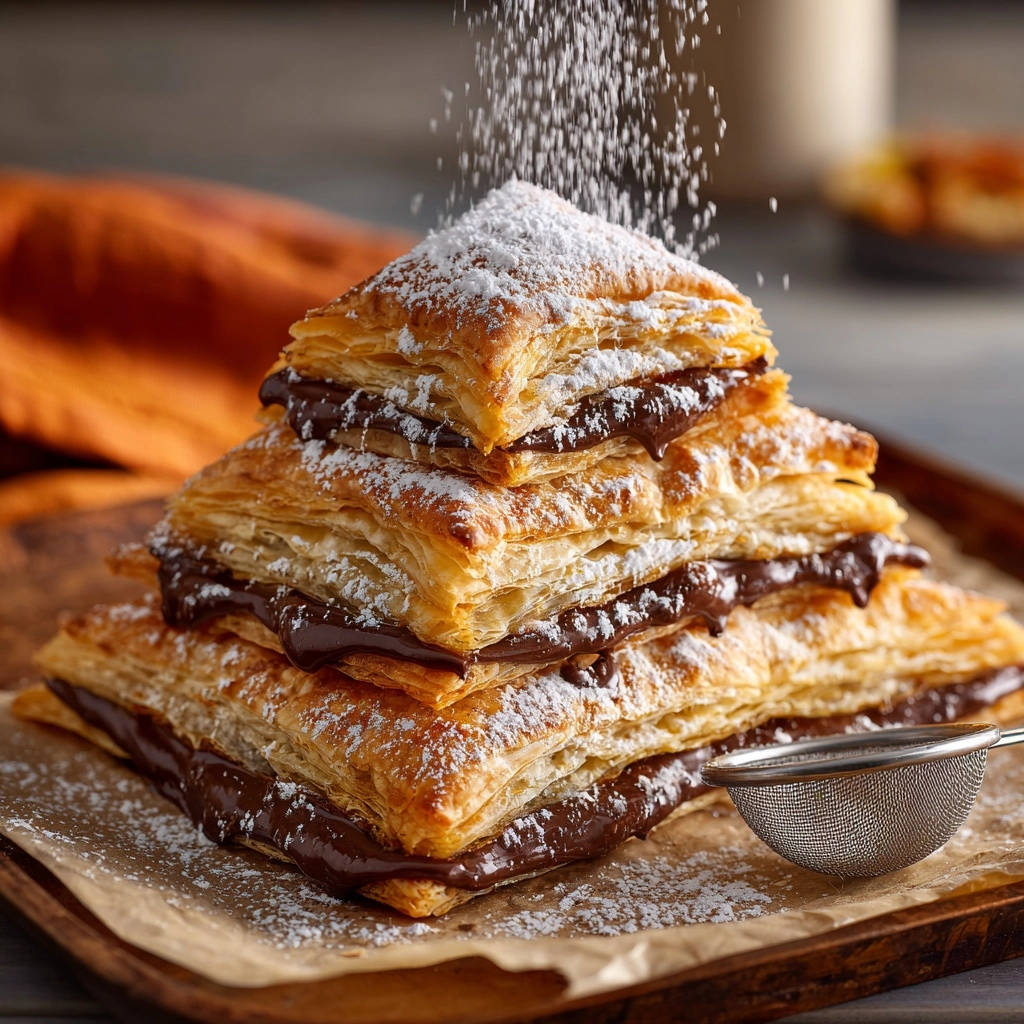
I remember countless attempts at making puff pastry treats, hoping for those beautiful, airy layers, only to end up with something a little dense or stubbornly flat. It was truly frustrating! But once I discovered a remarkably simple trick, everything changed, leading to consistently light, airy, and truly delicious Chocolate Puff Pastry Triangles every single time.
This recipe transforms a few basic ingredients into an impressive, bakery-quality dessert that’s perfect for any occasion. These delicate pastries boast a crisp exterior and a warm, gooey chocolate center, making them an instant crowd-pleaser.
Why These Chocolate Puff Pastry Triangles Will Be Your New Favorite Treat
These delightful treats offer more than just a sweet escape; they deliver on ease, elegance, and incredible flavor. They’re designed to be a reliable recipe you’ll turn to again and again.
Effortless Elegance for Any Occasion
Despite their sophisticated appearance, these Chocolate Puff Pastry Triangles are surprisingly simple to make. They elevate a casual brunch, impress at a dinner party, or satisfy an impromptu sweet craving with minimal effort.
Their individual serving size makes them convenient and mess-free, perfect for any gathering.
The Secret to Those Perfect Golden Layers
The true magic of this recipe lies in a crucial yet often overlooked step that guarantees maximum puff and distinct, golden layers. This technique ensures your Chocolate Puff Pastry Triangles are always incredibly light, never heavy or doughy.
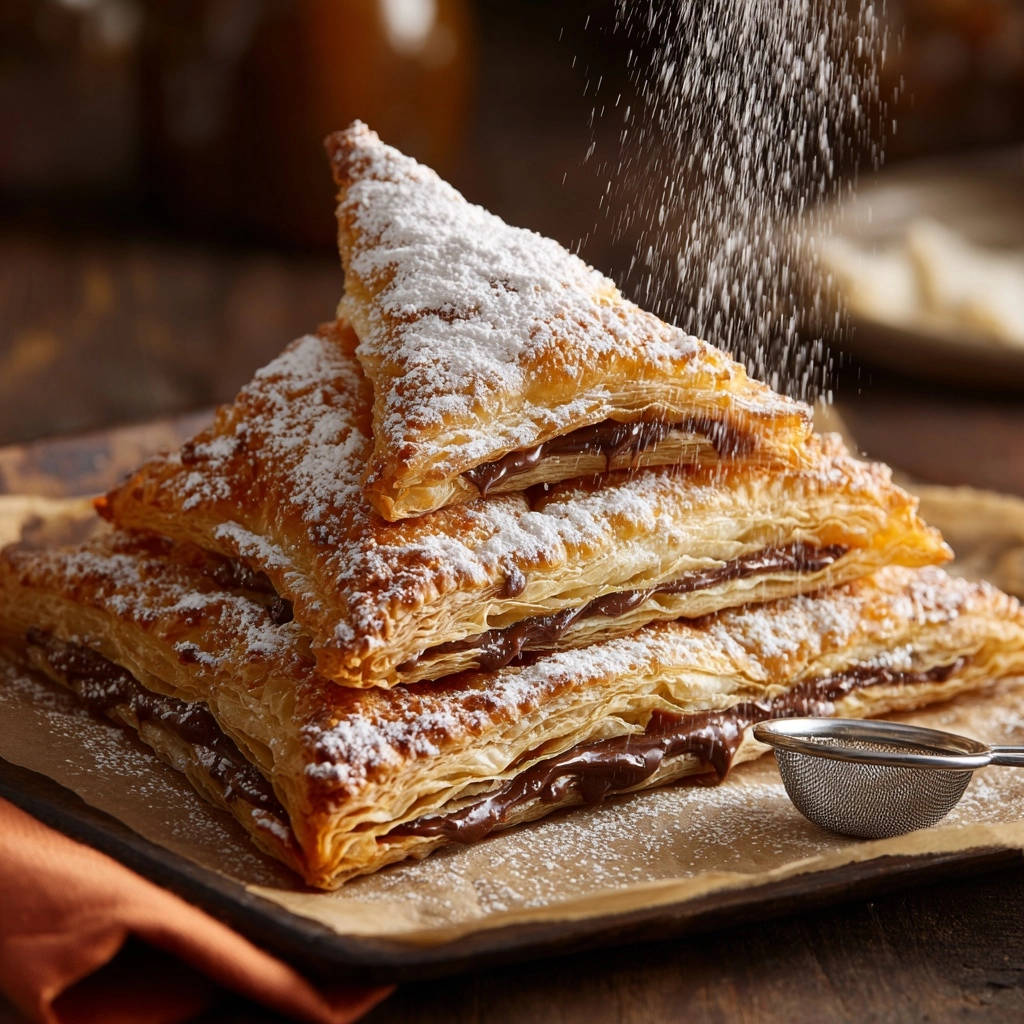
You’ll achieve that coveted crisp exterior and tender, flaky interior with every bite, without any guesswork.
Gathering Your Simple Ingredients for Chocolate Puff Pastry Triangles
A successful pastry begins with understanding the role of each ingredient. Quality and proper preparation are key, even for a simple recipe like this one.
The Star: Frozen Puff Pastry
Quality Matters: Opt for a reputable brand of all-butter puff pastry if available; it yields the best flavor and flakiness. High-quality pastry contains more butter, which translates to superior puff and taste.
Proper Thawing: Thaw your puff pastry in the refrigerator overnight, or at room temperature for about 30-40 minutes. It should be pliable but still cool to the touch. Avoid letting it get too warm, as this can make it sticky and difficult to handle.
Sweet Indulgence: Chocolate Hazelnut Spread
Rich Filling: Chocolate hazelnut spread provides a wonderfully rich, creamy, and decadent filling that pairs perfectly with the flaky pastry. It melts beautifully when baked.
Flavor Alternatives: If you don’t have chocolate hazelnut spread, consider using a good quality semi-sweet chocolate, jam, or even a cream cheese filling for different flavor profiles. Just ensure any alternative is not too liquidy.
A Finishing Flourish: Powdered Sugar
Visual Appeal & Sweetness: Powdered sugar adds a beautiful, delicate finish to the baked pastries, enhancing their visual appeal. It also contributes a subtle, balanced sweetness to complement the rich chocolate.
Dusting Technique: A light dusting is all you need to achieve that elegant, professional look.
Essential Tools for Your Puff Pastry Creation
Having the right tools simplifies the process and ensures a smoother, more enjoyable baking experience.
Baking Sheet: A sturdy baking sheet is essential for even heat distribution, ensuring your pastries bake uniformly.
Parchment Paper: This prevents sticking and makes for easy cleanup, ensuring your delicate pastries lift off effortlessly.
Sharp Knife or Pizza Cutter: Crucial for clean, precise cuts in the puff pastry, which helps with even puffing.
Fork: Used for crimping the edges, creating a tight seal that keeps the filling inside during baking.
Small Sieve or Sifter: Ideal for dusting powdered sugar evenly over the cooled pastries, giving them a professional finish.
Crafting Your Flaky Chocolate Puff Pastry Triangles: A Step-by-Step Guide
Follow these precise steps to achieve perfectly puffed, golden, and delicious Chocolate Puff Pastry Triangles every time.
- Prepare Your Workspace and Oven:
Start by preheating your oven to 400°F (200°C) to ensure it reaches the correct temperature before the pastries go in. Line a large baking sheet with parchment paper; this prevents sticking and makes cleanup a breeze, crucial for delicate pastries.
- Cut the Puff Pastry Sheets:
Gently unfold the thawed puff pastry sheet onto a lightly floured surface. Use a sharp knife or pizza cutter to cut the pastry into 9 equal squares. Precision here helps with even baking and presentation.
Then, cut each square diagonally from corner to corner to create two triangles, resulting in a total of 18 triangles. Aim for clean cuts to encourage maximum puff.
- Fill Each Pastry Triangle:
Spoon about 1 teaspoon of chocolate hazelnut spread onto the center of one half of each triangle. It’s important to be careful not to overfill, leaving a clear border around the edges.
Overfilling can lead to messy leaks during baking, compromising the pastry’s structure and appearance.
- Seal the Edges for a Perfect Bake:
Fold the other half of the triangle over the filling, carefully aligning the edges. Gently press down on the edges with your fingers to start the seal.
Then, use the tines of a fork to crimp and seal them tightly all around the perimeter. This firm seal is critical for preventing the filling from oozing out and helps maintain the pastry’s beautiful shape.
- The Critical Chill for Maximum Flakiness:
For maximum flakiness, arrange the filled pastry triangles on your prepared baking sheet and place the entire sheet into the refrigerator for at least 15 minutes. This quick chill is absolutely key to their success.
Chilling firms up the butter in the pastry, preventing it from melting too quickly in the hot oven. This allows the butter to create more steam, which in turn lifts the layers, resulting in distinct, airy, and beautifully puffed Chocolate Puff Pastry Triangles.
- Bake Until Golden Perfection:
Transfer the chilled baking sheet to the preheated oven. Bake for 12-15 minutes, or until the pastries are visibly puffed, have turned a beautiful golden brown, and appear delightfully flaky.
Keep an eye on them towards the end, as oven temperatures can vary. The rich golden color indicates caramelization and crispness.
- Cool and Dust:
Once baked, remove the Chocolate Puff Pastry Triangles from the oven and let them cool slightly on the baking sheet for a few minutes. This allows them to firm up before handling.
Once they’ve cooled enough to handle but are still warm, use a small sieve to dust generously with powdered sugar before serving. This adds a beautiful finish and a touch of extra sweetness.
The “Super Simple Trick” for Unbeatable Flakiness (Don’t Skip This!)
The secret to achieving those incredibly light, airy, and visibly layered Chocolate Puff Pastry Triangles isn’t complicated – it’s the pre-bake chill. This step, though quick, is absolutely fundamental to their success and often overlooked.
When you chill the assembled pastries, the butter within the puff pastry dough firms up significantly. As these chilled pastries hit the hot oven, the solid butter creates a burst of steam almost instantly.
This rapid steaming action forces the layers of dough apart, creating those distinct, flaky stratifications we all crave. Without this chill, the butter might melt too quickly before the steam has a chance to fully develop, leading to flatter, denser pastries.
So, take those extra 15 minutes to refrigerate; it’s the difference between good and absolutely spectacular Chocolate Puff Pastry Triangles.
Expert Tips for Puff Pastry Perfection Every Time
Even with simple ingredients, small techniques can make a big difference in the final outcome of your pastries.
Precision Cutting for Uniform Triangles
For uniform size and even baking, use a ruler when cutting your puff pastry sheet into squares. This ensures each triangle is roughly the same, leading to a consistent bake across the batch.
A sharp pizza cutter or chef’s knife will give you cleaner edges, promoting better puff.
The Art of Sealing: Preventing Leaks
Beyond crimping with a fork, you can lightly dampen the edges of the pastry with a tiny bit of water before folding. This acts as a ‘glue,’ helping the edges adhere more securely and providing an extra layer of protection against filling leakage.
Press firmly but gently, ensuring there are no gaps where the chocolate can escape.
Optimal Baking for Golden Results
Ensure your oven is fully preheated before placing the pastries inside. A sudden burst of high heat is essential for rapid puffing.
If your oven bakes unevenly, consider rotating the baking sheet halfway through the baking time to ensure all Chocolate Puff Pastry Triangles brown uniformly.
Don’t Overfill! (Less Is More)
It’s tempting to add more chocolate, but trust the recommended 1 teaspoon. Overfilling is the leading cause of messy leakage and can prevent the pastry from sealing properly.
A modest amount of filling allows the pastry to puff without obstruction, creating a beautiful balance of crust and filling.
Solving Common Puff Pastry Triangles Challenges
Even seasoned bakers encounter hiccups. Here are solutions to common issues you might face when making these delightful treats.
My Chocolate Puff Pastry Triangles Are Flat!
This is often due to insufficient chilling or an oven that isn’t hot enough. Always ensure your pastry is thoroughly chilled for at least 15 minutes before baking. Also, verify your oven temperature with an oven thermometer to ensure it’s accurately preheated to 400°F (200°C).
Handling the dough too much can also warm it up; work quickly and efficiently.
Filling Is Leaking Out!
Leakage typically indicates that the edges weren’t sealed tightly enough. Double-check your crimping technique, pressing firmly with the fork tines all around the perimeter of each triangle. A very thin smear of water on the edges before folding can also help create a stronger seal.
Uneven Browning?
Uneven browning can be caused by hot spots in your oven. To combat this, rotate your baking sheet 180 degrees halfway through the baking time. Ensure your pastries are spaced evenly on the baking sheet, allowing for proper air circulation around each one.
Serving Your Irresistible Chocolate Puff Pastry Triangles & Creative Variations
These pastries are delightful on their own, but pairing them or customizing their fillings can elevate the experience even further.
Perfect Pairings for a Sweet Treat
Serve your warm Chocolate Puff Pastry Triangles with a scoop of vanilla bean ice cream or a dollop of freshly whipped cream for an extra touch of indulgence. They are also heavenly alongside a hot cup of coffee, tea, or even a glass of cold milk.
For a brunch spread, they pair beautifully with fresh berries or a light fruit salad.
Fun Flavor Twists to Try
Beyond chocolate hazelnut, the possibilities for fillings are endless! Try spreading a thin layer of cream cheese before the chocolate, or use fruit jams like raspberry or apricot for a tart counterpoint. You could also mix in a pinch of cinnamon or orange zest with the chocolate spread for added complexity.
For a handheld version with that same gooey chocolate center, try these no-mess s’mores hand pies.
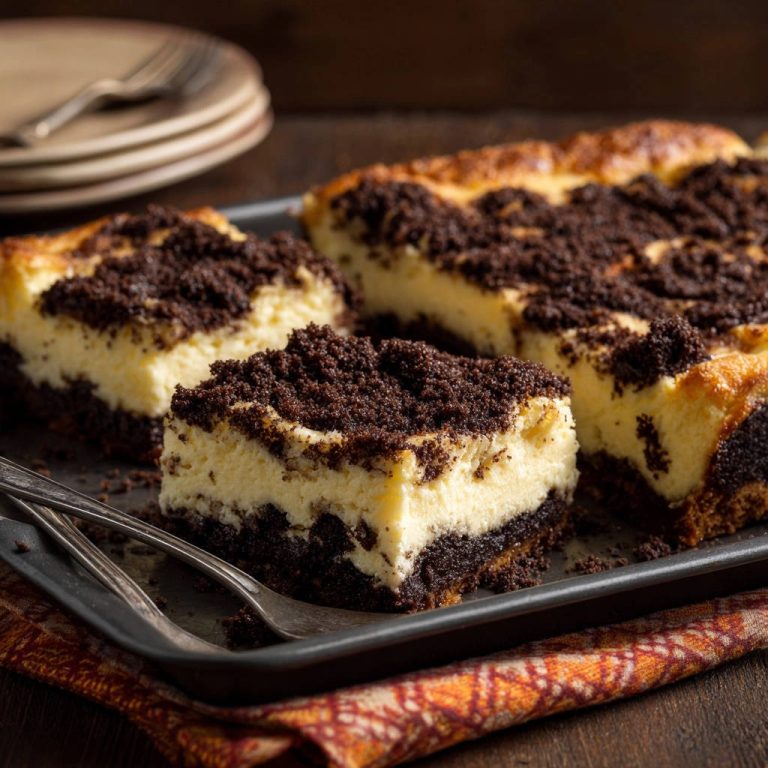
For more sweet treat inspiration, consider exploring recipes like Chocolate Crumb Cheesecake Bars or even Decadent Pumpkin Pie Truffles for different occasions.
Next Up: More Sweet Bites to Try
If you are making those chocolate puff pastry triangles, here are two other pastry-heavy recipes that fit right in with a brunch or dessert spread.
- For a breakfast option with a similar flaky, layered dough, try these Sugared Cinnamon Morning Buns with their caramelized, crisp base.
- If you want another chocolate pairing, the S’mores French Toast Stack offers a gooey, melty core and crisp edges for a more indulgent weekend treat.
Storing & Preparing Ahead: Keep Them Fresh!
Knowing how to store these pastries and whether you can prepare them in advance is incredibly helpful for planning.
How to Store Baked Chocolate Puff Pastry Triangles
Baked Chocolate Puff Pastry Triangles are best enjoyed fresh, but leftovers can be stored in an airtight container at room temperature for up to 2 days. The pastry may lose some of its crispness, but the flavor will still be delicious.
For best results, reheat them in a toaster oven or a regular oven at 300°F (150°C) for a few minutes to regain some crispness.
Can I Make Them Ahead?
Yes, you can prepare the unbaked Chocolate Puff Pastry Triangles, crimp them, and then freeze them on a baking sheet until solid. Once frozen, transfer them to a freezer-safe bag or container for up to 1 month.
When ready to bake, place them directly from the freezer onto a parchment-lined baking sheet and bake as directed, adding a few extra minutes to the baking time.
Your Top Questions About Chocolate Puff Pastry Triangles Answered
Let’s address some common queries to ensure your baking experience is completely smooth.
Can I use homemade puff pastry?
Absolutely! If you’re feeling ambitious and have a trusted homemade puff pastry recipe, it will yield even more incredible results. Just ensure it’s well-chilled and handled gently, as homemade versions can be more delicate than store-bought.
What if I don’t have chocolate hazelnut spread?
No problem! You can use melted and slightly cooled chocolate chips (milk, dark, or semi-sweet), fruit preserves, or even a mixture of cream cheese and a little sugar. Just avoid overly liquid fillings that might leak during baking.
Can these be frozen?
Yes, both unbaked and baked Chocolate Puff Pastry Triangles can be frozen. Freeze unbaked ones as described above for future baking. Baked pastries can be frozen after cooling completely; wrap them individually and store in a freezer bag for up to 1 month. Thaw at room temperature or reheat from frozen in the oven.
Are these gluten-free friendly?
Yes, you can easily make these gluten-free by using a good quality frozen gluten-free puff pastry. Many brands are available now that perform very similarly to traditional puff pastry, allowing you to enjoy these delightful treats without gluten.
How do I reheat Chocolate Puff Pastry Triangles?
To reheat, place baked pastries on a baking sheet and warm them in a preheated oven at 300°F (150°C) for 5-7 minutes, or until warmed through and crisp. A toaster oven works perfectly for a few pastries. Avoid microwaving, as it will make them soggy.
Ready to Bake? Share Your Chocolate Puff Pastry Triangles Masterpiece!
There’s immense satisfaction in pulling these perfectly puffed, golden-brown Chocolate Puff Pastry Triangles from the oven. The aroma of warm chocolate and buttery pastry is truly irresistible.
If you enjoy working with puff pastry, these strawberry cream heart danishes are another beautiful option to try.
This recipe is designed to bring you joy and confidence in your baking. I encourage you to try it, savor the flaky goodness, and then share your delicious creations! Don’t forget to tell me how your “super simple trick” paid off in the comments below.
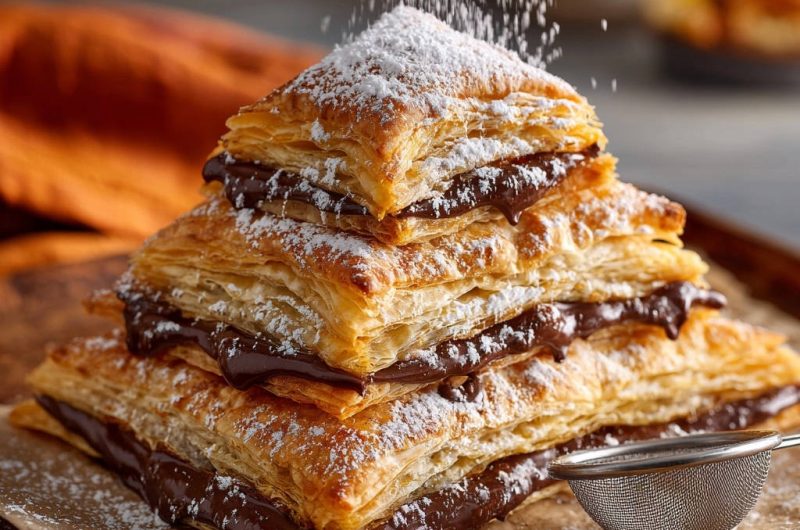
Chocolate Puff Pastry
Course: PastryCuisine: AmericanDifficulty: easy18
triangles20
minutes15
minutes50
kcal50
minutesTransform frozen puff pastry into light, airy, and oh-so-delicious chocolate-filled delights with a super simple trick. These flaky Chocolate Puff Pastry Triangles are perfect for a quick dessert or snack, ready in minutes.
Ingredients
1 sheet frozen puff pastry, thawed
1/2 cup chocolate hazelnut spread
2 tablespoons powdered sugar
Directions
- Preheat your oven to 400°F (200°C). Line a baking sheet with parchment paper.
- Carefully unfold the thawed puff pastry sheet onto a lightly floured surface. Using a sharp knife or pizza cutter, cut the sheet into 9 equal squares. Then, cut each square diagonally to create two triangles, for a total of 18 triangles.
- Spoon about 1 teaspoon of chocolate hazelnut spread onto the center of one half of each triangle. Be careful not to overfill, leaving a border around the edges.
- Fold the other half of the triangle over the filling, aligning the edges. Gently press down on the edges with your fingers, then use the tines of a fork to crimp and seal them tightly. This helps prevent the filling from oozing out during baking.
- For maximum flakiness, arrange the filled pastry triangles on your prepared baking sheet and place the entire sheet in the refrigerator for at least 15 minutes. This quick chill is key! It helps the butter in the pastry firm up, which then creates more steam and distinct layers when it hits the hot oven.
- Bake for 12-15 minutes, or until the pastries are puffed, golden brown, and delightfully flaky.
- Remove from the oven and let cool slightly on the baking sheet.
- Once cooled, use a small sieve to dust generously with powdered sugar before serving.
Notes
- The quick chill before baking is essential for maximum flakiness.