Savory Herb Soda Bread: Achieve Perfect Fluffy Crumb
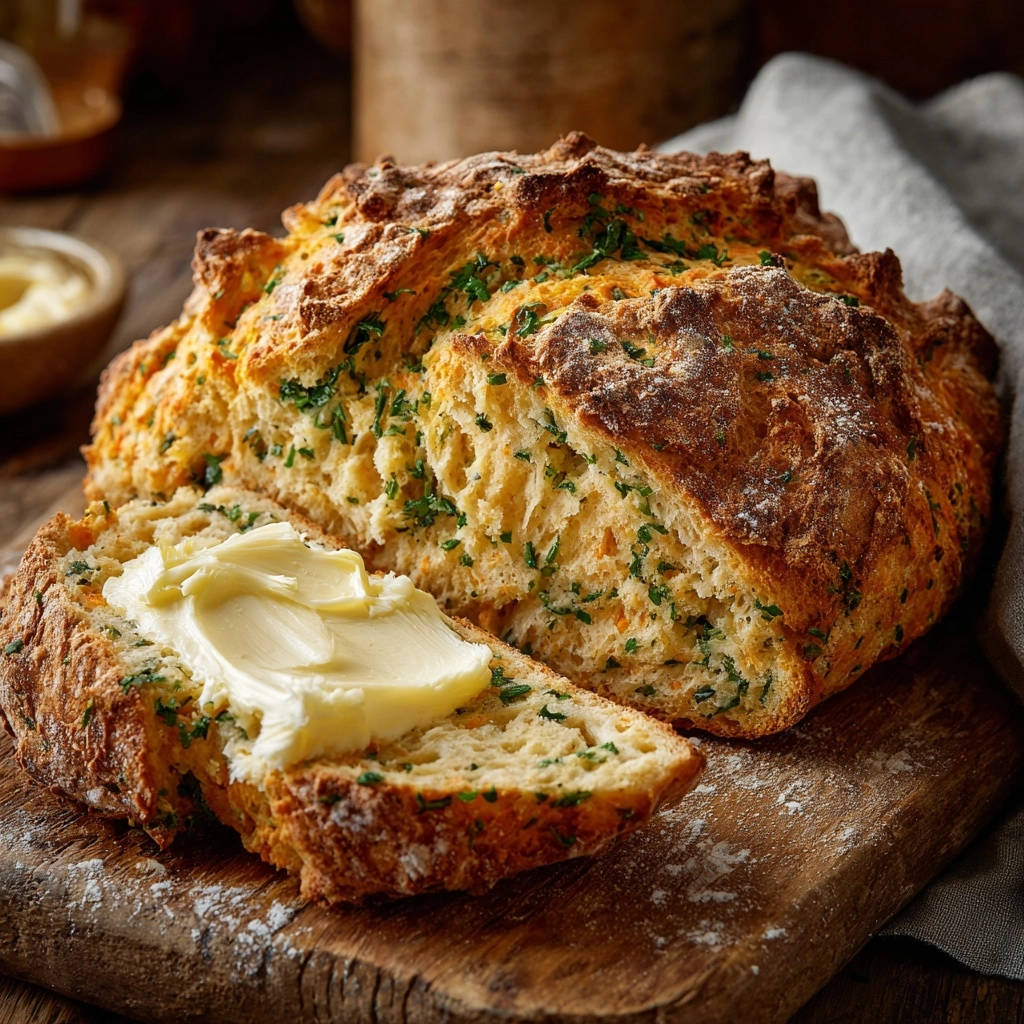
There’s nothing quite as satisfying as warm, homemade bread, yet the disappointment of a dense, heavy loaf can quickly deflate that joy. I’ve spent years perfecting the art of quick breads, and I’m thrilled to share my secret to the lightest, most tender Savory Herb Soda Bread that consistently delivers a fluffy crumb.
This recipe isn’t just easy; it’s a game-changer, transforming simple pantry staples into an incredibly flavorful and surprisingly simple loaf, perfect for any meal.
Beyond Basic: What Makes Our Savory Herb Soda Bread So Special?
Many quick bread recipes promise simplicity but often result in a heavy, brick-like texture. Our approach to Savory Herb Soda Bread focuses on precise technique to guarantee a consistently light and tender interior, a true antidote to common baking woes.
This recipe distinguishes itself through its effortless preparation – no yeast, no proofing, and minimal kneading required. It truly lives up to its “quick bread” name, making homemade bread accessible even on busy days.
The addition of fresh chives and sharp cheddar infuses this loaf with a delightful savory depth. This combination elevates the simple soda bread, making it a versatile accompaniment or a satisfying snack on its own.
The Heart of the Loaf: Essential Savory Herb Soda Bread Ingredients
Flour Power: Choosing Your Base
All-purpose flour forms the structural backbone of our Savory Herb Soda Bread, providing the necessary gluten for a tender, yet cohesive, crumb. For consistent results, always spoon and level your flour, rather than scooping directly from the bag.
While all-purpose is ideal, you can experiment with a portion of whole wheat flour for a nuttier flavor and denser texture, or use a reliable gluten-free blend for dietary needs.
Leavening & Lift: Baking Soda’s Role
Baking soda is the primary leavening agent in this quick bread, reacting with the buttermilk’s acidity to create carbon dioxide gas. This reaction is what gives soda bread its characteristic rise and airy texture.
Salt not only enhances the overall flavor but also helps to regulate the baking soda’s reaction, contributing to a balanced rise and preventing a bland taste.
Herbs for Harmony: Fresh Chives
Fresh chives are key to the “herb” in our Savory Herb Soda Bread, offering a delicate oniony flavor and vibrant flecks of green. Their mildness complements the other ingredients without overpowering the loaf.
For variations, consider finely chopped fresh rosemary for an earthy note, thyme for a classic savory touch, or a blend of your favorite soft herbs.
The Cheesy Secret: Sharp Cheddar (Optional, but Recommended)
Shredded sharp cheddar cheese, while optional, adds a wonderful tang and richness, alongside a beautiful golden hue to the crumb. Its robust flavor pairs perfectly with the fresh herbs.
Other excellent cheese choices include grated Parmesan for a salty umami boost, Gruyere for a nutty complexity, or even a smoked cheddar for a deeper, more rustic profile.
The Buttermilk Bond: Key to Tenderness
Buttermilk is indispensable for Savory Herb Soda Bread, providing both the acidity needed to activate the baking soda and essential moisture. Its tang also contributes to the bread’s unique flavor and incredibly tender crumb.
If true buttermilk isn’t available, a homemade substitute (milk + lemon juice/vinegar) works, but may result in a slightly less tender loaf due to different fat content and acidity levels.
The Finishing Touch: Melted Butter
Brushing the hot loaf with melted unsalted butter immediately after baking is a small step with a big impact. It infuses the crust with richness, helps keep it tender, and adds a beautiful sheen.
Essential Tools for Your Savory Herb Soda Bread Success
Gathering your tools before you begin ensures a smooth and enjoyable baking process.
Large Mixing Bowl: Essential for comfortably combining your dry and wet ingredients without spills.
Whisk: Used for thoroughly blending dry ingredients, ensuring even distribution of leavening agents and flavorings.
Baking Sheet: Provides the flat surface needed for your loaf to bake evenly and achieve a beautifully golden crust.
Parchment Paper: Highly recommended for easy cleanup and preventing the dough from sticking to the baking sheet.
Sharp Knife: Crucial for cutting the traditional ‘X’ on top of the loaf, which aids in even baking and classic appearance.
Wire Rack: Allows air to circulate around the baked bread, preventing the bottom from becoming soggy as it cools.
Your Path to Perfection: Mastering Savory Herb Soda Bread
- Prepare Your Workspace and Oven:
Preheat your oven to a steady 400°F (200°C) to ensure it’s at the correct temperature when your dough is ready; this promotes an immediate, strong rise.
Lightly flour a baking sheet or, for easiest cleanup, line it with parchment paper. This crucial step prevents the dough from sticking during baking.
- Combine Dry Ingredients and Flavor Boosters:
In a large mixing bowl, thoroughly whisk together the 4 cups of all-purpose flour, 1 teaspoon of baking soda, and 1 teaspoon of salt. Whisking aerates the flour and ensures leavening is evenly distributed.
Next, add the ¼ cup of finely chopped fresh chives and ½ cup of shredded sharp cheddar cheese (if using). Toss these additions well with the dry ingredients to ensure they are dispersed throughout the final loaf.
- Incorporate Buttermilk with Care: The “No Overmixing” Rule:
Form a deep well in the center of your dry ingredients, creating a pool for the liquid. Pour in the 1 ¾ cups of buttermilk.
Using a wooden spoon or even your hands, mix gently and only until the dry ingredients are just moistened and a shaggy, somewhat sticky dough forms. This is the absolute key to preventing a dense loaf!
Crucial Tip: Avoid overmixing at all costs. Excessive stirring develops gluten, which makes quick breads tough and heavy, completely counteracting the fluffy crumb we’re aiming for.
- Gentle Kneading for Cohesion:
Turn the shaggy dough out onto a lightly floured surface. Resist the urge to add more flour unless absolutely necessary for handling.
Gently knead the dough only 3-4 times. The sole purpose here is to bring the dough together into a rough, cohesive ball, not to develop elasticity. Overworking now will also lead to a tough texture.
- Shape and Score for Classic Charm:
Carefully transfer the formed dough ball onto your prepared baking sheet.
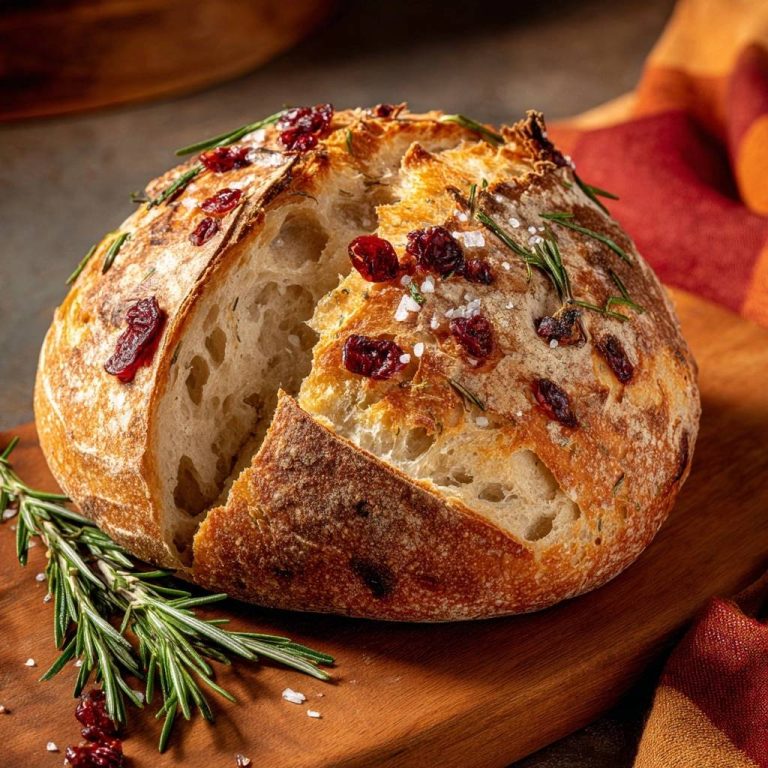
With a sharp knife, cut a deep ‘X’ into the top of the loaf, extending approximately halfway through the dough. This traditional scoring helps the bread expand evenly in the oven and gives it that iconic Savory Herb Soda Bread appearance.
- Baking to Golden Perfection:
Bake for 35 to 45 minutes, or until the crust achieves a beautiful golden brown color.
To confirm doneness, gently tap the bottom of the loaf; it should produce a hollow sound, indicating it’s cooked all the way through.
- The Melted Butter Finish:
As soon as your Savory Herb Soda Bread emerges from the oven, generously brush the entire top crust with 2 tablespoons of melted unsalted butter. This step adds a luscious richness and helps create a tender, flavorful crust.
- Cool and Serve Warm:
Let the bread cool on a wire rack for at least 15 minutes before slicing. This allows the internal structure to set properly, preventing a gummy texture.
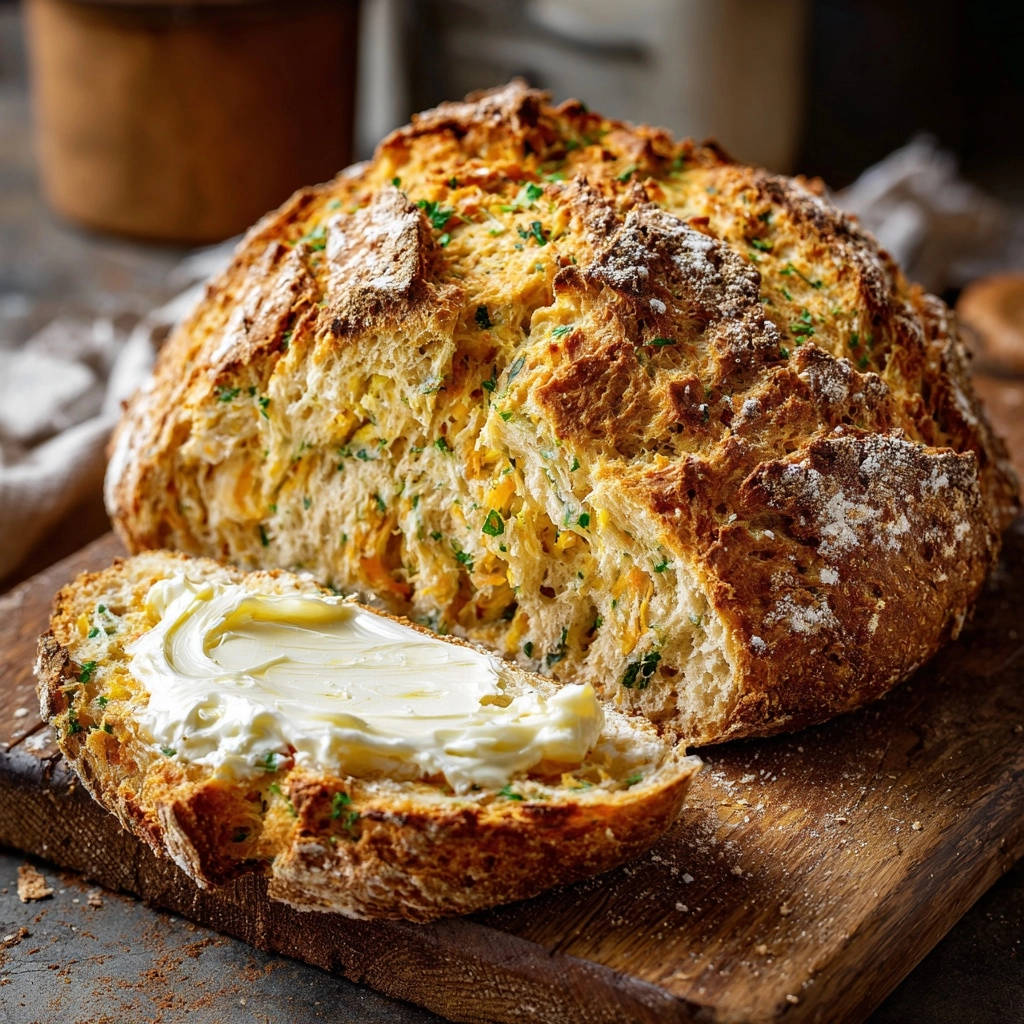
Serve your warm Savory Herb Soda Bread with plenty of softened butter, alongside a hearty bowl of creamy sausage potato soup, or any dish that welcomes a rustic, savory bread.
If you enjoy working with a simple dough like this, try these garlic herb cheddar biscuits for another quick bread option.
Chef’s Secrets: Elevate Your Savory Herb Soda Bread Game
Beyond the steps, these insights will help you consistently achieve bakery-quality results.
The Golden Rule: Do Not Overmix! This truly cannot be stressed enough. Overmixing is the primary culprit behind dense, tough soda bread. Your goal is a shaggy, barely combined dough, not a smooth, elastic one.
Perfecting the “X” Cut: A deep ‘X’ (about halfway through the dough’s depth) is more than just decorative. It serves as a vent, allowing steam to escape and ensuring the bread expands evenly without cracking excessively, promoting an even cook.
The Tap Test for Doneness: Relying solely on visual cues can be misleading. Tapping the bottom of the loaf and hearing a distinct hollow sound is the most reliable indicator that your bread is fully cooked internally, preventing a doughy center.
Buttermilk Temperature Matters: While not strictly necessary, bringing your buttermilk to room temperature can facilitate a smoother incorporation with dry ingredients and ensure a more consistent reaction with the baking soda, aiding in a uniform rise.
Customize Your Herbs and Cheese: Feel free to experiment with flavor! Fresh rosemary, thyme, or dill are excellent alternatives or complements to chives, offering distinct aromatic profiles. For cheese, consider grated Parmesan, sharp provolone, or even crumbled feta for a salty bite. Just ensure they are finely chopped or shredded to blend well.
Troubleshooting Your Savory Herb Soda Bread: Common Issues & Fixes
Problem: My Savory Herb Soda Bread is Dense and Heavy.
Solution: This is almost always a result of overmixing the dough. The key is to mix only until the dry ingredients are just moistened and a shaggy dough forms. Also, remember to knead very lightly, just 3-4 gentle turns, to bring it together without developing too much gluten.
Problem: The Crust is Too Hard or Dry.
Solution: Ensure you generously brush the loaf with melted butter immediately after it comes out of the oven; this softens the crust and adds flavor. Additionally, avoid overbaking; start checking for doneness at the lower end of the baking time by using the hollow tap test.
Problem: My Bread Didn’t Rise Properly.
Solution: First, verify the freshness of your baking soda, as its potency diminishes over time. Second, confirm your buttermilk is fresh, as its acidity is critical for activating the leavening. Lastly, excessive mixing can inhibit rise by prematurely releasing gases.
Serving Up Deliciousness: Perfect Pairings for Your Soda Bread
While exceptionally delicious on its own with just softened butter, this Savory Herb Soda Bread is incredibly versatile and shines in many culinary contexts. It makes a fantastic accompaniment to a hearty beef stew, a creamy tomato soup, or a succulent roasted chicken.
For a perfect pairing, try our Cheesy Cheddar Biscuits with Flaky Layers.
Consider it alongside your favorite breakfast dishes, like scrambled eggs or a cheesy frittata, for a savory twist. It also works beautifully as a base for open-faced sandwiches, topped with cream cheese and smoked salmon, or even with a crisp side of crispy baked asparagus for a balanced meal.
For an unexpected sweet-savory contrast, try a slice with a dollop of fig jam or a smear of homemade honey butter.
What to Serve with Your Herb Soda Bread
This savory soda bread has a tender crumb and herb notes that pair well with a sweet treat or a hearty side. Here are two recipes to round out your table.
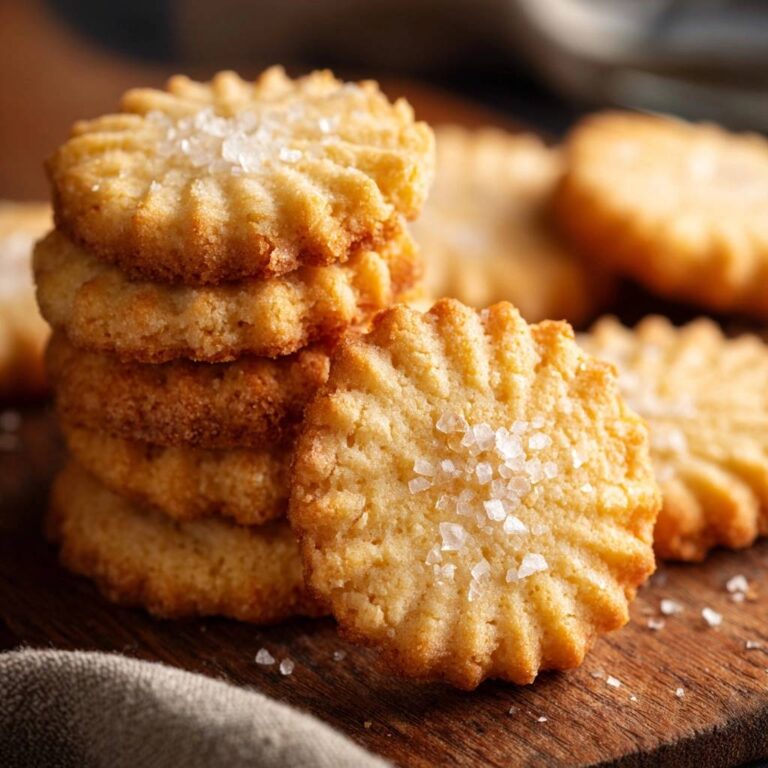
- For a buttery, crisp contrast to the soft bread, bake a batch of Classic Buttery Shortbread Cookies – the simple sweetness balances the herbs nicely.
- Turn the bread into a full meal by serving it alongside Roasted Cauliflower Shells and Cheese, where the cheesy, roasted flavors match the bread’s rustic character.
Storing Your Savory Herb Soda Bread: Freshness & Beyond
Maintaining Freshness
Savory Herb Soda Bread is truly at its best when enjoyed on the day it’s baked, showcasing its optimal fluffy crumb and tender crust. If you have leftovers, store them at room temperature in an airtight container or wrapped tightly in plastic wrap for up to 2-3 days.
Freezing for Later Enjoyment
For longer storage, the baked and completely cooled loaf freezes beautifully. Wrap the whole loaf or individual slices tightly in plastic wrap, then an additional layer of aluminum foil, and freeze for up to 3 months. Thaw at room temperature and reheat gently in a preheated oven (around 300°F/150°C) for a “freshly baked” experience.
Your Savory Herb Soda Bread Questions Answered (FAQs)
Can I substitute buttermilk in this Savory Herb Soda Bread recipe?
Yes, if you don’t have buttermilk on hand, you can easily make a quick substitute. Add 1 tablespoon of white vinegar or lemon juice to a liquid measuring cup, then fill it to the 1 ¾ cup mark with regular milk. Let it sit for 5-10 minutes until it curdles slightly before incorporating it into your dough.
What other herbs or cheeses can I use?
Feel free to get creative and customize your loaf! Fresh rosemary, thyme, or dill are excellent alternatives or complementary additions to the chives, each offering a unique aromatic profile. For cheese, consider grated Parmesan, nutty Gruyere, or even a spicy pepper jack for a kick. Ensure all additions are finely chopped or shredded for even distribution.
Is this recipe suitable for a gluten-free diet?
While this specific recipe uses all-purpose flour, you can certainly experiment with a good quality gluten-free all-purpose flour blend. Look for blends that contain xanthan gum, which helps with structure. Be aware that the texture might be slightly different from the original, but it can still yield a delicious, savory loaf.
Can I prepare the dough ahead of time?
Soda bread dough is unique because its leavening action begins almost immediately once the baking soda reacts with the buttermilk. Therefore, it’s always best to bake the dough directly after mixing. Allowing the dough to sit for too long can result in a less effective rise and a denser loaf, so it truly is a “quick” bread to be made and baked promptly.
Why is my soda bread crumbly or dry?
A crumbly or dry texture typically points to two main issues: either too much flour was used, or the bread was overbaked. To prevent this, measure your flour accurately, preferably by weight if possible, to avoid adding excess. Also, bake only until the loaf is golden brown and sounds hollow when tapped, rather than over-drying it in the oven.
Ready to Impress? Share Your Savory Herb Soda Bread Masterpiece!
There you have it – your definitive guide to crafting the most irresistible Savory Herb Soda Bread. Gone are the days of dense disappointments; embrace the joy of a perfectly fluffy, herbaceous loaf that’s surprisingly easy to achieve, bringing warmth and incredible flavor to your table.
We encourage you to try this recipe, savor every tender bite, and share your baking triumphs with us! Your kitchen is about to become everyone’s favorite bakery, especially with this no-fail recipe for a perfect savory loaf.
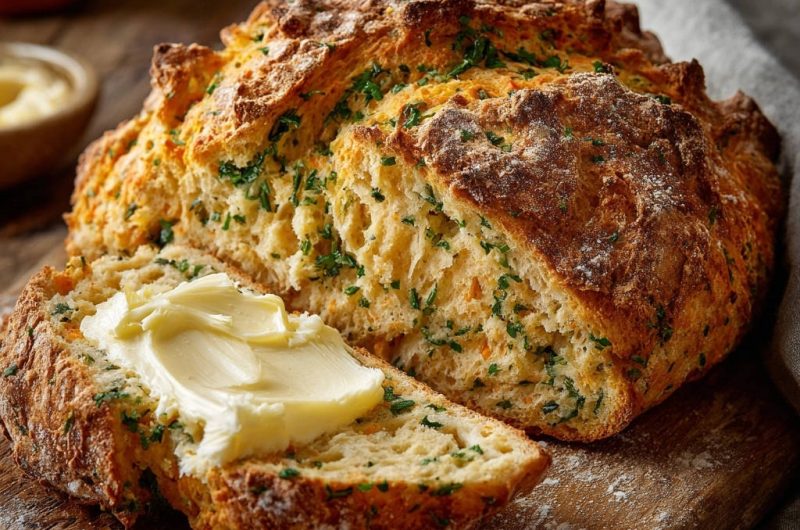
Soda Bread
Course: BreadCuisine: BritishDifficulty: easy1
loaf15
minutes40
minutes450
kcal60
minutesAchieve a perfectly fluffy crumb every time with this incredibly flavorful savory herb soda bread. Simple to make, it avoids the common pitfalls of dense quick breads, offering a light and tender texture. Serve warm with softened butter for a delightful treat.
Ingredients
4 cups all-purpose flour
1 teaspoon baking soda
1 teaspoon salt
1/4 cup chopped fresh chives
1/2 cup shredded sharp cheddar cheese (optional, but recommended for flavor and color)
1 3/4 cups buttermilk
2 tablespoons unsalted butter, melted (for brushing)
Softened butter, for serving
Directions
- Preheat your oven to 400°F (200°C). Lightly flour a baking sheet or line it with parchment paper.
- In a large mixing bowl, whisk together the flour, baking soda, and salt. Add the chopped chives and shredded cheddar cheese (if using) and toss to combine evenly.
- Make a well in the center of the dry ingredients. Pour in the buttermilk. Using a wooden spoon or your hands, mix just until the dry ingredients are moistened and a shaggy dough forms. This is the absolute key to preventing a dense loaf! Avoid overmixing at all costs, as too much stirring develops gluten, which makes quick breads tough.
- Turn the dough out onto a lightly floured surface. Gently knead the dough just 3-4 times, enough to bring it together into a rough ball. Do not overwork it.
- Place the dough ball onto the prepared baking sheet. With a sharp knife, cut a deep ‘X’ into the top of the loaf, about halfway through the dough. This helps the bread cook evenly and gives it that classic look.
- Bake for 35 to 45 minutes, or until the crust is golden brown and the loaf sounds hollow when tapped on the bottom.
- As soon as the bread comes out of the oven, brush the top generously with the melted butter.
- Let the bread cool on a wire rack for at least 15 minutes before slicing and serving warm with plenty of softened butter.
Notes
- Key is to avoid overmixing at all costs for a light, tender crumb.